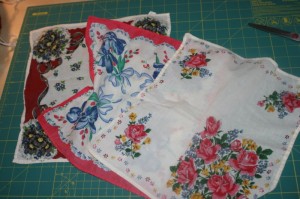
My friend gave me a few handkerchiefs her Grandmother had lying around figuring I could make something with them. I had the idea to make them into little throw pillows for my bed. I was going to make her one and give it to her, but I’ve already given her a pillow I made so I figured I’d be keeping it. Then I realized one of the prints would be perfect for embroidering a little something right in the middle.
Perhaps a heart with our names in it? So I cut out a heart and was just about to trace it when I remembered the awesomeness I had just ordered from Peptogirl!
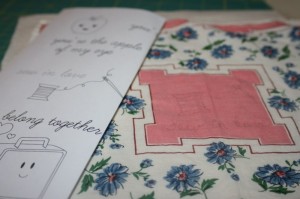
I flipped through the patterns and found one I liked and I took the liberty of making a slight adjustment.
Here’s how I made the pillow:
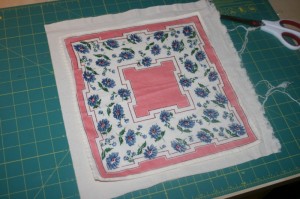
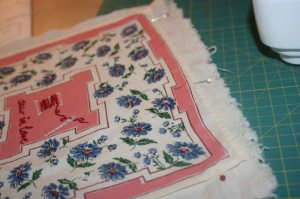
First I cut a piece of plain unbleached cotton fabric a little bit larger than the hanky. Then I ironed the two pieces so they’d be nice and flat. In hindsight I should have cut the cotton a bit bigger, I ended up losing the border when I squared it up before putting the backing on.
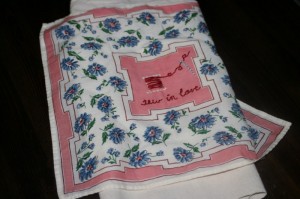
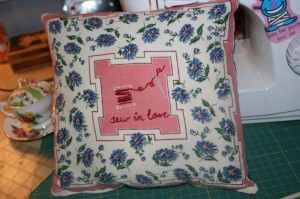
Next, in a very high tech. transferring process, I freehandedly copied the ‘sew in love’ pattern onto the hanky, adding my own little touch.
Then it was onto embroidering before a repeat ironing performance. I just put the hanky and fabric in a hoop together and stitched my design. When I took it out the stitching was through both layers holding it together.
So off to my machine I went where I stiched around the edge of the hanky, I went on top of the hem stitching with the same colour so it wouldn’t show.
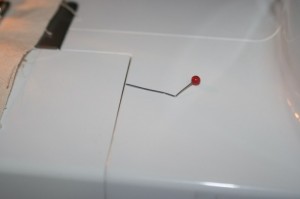
While doing that I hit a pin!! Never in all my time sewing have I actually hit the pin. CLUNK! went the machine, and I totally expected the pin to have snapped and tried to pull it out, but nope! It was just bent like crazy! Everything seemed fine so I just took it out and kept going.
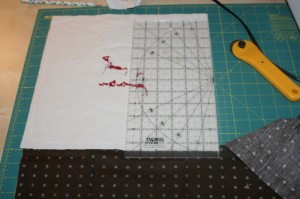
Then I chose some fabric for the back, our duvet cover is brown so I was going for something that would make this a nice little pillow to toss on our bed. I squared up the edges around the hanky and then I laid down the front, right sides facing, to see how big it was and cut a piece for the back.
Then I pinned it together, with the pins waaaaay inside to make sure I didn’t hit one again, and sewed around with a 1/4 inch seam.
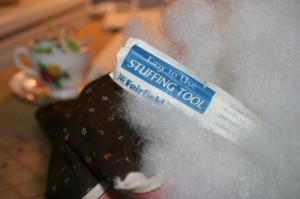
In retrospect the hole I left for turning and stuffing seemed a tad too small but I got it. When I went back to my bag of stuffing to grab some more I found this peaking out.
I was so excited, a stuffing tool?! Wow. Was stuffing going to be easier?! Why hadn’t I found one in my last bag of stuffing?! Then I opened it and realised it’s really just a chopstick and I could have gotten one of those from the kitchen. My hands worked just fine.
Stitched the stuffing hole closed and ta da! A cute little pillow to enjoy!




2 Responses to Handkerchief pillow tutorial. Complete with cute embroidery!