


I took the kids for a big walk the other day, it was so nice and unseasonably warm. It was recycling day and we passed a pile at the curb and Wesley noticed a Little Tykes easel sitting there. Nothing was wrong with it, other than being covered with paint and crayons, and he started talking about it and walked over to it, and of course he asked if he could have it. He was so excited about it I figured why not. I wonder how much useful stuff ends up in landfills? I knocked on the door to ask the people if I could leave it in their driveway and come back for it with the van but no one was home. So there I was walking home carrying a big bright coloured easel under my arm while pushing a sit and stand stroller with 2 kids in it!
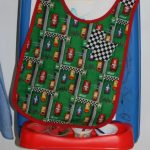
I got it home and cleaned it up and was inspired to make Wesley a smock for all the dirty painting and colouring he’s going to do. Essentially it’s just a big bib. However, I did add the challenge of making it reversible (although my husband said if it’s for painting why would you want to reverse it) and I decided to add an appliqué design. Here’s the sort of tutorial.
-

- Little tikes easel
-
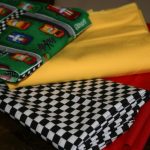
- Once again, car themed fabric.
-
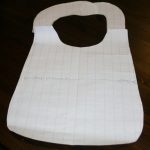
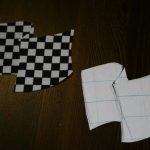
- Not sure how you’re supposed to make patterns but this grid paper is my friend.
-
- The Pieces for the back closure.
-
- Because of the fabric size I had to lay it this way and cut pieces for the back seperately.
-
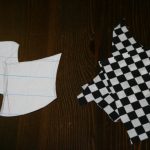
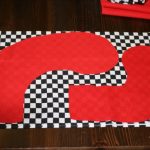
- Sketch of flag and fabric.
-
- I made a sort of puzzle out of the sketch for a template.
-

- Getting the gist.
-
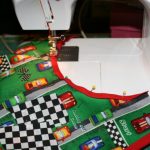
- Stitching the bias on.
-

- I used a magnetic purse closure sewn in on the inside so it would be invisible.
-
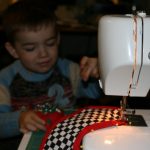
- My pin removal guy, if you need one I can provide a reference.
-
- I wanted an action shot, but Wesley is still playing with his car cosie.
-
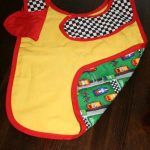
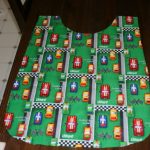
- Reversableness!
Things I learned:
– Bias on very curvy bits is not fun. In future I’ll just sew right sides together, turn and top stitch. While it looks really nice it cost more and was finicky.
– I should have sewn the ‘back’ pieces to the front piece a the beginning. I did them separately and then had to worry about the bias and edges lining up properly. I also had to cover the hem on the inside.
– The patterned side is already pretty busy. Next time the appliqué should go on the solid side to dress it up a bit.
– Despite all that, I’m pretty awesome.


