With the lack of craft shows and inability to be a vendor in person I’ve been on a mission to have my items in local small businesses. I’ve been working for a while with Isabella’s cafe and look forward to being able to pop in again for a tea and some tasty treats.
Recently I added two new storefronts to my list. Toe Beans Cat Cafe in Port Hope where you can adopt the cute furry little friends who are lounging about. Lots of info is on their Facebook page. They have a selection of my scrappy cup cozies and magnets made specifically with cat themed prints. I donated my time and did some sewing for them and was surprise rewarded with a box of baked goods which I must say were delicious and adorable!
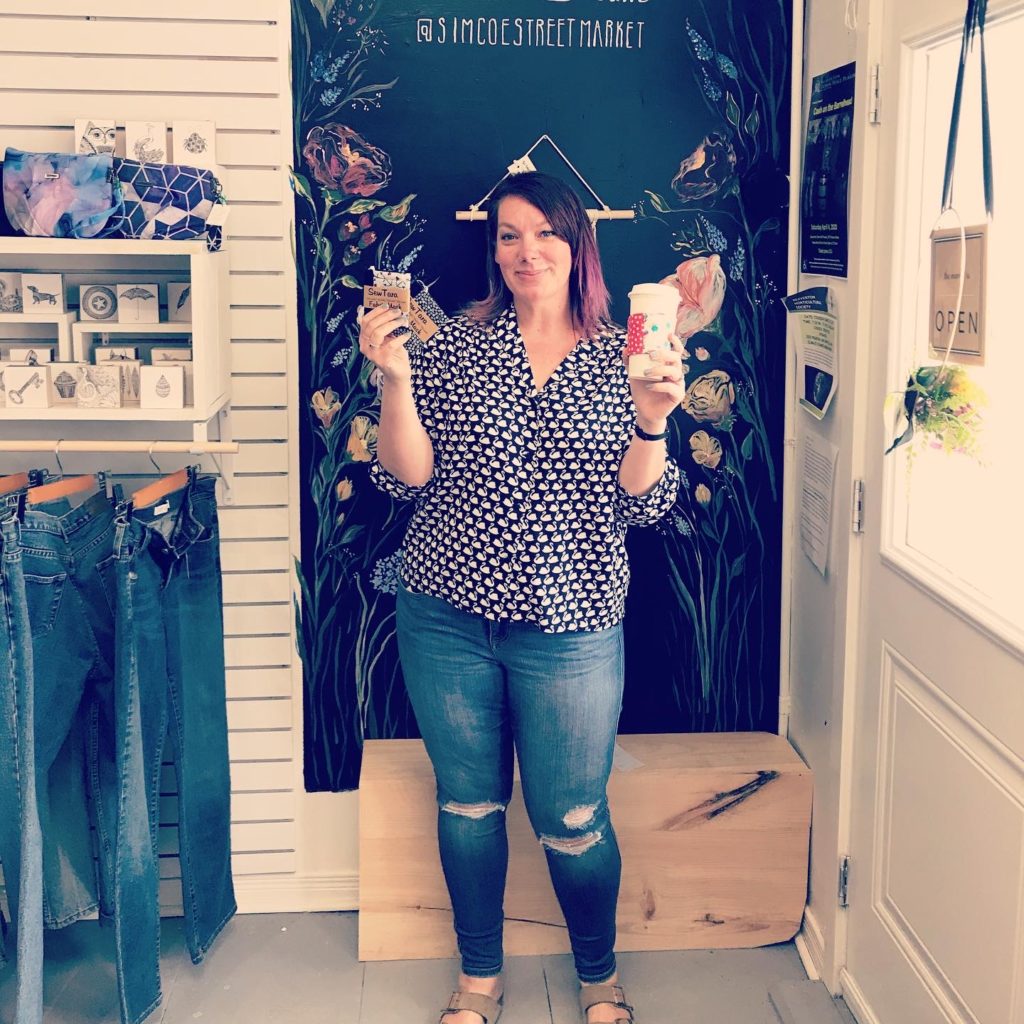
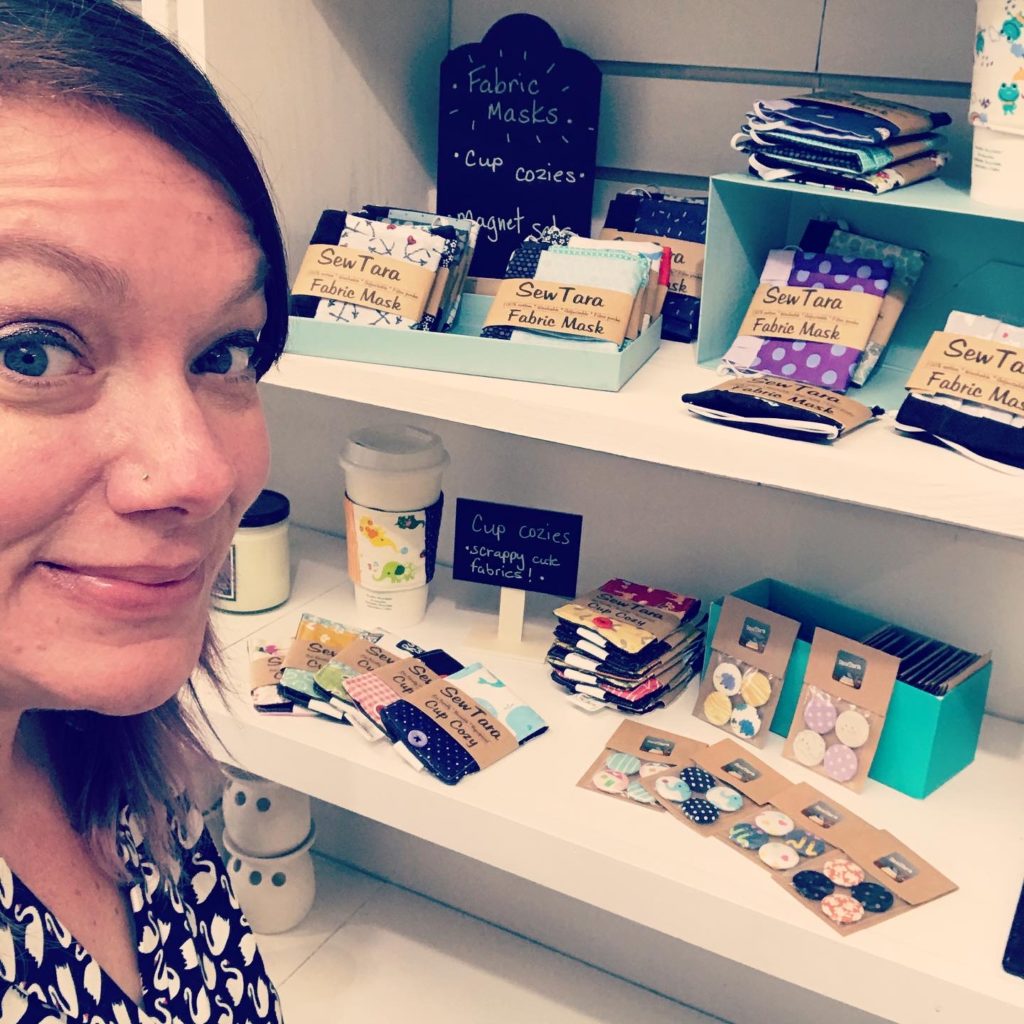
I’ve also stocked, and now restocked Simcoe Street Market with my masks, scrappy cup cozies and magnets. Located in beautiful Beaverton on the cute little main street the shop is full of the lovely creations of many, many talented makers. Definitely worth checking out and browsing the wares.
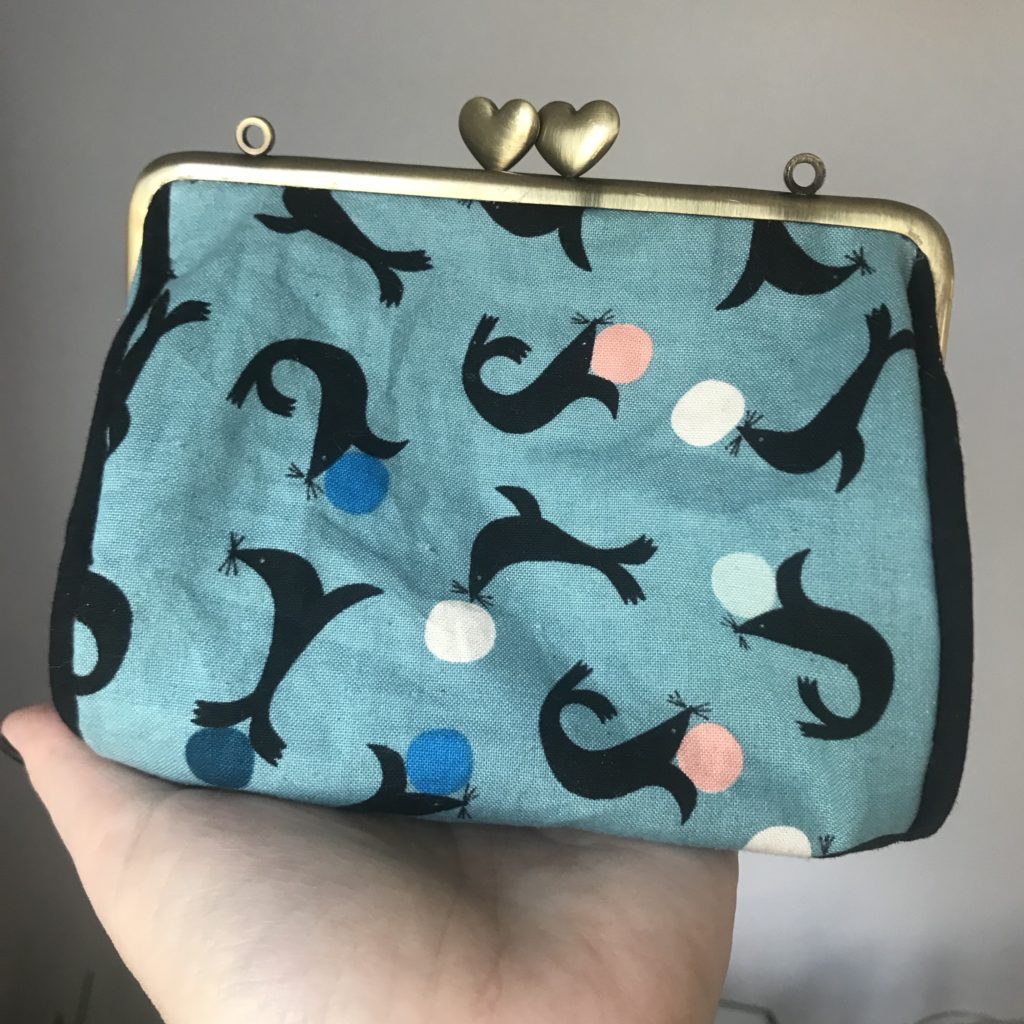
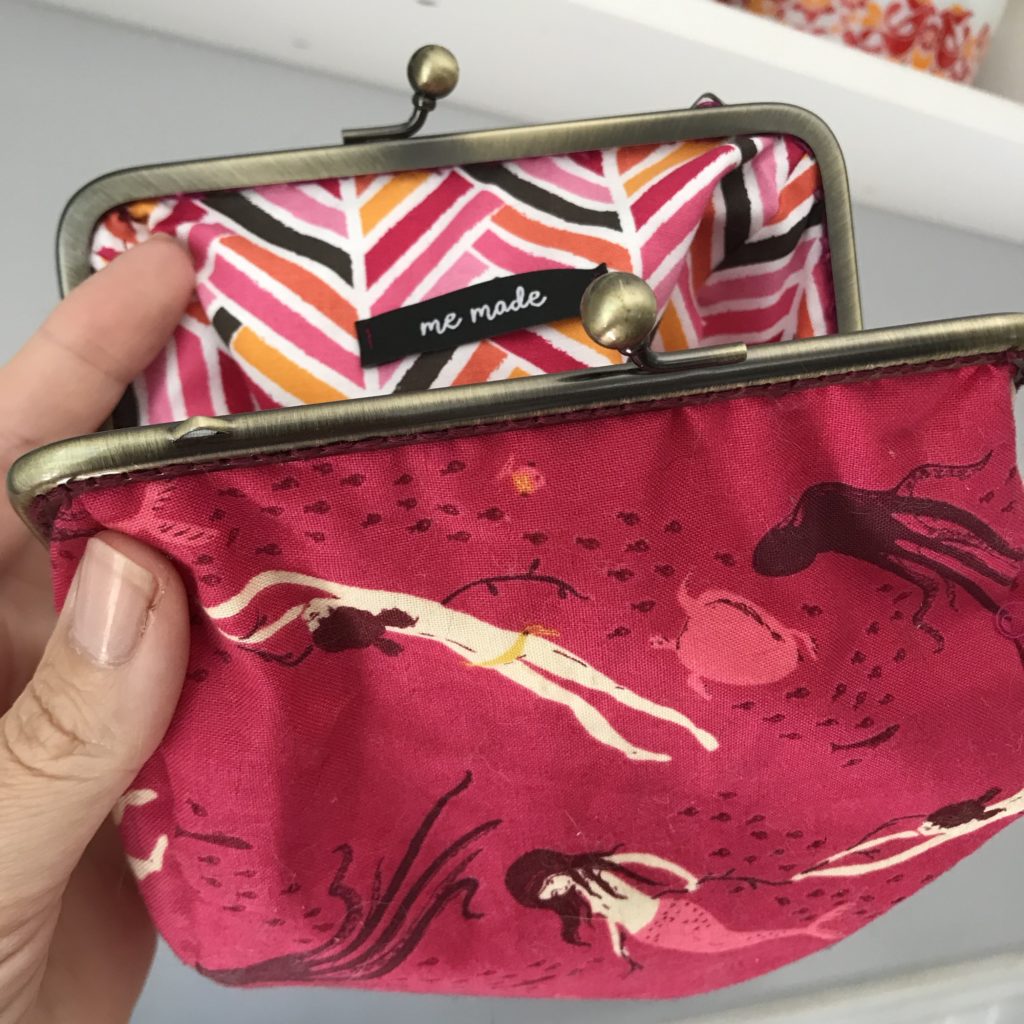
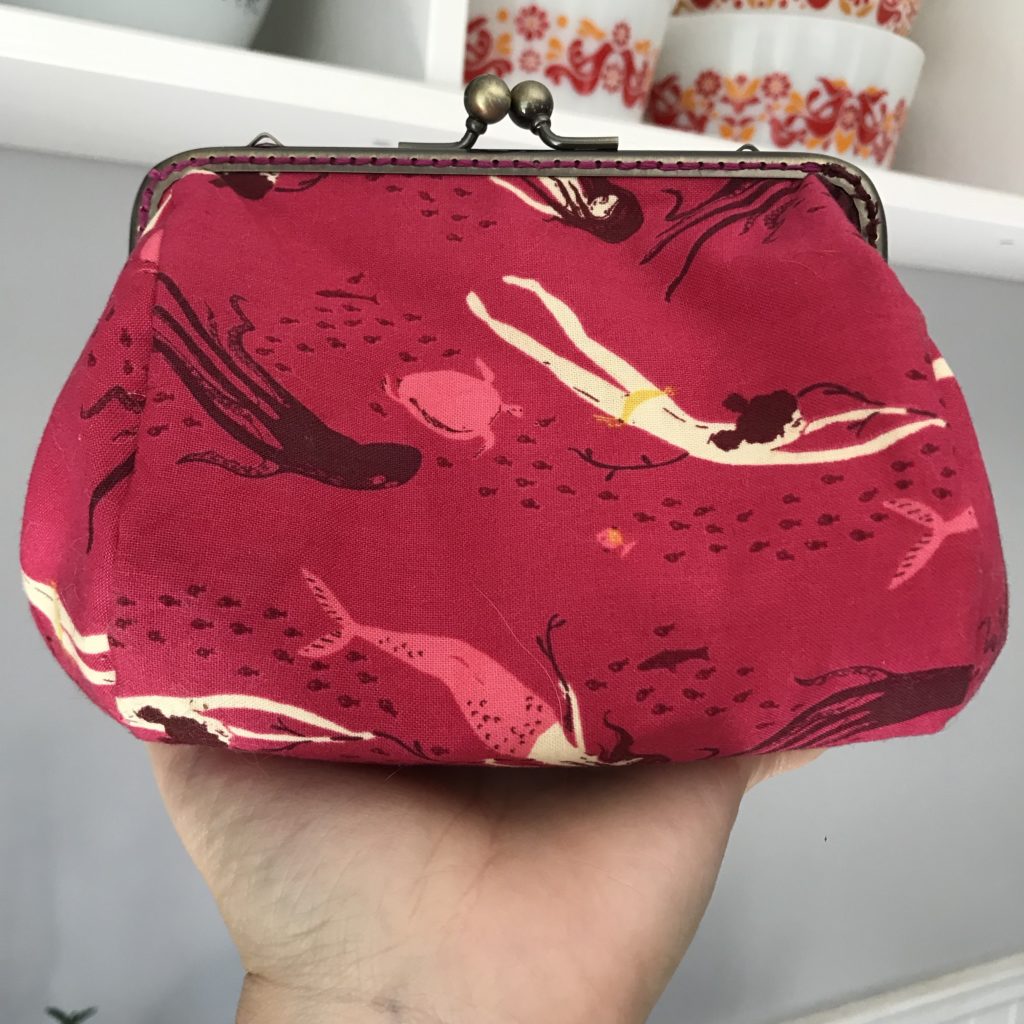
I absolutely love making frame purses but they are truly a labour of love. Often I have to take breaks when sewing them on as the fabric gets very thick at parts and the needle digs into my poor fingers.
They are so beautiful though.
I’ll be going on a mission to find chains for them so I can use them as little hands free purses.
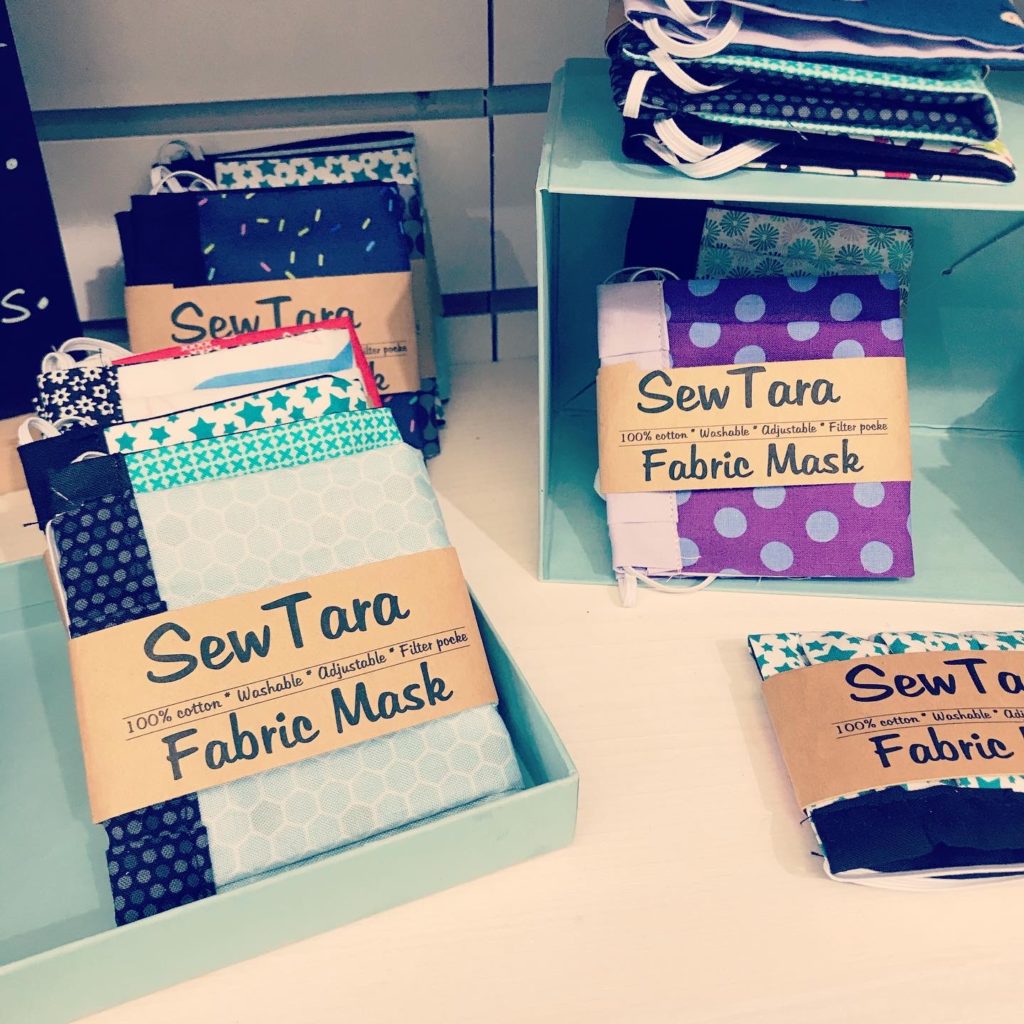
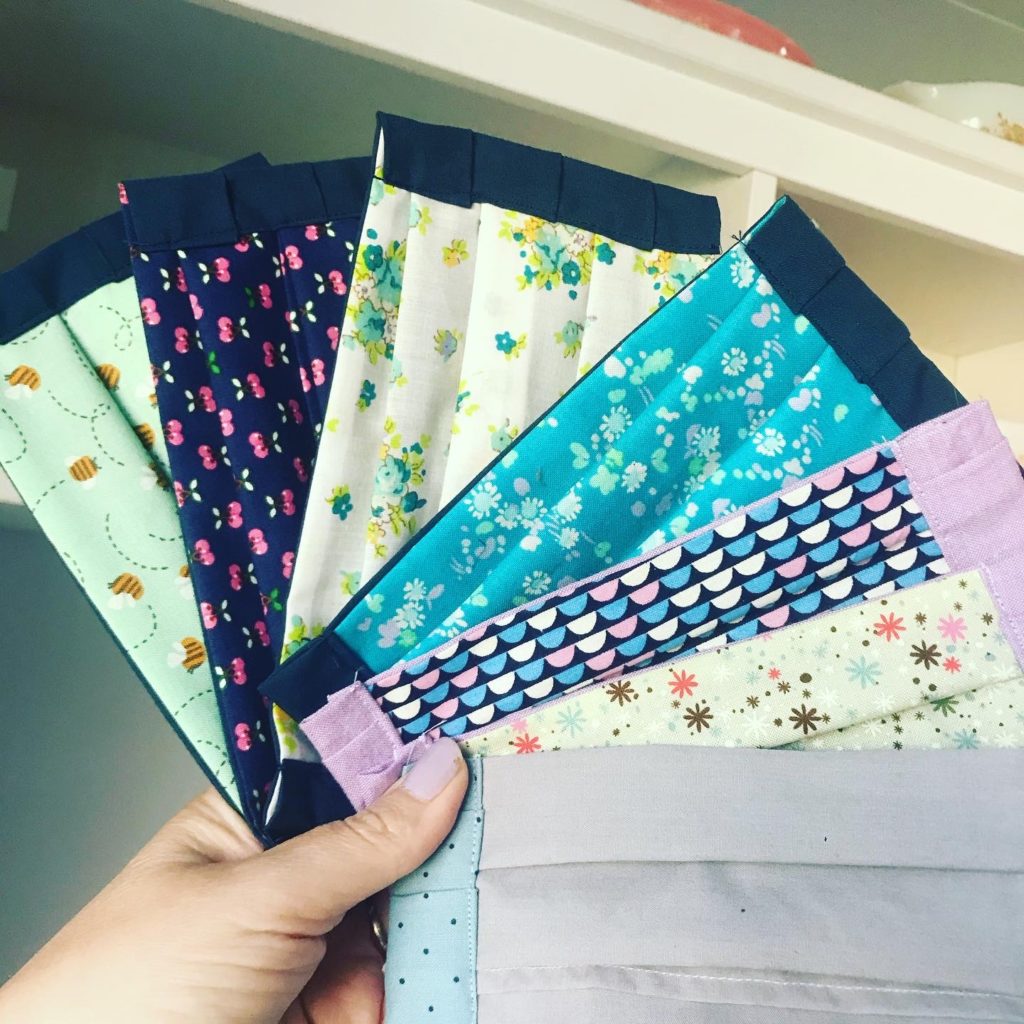
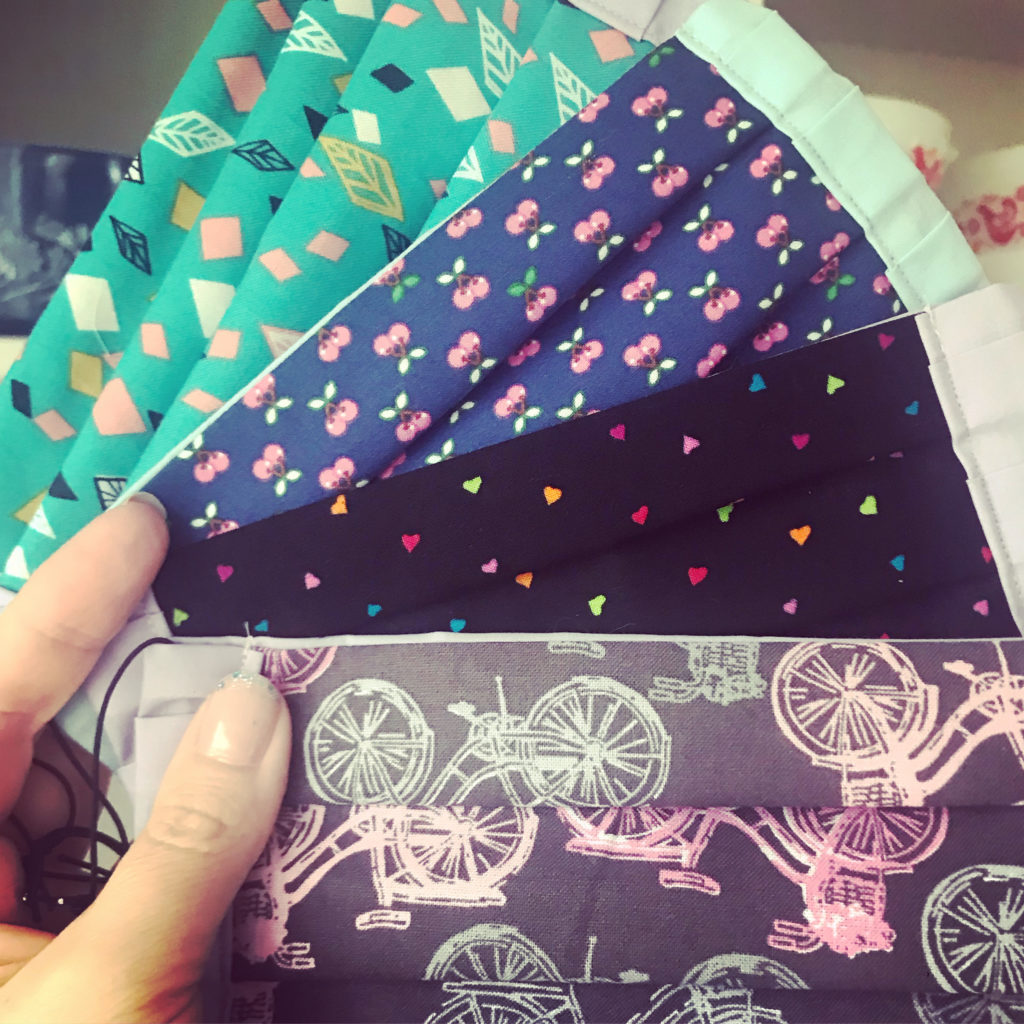
Boy have things been wacky lately or what?! Along with having time to read, listen to audio books, tech kindergarten online and be physically active I also have been making oodles and oodles of masks!
So. Many. Masks.
It’s been a fun fabric stash busting adventure and great to donate some, sell some and protect lots of people I care about.
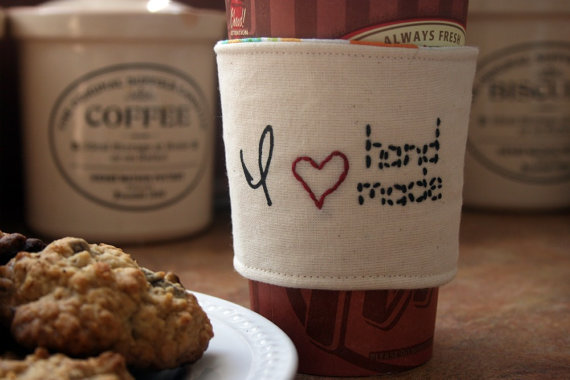
My cup cozy designs came from part having funny things to say and part wanting to help people keep their drink a bit insulated and their hands a bit safe while sparing the environment extra cups or cardboard sleeves.
I try to be conscious of my consumption of items and how much I use up my craft supplies. I repurpose things and use up all my scraps (down to 1 inch magnets and then teeny tiny scraps for hairclips). I take donated scraps from people, thrift things to reuse, when I screen print and make mistakes I use those pieces as interfacing and lining for other projects. I try.
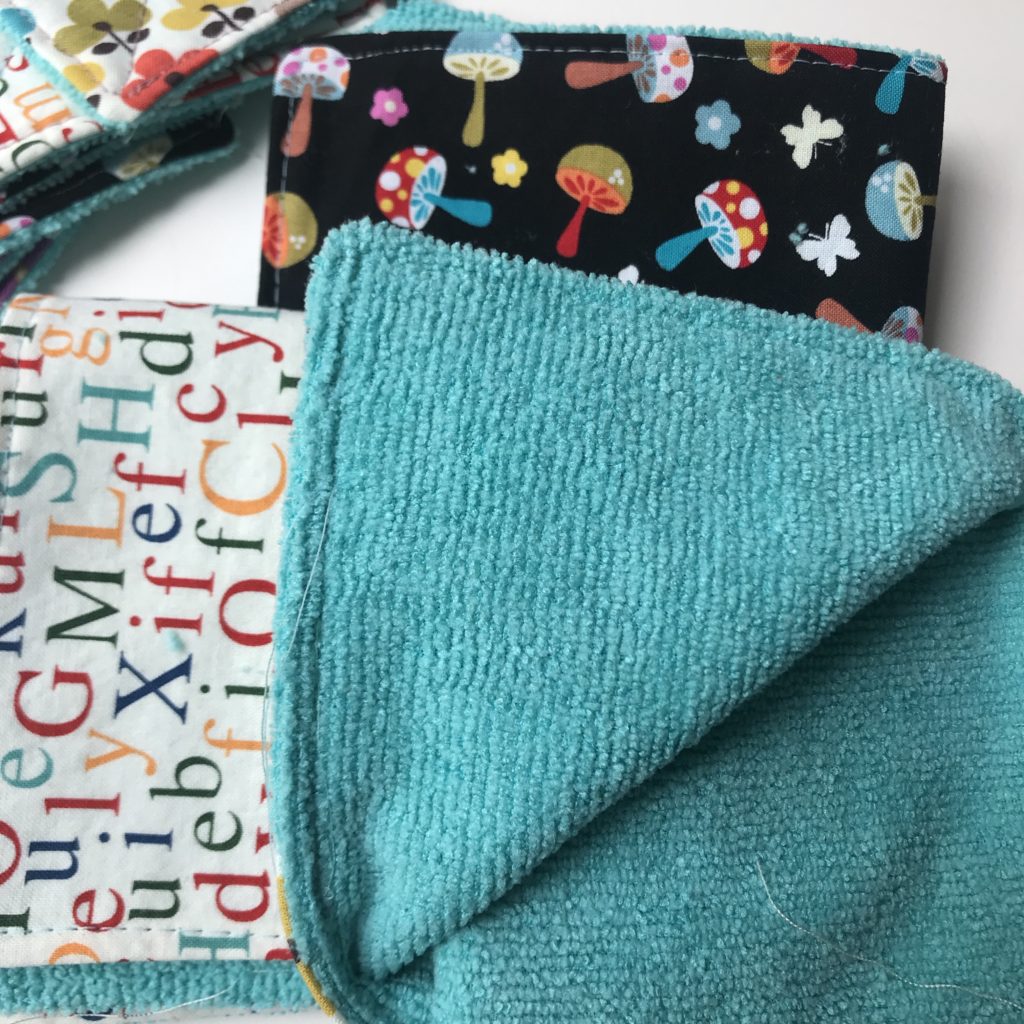
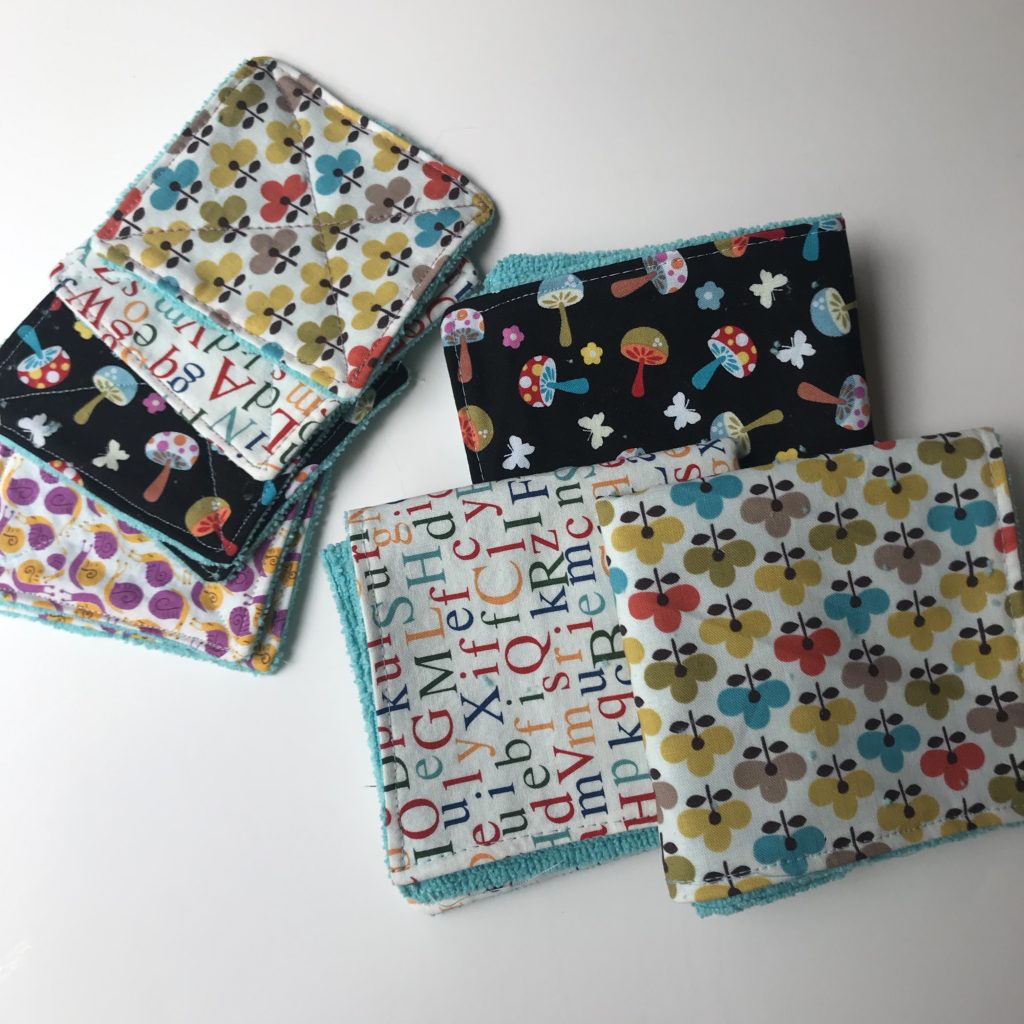
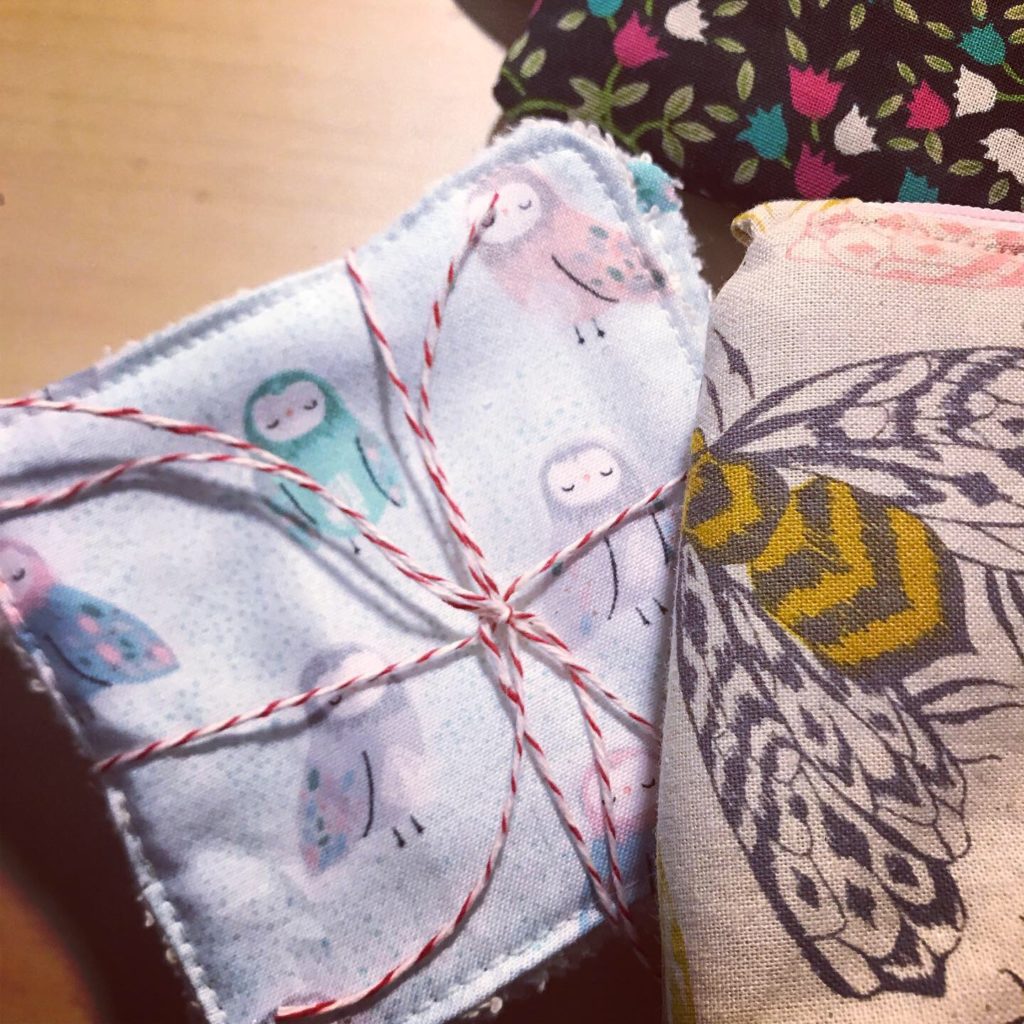
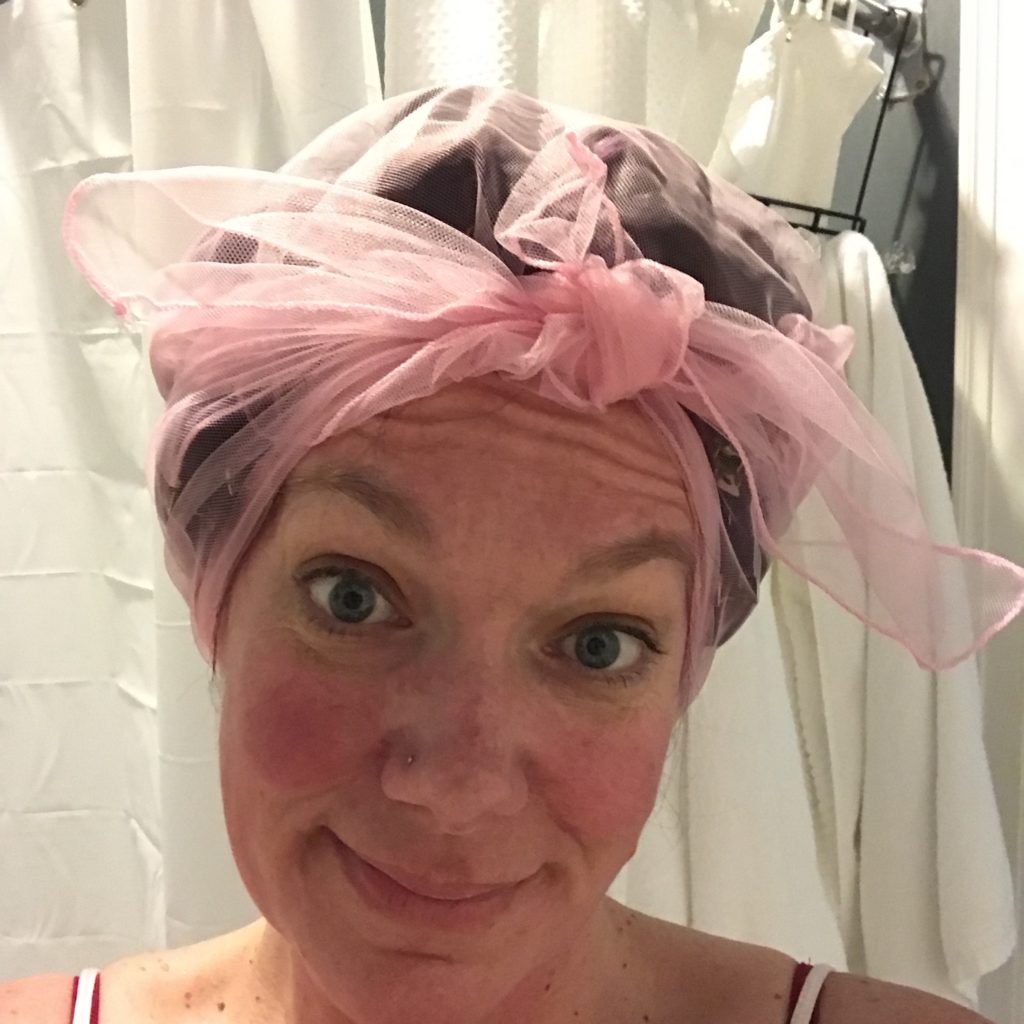
Recently I’ve tried to up my game in our household – reusable produce bags, reusable make up removal wipes, hand made face cloths and wipes. I keep them in a travel bag in the bathroom then once they are used put then in a mesh bag to breathe then just wash and dry in the mesh bag.
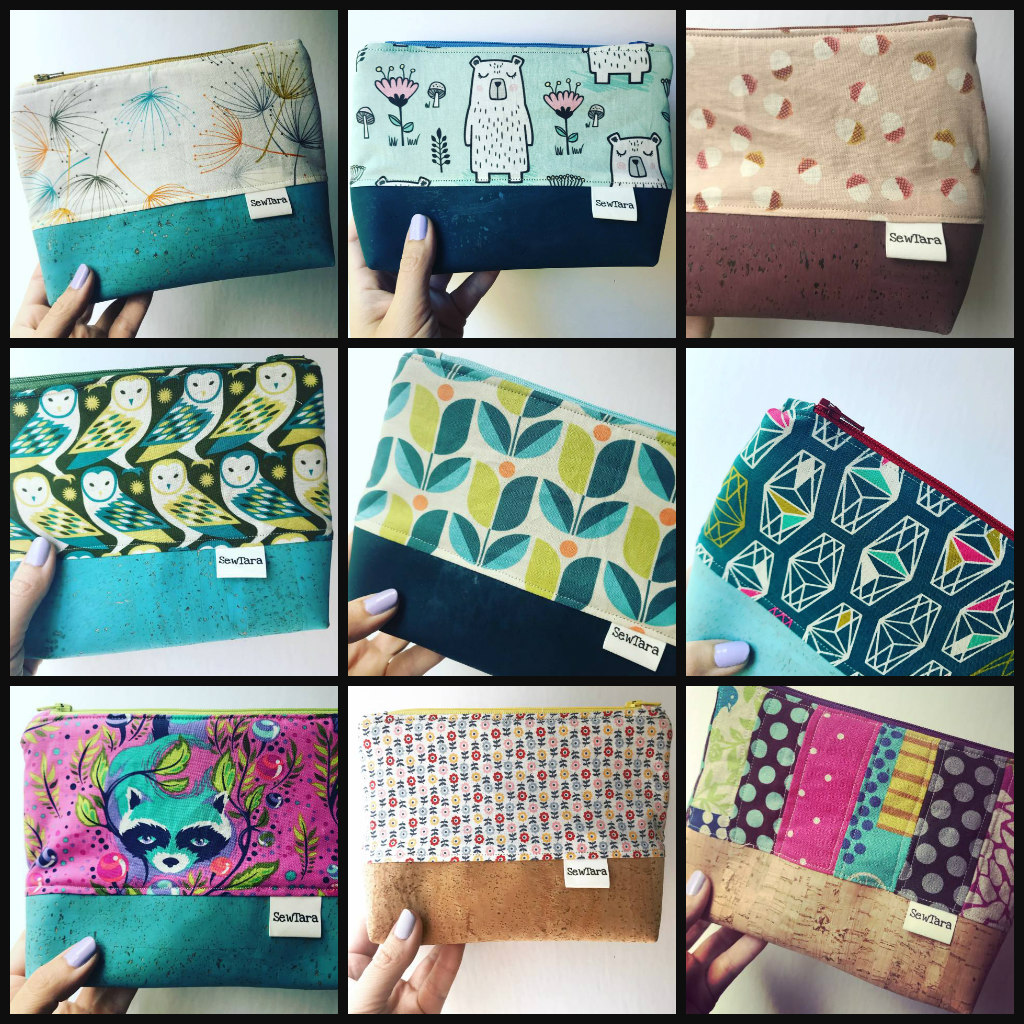
This ones were made with our favourite colour in my house, which we call Swoon. My son wanted some slightly larger ones for his face. I just used up fun prints I had on hand and made a bunch for our use.
As I posted about them I had some request and so I went ahead and made some for friends. It saves on having to buy one time use make up puffs and doesn’t make any solid waste.
Looking forward to making more and adding them to my table at craft shows and my Etsy shop.
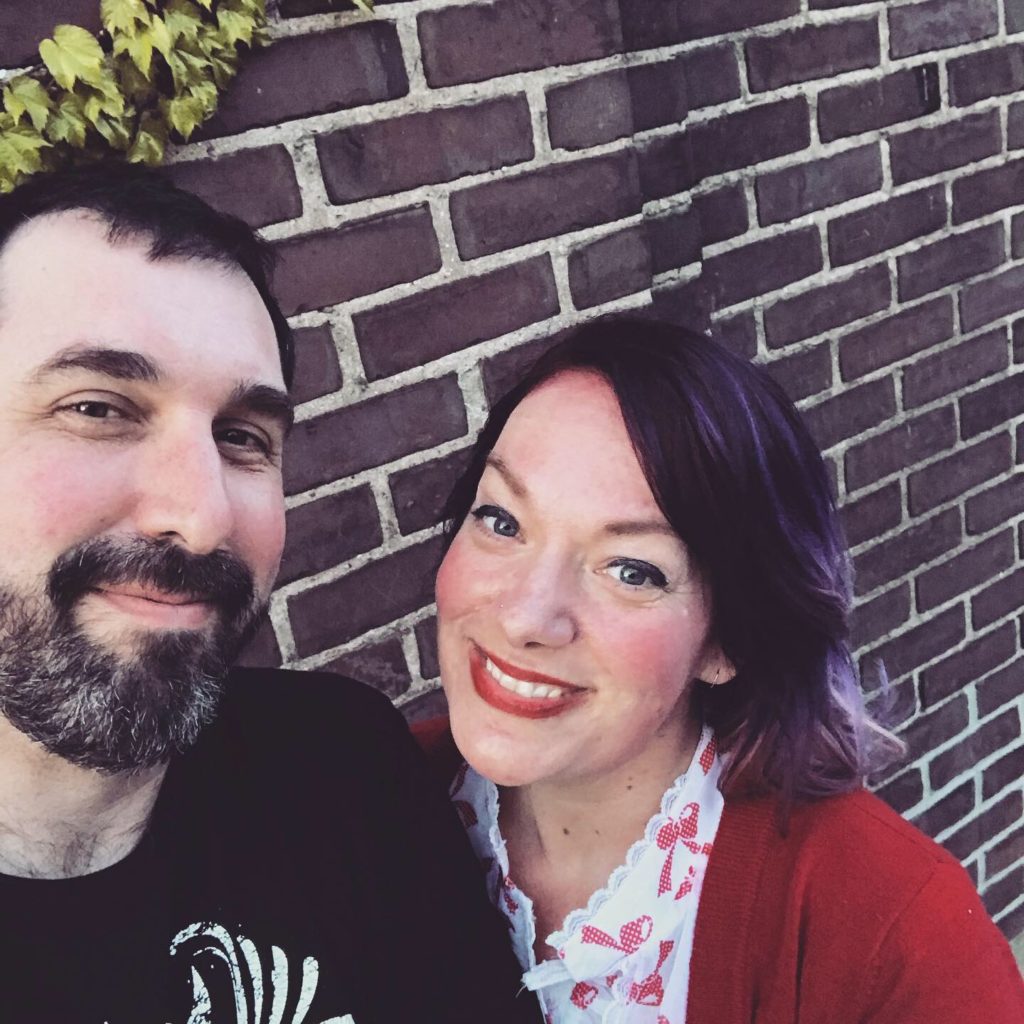
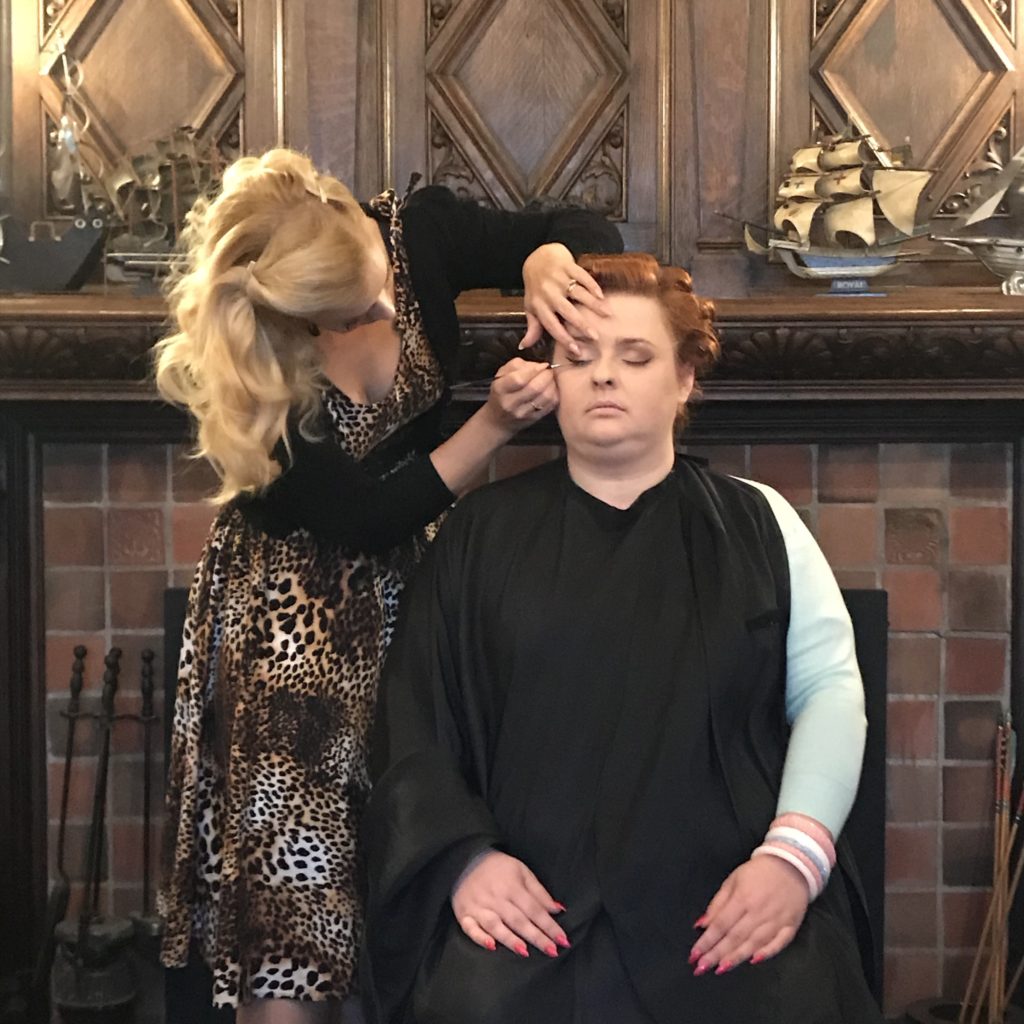
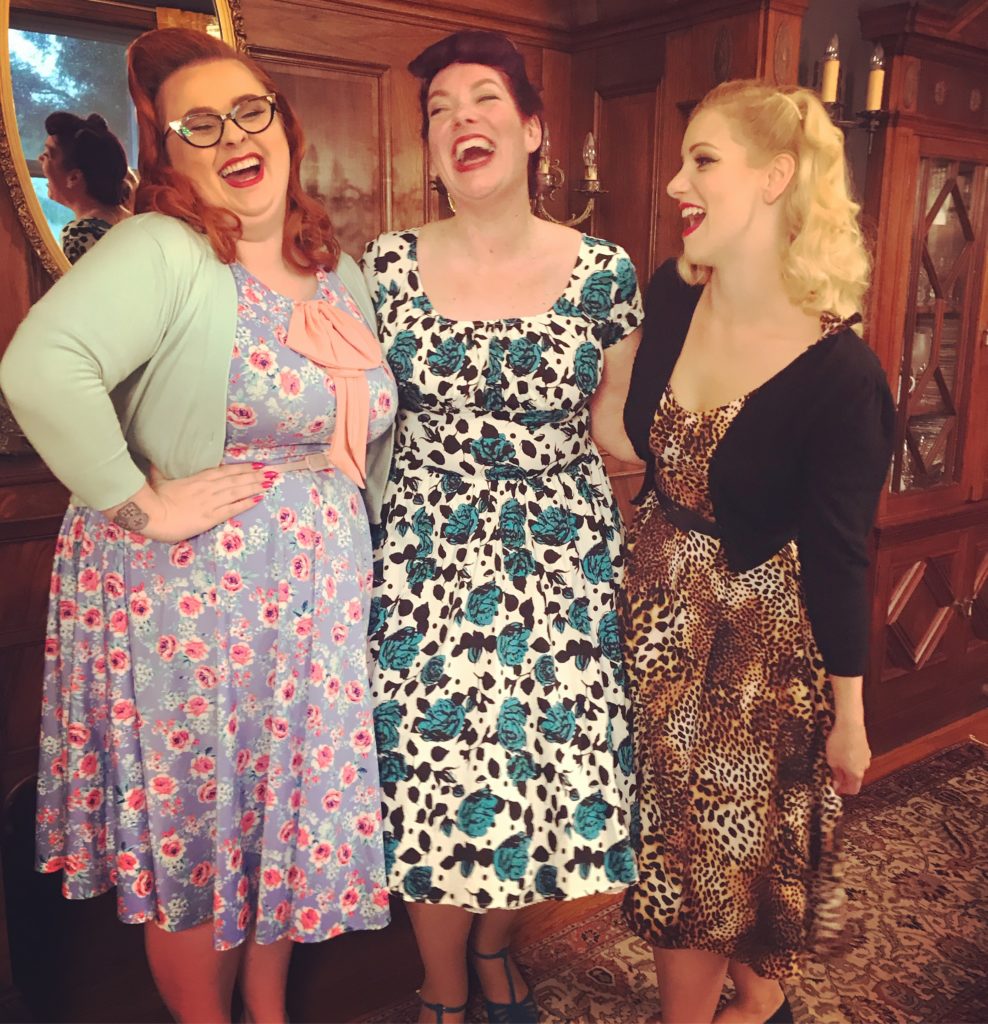
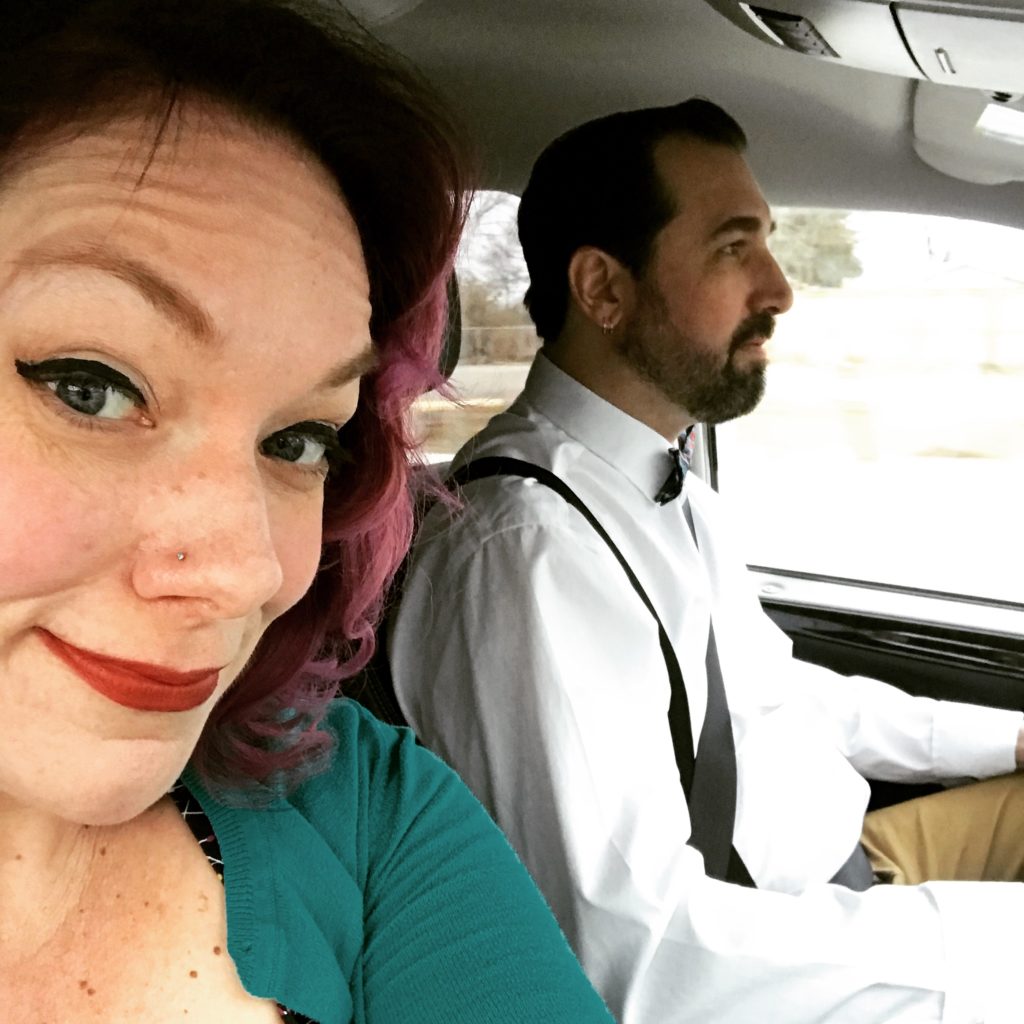
Once again we headed out to Port Dover for a weekend away with the perks of me learning some fun hair and make up tips from the lovely Ella, aka Miss Victory Violet. I signed up for two Sunday workshops and Saturday the Southside Vixens were hosting the Rockabilly Rev Up so there were some fun activities going on that day. We had dinner at the venue and then stayed to watch jive dance lessons, listen to some music and watch the Pin Up contest.
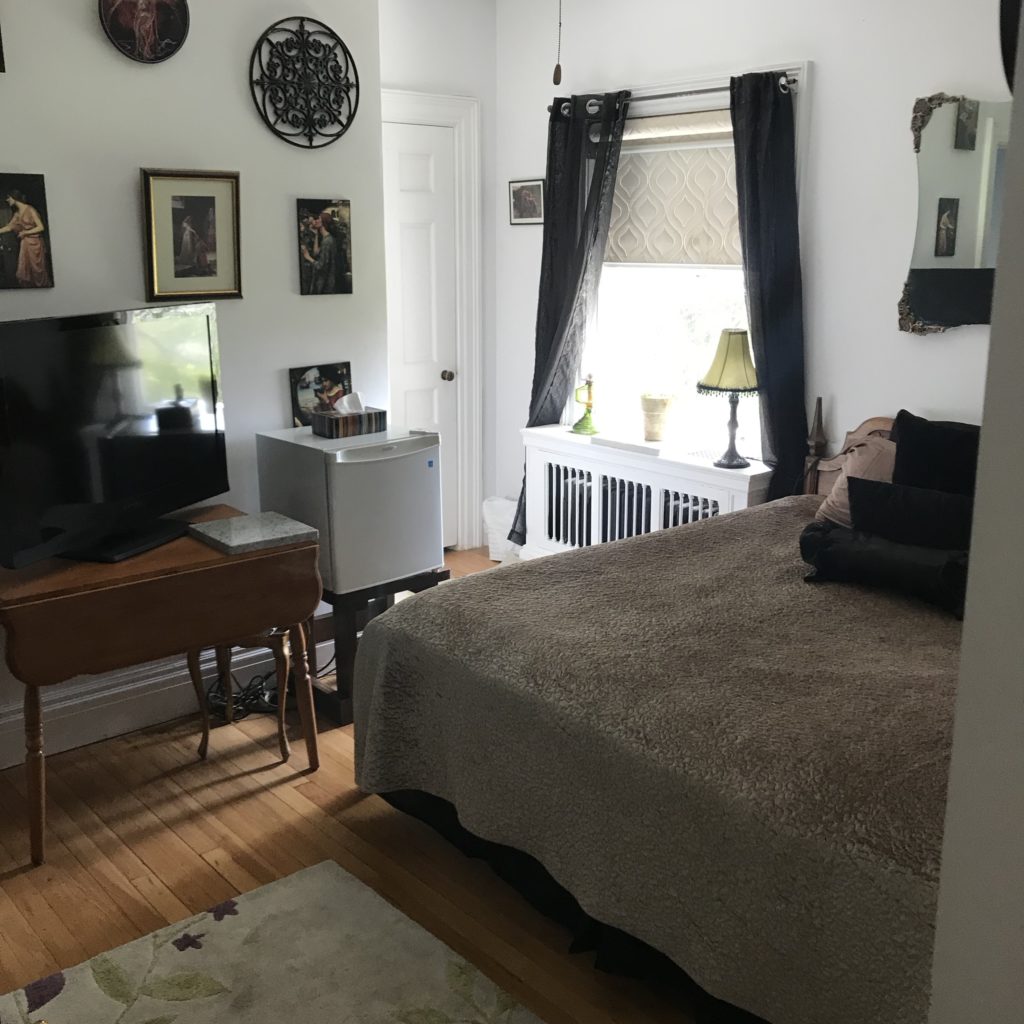
We had a different room from last year at the massive Clommel Castle. It was a nice little room but had a shared bathroom which I didn’t realise when booking so we spent a large amount of time stressing about how to know if someone else was in there or not. Basically at check out the owner informed us that she had locked the door to the other room making it a private bathroom!
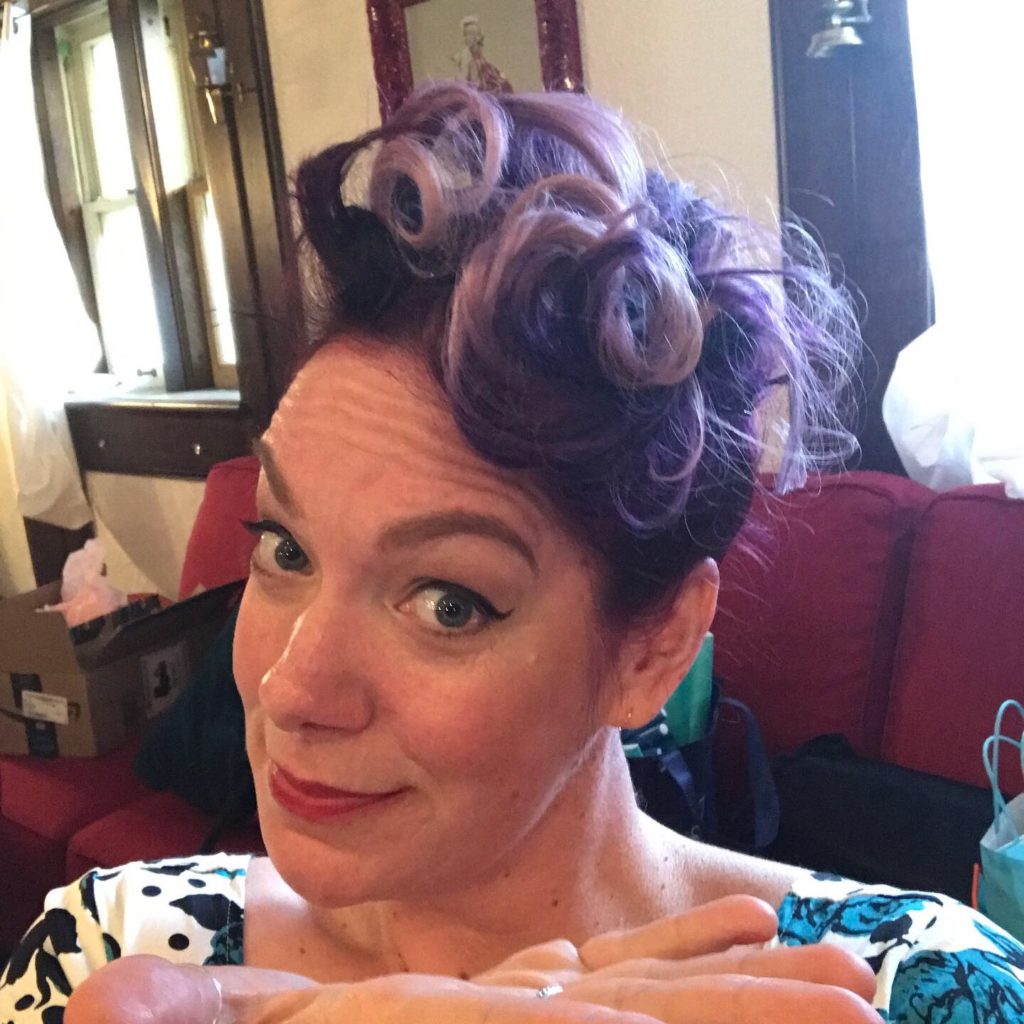
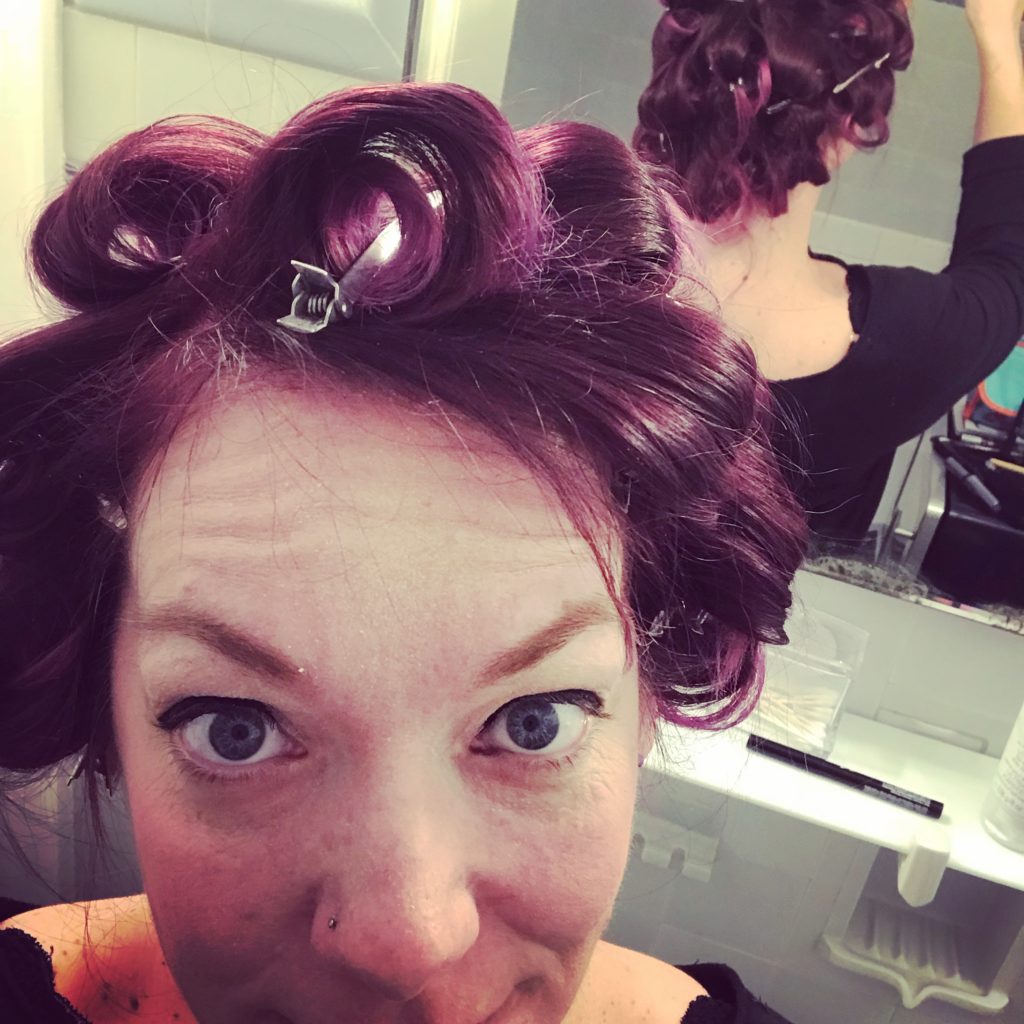
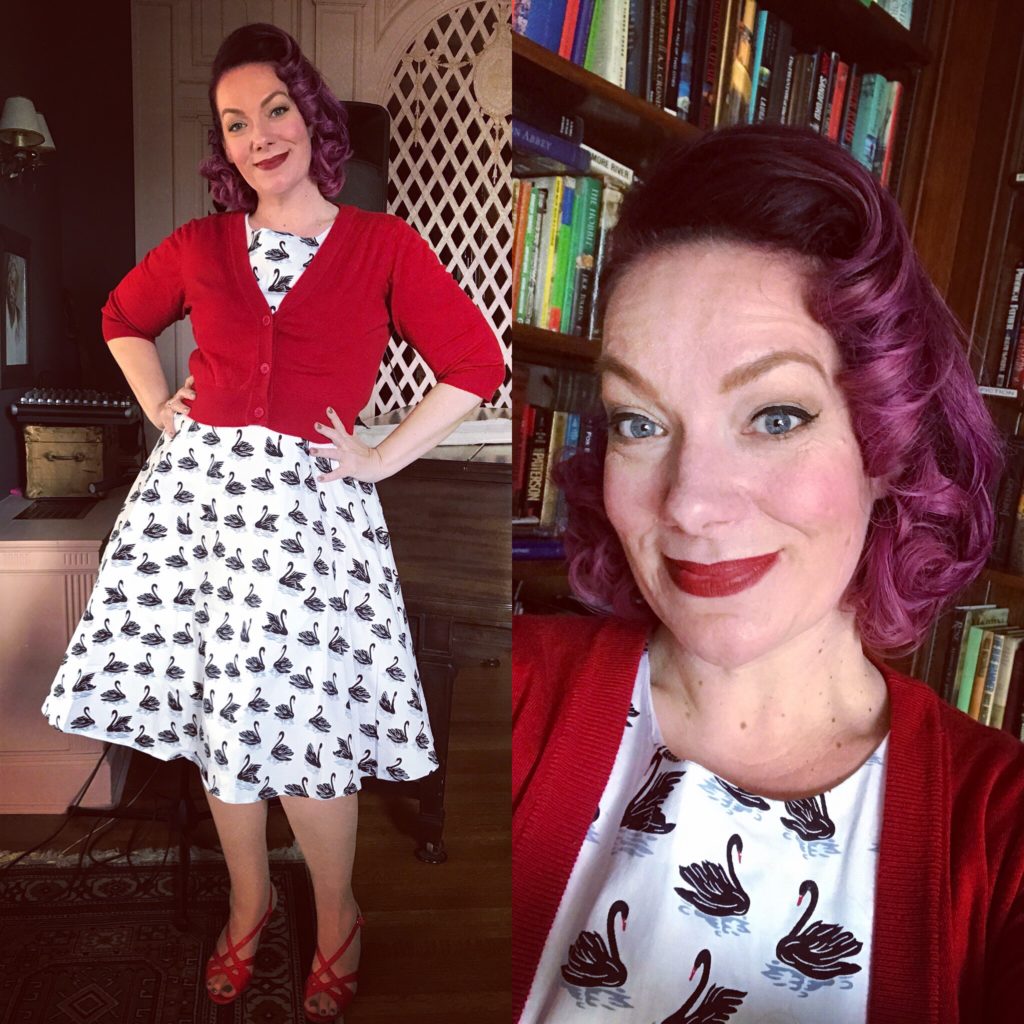
The first workshop was a hair and make up lesson. It was the same one I had participated in last year but I was happy to do it again and refresh my mind on how to do a 50’s style brush out. I had to set my hair the night before and sleep on the curls, which is always fun.
I was happy with my 50’s brush out, seems I was able to remember and apply some techniques from last year.
We then carried on after a little lunch break and tried our hands at a poodle hair cut, like Lucielle Ball used to wear all the time. Mine didn’t go so well. I admitted defeat.
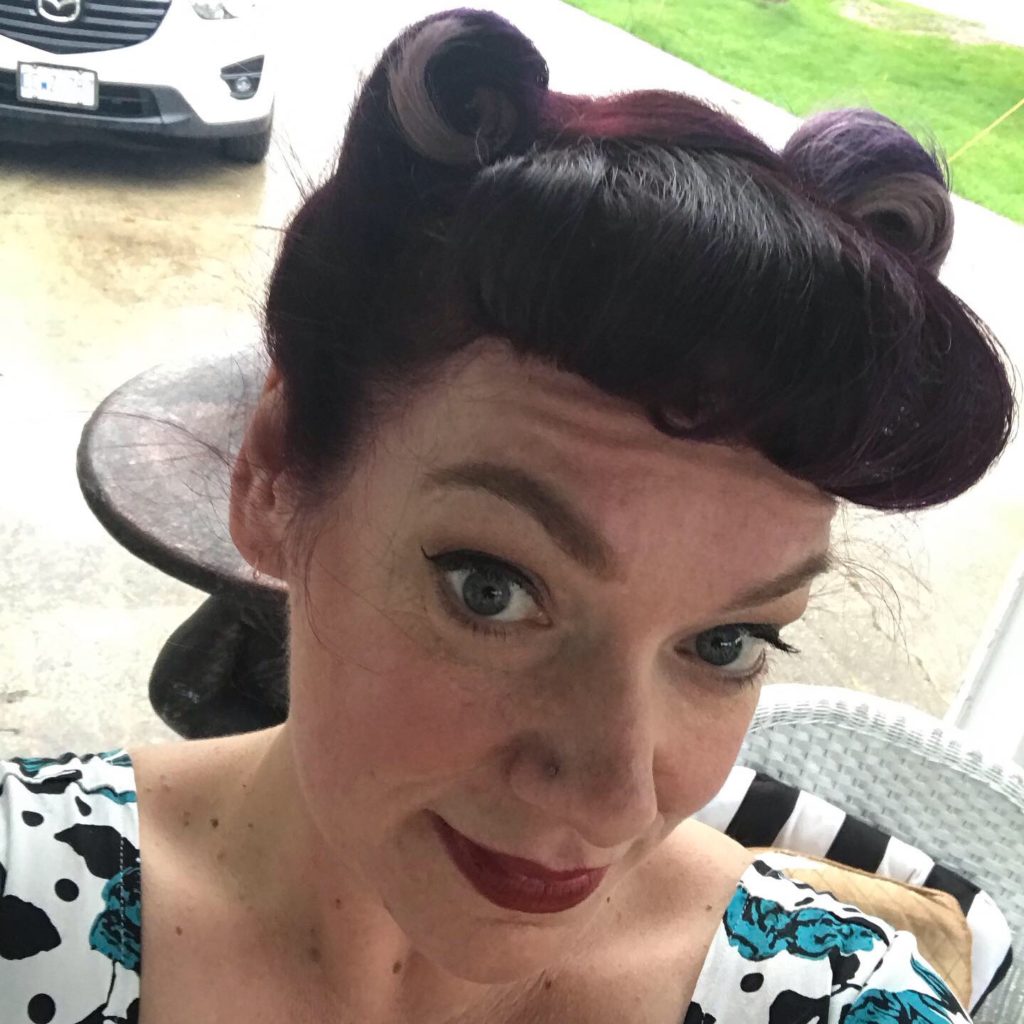
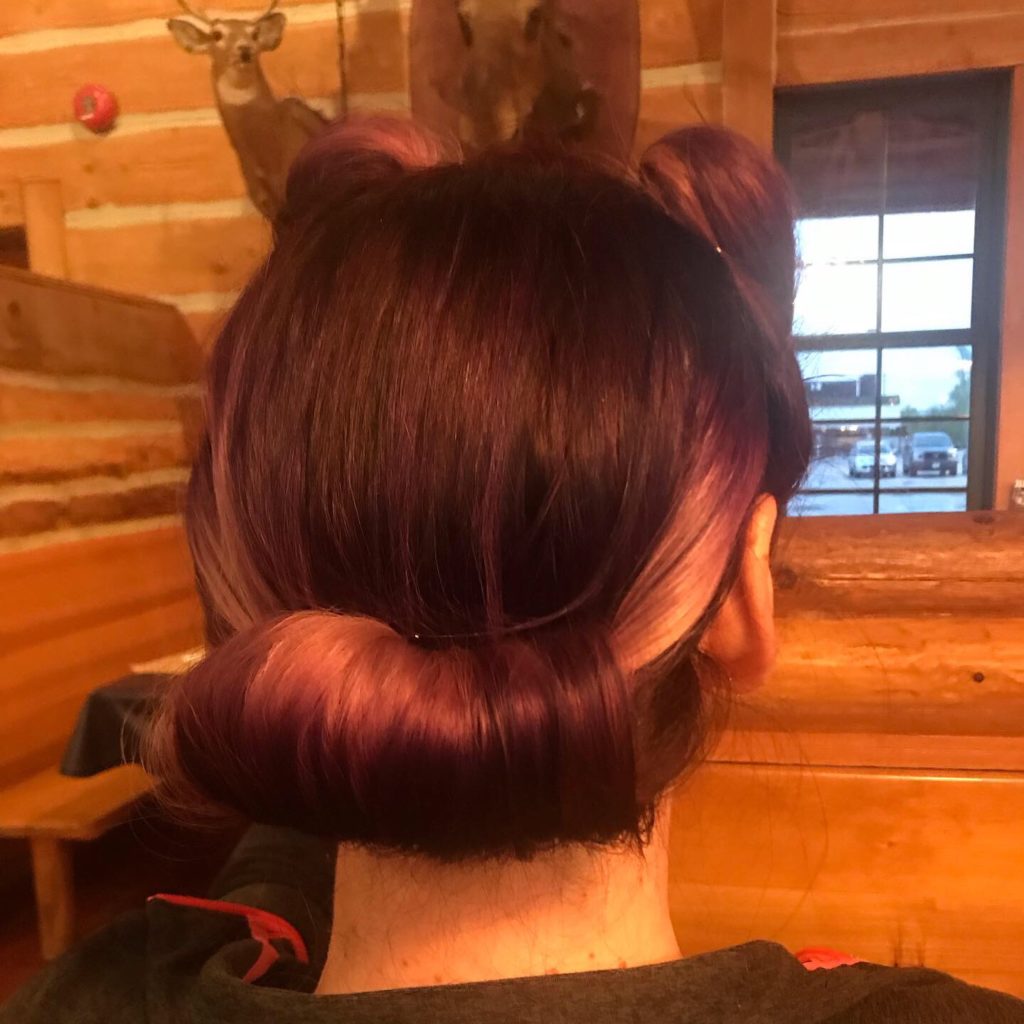
We also worked on victory rolls and a gibson roll. It went really well! I had a hard time with the bumper bangs because I have shorter bangs and haircute than are ideal for the style. But I made it work, mostly with lots of hairspray.
Poorly lit drive home but stopped for dinner at a restaurant photo to show the back.
Now I just have to work up the courage to try all these looks myself and not wait for a workshop and expert handy to give it a go!
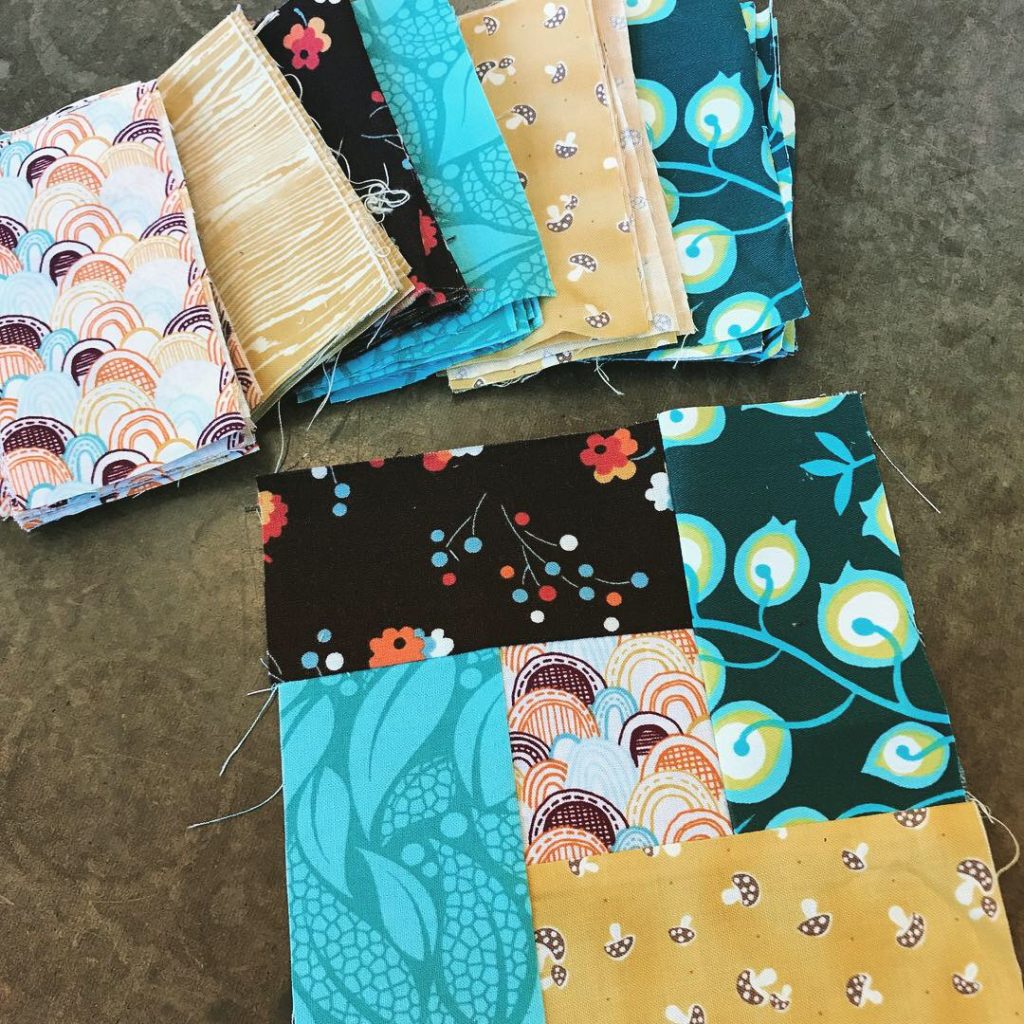
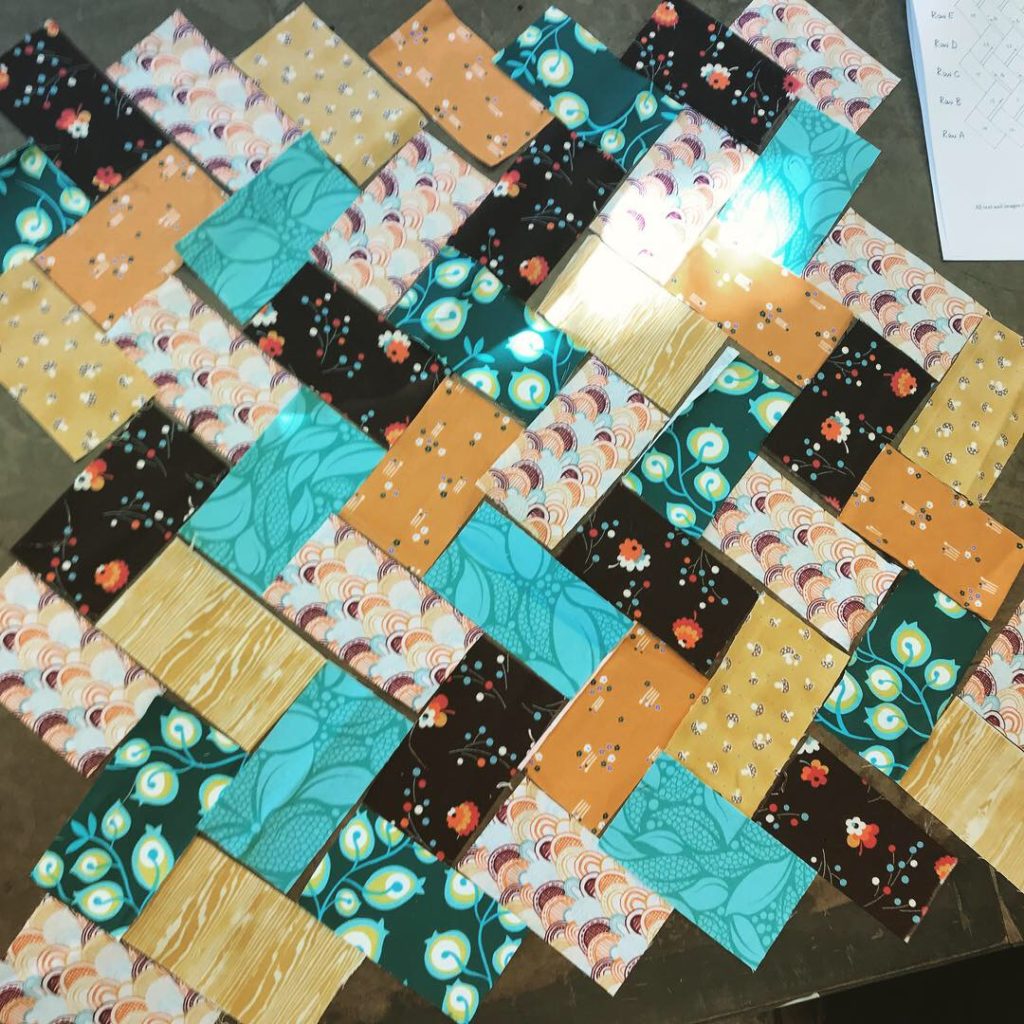
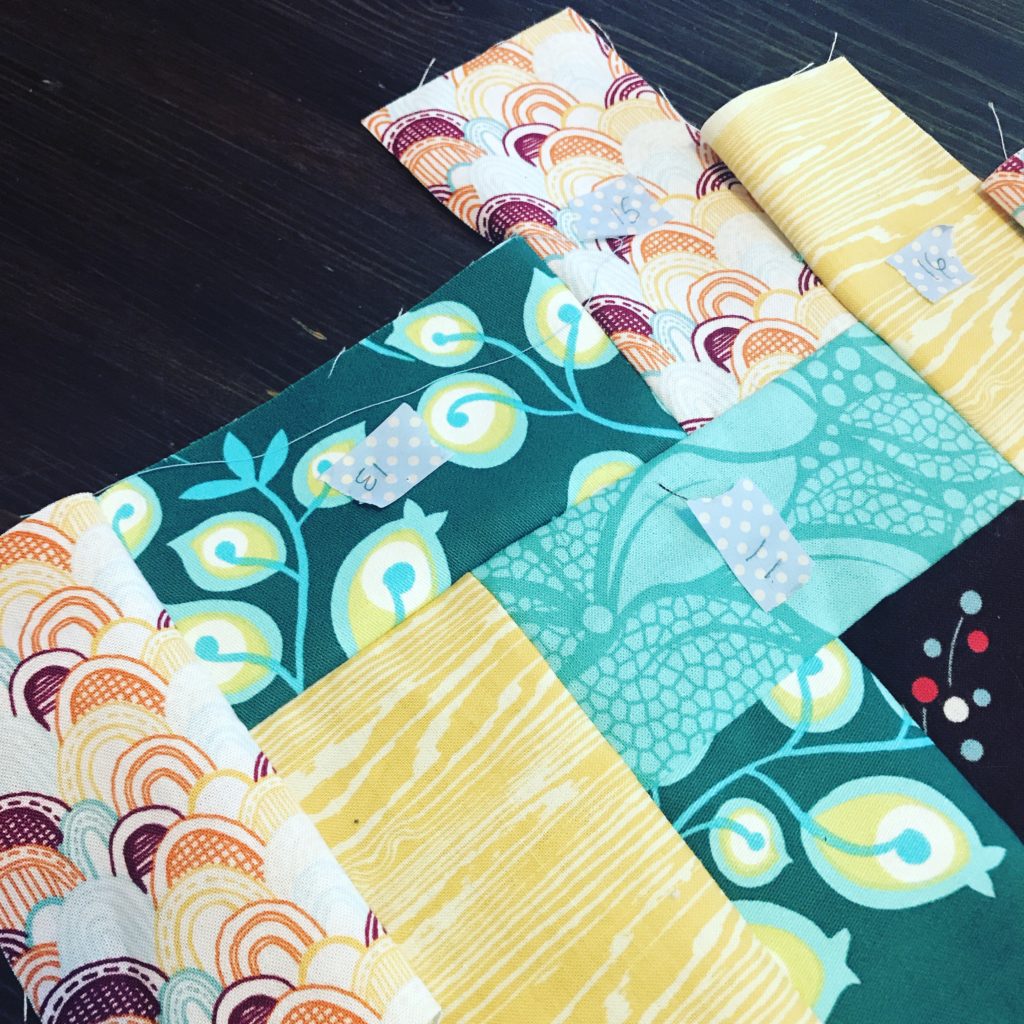
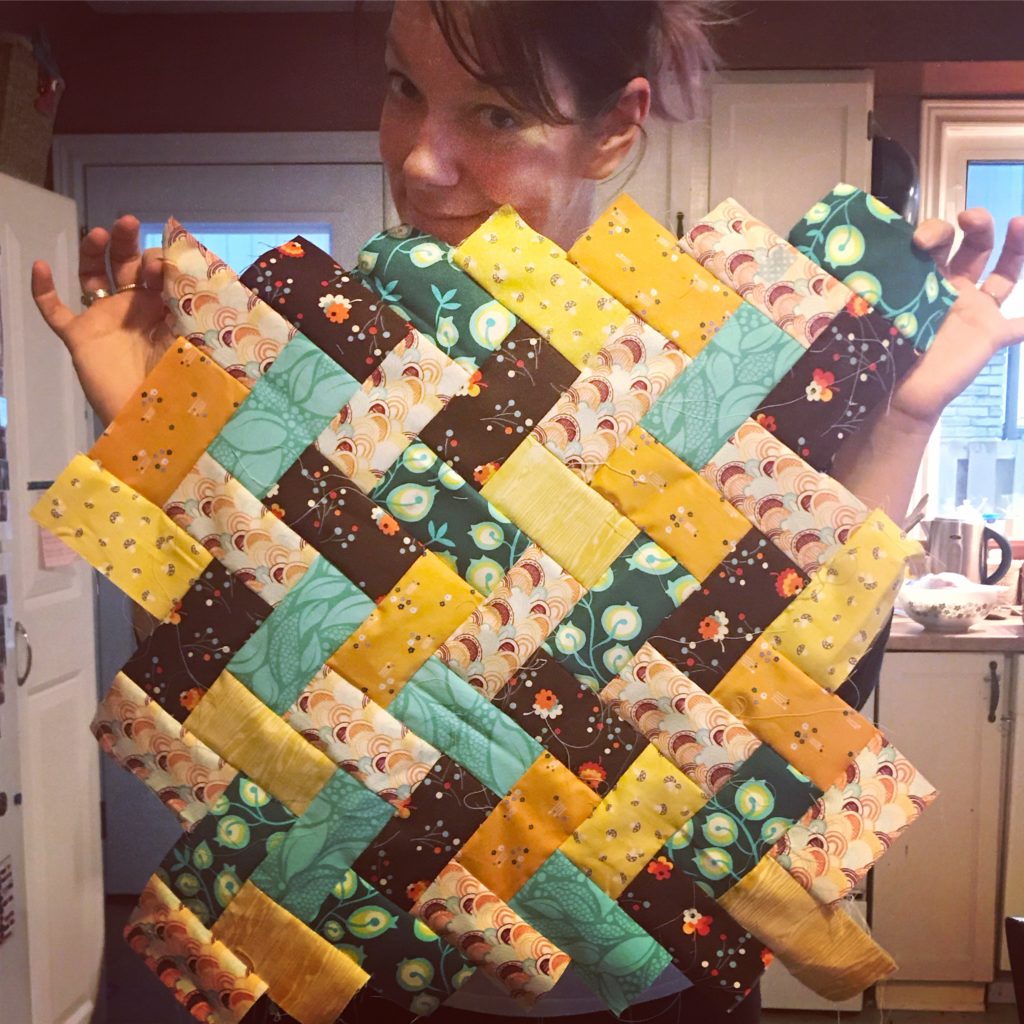
I took a class recently at The Workroom . It’s the Herringbone Patchwork class taught by Johanna Masko who you can stalk on Instagram here. It involved ‘partial seams’ which are really neat but can hurt your head if you get thinking about them, which you have to do. It takes a seriously underestimated amount of brain power to pull this design off.
I’ve only made a quilt here and there and on my own, or as I did in university with the help of a library book so this was a new to me experience. The pattern is quite mind bending! Literally.
I quickly realised, while chatting with people in the class only to look down and see I had made mistakes, that this isn’t a ‘toss on some Netflix and get your sew on’ kind of project. We needed buddies to check our work. Even then mistakes were found. Once I got home and was buddyless and working on my own there was a lot of ‘reverse sewing’ to say the least.
But the results are lovely and very different. I’m grateful for having learned such a neat technique. Now to turn it into a pillow as Johanna intended!
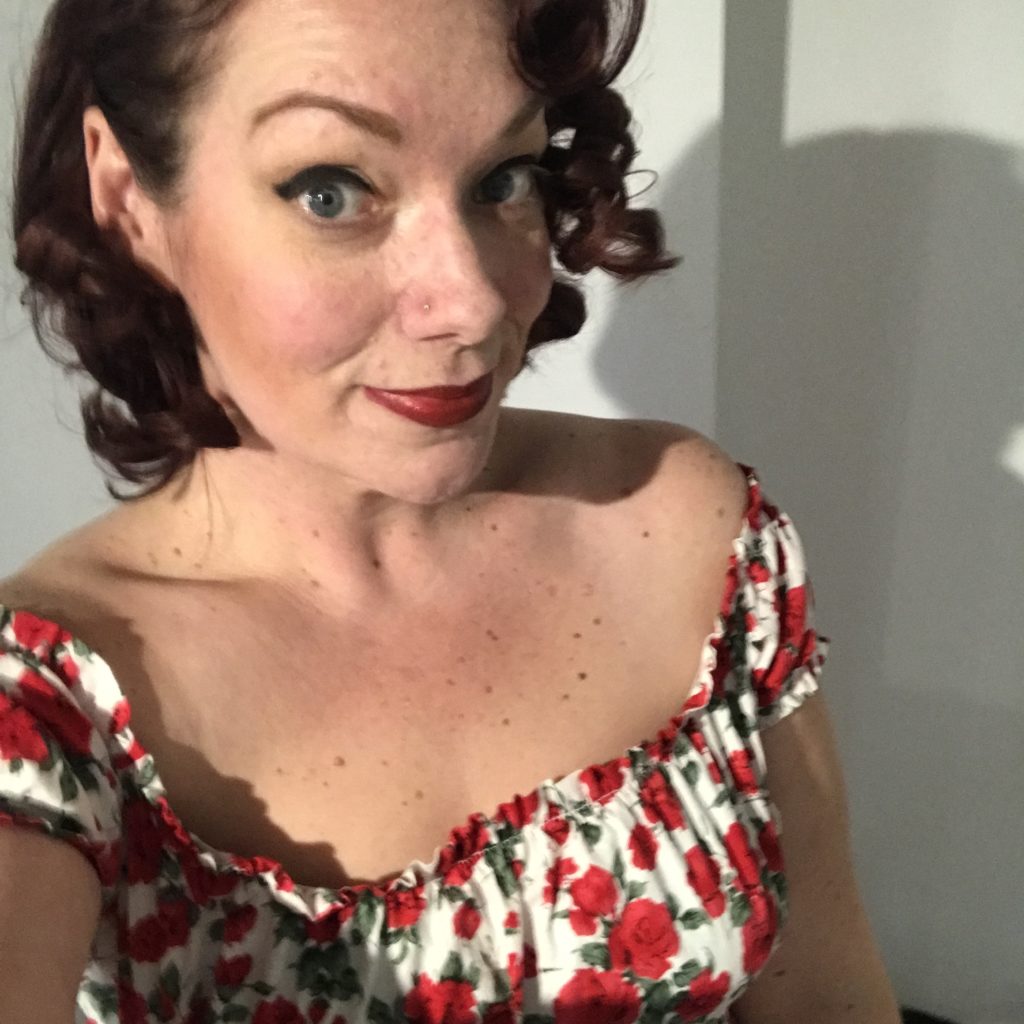
While these aren’t really crafty endevours they certainly are creative! I participated in a few things last year and learned to do make up and hair pin up style. It was so fun.
My first one was with the Toronto Pin Up Academy. It was a gift from my handsome man, in hindsight a little bit self serving, and I had so much fun! It was a bit of a shame when it was over I was only coming home. It was hilarious fitting into the car with a giant crinoline!
The other one was held in lovely Port Dover, Ontario and led by Miss Victory Violet. Here’s her Instagram which is full of vintage prettiness. We only went for the Saturday overnight, in hindsight it would have been fun to do the full weekend.
We arrived on the Saturday afternoon and I spent my time in the bathroom with her YouTube tutorials trying to get all Pin Up-ified to join the party that night. I totally had imposter syndrome worrying that the ladies who had sone the Saturday workshop were much more prepared and refined than I was. But I did alright.
The labour of love in progress. Sure makes your arms tired! I did the heat set and pin it method modified from the overnight foam roller video on her channel.
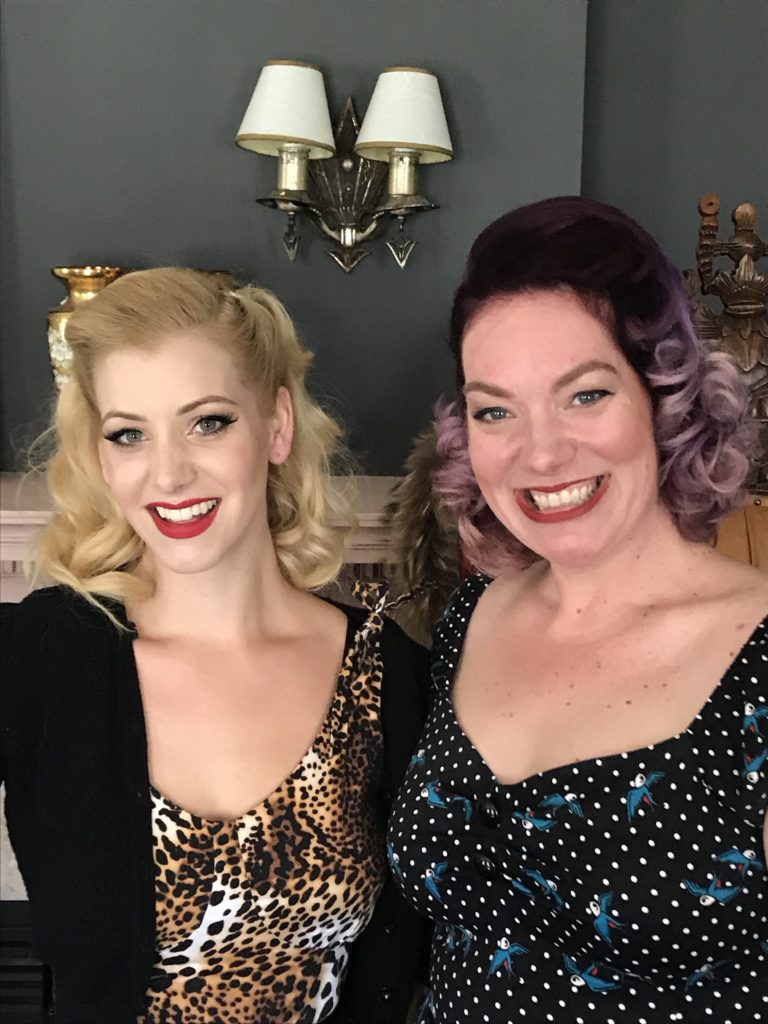
We spent the Sunday doing out hair and make up under the guidance, and with some free loot, from Ella.
Ella was absolutely adorable, full of hair and make up knowledge and every so tiny!
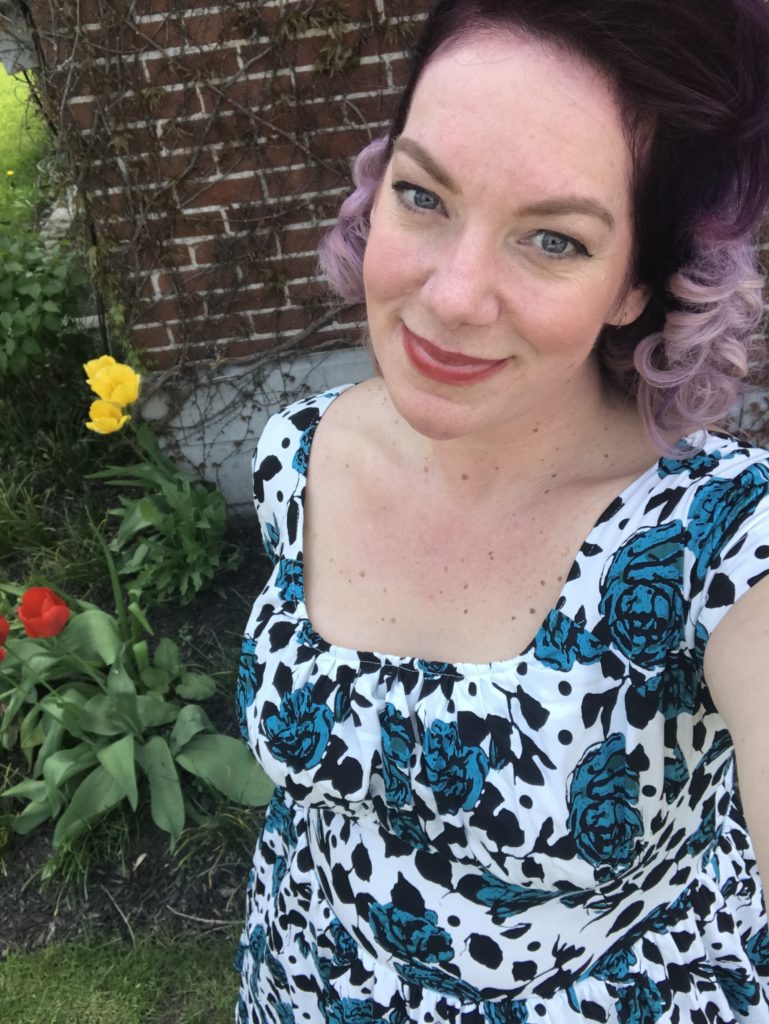
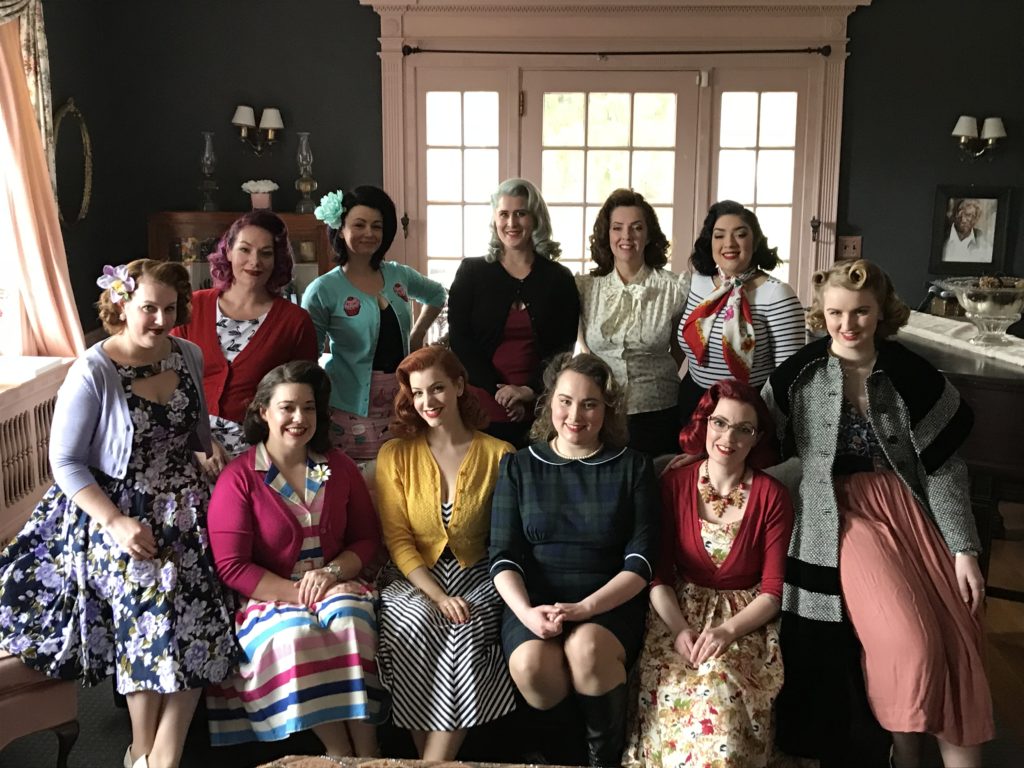
When we all posed together we really looked like amazing, like you’d walked into a time warp or some such.
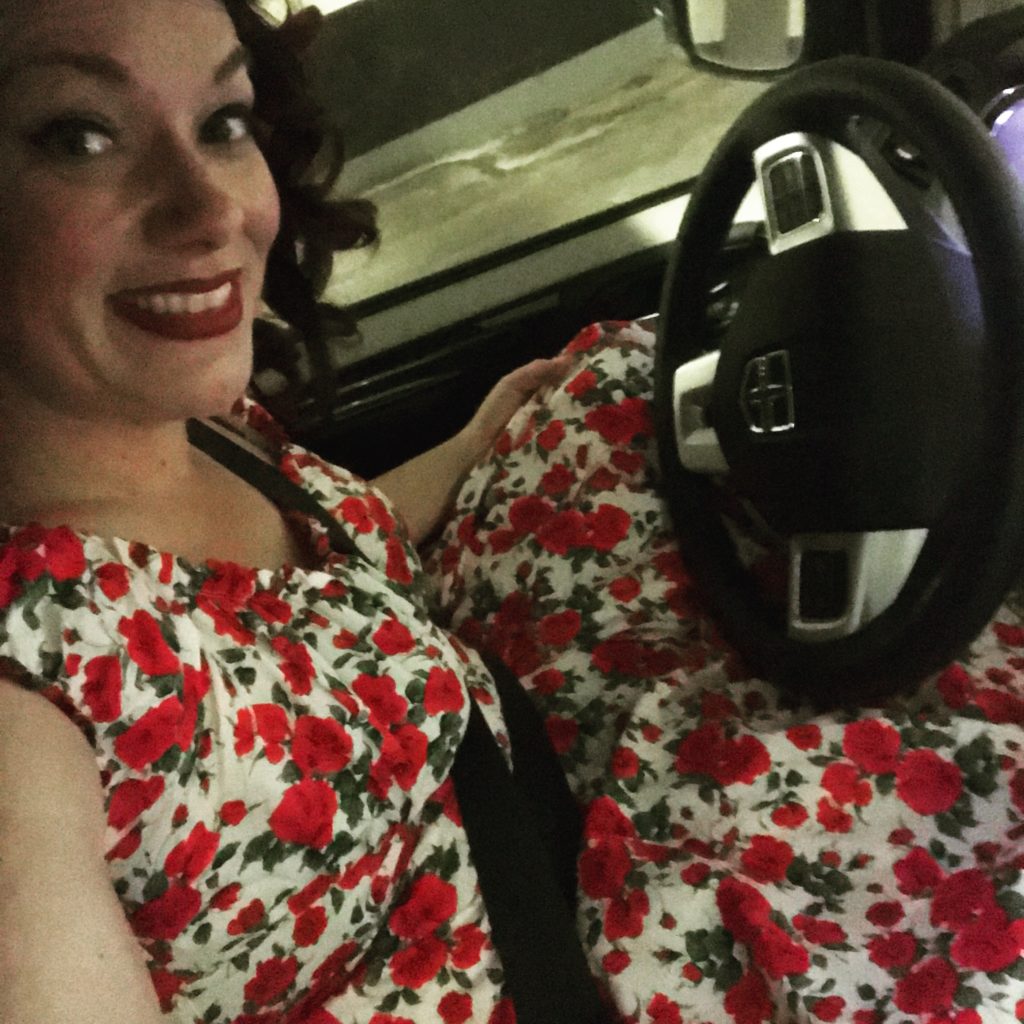
Again it was a bit funny because after we all posed all beautiful and looking like a blast from the past I switched to my jeans and a comfy shirt and we drove the 2 plus hours home just so I could have a shower . . .
I’m totally looking forward to signing up for her workshop again this year. Hoping it’s at a time I can run away for the weekend too!
Oh hello. Figured it was time for an update!
It’s sort of a local people friendly update but still. Here are the places I’ll be in the next little bit if you’d like to come say hello and see some amazing creators selling their wares.
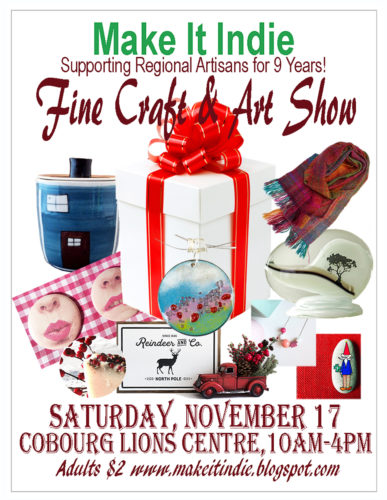
After flying home to sleep I’ll be waking up early Saturday morning to head on out to the fabulous Make It Indie in Cobourg, I honestly love, love, love, this show.
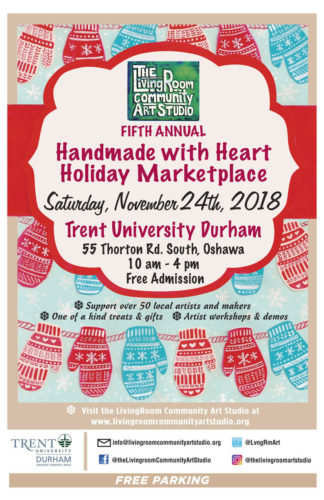
Then I’ve given myself a bit of a break but not too long before I head over to the Handmade With Heart, another great gathering of creative people and wonderful workshops.