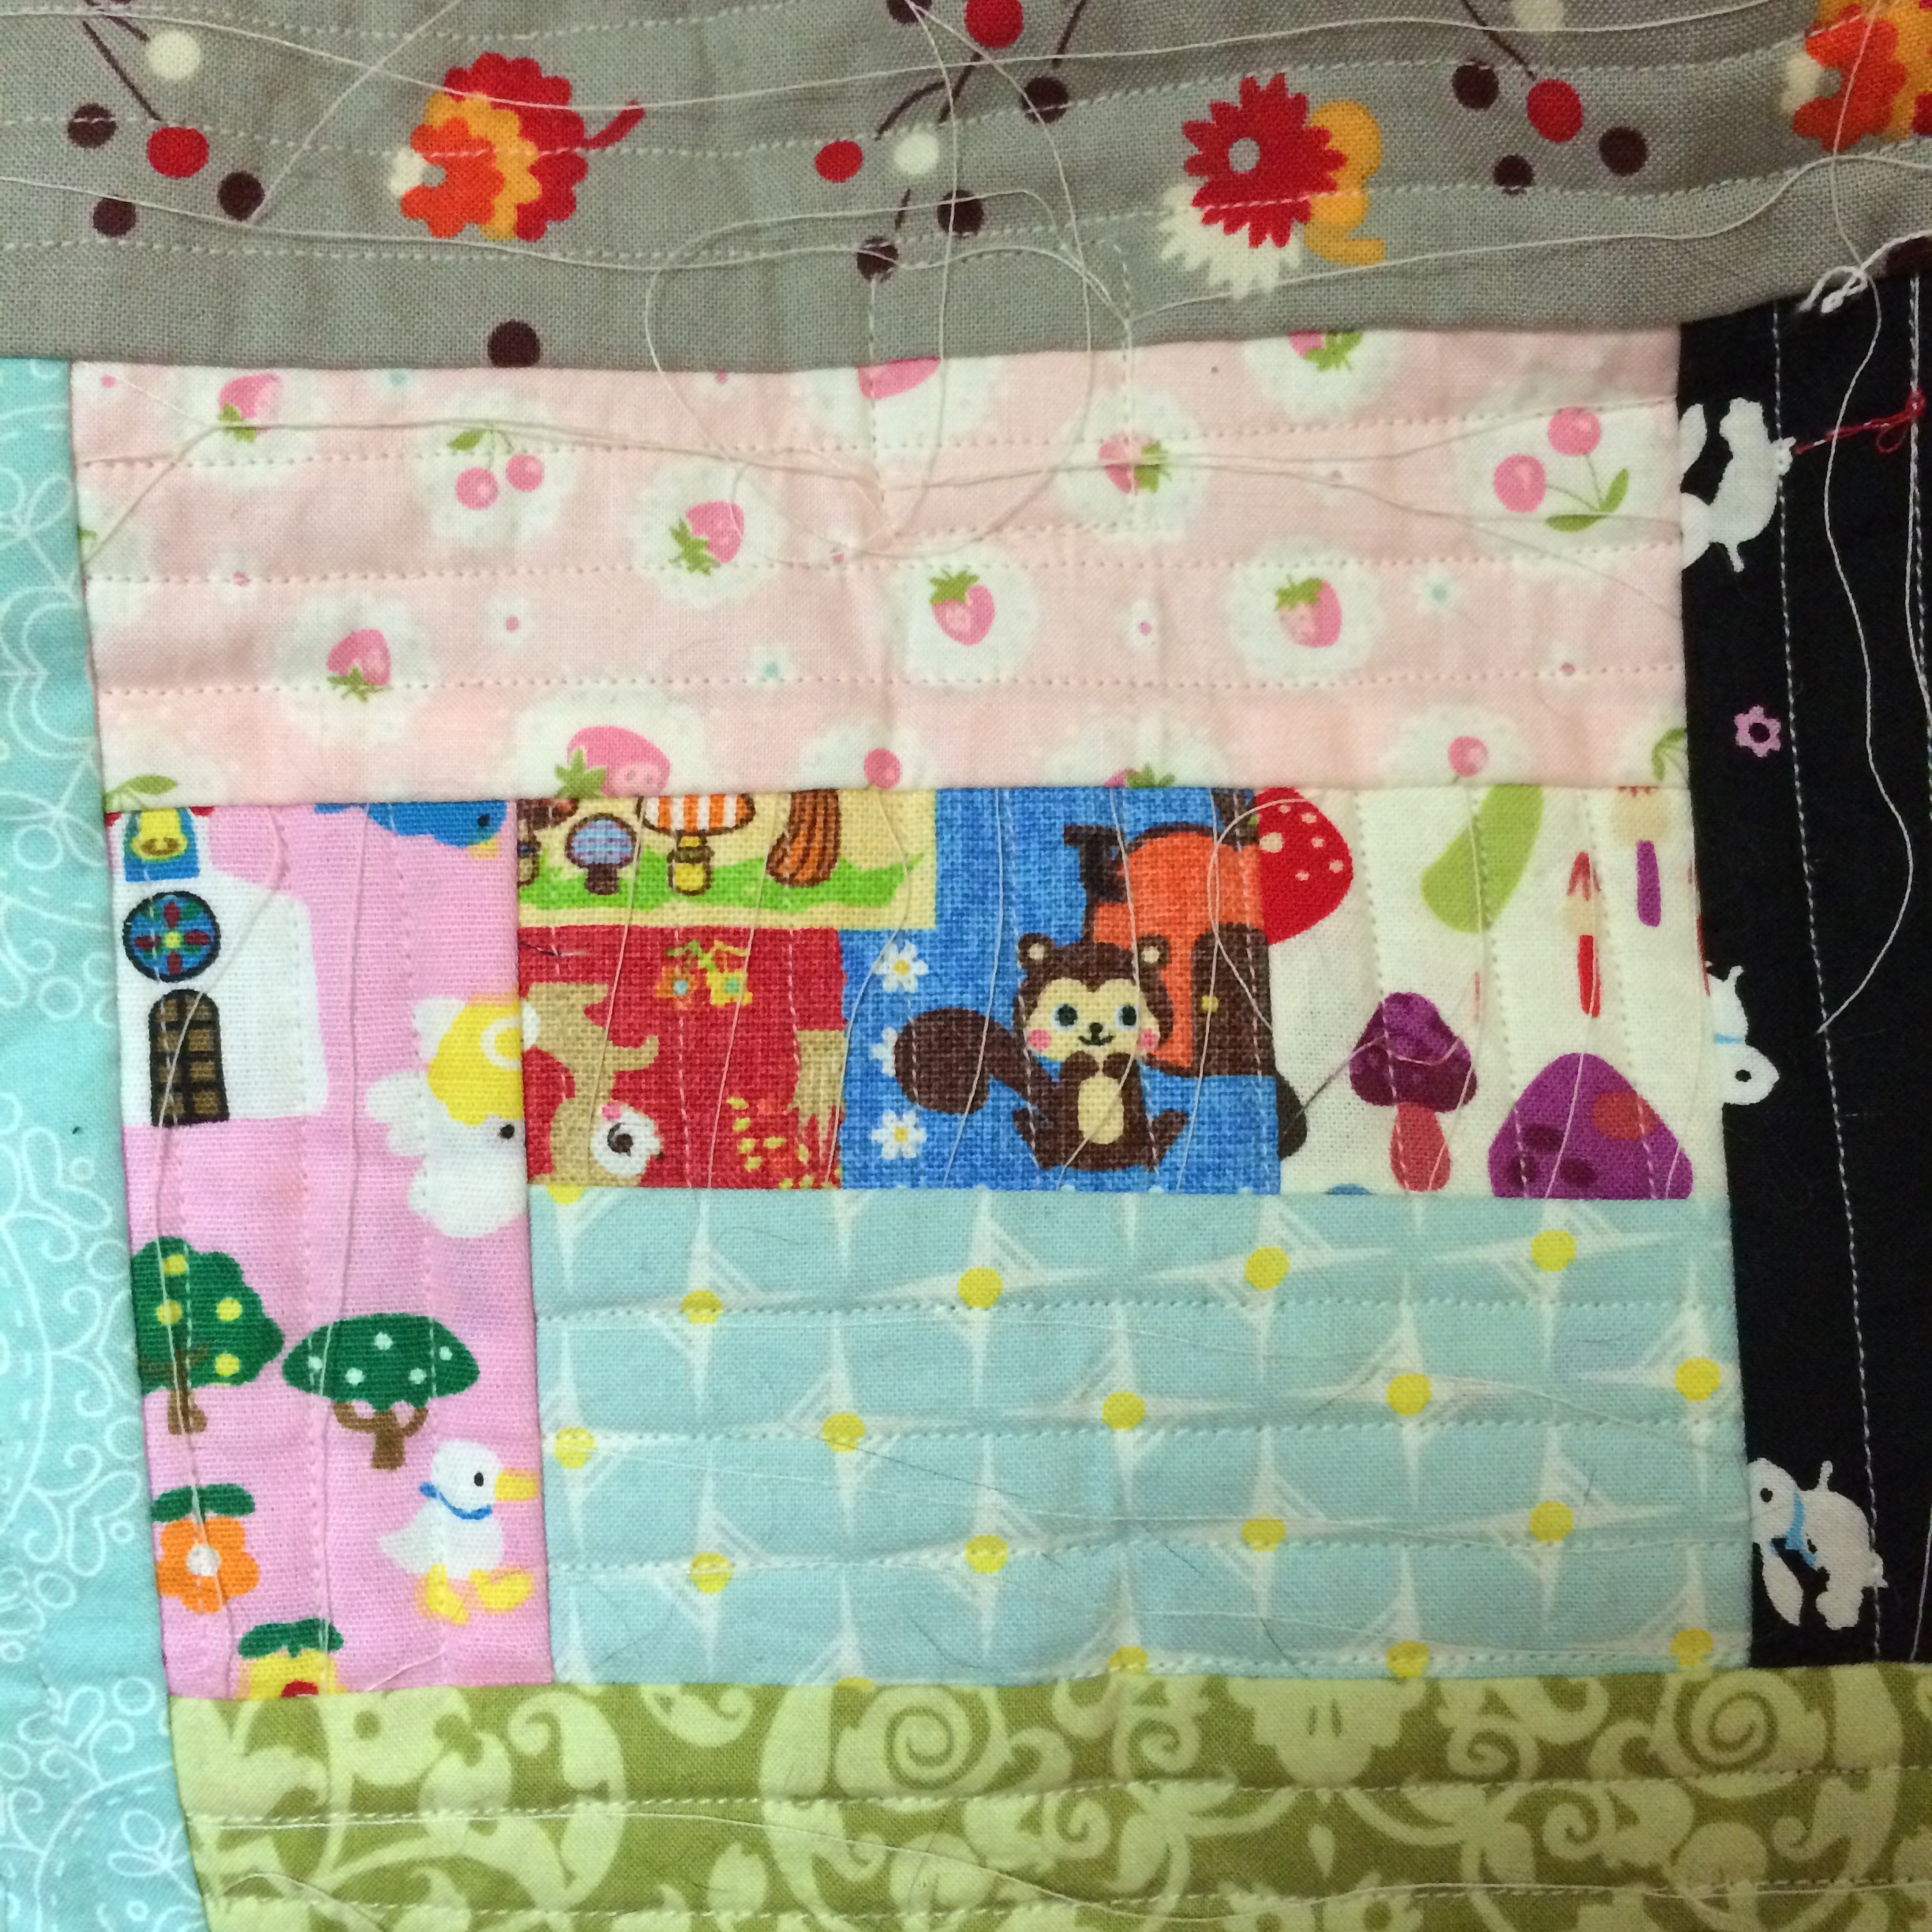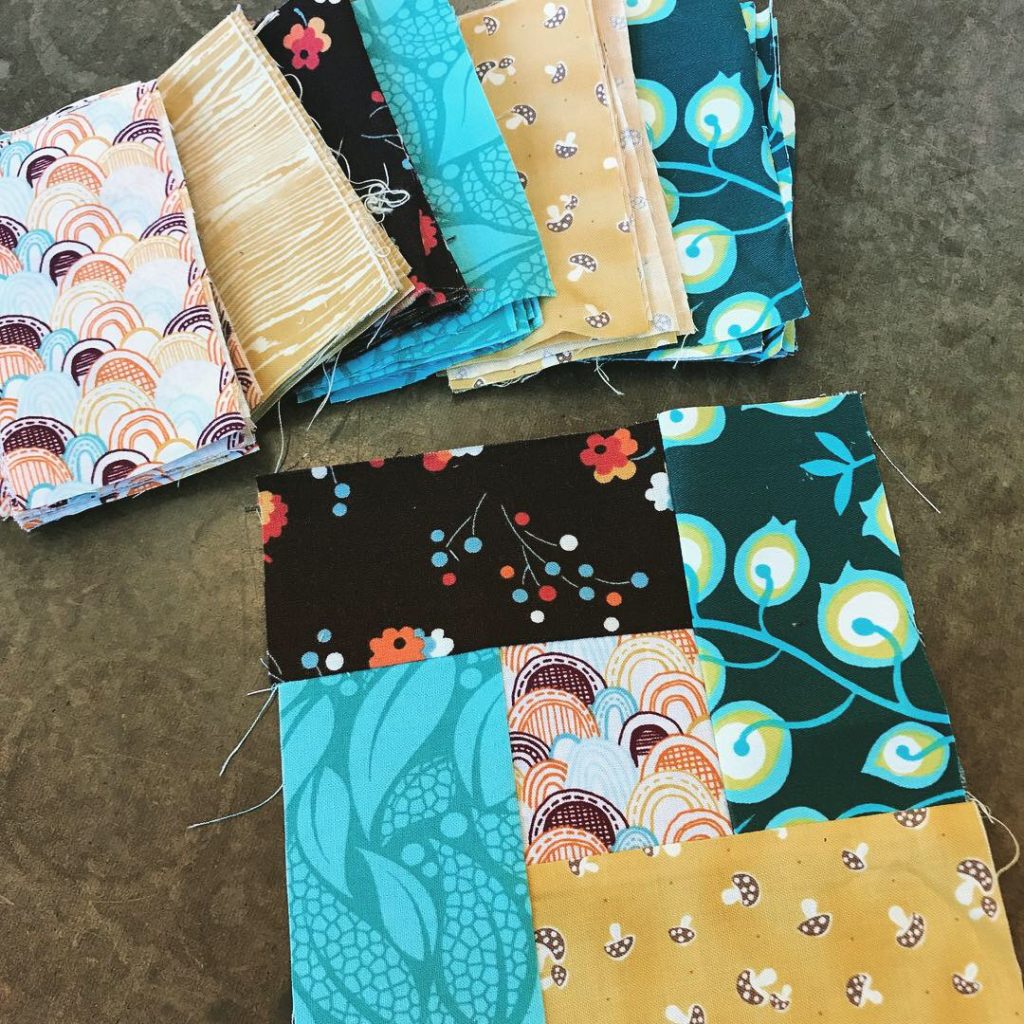
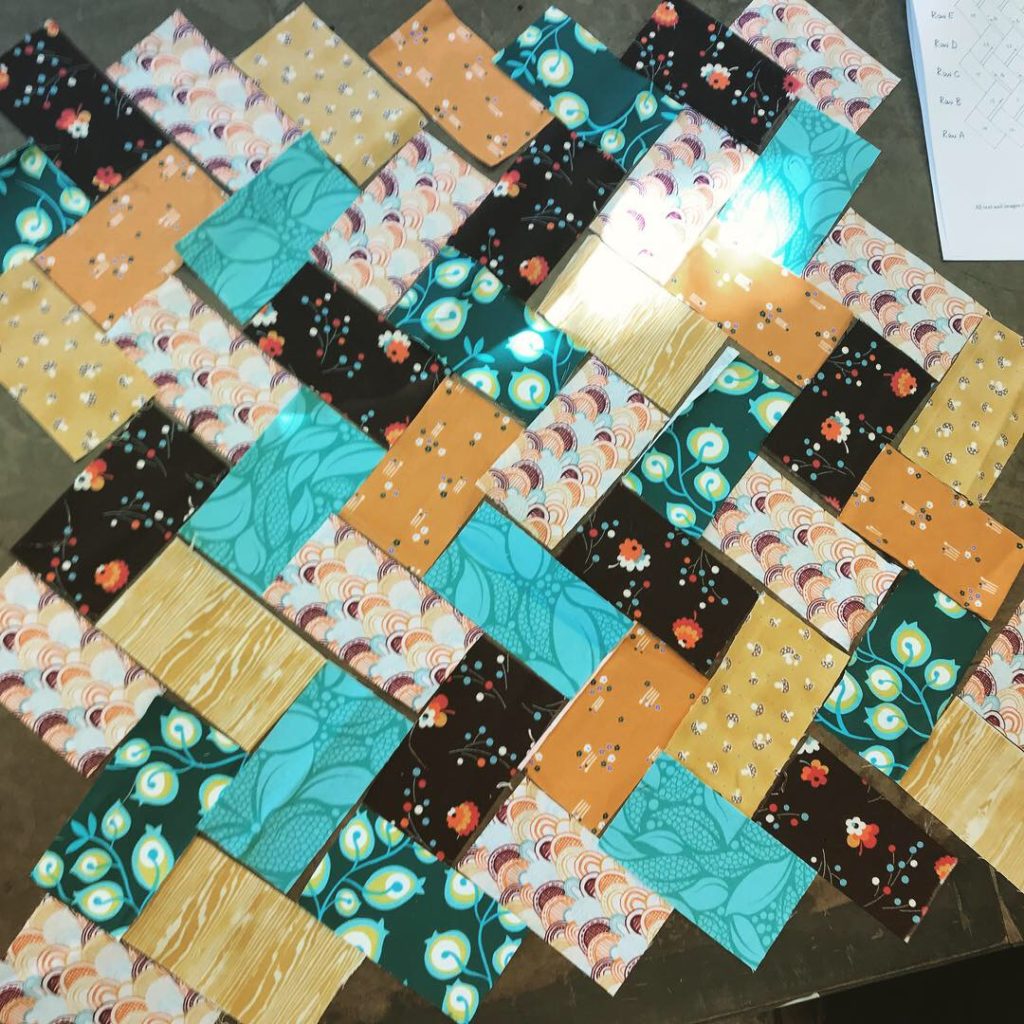
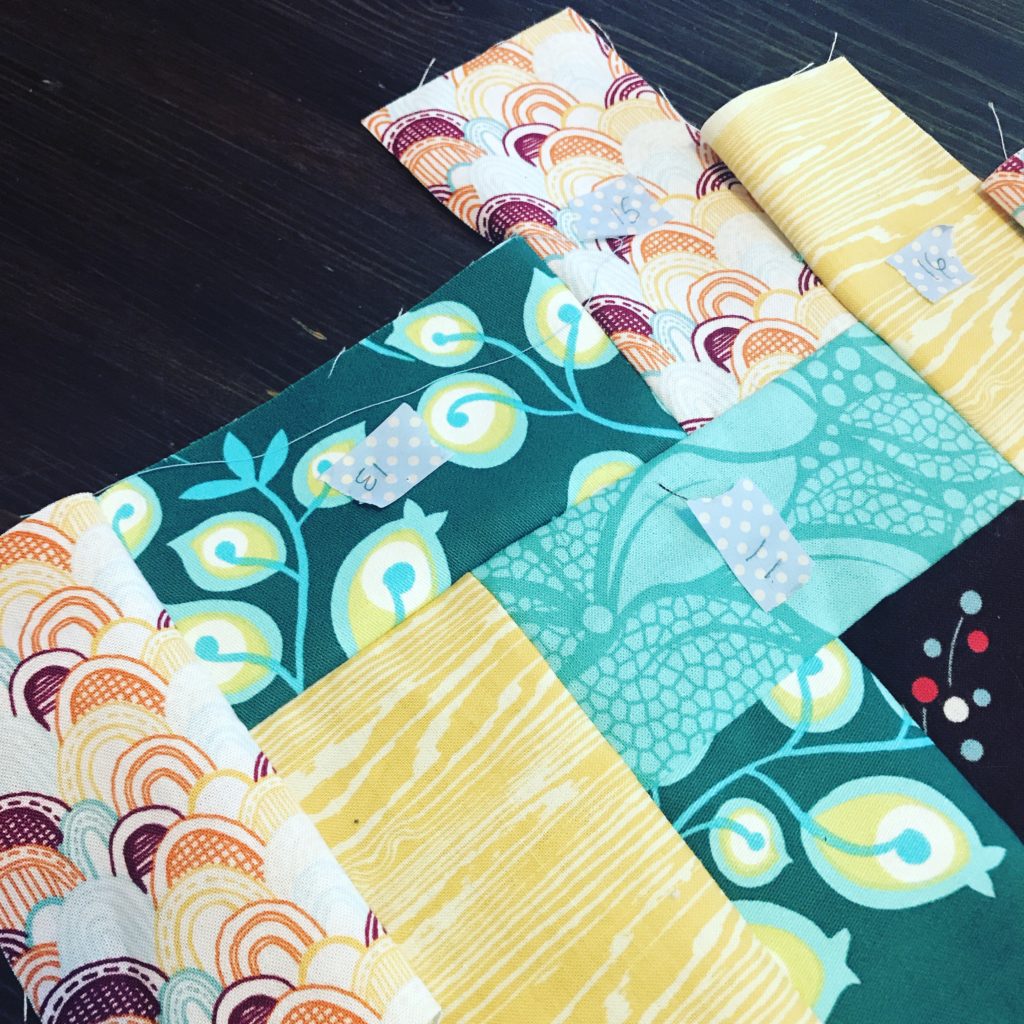
I took a class recently at The Workroom . It’s the Herringbone Patchwork class taught by Johanna Masko who you can stalk on Instagram here. It involved ‘partial seams’ which are really neat but can hurt your head if you get thinking about them, which you have to do. It takes a seriously underestimated amount of brain power to pull this design off.
I’ve only made a quilt here and there and on my own, or as I did in university with the help of a library book so this was a new to me experience. The pattern is quite mind bending! Literally.
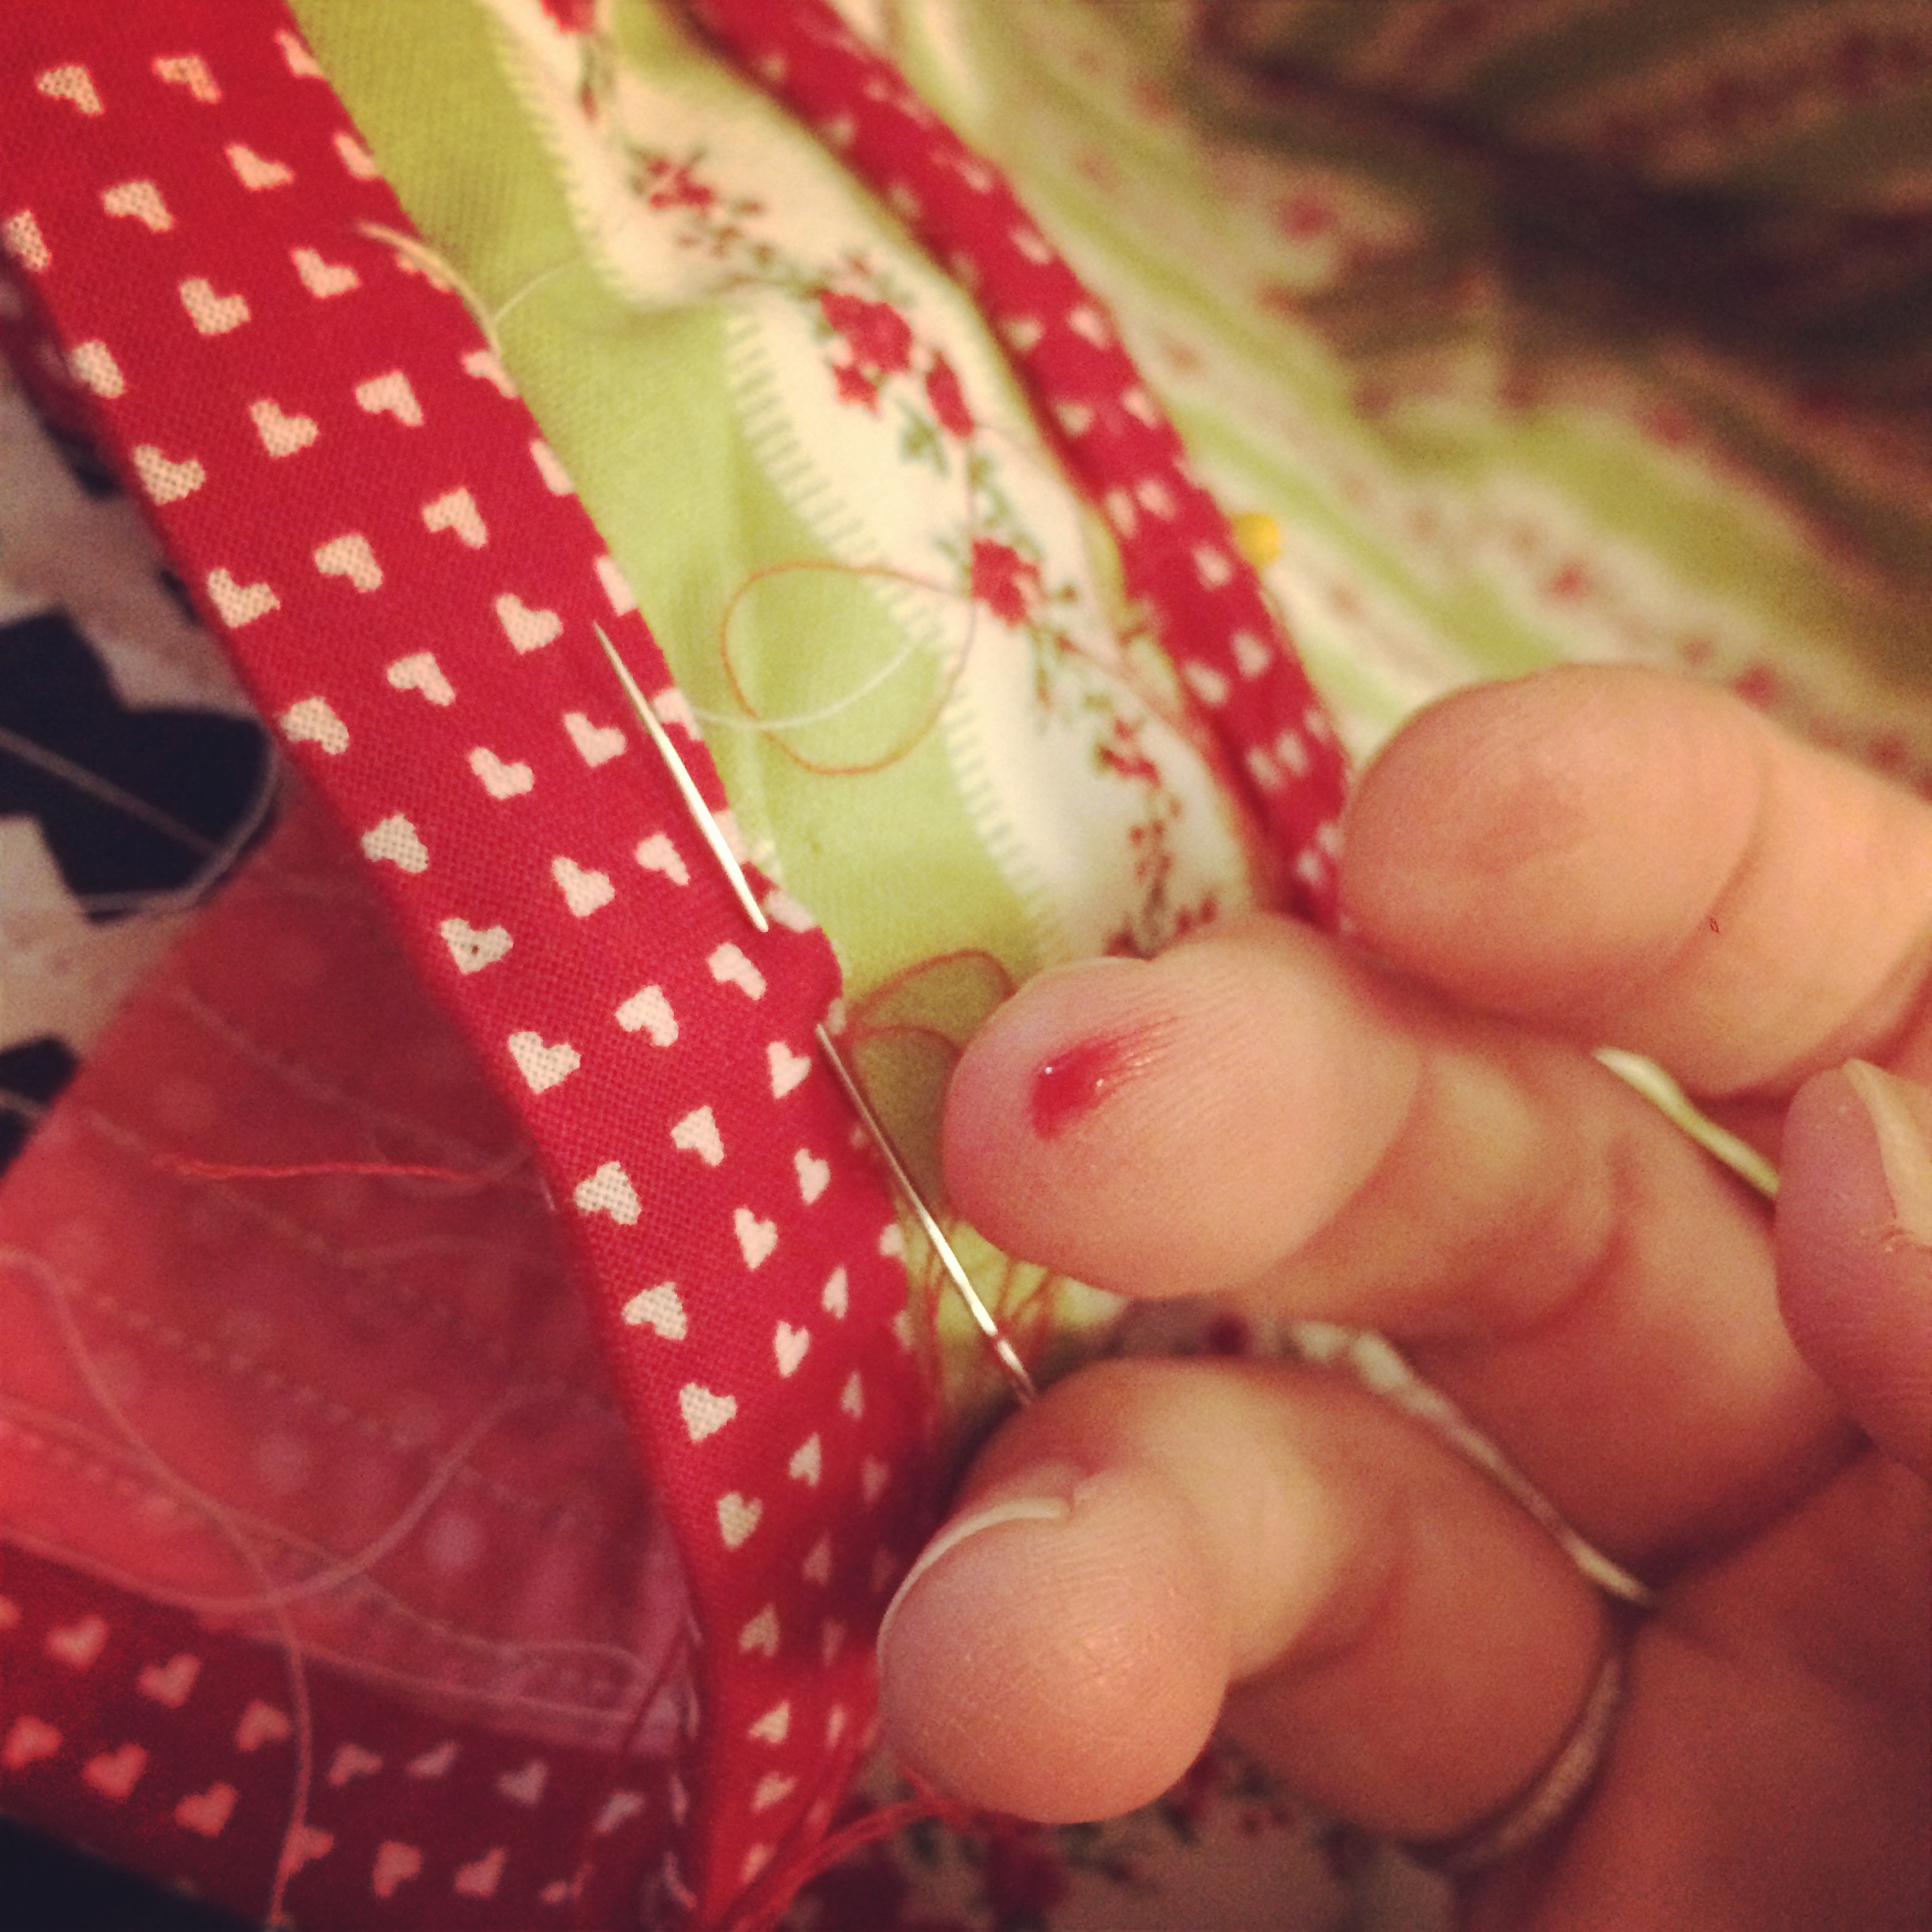
I quickly realised, while chatting with people in the class only to look down and see I had made mistakes, that this isn’t a ‘toss on some Netflix and get your sew on’ kind of project. We needed buddies to check our work. Even then mistakes were found. Once I got home and was buddyless and working on my own there was a lot of ‘reverse sewing’ to say the least.
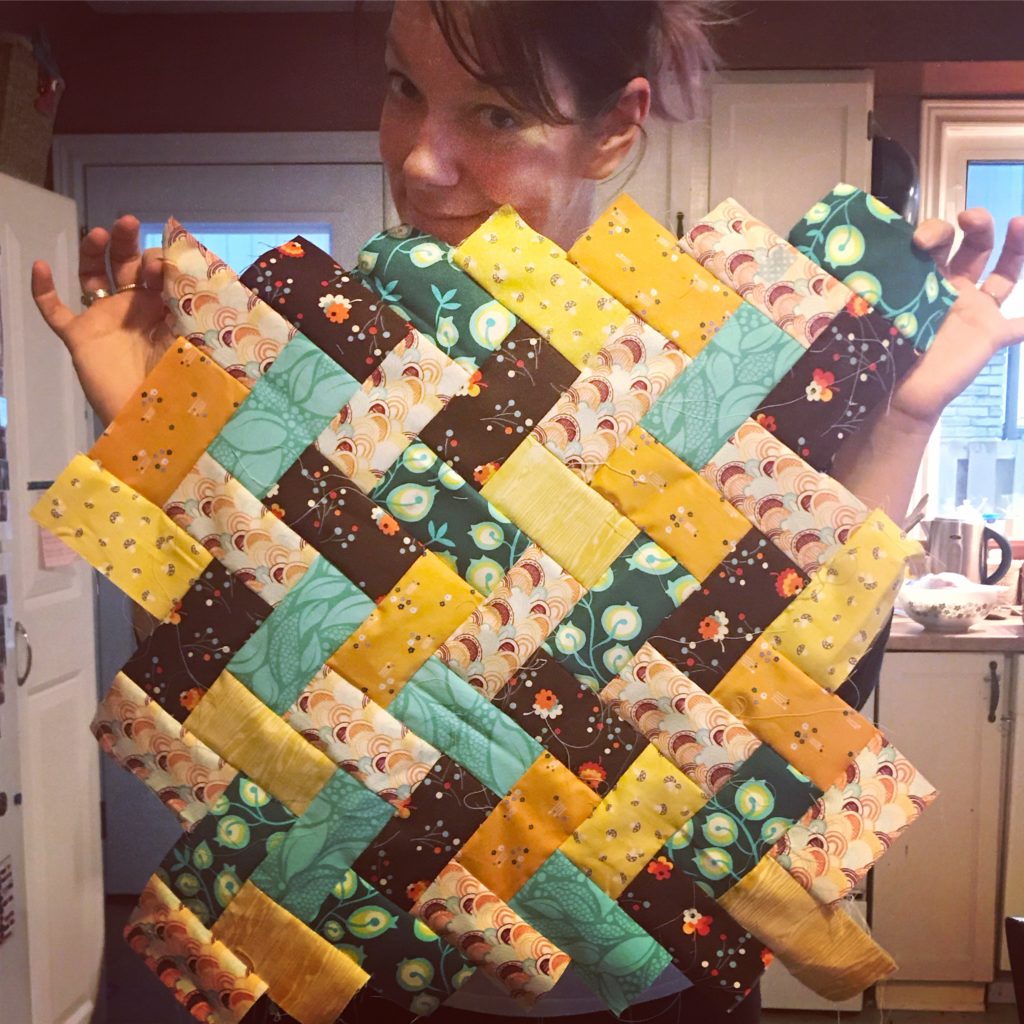
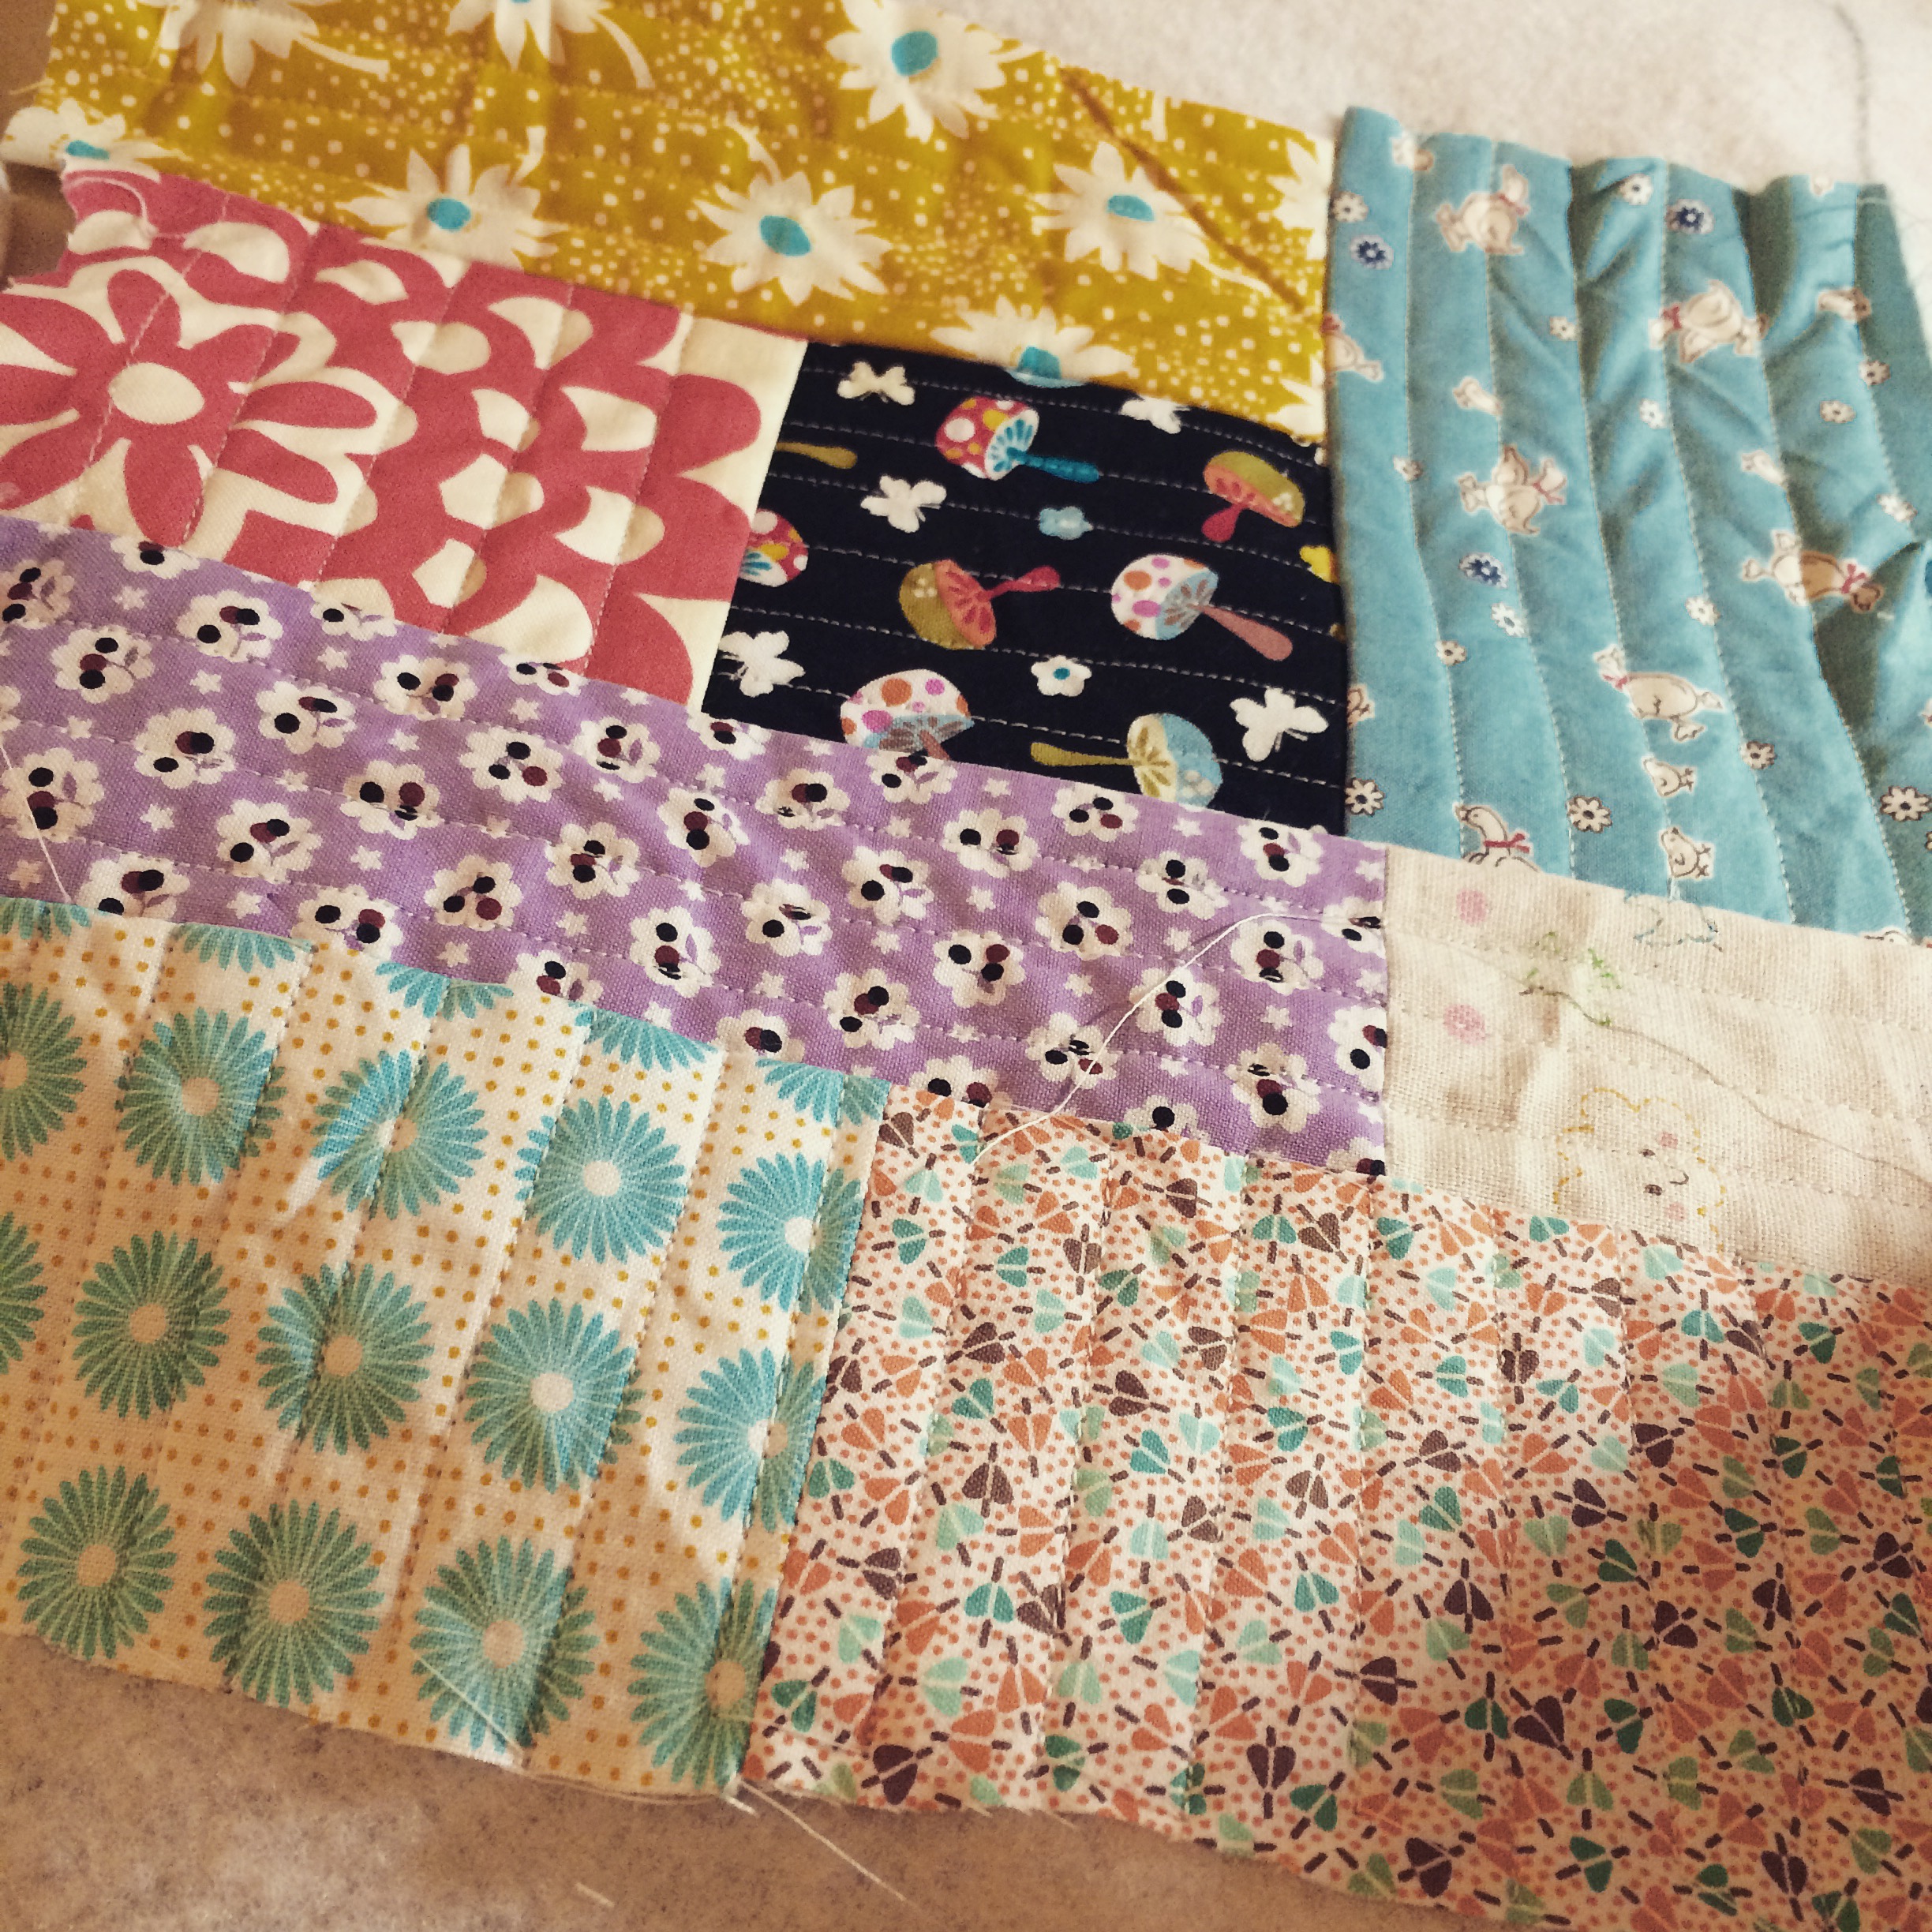
But the results are lovely and very different. I’m grateful for having learned such a neat technique. Now to turn it into a pillow as Johanna intended!