Tag Archives: pattern

Skinny pincushion

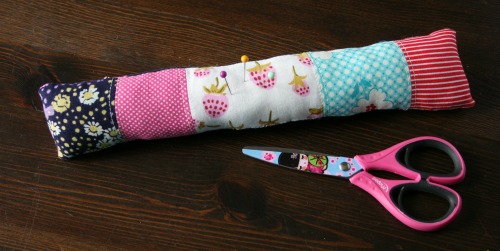
So made myself a scrappy quick little project the other day. I absolutely love things that use up scraps, the small the better. I remember the first time I made something with a ton of prints on it, one of my scrappy wallets, I was hesitant at first but once you just let go and put things together it all looks great once it’s finished.

IMG_3139

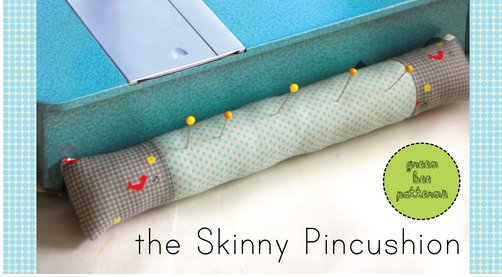
It’s from a free pattern by Green Bee Designs, they have a free patterns section and it’s in there.

skinny pincushion


I added more sections to mine because I wanted it even more scrappy.  I rarely do things as dictated.

I went with no pockets.

After the great inner debate I had I decided to go with no pockets at all.

I just thought it showed off the awesomeness of the fabric’s print better without pockets taking away from it. Plus I’m ridiculously indecisive and the votes seemed pretty split.

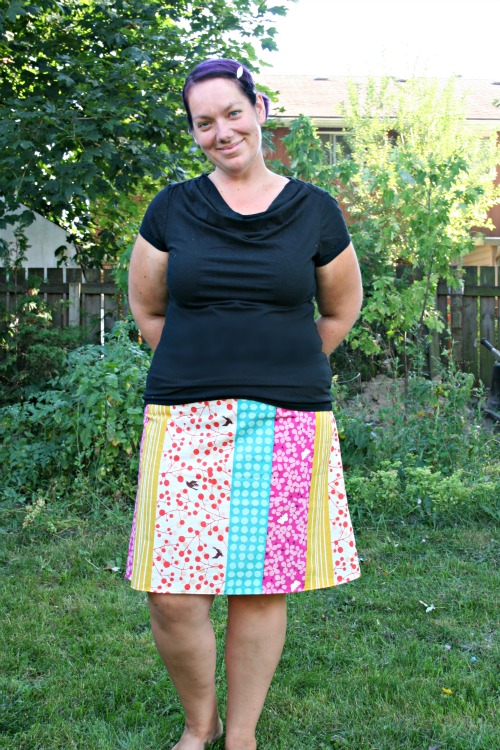
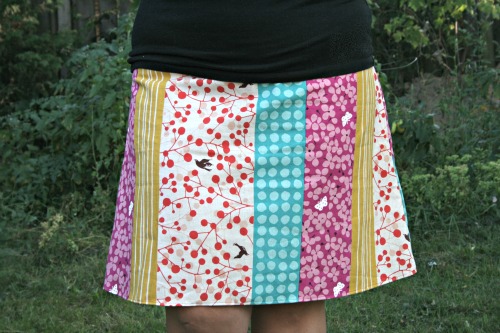
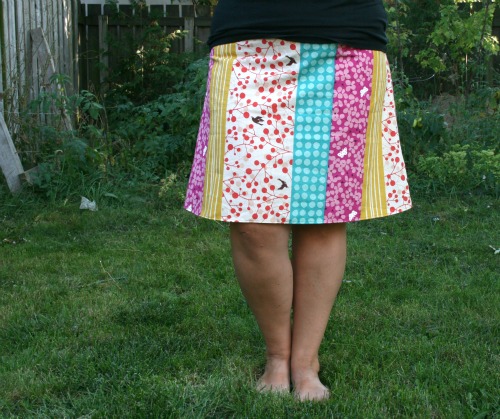
It was received well as my first day of school outfit.

Friday Create Along, yeah.

Nothing like letting yourself down on deadlines you set all by your lonesome eh?

This was done last Friday but I just didn’t get to the whole photographing and posting bit. So here it is now. I’ll just forge ahead and share and then Friday I’ll announce my new creation.

I went with the lovely yellow & grey combo on this one. I love how it turned out.

Pattern is from here fabric is by Joel Dewberry, it’s Majestic Oak in Sunglow. Find it on Etsy.

I’m getting old

I can’t remember what I’ve blogged and what I haven’t! It’s terrible. I keep all my photos organized by month, guess I need a sub folder so I can sort what’s been posted and what hasn’t. Then I won’t appear so crazy. Like I do now.

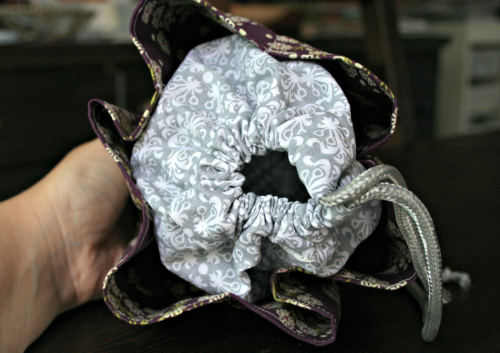
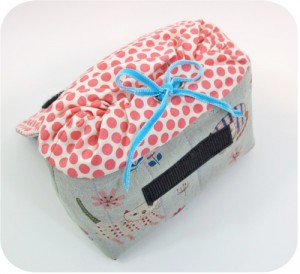
A friend at work (hi Kim!) asked if I could make one of these bingo bag thingies for her mom as a gift. I agreed and was even provided a pattern. It was super simple to make and while I was surprised at how small it seemed when I was done, once I got to school we dug out some bingo dabbers and found they fit perfectly!

I love trying new things. Now I know how to make little pleated pockets all around the outside of something. It was also fun to do a drawstring again.

Friday Create Along

Well it’s sort of half a Create Along really since I have no reveal. This week I’m just announcing the next project. In honour of having NapKitten Patterns here as a sponsor this month I’d like to take this opportunity to tackle another one of her patterns.

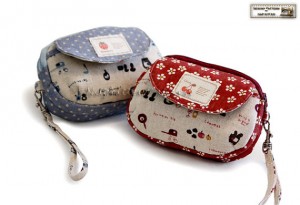
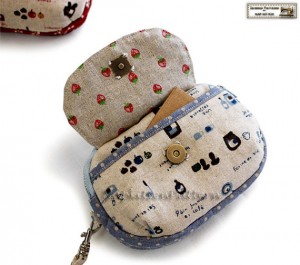
I’m going to attempt this Cute Hamburger. Previously I’ve made the wallet (in my first Create Along!) and the iPhone sleeve, here’s my version.

I love the fabrics she uses and the whole Japanese inspired design of her patterns. Hope you’ll join me!

Mollie Makes and Keyka Lou – some of my favourite ladies

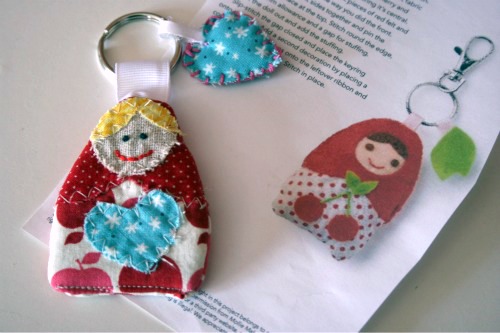
Have you seen/read/held/drooled over an issue of Mollie Makes yet? I can’t even begin to tell you how great this magazine is! I have a digital subscription and the instant it arrives I plunge in. Sometimes I wish I had a physical copy to cut up and fill my space with inspiration, and then I think I couldn’t bear to cut it up. Great articles, fantastic photos and I always leave with a list of things to see/do. Here’s the little keyring from issue 11 I made. Once again, I changed things up a bit, but I assure you it started with their pattern. You can find the templates for each issue at their site.

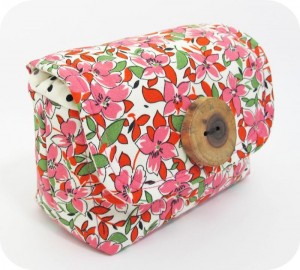
Secondly, my favourite pattern maker has created a new camera pouch pattern and it’s really neat. It’s a super padded camera pouch in 4 different sizes that you can make following her quick and easy sewing pattern.

Friday Create Along . . . sort of

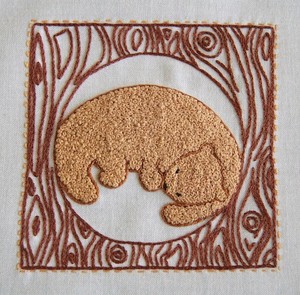
Well since I’ll be running off in a few days I’m not sure how much crafting I will get to. Plus I already slacked by not finishing my slippers from 2 weeks ago! I plan on tackling this lovely embroidery pattern. It’s pretty portable and I’m sure I can tackle it while on a beach.

It’s one of the many masterpieces created by Nicole of Follow the White Bunny. She writes each week on Feeling Stitchy and she sells her patterns in this shop and on Etsy.

It’s an adorable little hedgehog floating in a tea cup, he’s even paddling his way around. It’s super cute. Buy it here.

Have a safe and happy holiday!!

Flowers, hedgehogs and damask. Oh my!

Totally meant to post this much earlier today but I got sleepy last night, you know at 12:30 am, and didn’t get to posting. Of course I remembered once I was cozy in bed doing the math that I had to wake up at 6:30. Long weekends are great but they sure do spoil me for waking up early.

Anyhow, here are some much better photos of my NapKitten wallet creation.
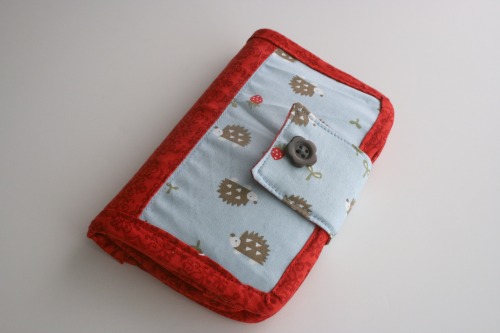
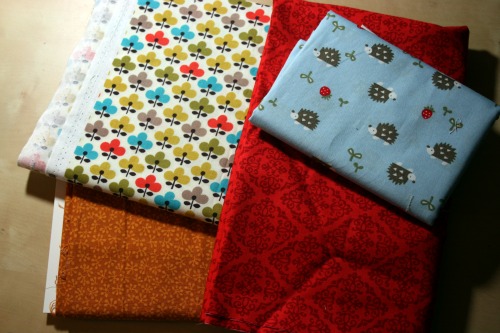
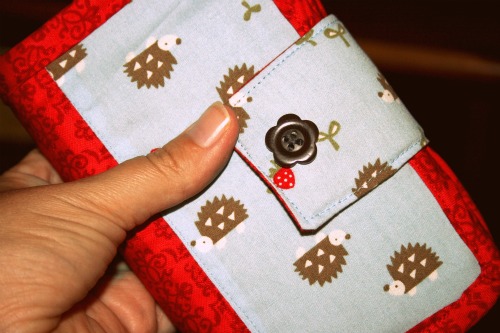
I picked a cute Japanese cotton print and a locally found red damask print. Due to all the pieces you have to cut for this pattern NapKitten has you cut as you go and I had a hard time with that. I’m a very visual person, and since I was working with a fabric where direction mattered I wasn’t sure I was going to have enough. The outside is one of the last pieces you cut and so I did some skimming through the pattern and some willy nilly cutting. I set aside the pieces and labelled them.
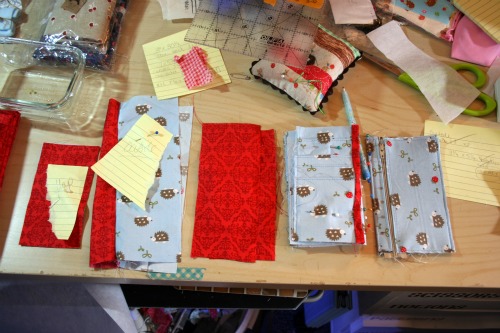
Making the bias tape was a fun experience, a little too finicky for my taste but I’m glad I know how to do it now.  I’m not a very good precision sewer/ironer and I think you need to be for bias tape making.  I found a video on YouTube on how to fold and cut fabric on the bias, while it seems confusing for me that was the easy part.  It was super tricky to have it nice and even and covering all the edges and previous stitching.
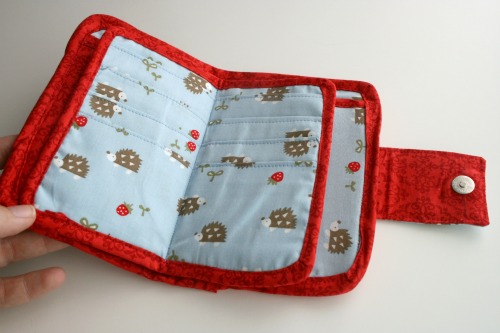
I made the inside pocket on the left there with the damask because I was worried I’d run out of hedgehogs, I think it was the right decision.
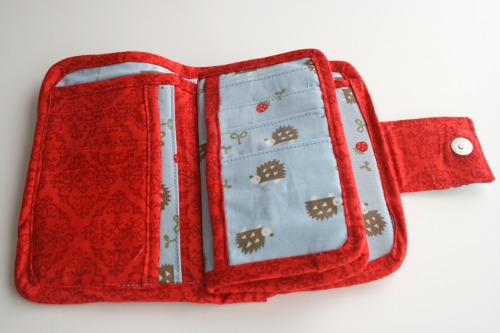
At the very bottom in this next photo you can sort of see the one place I’m not happy with my sewing job.  Right at the very bottom just left of the zipper is the seam of the outer binding and it’s a bit stuck out.  Also left of that in the very middle I had a hard time getting the binding up nice and close because of the middle card slot part and there’s some stitching and innards showing.  No one will ever see it since it’s inside my wallet but I plan on going back and hand stitching it a little with red embroidery floss just to hide it a bit.
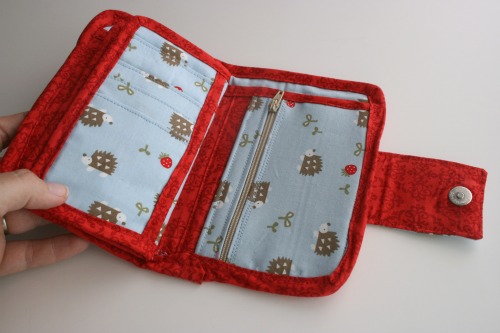
Wonkiness aside I’m really happy with it and super proud to be using such a unique made by me item!
So I have a new wallet . . . .

and I’m going to use this thing until it falls to pieces in my hands! My goodness this was a crazy sewing project! Who’s idea was this!?!

Ok so I have to tell you I did have a great time sewing my wallet. I learned some new things, I found it ridiculously finicky at times and I don’t know if I’ll be making another one anytime soon but I’m really happy with the finished product.

It started with some fabric debating, at this point I actually thought I might make someone one for a gift as well. I decided on the fun fabric and set aside the more grown up one for later, yeah right. Now I have a few work in progress pics and my wallet is done so I’m a superstar as far as all that’s concerned. Where I totally suck is that I missed the chance to take some good photos of it today, my son’s birthday & party are tomorrow, and I was ridiculously busy today. Add to that the fact I took my class to the zoo all day yesterday and had a ‘Daddy was out’ night last night and I’m totally exhausted. Here’s a little flash ridden peek at what I did and I’ll post lovely pics ASAP.

I deviated from the pattern, as I usually do at some point, and added a magnetic snap and cute little button. I’m happy with it and it’s super adorable but boy was it challenging!! I’d love to see/hear about your experience with this pattern.

Here’s my next proposition and good news, it’s free! It’s a fun little coin purse tutorial, however I plan on using it as a wee portable sewing kit since I do a lot of crafting on the go. It’s the creation of the wonderful and inspiring Rashida Coleman-Hale

I think it will be a nice quick project and another bonus point is you can use up some of your scraps. So get sewing and I think over the weekend I’ll get a Flickr group up and running for this creative party I’m starting to run. I’ll also post much better pictures of my wallet. I promise.

Pattern tested!

Well guess that titles gives it all away . . . I tested a pattern.

I signed up on I Think Sew and then when I was contacted the lovely Sue asked me if I’d make . . . . A TOTE BAG!!!  Yipee!!

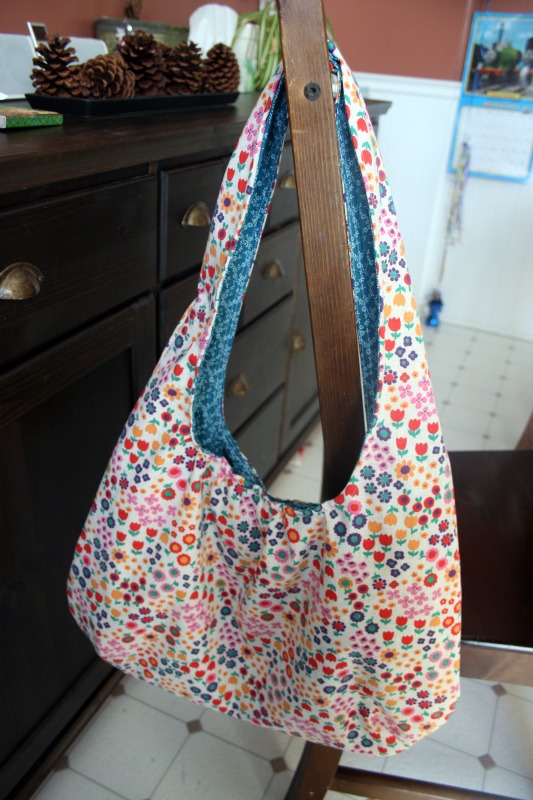
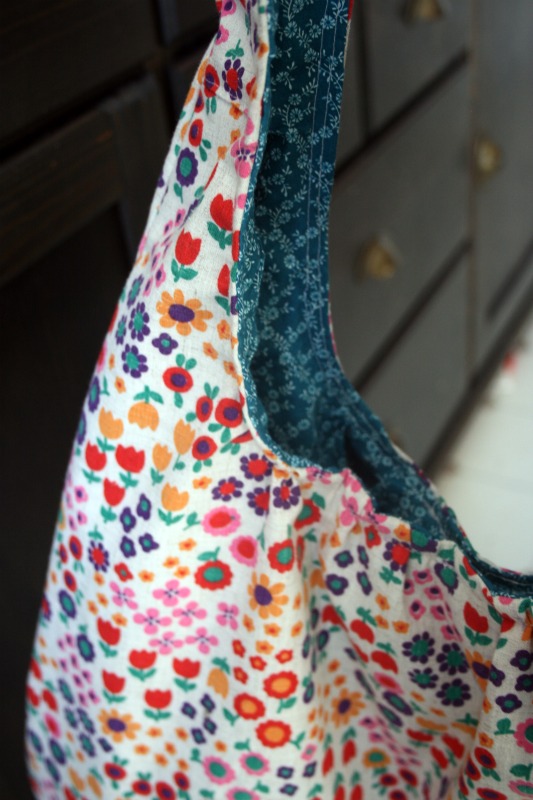
I used the vintage fabric that Keyka Lou mentioned, I have a problem buying the cute fabrics she mentions.  For the lining I just grabbed something from my stash.  There’s a little metal clasp on the inside and it’s a really nice big roomy bag.  I’ve been using it since.

I also own this fun pattern and have been carrying around the PDF on my ipad searching for just the right fabric.