Category Archives: tutorial-ish

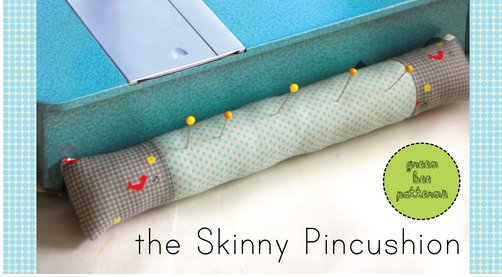
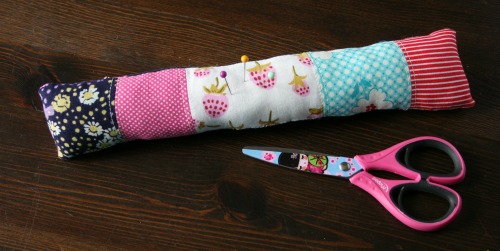
Skinny pincushion

So made myself a scrappy quick little project the other day. I absolutely love things that use up scraps, the small the better. I remember the first time I made something with a ton of prints on it, one of my scrappy wallets, I was hesitant at first but once you just let go and put things together it all looks great once it’s finished.

IMG_3139

It’s from a free pattern by Green Bee Designs, they have a free patterns section and it’s in there.

skinny pincushion


I added more sections to mine because I wanted it even more scrappy.  I rarely do things as dictated.

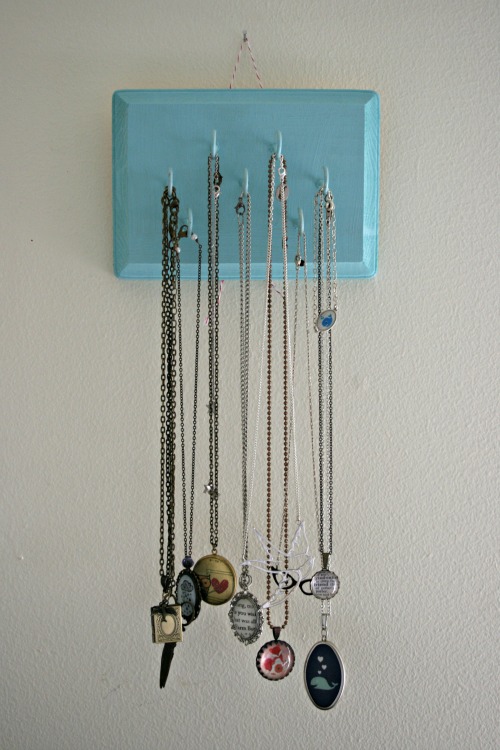
Easy Peasy Necklace organization

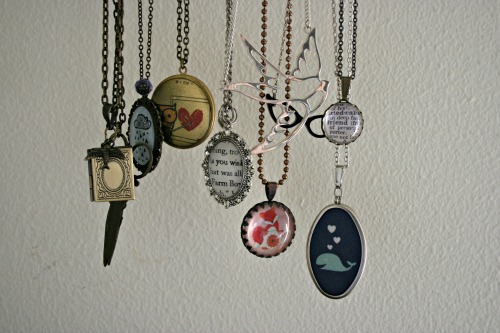
I finally got around to making this little fellow for my growing accessories collection.

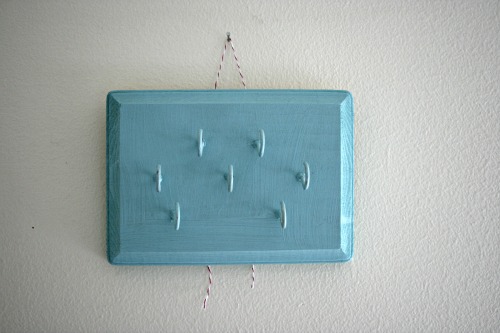
I picked up the plaque at Michael’s, it’s just one of those plain wood ones. Then I screwed in some hooks here and there, painted it a fun colour and stapled some baker’s twine to the back!

Nail in wall and voila!

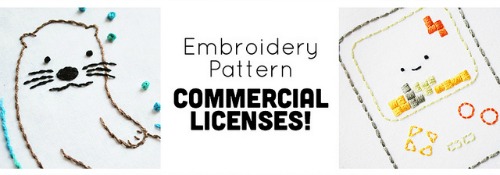
Exciting news from Mollie.

I love patterns and tutorial and instructions to make things. I collect far too many but someday I’ll get to them, someday. I get that you work hard to make something and it’s ‘yours’ in a sense but I super duper love when creators are willing to let you take their project and run with it, make your own and give and sell them. Like this lovely lady, this tutorial turned licensed pattern and now my friend Mollie!

A while back we collaborated on a project and it’s now part of her new commercially licensed products. This means you can take her cute adorable embroidery patterns and put them on things you make and sell them for your own little crafty profit. The commercial license is here as an add on in her shop, if you already own her patterns you just nab it and there’s no need to purchase the patterns again. Sharing the love is great!

You can pick up the pattern for the Make a Memory game here.

Dining/drawing table

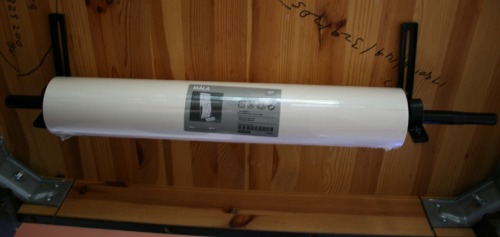
I spontaneously had this idea a few weeks ago and luckily it was followed by a trip to IKEA. I had great photos of all of this, as well as our kitchen floor remodel, but then our camera’s card pooped out on me and I lost them. So here’s my re-enactment. Our table is from the ASIS aisle, so excuse all the writing they put on it.

I went to IKEA and bought this roll of paper, a curtain rod and the hardware to hang the rod. I mounted it under our table. It was a super inexpensive project that’s definitely paid for itself in time spent drawing, colouring and painting. The paper just rolls up onto the table top.

And the kids can colour, make roads, write about food, tell me who’s sitting where . . . . the list goes on.

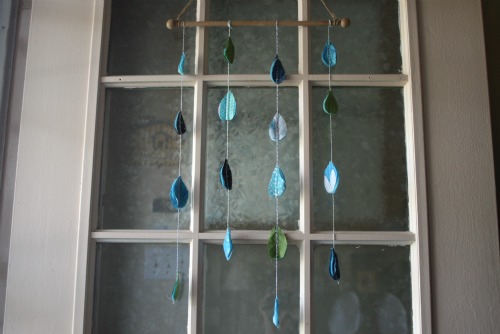
DIY Spring door decor

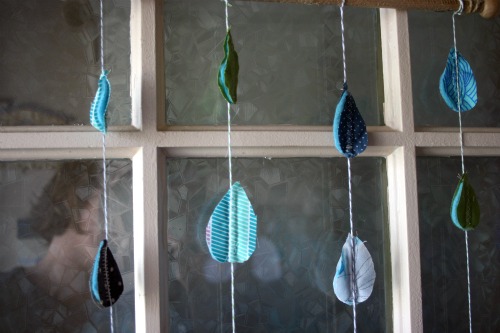
I took our little snowman decoration down a while back, since we had a pathetic amount of snow this year, and realized over the weekend our door looked bare. Thinking of spring I put together this cute scrappy little door decor.

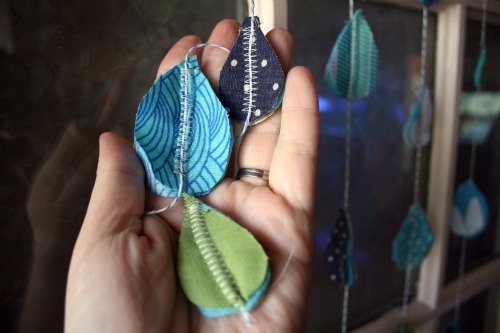
I gathered up some fabric scraps, fleece scraps, and some baker’s twine. I reused the dowel hangy thing from a pennant someone had made me year’s ago for my classroom door. It had my maiden name on it so I cut it off and kept the wood bit around knowing I’d find a way to use it.

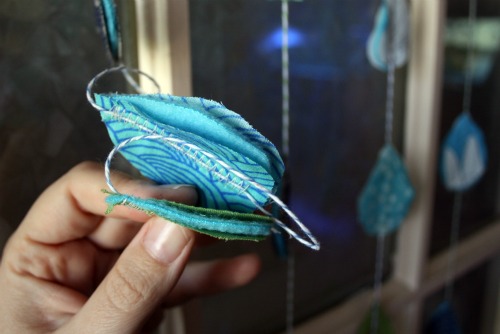
I chose cool coloured fabrics and made sure the fleece was blue as well. I wanted it to look a little unfinished at times. I cut 2 pieces of fabric for each raindrop and 1 piece of fleece. Sandwiched them together and zig zag stitched the baker’s twine in place on each raindrop with my sewing machine.

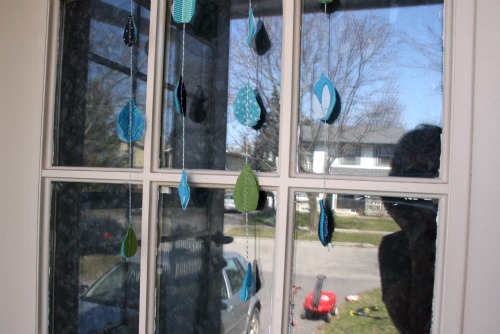
It’s really pretty hanging on the door and it’s fun when the wind gently blows the raindrops around a bit.

DIY with loads of sharing

You will need:

Some fabric scraps
Modge Podge
Knobs (screw pieces if they don’t have them)
Wall anchors

Cut a scrap of fabric and wrap it around the knob to cover it. Pour Modge Podge on the front and smooth it down saturating the fabric and gluing it to the knob.

You can secure it with an elastic to help it dry in place. Once it’s dry trim away the excess fabric.

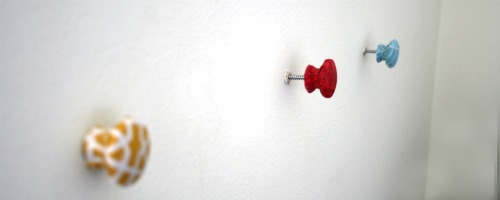
The knobs I bought didn’t have screws on the end so I had to glue some in.  If you’re repurposing cabinet handles you may not have to do that step.  I choose 3 colours that would compliment my handmade art wall.

Decide on your spacing and drill holes in the wall.  Secure the anchors and make sure they are flush with the wall.  Then simply screw in the knobs.

The next step is the best, hang your accessories!

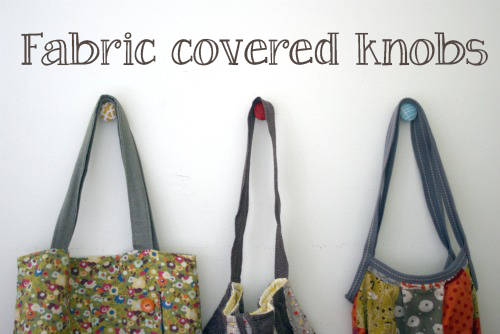
I used mine to display my growing tote/purse collection. Bags are from (left to right)
Kimmy Kingsbury, Hot Butter, and me!

DIY – Tomato pin cushion revamp

I’ve made a bunch of scrappy pin cushions since I started sewing and one thing I recently learned is you shouldn’t fill them with that polyfil stuff, apparently it can dull your pins and needles. I had no clue.

Some emery sand would be best, but it’s tricky to find. And while the nostalgic red tomato pin cushion reminds me of my mom sewing, everyone has one and having something different is fun. So I decided to start with the standard tomato pin cushion and do some reworking.

You’ll need:
tomato pin cushion (I already removed everything off it before the photo)
fabric square big enough to wrap it up
a scrap of fabic
embroidery floss
optional: ribbon or rick rack and some buttons

Figure out how your square of fabric will best fit on the tomato and start attaching it with little stitches around the top.

It should look something like this, with more or less fabric depending on the piece you started with.

Trim the excess, try to get it as close as possible to the stitches.

Thread some embroidery thread onto your needle and starting at the top travel around the tomato pulling tightly to secure the fabric. You can cross over and under the threads to help them stay in place.

Cut some sort of fun shape to cover all your stitching at the top. I went with the leaves on the tomato sort of shape out of a fun polka dot print.

Stitch around the secure the scrap to the top your the cushion. Try to pop up as close to the middle as possible and then attach a bit of ribbon or rick rack. I decorated the end of mine with buttons stitched on back to back.

And ta da! A lovely revamped pin cushion.

DIY fabric covered wooden brooch

One of my goals is to accessorize more and while I have bought a few things here and there I figured I should also make my own pretty things.

You will need:
– a scrap of fabric
– a wooden cut out
– glue gun
– pin back
– scissors
– Modge Podge or white glue

Trace your wood shape on the wrong side of your fabric. If you have a special part of the pattern you want to capture make sure you’ve placed it in the right place.

Spread Modge Podge on the wooden piece. Cut out the fabric and place it on.

Plug in your glue gun and add your pin back with a little blob of hot glue. You may need to trim excess fabric from places with small scissors or an exacto knife.

Next have someone around to take a finished photo for you because propping a camera up on items and hoping for a good shot is very hit and miss.

You get the idea.

Your very own Goldilocks sleepmask.

Well I was doing some poking around and realized that while I shared this post on Wild Olive ages ago I never actually posted it here. So I thought I’d share.
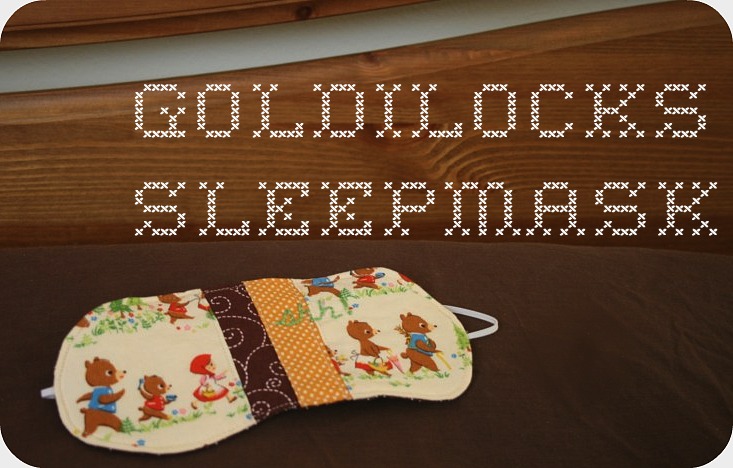
Sometimes we all need a little nap and this sleep mask will help you have a restful slumber.  All while looking pretty stinking cute!

My husband and I take turns having a ‘sleep in day’ on the weekends.  I have to tell you I count down to that day every week.  I started to use a sleep mask to maximize my sleeping in experience.  It was just a silly freebie one from one of our airplane trips and I’ve already had to repair it a few times so I decided to just make a much lovelier one.
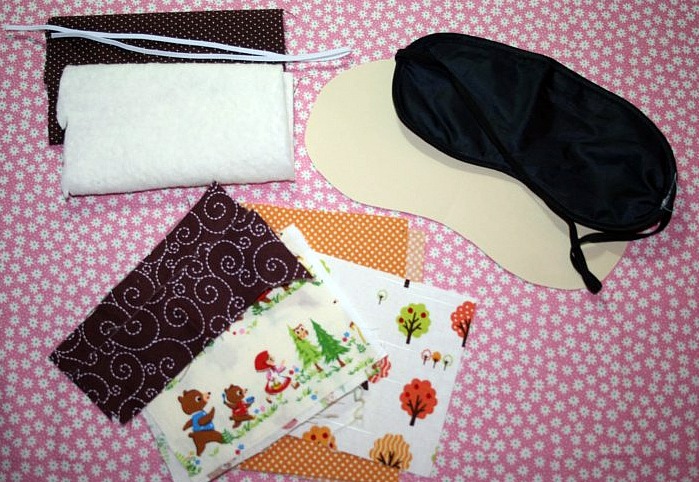
Here’s what you’ll need for this DIY project:

SleepMask

– batting or fleece

– fabric for the backing (something you won’t mind against your skin while sleeping)

– fabric scraps at least 4 inches in height

– 16 inch piece of elastic

– usual sewing items, thread, machine, scissors

– embroidery floss and needle (optional)
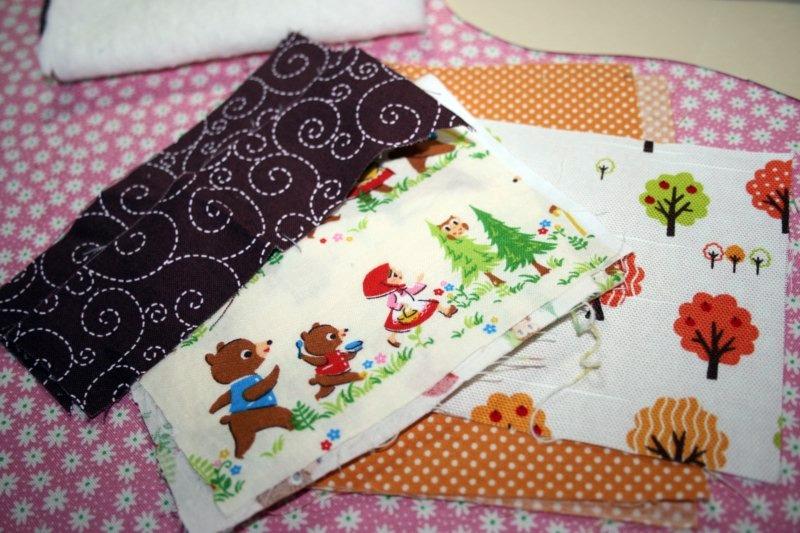
I manged to find some Goldilocks and Three Bears fabric in my stash so I was a bit fussy with the placement of the pattern.
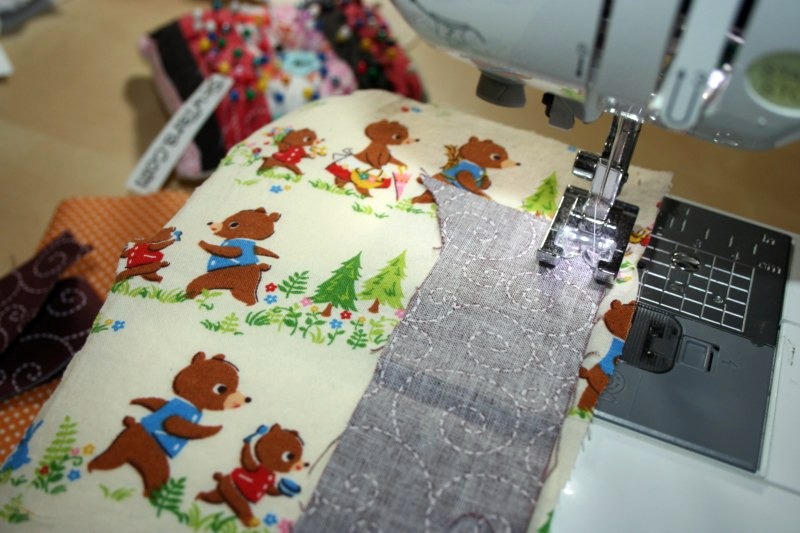
We’re going to use quilting techniques to piece the scraps together.  Think about how you’ll want your pieces positioned if you have a particular pattern you want to highlight and place the next print at the edge of the first print with right sides together.  Sew down the edge, seam allowance isn’t really that important just make sure you have a straight stitch.  My Goldilocks print was uneven so I lined up the brown swirly print to create a straight edge.
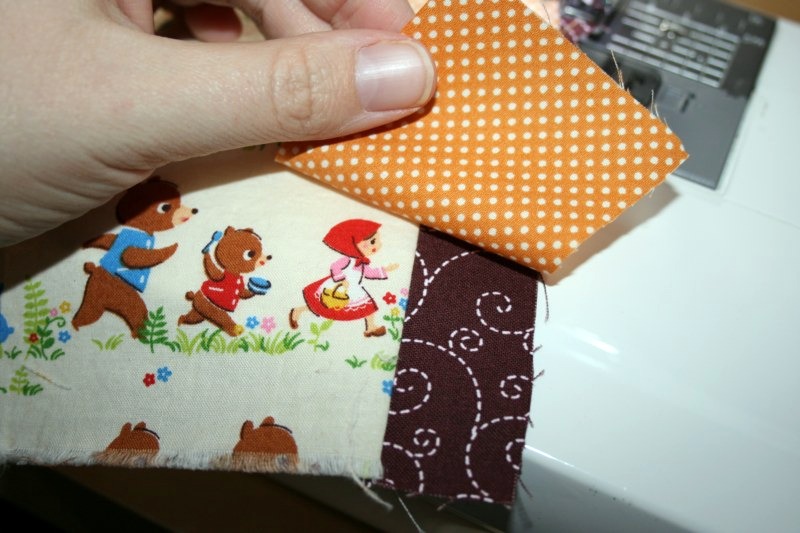
Add the next fabric print just like you did before.  Right sides together and sew down in a straight line.  Continue attaching pieces of fabric until you have a piece that measures at least 8 x 5.  My last piece is lower because I was lining up the print in a certain way.  Plus this way I’ll still have some usable scraps left over!
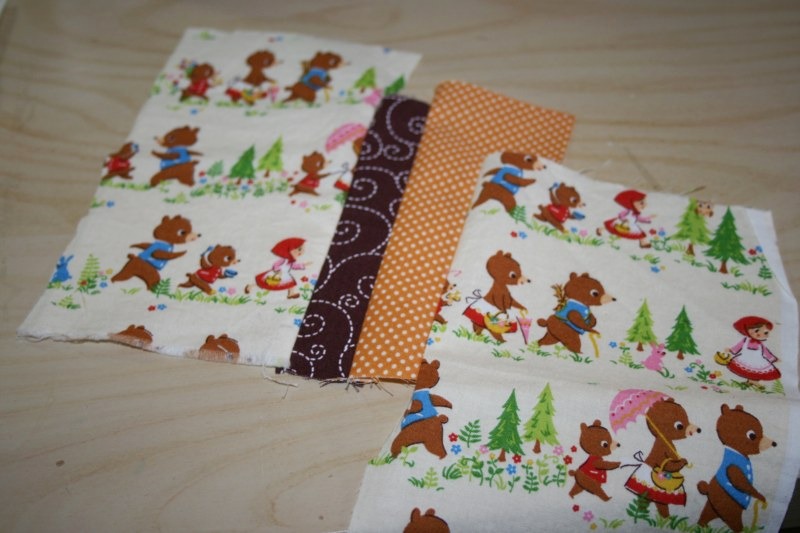
Now take your printed template and trace the mask outline onto your little quilted bits.
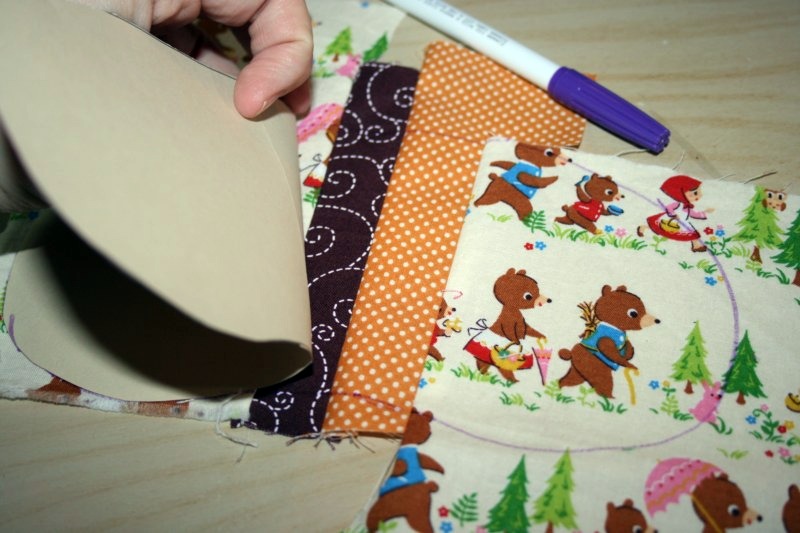
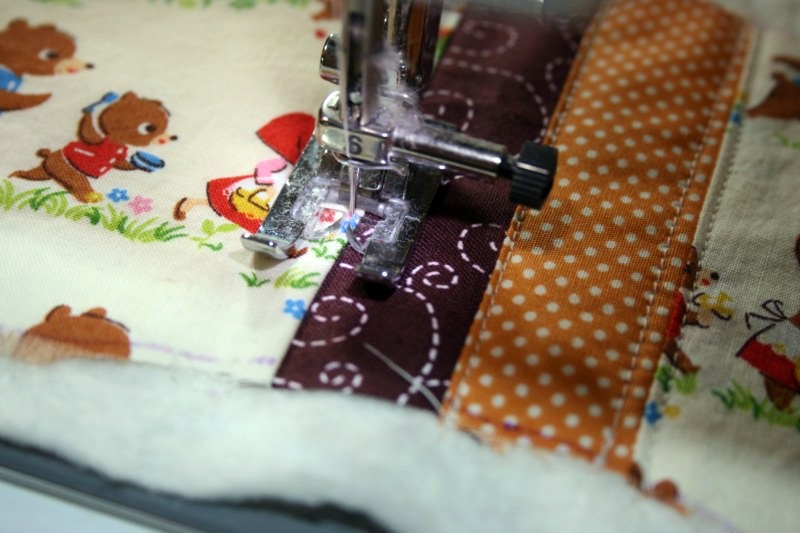
Cut along the outline.  Lay your cutout right side up on top of your batting.  It’s not important to trim it down just yet, we’ll do that in a few steps.  Add some stitches just to the right and left of your seams.  This is a fun little decorative detail and will help hold the inner batting in place.  I stuck with my cream coloured thread but you could use matching thread, or something crazy and contrasting.
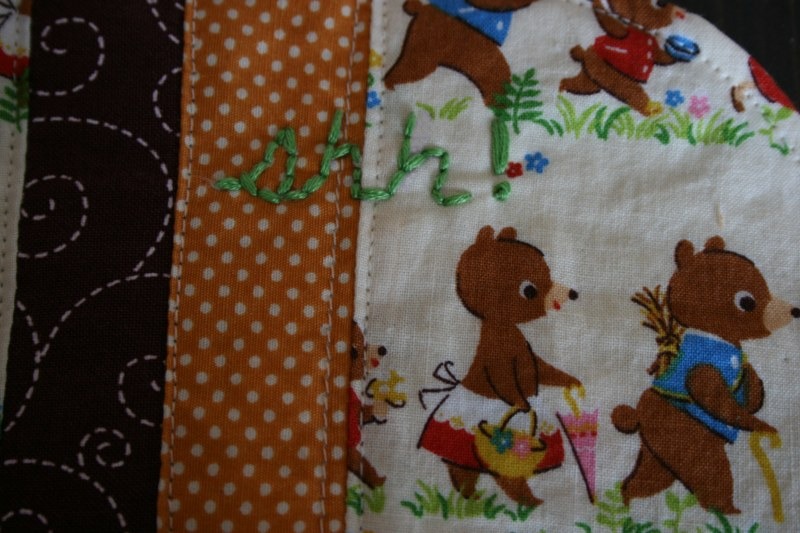
I decided to get even more creative and stitched ‘Shh!’ onto my mask.  If you’d like to add any embroidery stitches to your mask do it now.  Draw on the design with a water soluble or disappearing fabric marker.  Stitch through the 2 layers.
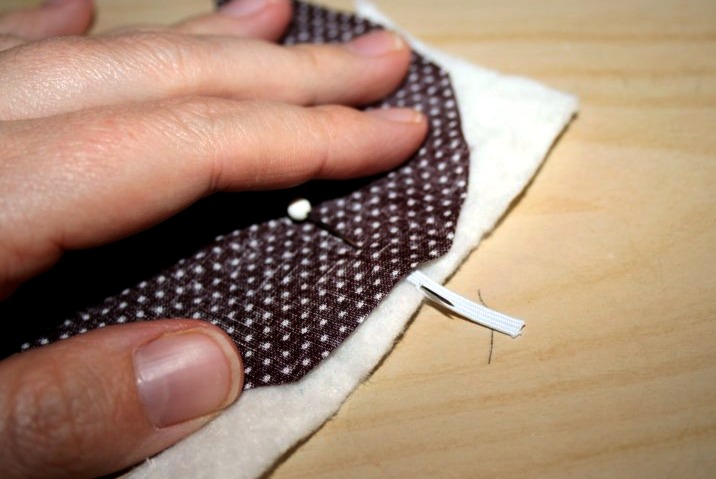
Now trace the template onto your backing fabric.  Cut it out.  Place your quilted fabric with the batting side on your work surface.  Next put the elastic piece down with about 1/2 inch sticking out over the edge of the mask cutouts.  Place the backing piece on top right side down.  The elastic will be sandwiched between the 2 pieces of fabric.  Pin the elastic ends in place.  Make sure the pin is going through all the layers.
With the wrong side of the backing facing you sew around the entire mask outline with a 1/4 inch seam allowance.  Backstitch over the elastic bits for some extra stability.  Leave an opening about 1 inch in length for turning.  Trim the excess batting away.  I usually make sure to leave a little bit at the opening just to make sure it will close when topstitching.  You should be left with something like this.  Make sure the elastic wasn’t caught up in any of the stitching.
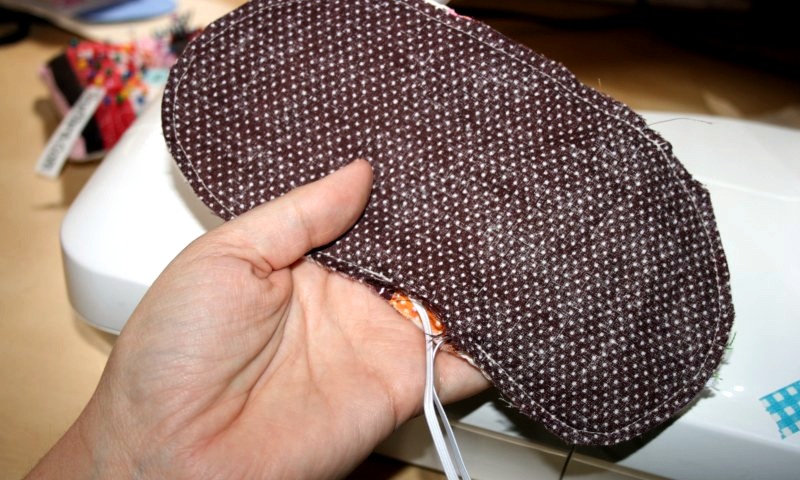
Turn the mask right side out.  Use something pokey to make sure it’s pushed out all along the edges, I use a chopstick.
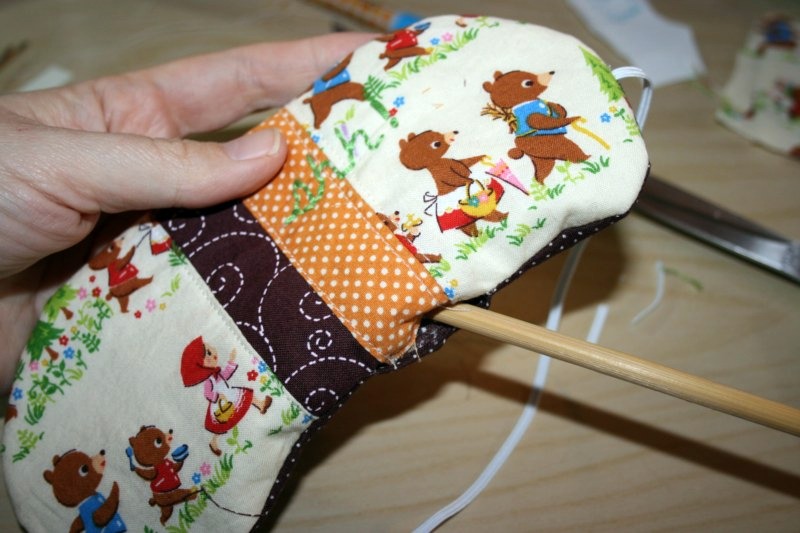
Once it’s all turned out you can give it a quick press to get the edges all nice and flat.  Then topstitch all around the entire mask fairyly close to the edge with an even border.  Again, make sure you aren’t catching the elastic while stitching.
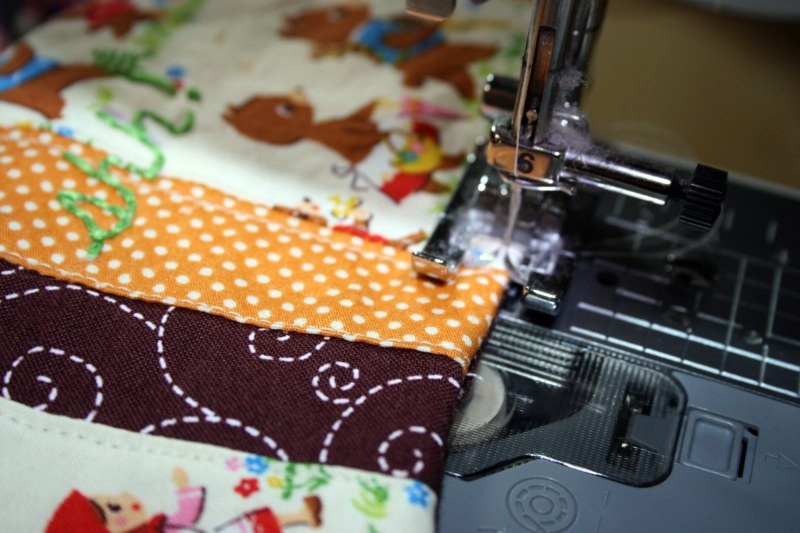
And you’re done!  Enjoy the many extra hours of sleep protected from the sun’s evil “I’m here to wake you up!” rays.
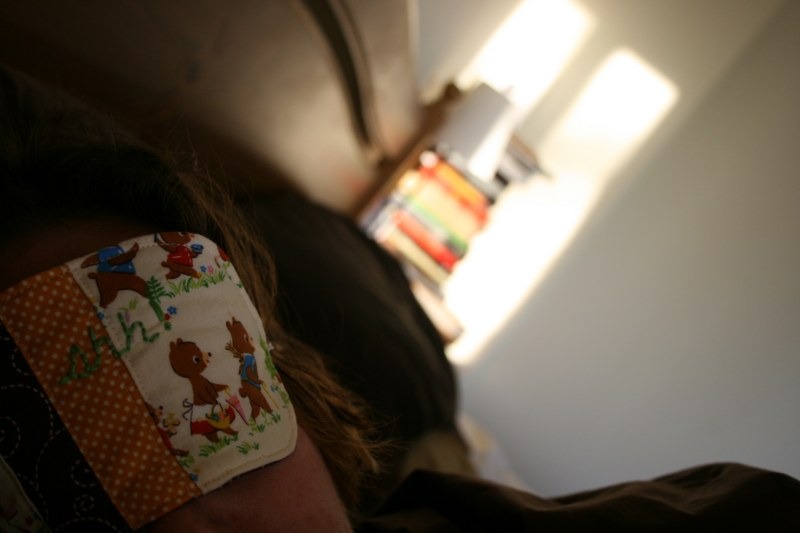
It’s really hard to take a picture of yourself pretend sleeping, but that’s authentic bedhead and sleepiness.  Sadly, the sleep mask won’t stop your children from jumping on you and waking you up.
Done and next!

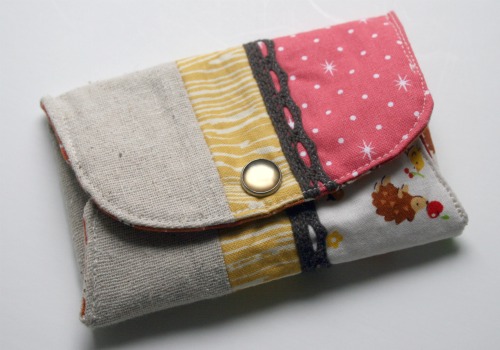
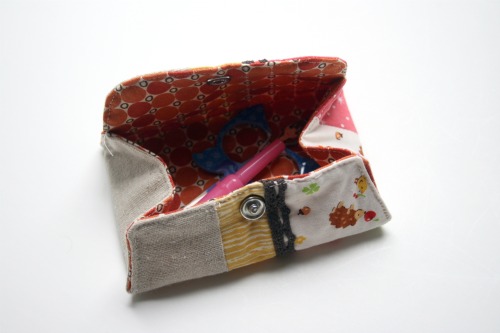
So I finished my lovely little sewing kit thingie, thanks to Rashida’s tutorial.

Some things were confirmed with this little project.
1. I deviate from patterns, constantly
2. Taking photos in natural light is getting impossible this time of year.
3. Now that my work days have shifted, working all day Thursday is really cutting into this feature.
4. Me and snaps don’t get along.

I cheated and used my machine to sew up the sides, I was too tired and short on time to hand stitch it.
I also wish I’d used my cute Japanese fabric where the pink fabric is instead. That too tired thing got in the way of thinking clearly I think.

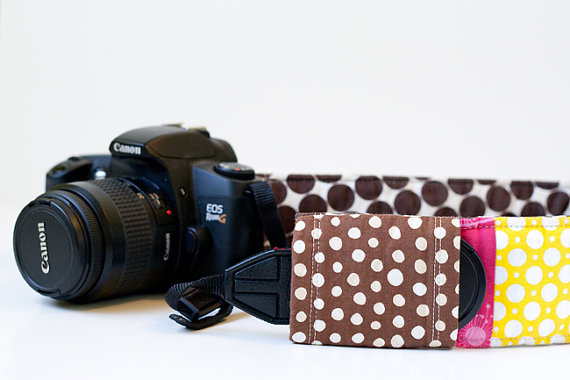
For my next trick I’m going to make this camera strap from lgb. Not only does it use up scraps and make your camera look fun it’s got a little pocket for your lens cap which I sooo need.

Join me if you like, your assignement is due next Friday. If you’re too busy, lazy, uncrafty, or tired to whip one up you can just click and order one here.

Sharing links if you’ve played along, or sewn on in the past, on Fridays is always welcome! Or you can add to the currently pretty empty Flickr group I created.