Category Archives: papercrafts

Dining/drawing table

I spontaneously had this idea a few weeks ago and luckily it was followed by a trip to IKEA. I had great photos of all of this, as well as our kitchen floor remodel, but then our camera’s card pooped out on me and I lost them. So here’s my re-enactment. Our table is from the ASIS aisle, so excuse all the writing they put on it.

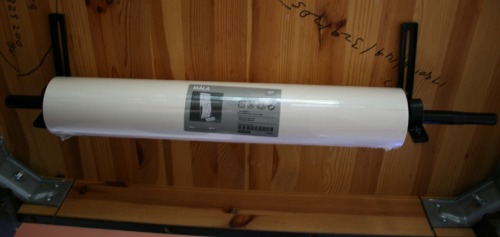
I went to IKEA and bought this roll of paper, a curtain rod and the hardware to hang the rod. I mounted it under our table. It was a super inexpensive project that’s definitely paid for itself in time spent drawing, colouring and painting. The paper just rolls up onto the table top.

And the kids can colour, make roads, write about food, tell me who’s sitting where . . . . the list goes on.

NYC loot

Cute notebooks, far too much washi tape, amazing fabrics and some silly cards.

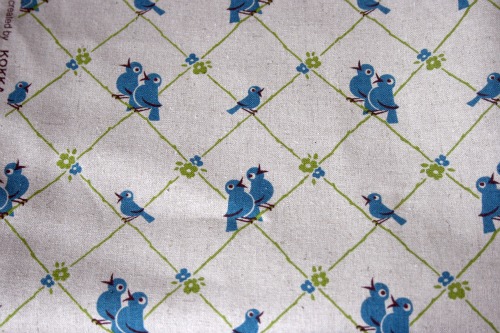
This KOKKA fabric was $20/yard but I was smitten. I picked up 2 yards. No project in mind but I’ll find one I’m sure. Most likely a bag or tote . . . who am I kidding? I’ll make a bag or tote.

Washi swatches

One day I plan on doing that lovely thing where you cover all your laptop keys in fun bright patterned washi tape. But first I have to diversify my collection a bit. I’m hoping I’ll be able to find some in person in NYC so I turned the middle page of my little ‘ideas on the go’ notebook into a washi swatch spot.

Already my usual storage spot is overflowing, time for something else.

DIY gift tags or mini cards

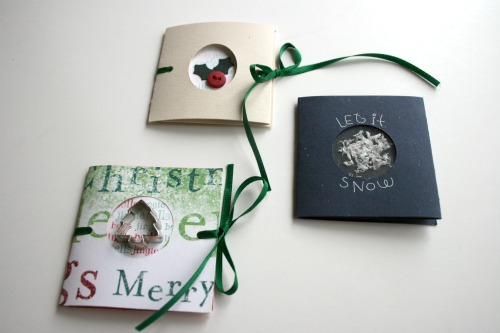
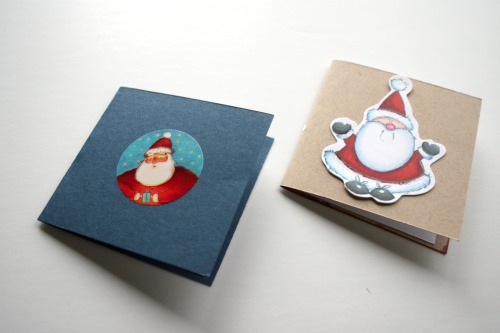
Wow, feels like it’s been forever since I’ve done a DIY so here one is! I’m going to show you how to make these great little gift tags, an easy way and an up-a-notch way. I shared these last week over at Celeste’s blog and now I’m sharing it here! These ones are holiday themed but it would be really easy to change some colours and stickers and use them on birthday gifts or for another occasion.
You will need – cardstock (colours and some white), stapler, paper cutter/scissors, adhesive
Optional fun goodies – ribbon, stamps, stickers, embellishments, ink or markers

Cut the coloured papers in 2 1/2 x 7 1/4 inch strips. The white papers should be 2 1/2 x 5.

Fold the white pieces in half, these will make the inside ‘pages’ of the card.

Fold the coloured paper at 2 1/2 and 5 inches. The remaining section will be slightly less than 2 1/2 inches in width. Using scissors or a punch make a cut out in the middle of the card.

Next grab one of the white scraps and decorate it in some fun way. I chose to use a snowflake stamp and my markers. I used the snowflake to create a patterned paper.

Then place adhesive around the opening for the stamped white piece to stick on. Keep the adhesive over to the one side so it doesn’t peek out later.

Then add some more adhesive on the back of the white paper and fold the last bit over to hide it all.

Place the white piece inside the card and add a staple.

Now turn the card over and add the embellishment on the outside. Voila!

Depending on the supplies you want to get your cards can get really fancypants. The holly one was made with a button and leaves from a scrapbooking punch. The snow flake one has 2 pieces of an overhead sheet with some fake snow stuff I got at the dollar store inside.

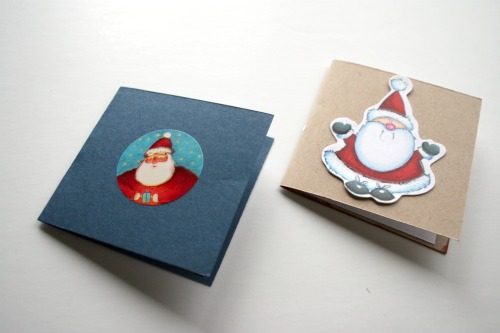
Or you can also just put some stickers or cut outs on the outside.
Bonus pages for your planner!

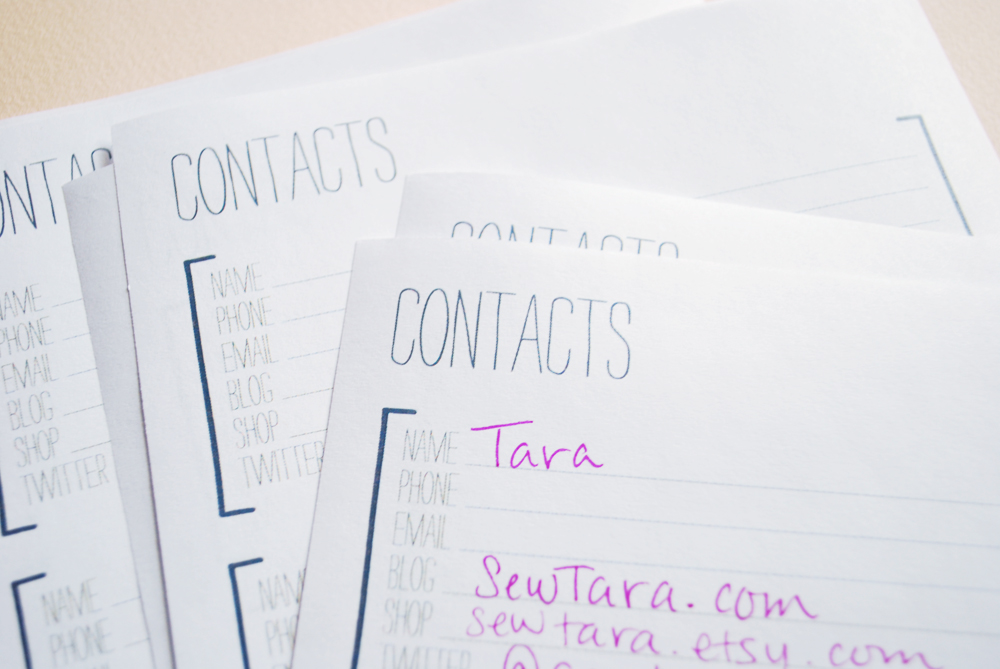
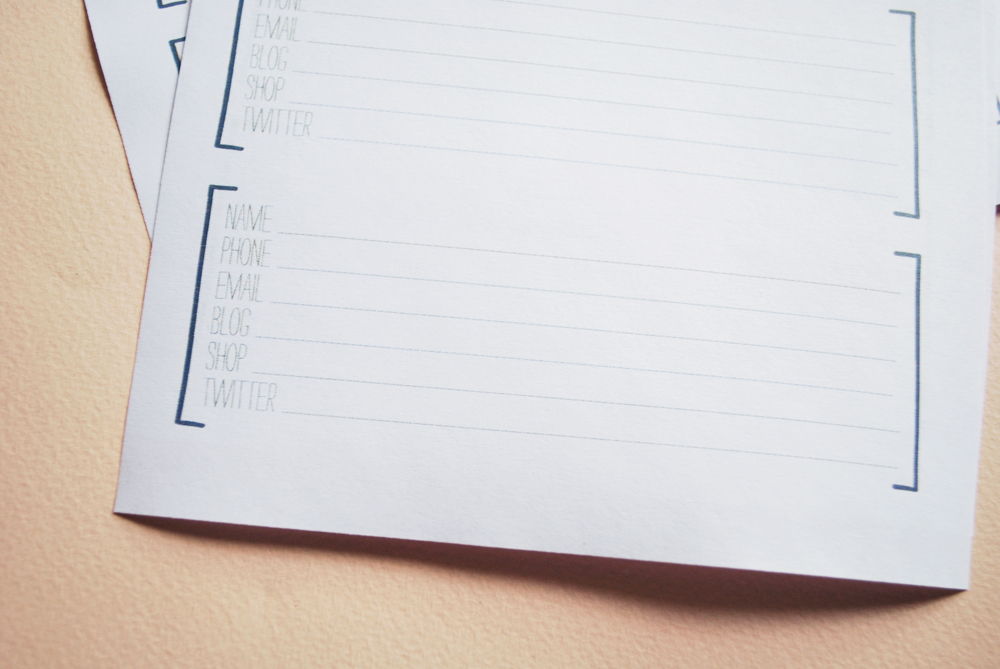
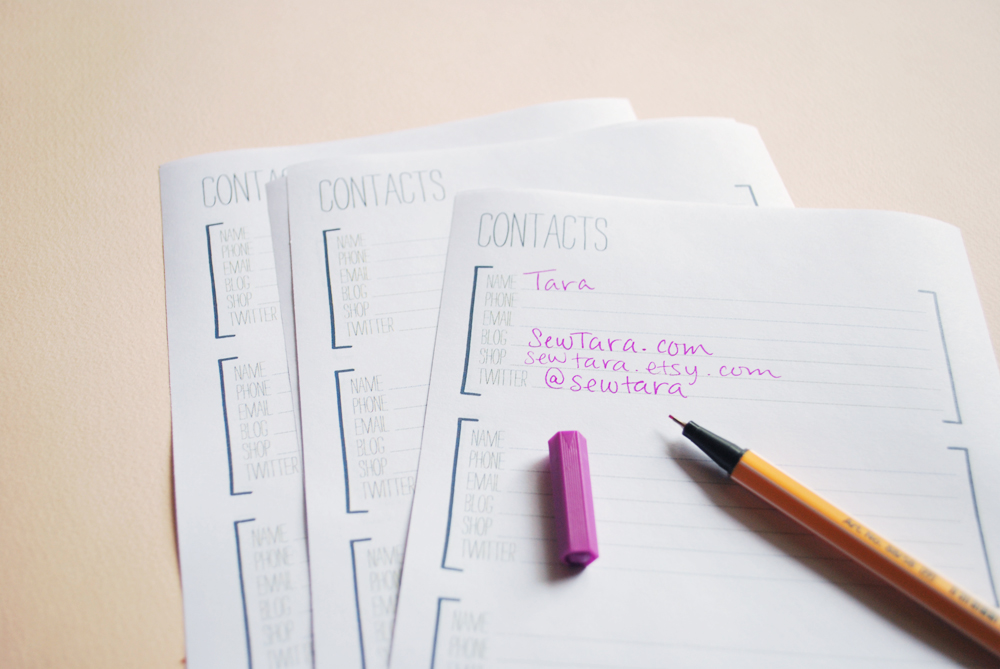
Well Mollie has done it again and continued in her rise to ultimate awesomeness. She sent me an email a little while back and asked what I thought about adding a contact page for the planner we designed. I thought it was a great idea!

So off she went to create a Colour and B & W version of the pages. It includes all the things we figured were important for keeping track of all your blogging friends or those real life friend things.

Here’s the planner pages in case you didn’t pick that up the first time, with Calendar and B & W.

My gift giving challenge.
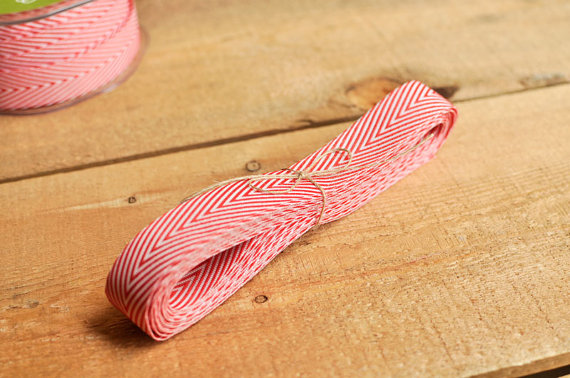
You know I don’t really need yet another creative thing to do but they’re always so fun and cute. Keyka Lou posted this great ribbon the other day which of course sent me off clicking to Etsy to see what it’s all about.
While I was admiring all the pretty chevron ribbons I had a lightbulb moment. I’m going to wrap all my gifts pretty simply, kraft paper or bags or boxes and then go all out making them look great with twine, ribbon, doilies and other such embellishments. That way the items are reusable, repurposable or biodegradable.

Allow me to share some of my fav items and shops that will help me, and you if you want to play, with this challenge. Click images to be whisked away to shops!

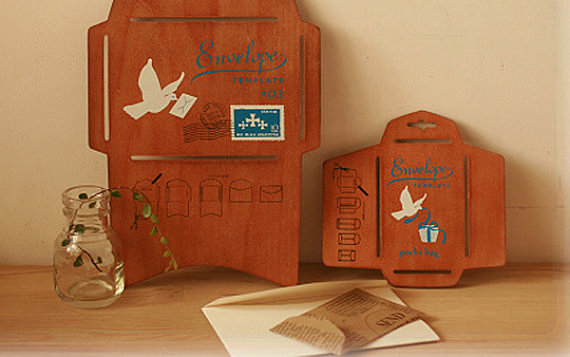
I’ve ordered a set of these already to make my own envelopes out of various papers.

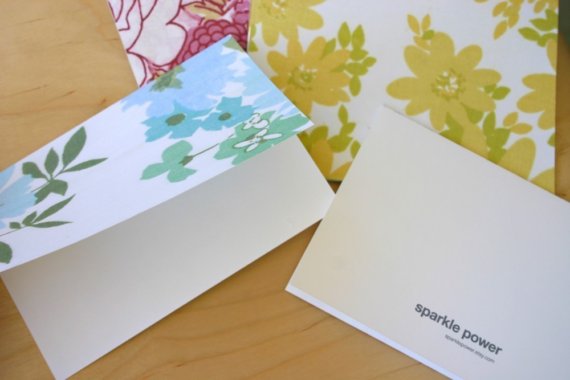
You can order a printable PDF file for these vintage linen inspired cards.

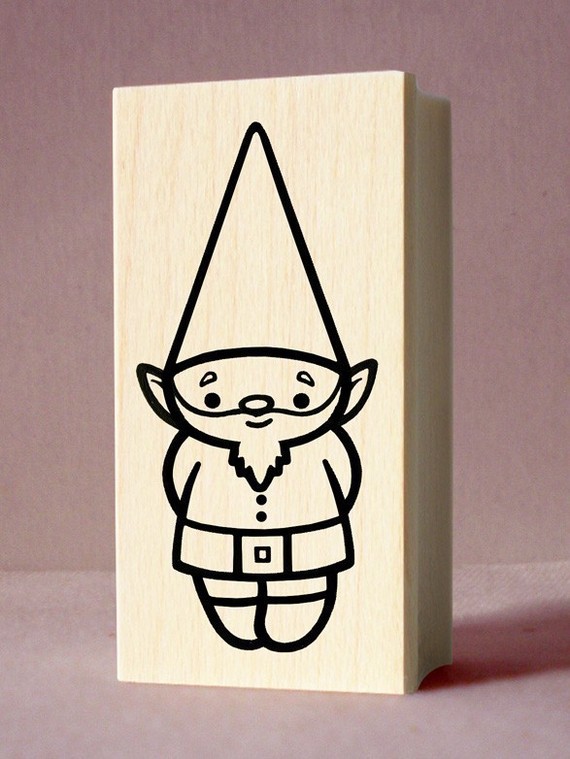
Hoboville has the cutest rubber stamps I have ever seen! A great option for making your own printed wrapping paper.

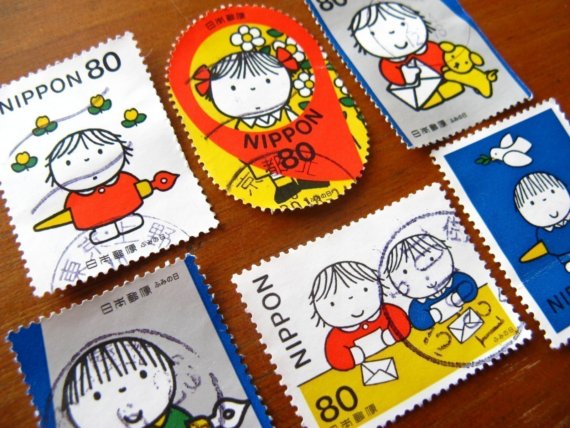
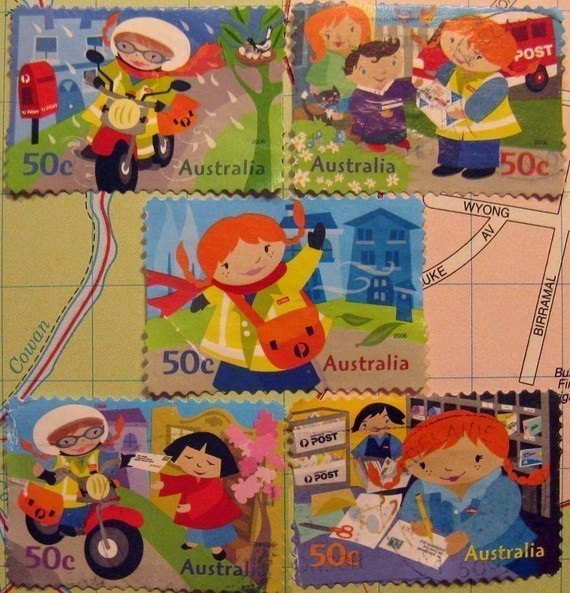
Thriftypyg has some great ephemiria items that would jazz up some plain kraft paper nicely. Check out these cute stamps.

I’ve got some of these stashed away downstairs, no clue what I’m going to use them for but they are ridiculously sweet.

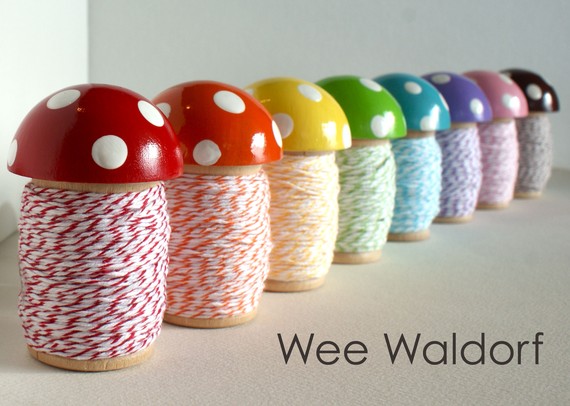
Baker’s twine is pretty easy to find on Etsy but these little mushroom spools are extra super cute.

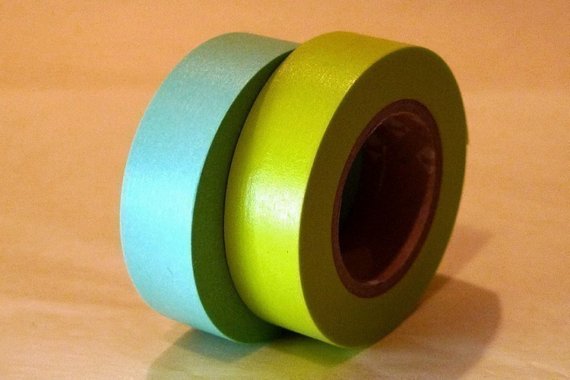
Pretty Tape has a great selection of . . . pretty washi tape and loads of other great packaging accessories.

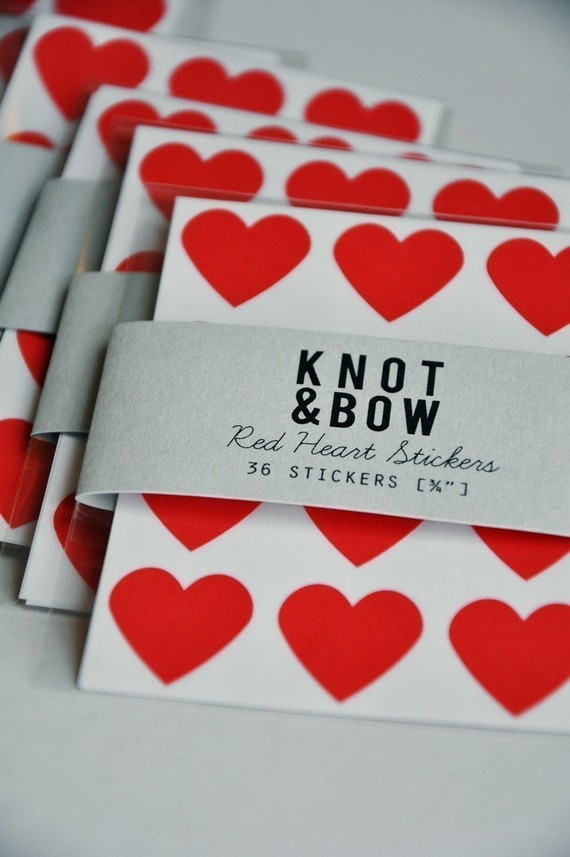
Some of my favourite shops for packaging supplies are Paper & Parcel , California Craft and of course I couldn’t have made it this far without Knot & Bow.

Mooooooo

I might be addicted.

They launched some new products recently.

And had some really good sales.

And I didn’t even photograph the stickers!

SewTara the planner.

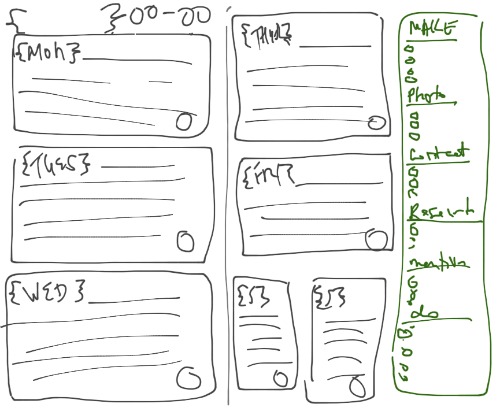
So, I know I’ve said it before, but having a blog, online shop, family and ‘real’ job gets tricky to balance. I’ve been missing opportunities and dropping the ball on things because I’ve been *gasp* disorganized. I decided I needed to unplug in order to feel organized by going back to pencil and paper and planning things out. I started to poke around Etsy looking for printables or a complete planner but nothing was fitting exactly with what I wanted. I spent some time thinking about what my needs would be and made a sketch. A very professional sketch with my finger on my ipad.

With no idea how to go about making a graphic printable or a PDF I turned to my friend Mollie for some advice. I have no many things on my to learn list and graphics and PDF creation are on it. However, the sweet Mollie just went ahead and quickly whipped something up, and it’s stinking perfect!

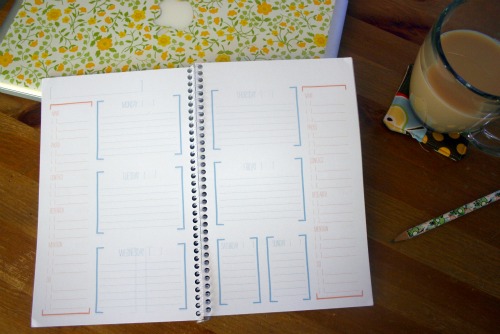
Here’s a close up.

It has a 2 page layout for the week with 2 columns ready for listing To Dos and checking them off as you go. She squared things up a bit and created some balance and even added some pretty colours. We thought it was pretty comprehensive as a planner for a blogger and so we’re going to share!

Click to see and download the calendar

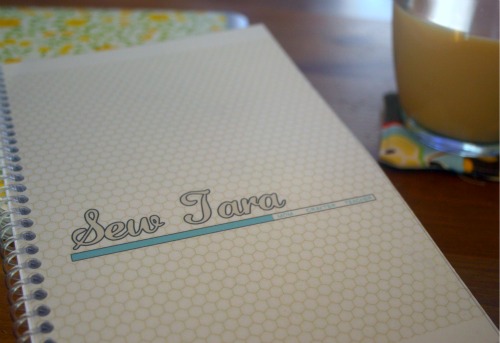
I printed mine on 32lb white paper, double sided it and made up a cover based on some of LA’s blog redesign drafts. I took the pile of paper over to Staples and for around $11 they cut the pages in half, added covers and coil bound it. Voila my very own custom made planner!

There’s been an Etsy error in your favour.

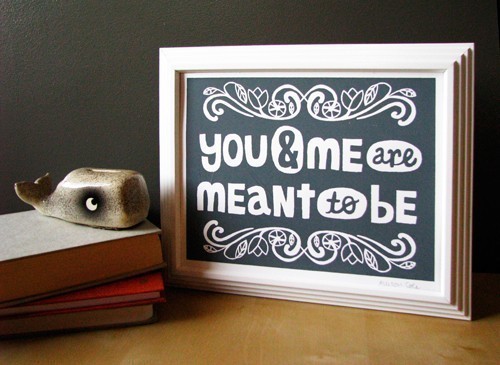
For the past few occasions I’ve been making treasury lists on Etsy to share with my hubby and nudge him with gift ideas. It worked for Mother’s day and I was rewarded with some fun goodies including one of these.

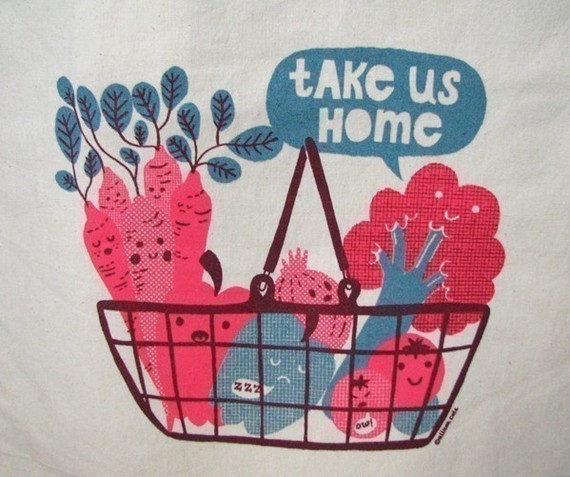
Allison Cole is the super awesome lady behind these fun designs. She has other prints and items in her Etsy shop.

This reusable shopping bag makes me giggle.

A few weeks after my print arrived a package from Allison arrived at my hubby’s work, again. Turns out she sent 2. I often wonder if I’ve done that with a cozy here and there, it’s hard to get lost in the management of shipped and unshipped. So I wrote Alison an email and said I could send it back or give it away and draw some attention to her awesomeness. Lucky for you that’s what we decided!

Leave a comment by Sunday night, I’ll cut off at midnight and then announce the winner on Monday. Here’s your homework tell me your name and the name of your meant-to-be-honey.

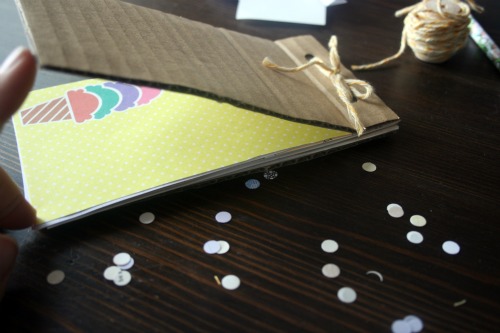
DIY little notebook

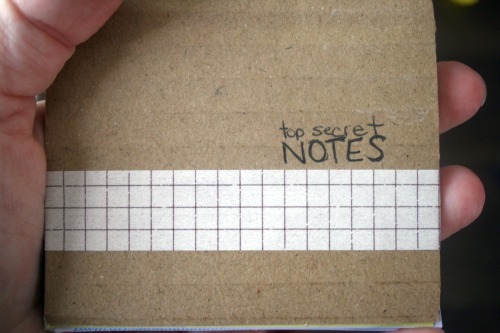
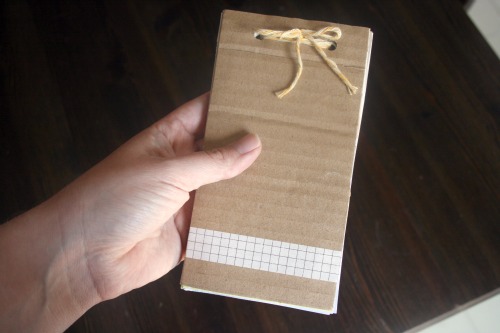
I made this little notebook using papers and things from around the house. You should have everything you need to whip one up in a few minutes. They’d be great for keeping in your bag for lists, or for the kids. My kids are always wanting their own handy, dandy notebook! Plus you can recycle the whole thing once you’re done with it. Re-use the twine if you’re that hardcore.

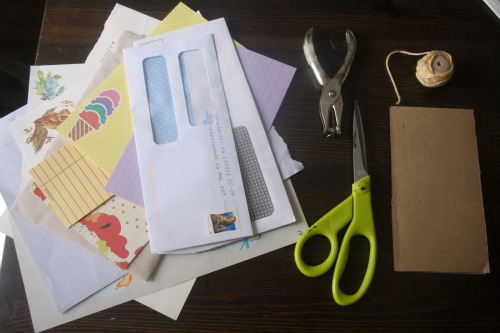
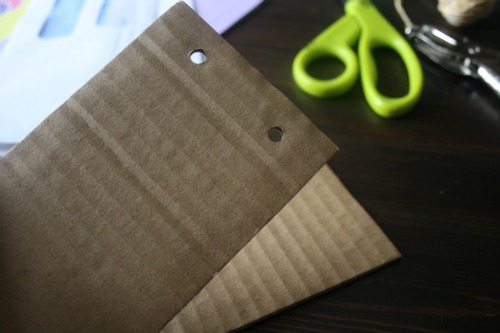
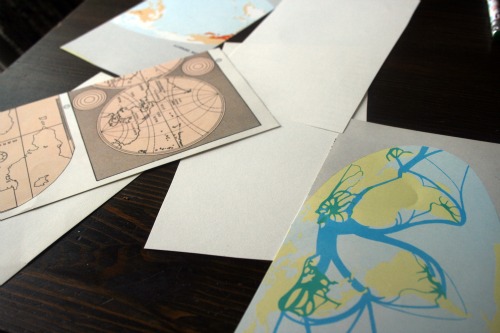
You need 2 pieces of cardboard cut to the same size. These will make the front and back of the notebook. Gather some scrap papers. I used a lot of bill envelopes, pages from thirfted writing papers and some atlas pages. A whole punch, scissors, twine/string/yarn/floss or something stringy.

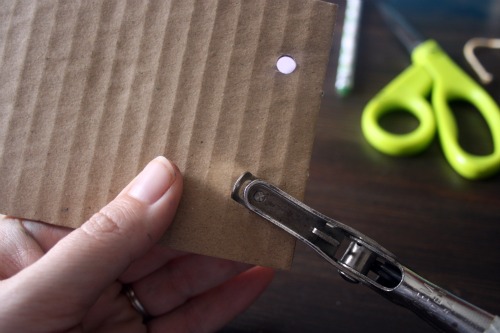
Punch holes in the cardboard pieces that are going to be the front and back of the notebook.

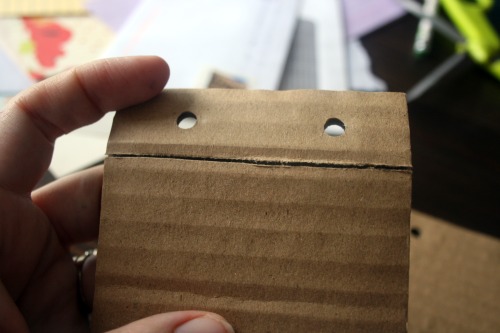
Then with your scissors score a line across the front cover piece of cardboard. Just press gently so you only cut through the top layer of paper.

Decide how you want your pages to be placed. If there’s writing on some of them, like atlas pages, you’ll need to decide what side you want to have available for notes.

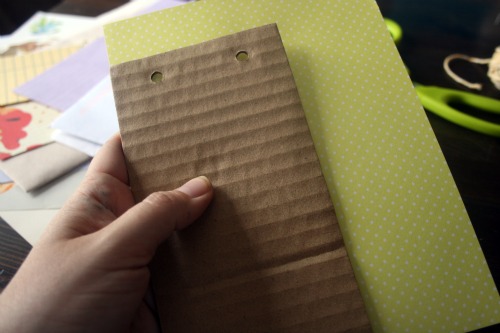
Trim the pages to the same size as your cardboard cover. You could get fancy and get out a paper trimmer and actually measure this but I just held them to my cover and cut around it. Remember, it’s not ‘lazy’ it’s ‘creative’.

Then in the spirit of ‘creative’ I held the pages up to the cover and punched the holes in the same place, lined up with the ones on the front and back cardboard pieces. Punch all the pages you want in your notebook. Thread some stringy like substance through the 2 holes and tie it up in some pretty way.

You can decorate the cover or leave it blank. I stuck a bit of washi tape on mine just for fun, gotta use that stuff up somehow I just keep collecting it. I had tried to stamp doily designs on it but the cardboard is too bumpy and it doesn’t print well. You’d have better luck using a stencil I think rather than trying to stamp.