Tag Archives: DIY

New Jewlery display for my room

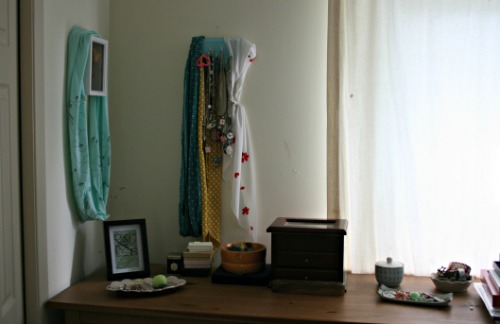
I had this.

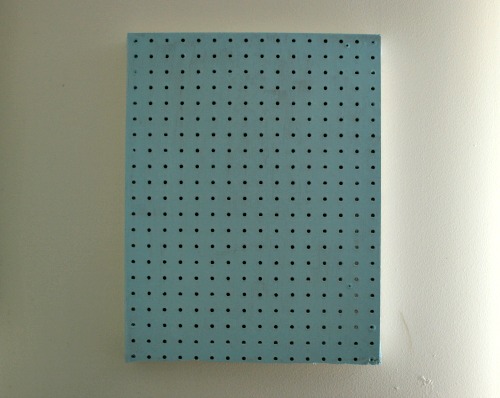
I wanted things more spread out. So I built this.

It was just 4 pieces of wood making a square on the back and the pegboard on the front. I had my lovely little boys help me sand and paint it too.

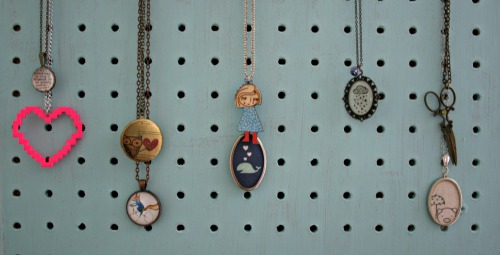
Then I moved everything back onto it.

And kept adding.

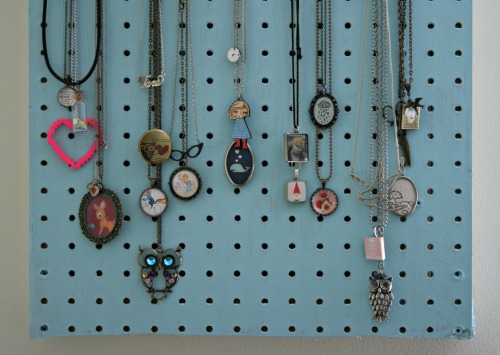
Ta da!

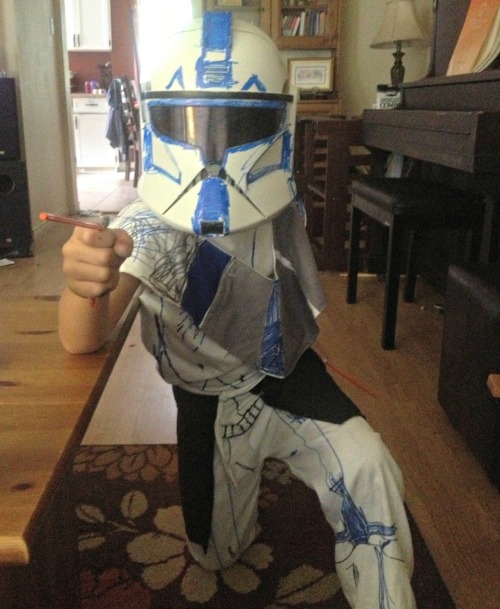
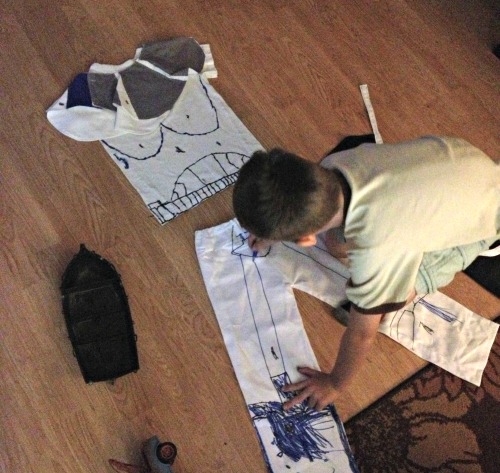
From Nate to Dr Horrible in about an hour.

Wesley has had a Captain Rex costume for a while. I swear I’m raising the bar way toooo much on myself. My kids think I’m some sort of crafty Wonder Woman who can whip up anything. And while I love to try and get a kick out of creating different things they’re getting pretty sophisticated in their requests. I’ve managed R2 D2 and Darth Vader, a monster, and a ghost once but that was literally the whole white sheet with holes trick.

We’ve been watching a lot of Dr Horrible. We listen to it in the car. We watch it all snuggled on the couch. We randomly sing it without the music.

One time while watching it I said “That’s it, I’m dressing you guys up as Dr Horrible and Captain Hammer this year, for real” Nate said “Let’s do the wedgie part!” And thus my motivation was kicked into overdrive.

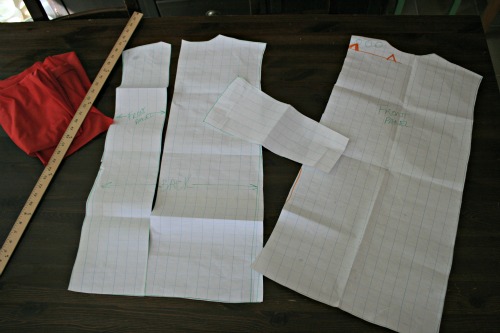
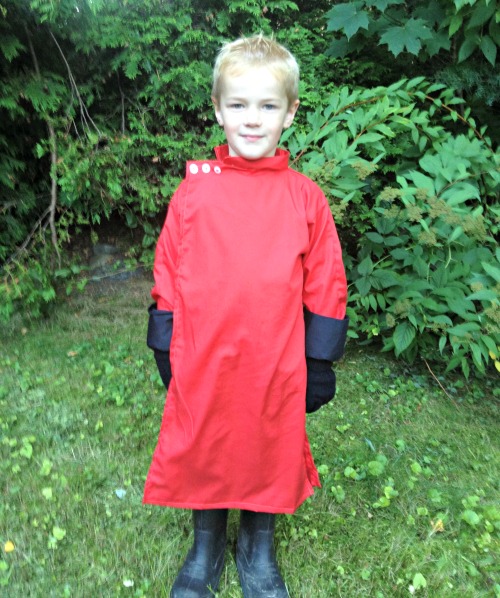
I grabbed some red fabric at Fabricland and one of Nate’s t-shirts. I traced out the shoulder and neck bit of the shirt and then just sort of went with tapering and a length I thought would work.

With some buttons from my stash, bits of velrco, some stretchy gloves stolen from a neighbour and some black fabric . . . voila! Evil Dr Horrible. So out the door I went about an hour from my project starting to head to my friends for a backyard fire with Captain Rex and Dr Horrible in tow.

Captain Hammer is next, oh and some other Clone Wars guy.

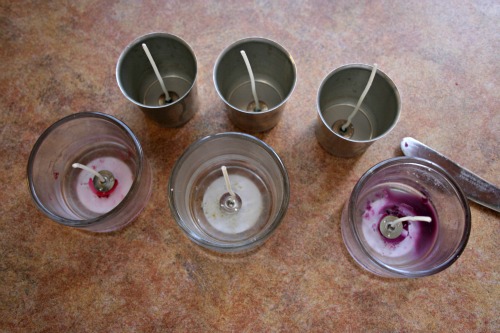
Recycled candle making DIY

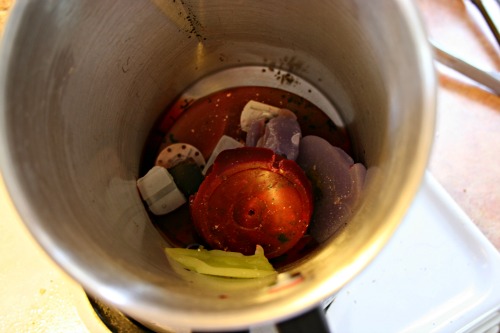
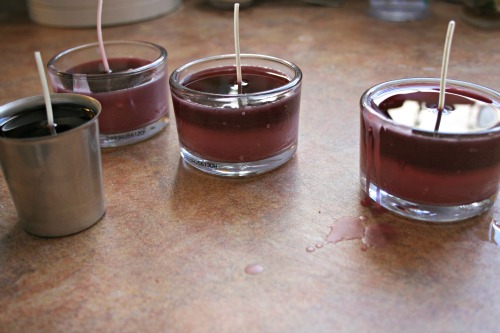
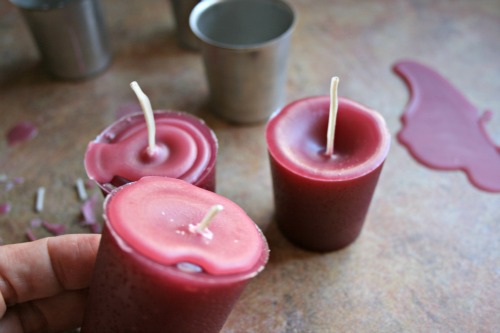
I made candles! Candles from all my old odds and ends of other candles.

I collect the bits and pieces for a while. You can pick up wicks and the little holdy things for them at craft stores. I had some around because I made candles for people for Christmas gifts years and years ago.

The easiest ones to use are the waxed ones that stand up on their own but you can buy string like wicks and you just have to tie them to some something to keep them straight up.

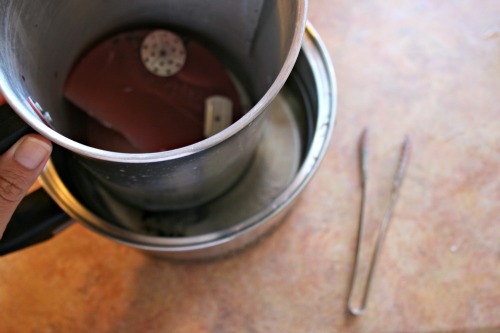
I have a special metal jug/pot thing from Michael’s for melting the wax but you could just dedicate a pot to it. I did do it inside a pot of boiling water, I think the wax *could* catch fire if you were neglectful but you need to be right at the stove for this. Melt all the bits and pieces and then fish out any garbage.

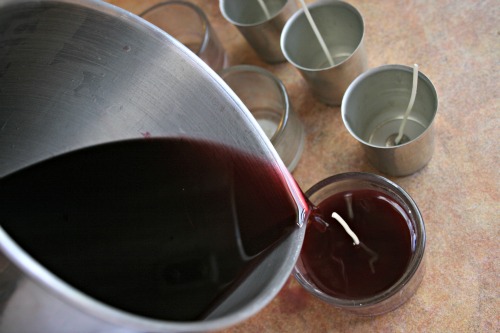
Then you just pour the new melted wax into the containers and molds. I added some colouring things I had and some stuff that makes the wax smell good too, again I got those at the craft store.

As the wax cools it sort of dips down a little bit so you can leave it like that or I went back and just topped up each candle.

Once they’re cooled you can just pull them out if you made votives or leave them where they are if you re-used previous candle containers.

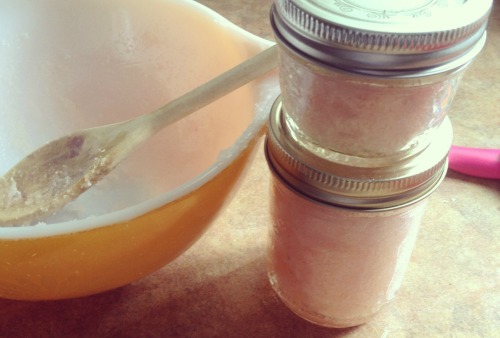
Body Scrub making.

I have been really intrigued with making my own scrubs recently. I’ve started a collection of ideas on Pinterest on this board. Pardon my hair and eye make up pins.

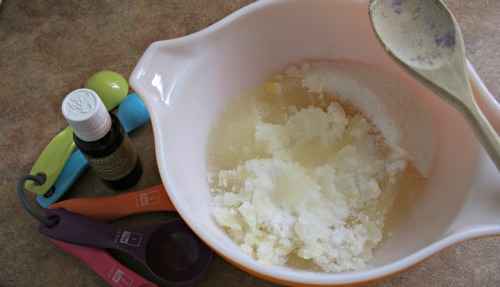
The recipe I used was
– 3 cups sugar
– 1 cup oil
– 10 drops essential oil

Now I played with this a bit and only made a half batch to try it out. I used vegetable oil, which was what I had on hand and seemed weird but honestly it totally works. I’m going to pick up some baby oil or coconut or something that doens’t make me feel like I should be roasting myself!

I put waaaayyy more than 10 drops of the tangerine oil, I probably put closer to 30. That said, I didn’t find that it made the rub smell as much as I would have liked. I’m going to play around with adding actual orange juice? concentrate? extract? I dunno something to give it that kick of smell. I also put a drop or two of red food colouring in just to give it a hint of colour.

Has anyone tried making their own scrubs? I’d love to hear what works and what doesn’t.

Also, if you give these scrubs a try be careful in the shower because it can make things a touch slippy!

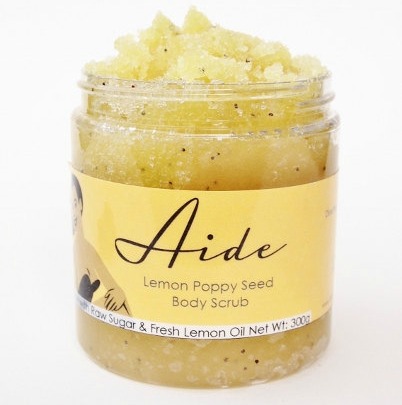
If you’re looking to buy some great natural body products my lovely friend Michelle makes some great stuff. I’m addicted to this Lemon Poppyseed body scrub, I love how it feels and that after the shower I smell a touch lemony.

Easy Peasy Necklace organization

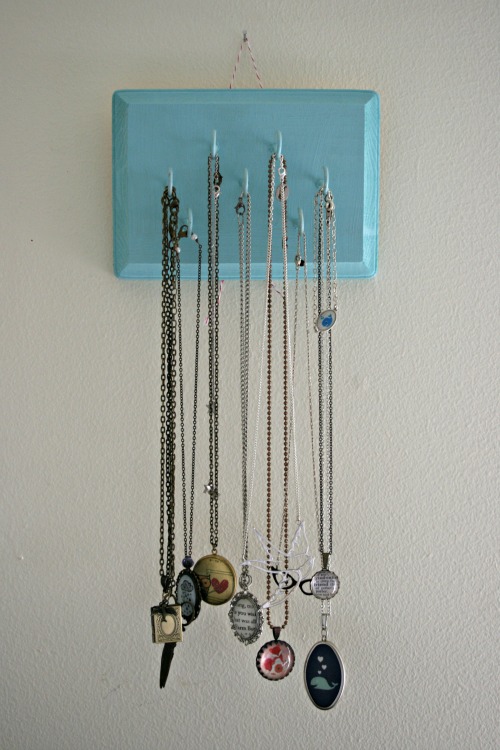
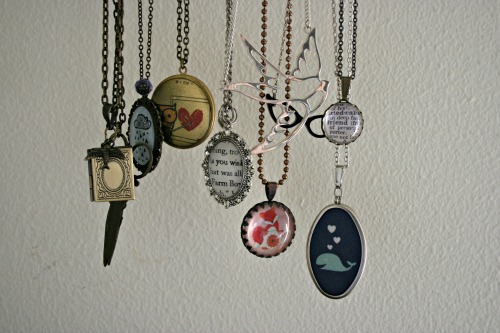
I finally got around to making this little fellow for my growing accessories collection.

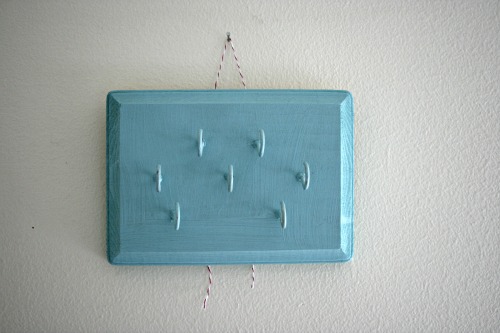
I picked up the plaque at Michael’s, it’s just one of those plain wood ones. Then I screwed in some hooks here and there, painted it a fun colour and stapled some baker’s twine to the back!

Nail in wall and voila!

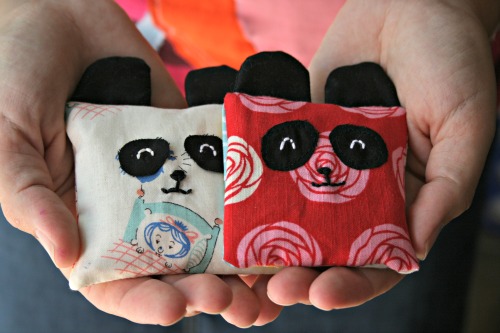
DIY Panda drawer sachets

While shopping at a farmer’s market the other weekend I picked up some lavender and got a neat idea for these sachets for my drawers. They’re really quick and easy and can help destash your scrap bin, something I love to do. I’m making a run for the border today and so in lieu of a Create Along post (too busy with back to school) I thought I’d share this instead.
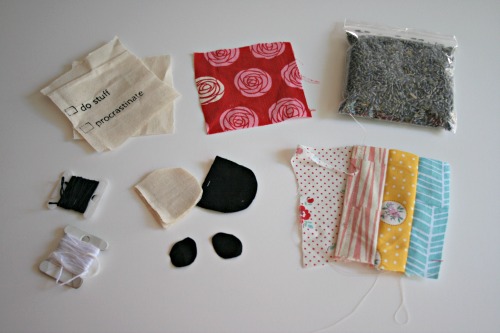
So you will need the following supplies, along with a needle, on a machine or for your hand.
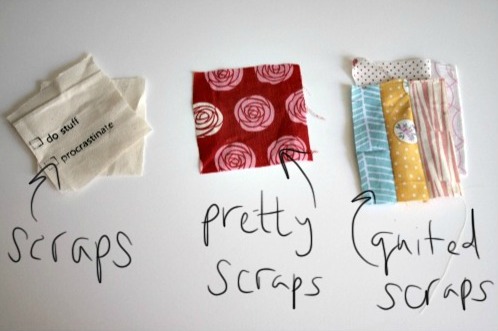
The fabric pieces can be any measurement you want, they just need to end up a square. I made 2 and one is slightly smaller than the other but they’re around 3 1/2 inches square. You need to make 2 quilted pieces that measure wide enough for your front piece and then have some extra because they will overlap and make an envelope pillow cover sort of closing.
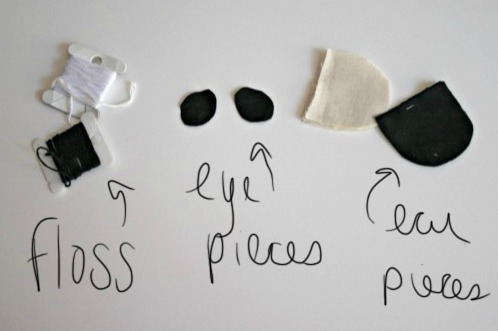
You’ll need white and black embroidery floss, some black fabric for eyes and ears and I used some scraps from my cup cozies as lining for the ears.

Panda making

1. Place the eyes on the pretty scrap (sew them on with black thread or iron on with a fusible thing)
2. Embroider the features on the panda, white eyes, and a black nose and mouth.
3. Layer the ear pieces – black, black and then lining. Sew around the curved part of the ears and then turn right side out.
4. Quilt together the backing pieces from scraps, hem the edge where the opening will be.
5. Put the quilted pieces on your work surface right side up, make sure the hemmed parts where the opening will be overlap by at least 1/2 inch.
6. Lay the ears down with the straight edge lined up with the top of the quilted pieces.
7. Place the panda face pretty piece face down on top of the pile. Make sure the ears are sandwiched in.
8. Pin to hold everything in place.
9. Stitch around the entire square.

Sachet making

1. Get your scraps and lay one on top of the other. I use the screenprinted bits that got messed up and I can’t turn into cup cozies.
2. Stitch around the square leaving an opening on one side, about an inch wide.
3. Stuff your sachet with something pretty smelling (potpourri, lavender, etc)
4. stitch the opening closed.
5. Trim around the square, be careful not to cut into your stitches.
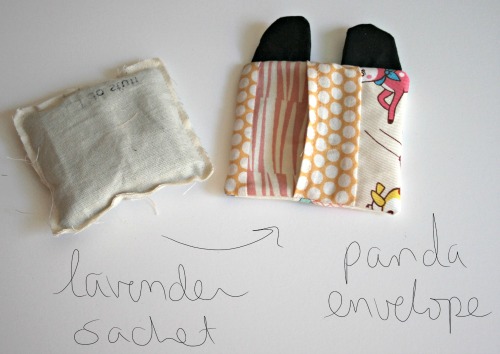
The great thing about making the panda with an envelope closure is you can swap out the inner sachet when the smell fades or to change things up a bit. I’d love to see what you make!
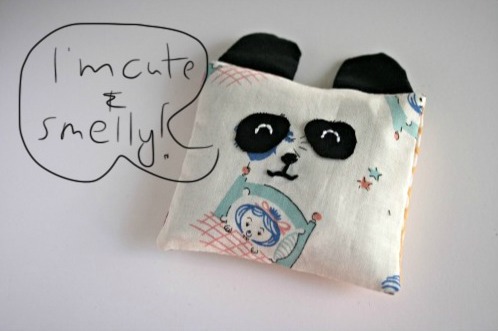
Also, I’ve been dying to use handwriting on my photos and haven’t been happy with the results/methods. But today I figured I’d give it a try and not be so picky. Elsie‘s post sabout apps and techniques helped guide me in my quest.

I am no HTML expert, honest

Well I did a bunch of work tidying up my blog layout and some pages over the weekend but I also broke a whole bunch too. Luckily I have one of those computer programmer husband things so he was able to come to my rescue.

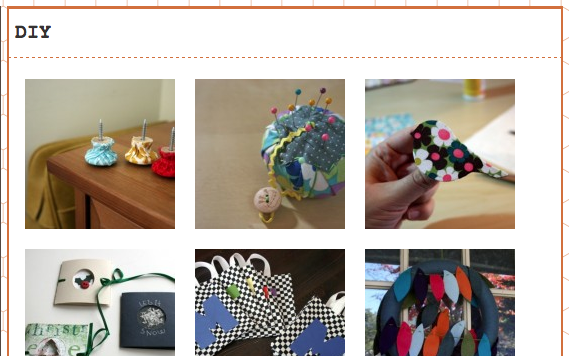
I now have all my DIY projects in a nice fun table on the DIY page.

I’ve got all the Create Along projects listed as well on the Create Along page.

I also made my social media icons smaller and much more subtle, they were bright crazy colours before. They were the colours from my blog palette but still too bright. If you want to find me I’m sure you can figure it out, they don’t have to hit you over the head.
I also wanted to take a moment to just say thanks for reading my blog. It’s coming up on 4 years of this wonderful thing and it’s been so much fun. What started as a personal journal of creativity for my eyes only has grown into so much more and I’m so happy that I can continue with it and that others are sharing in my fun.

DIY with loads of sharing

You will need:

Some fabric scraps
Modge Podge
Knobs (screw pieces if they don’t have them)
Wall anchors

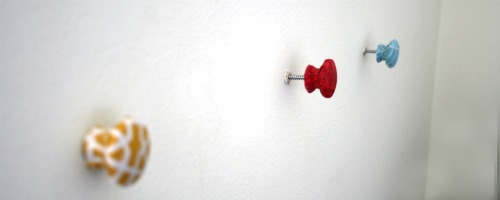
Cut a scrap of fabric and wrap it around the knob to cover it. Pour Modge Podge on the front and smooth it down saturating the fabric and gluing it to the knob.

You can secure it with an elastic to help it dry in place. Once it’s dry trim away the excess fabric.

The knobs I bought didn’t have screws on the end so I had to glue some in.  If you’re repurposing cabinet handles you may not have to do that step.  I choose 3 colours that would compliment my handmade art wall.

Decide on your spacing and drill holes in the wall.  Secure the anchors and make sure they are flush with the wall.  Then simply screw in the knobs.

The next step is the best, hang your accessories!

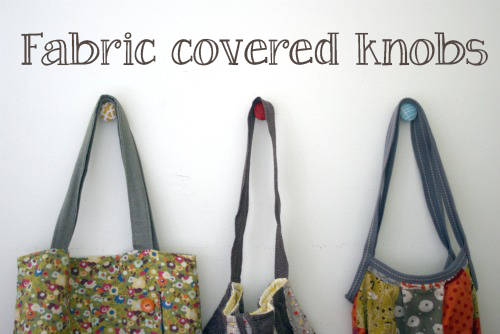
I used mine to display my growing tote/purse collection. Bags are from (left to right)
Kimmy Kingsbury, Hot Butter, and me!

DIY – Tomato pin cushion revamp

I’ve made a bunch of scrappy pin cushions since I started sewing and one thing I recently learned is you shouldn’t fill them with that polyfil stuff, apparently it can dull your pins and needles. I had no clue.

Some emery sand would be best, but it’s tricky to find. And while the nostalgic red tomato pin cushion reminds me of my mom sewing, everyone has one and having something different is fun. So I decided to start with the standard tomato pin cushion and do some reworking.

You’ll need:
tomato pin cushion (I already removed everything off it before the photo)
fabric square big enough to wrap it up
a scrap of fabic
embroidery floss
optional: ribbon or rick rack and some buttons

Figure out how your square of fabric will best fit on the tomato and start attaching it with little stitches around the top.

It should look something like this, with more or less fabric depending on the piece you started with.

Trim the excess, try to get it as close as possible to the stitches.

Thread some embroidery thread onto your needle and starting at the top travel around the tomato pulling tightly to secure the fabric. You can cross over and under the threads to help them stay in place.

Cut some sort of fun shape to cover all your stitching at the top. I went with the leaves on the tomato sort of shape out of a fun polka dot print.

Stitch around the secure the scrap to the top your the cushion. Try to pop up as close to the middle as possible and then attach a bit of ribbon or rick rack. I decorated the end of mine with buttons stitched on back to back.

And ta da! A lovely revamped pin cushion.

Guest post!

Hello everyone, well hopefully I’m enjoying some great weather in Belize, maybe I’m even on a beach! Which is why I asked Janee of Yellow Bird Yellow Beard to guest post for me. Here’s her cute DIY.

Hi Fun People!

I’ve seen these adorable little figurines floating around the internet recently, I’m sure quite a few of you have seen them also. Now I’m normally not a huge fan of glitter, but these are simply irresistible. Enjoy!!!

DISCLAIMER::: I’m going to say this just in case you’ve been living in a cave up until now and have never worked with glitter before. Your going to want to do this on an easily cleanable or throw-away-able surface. Or better yet, outside. Or even better still, outside on a throw-away-able surface.


xoxo
Janee