Tag Archives: pin cushion

DIY – Tomato pin cushion revamp

I’ve made a bunch of scrappy pin cushions since I started sewing and one thing I recently learned is you shouldn’t fill them with that polyfil stuff, apparently it can dull your pins and needles. I had no clue.

Some emery sand would be best, but it’s tricky to find. And while the nostalgic red tomato pin cushion reminds me of my mom sewing, everyone has one and having something different is fun. So I decided to start with the standard tomato pin cushion and do some reworking.

You’ll need:
tomato pin cushion (I already removed everything off it before the photo)
fabric square big enough to wrap it up
a scrap of fabic
embroidery floss
optional: ribbon or rick rack and some buttons

Figure out how your square of fabric will best fit on the tomato and start attaching it with little stitches around the top.

It should look something like this, with more or less fabric depending on the piece you started with.

Trim the excess, try to get it as close as possible to the stitches.

Thread some embroidery thread onto your needle and starting at the top travel around the tomato pulling tightly to secure the fabric. You can cross over and under the threads to help them stay in place.

Cut some sort of fun shape to cover all your stitching at the top. I went with the leaves on the tomato sort of shape out of a fun polka dot print.

Stitch around the secure the scrap to the top your the cushion. Try to pop up as close to the middle as possible and then attach a bit of ribbon or rick rack. I decorated the end of mine with buttons stitched on back to back.

And ta da! A lovely revamped pin cushion.

Another online class perhaps? And surprises in the mail!

I’m already on my second online crafty sort of class for 2010 so why not add another one.  This class is happening and seems like fun.  So I’m blogging about it on the off chance I get lucky and win a free spot!

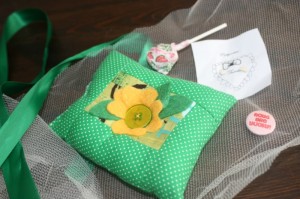
In other fun news today I got mail!!! My lovely pin cushion arrived thanks to LA’s swap. My partner was Brandy of Pinkzombies. She sent me my cute new pin cushion and some other fun goodies. I really like the ‘boys are yucky pin’.

I might be addicted,

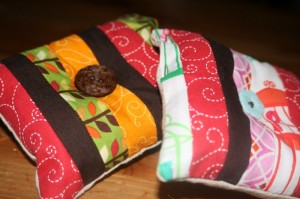
and it’s LA’s fault! Thanks to her tutorial, and such a cute little idea, not only have I made one to send to my swap buddy but I’ve also made these other 2.

I’m sure there will be more. I’m already compiling a list of family and friends who sew so I’ll have homes for all of them!

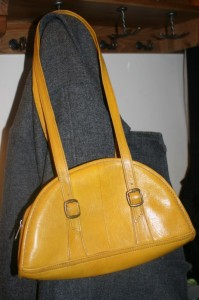
I also found a supper cute bag for my Style School vintage bag embroidery type project. I’m a little worried about how tough it’s going to be trying to sew through the bag. But I did buy some strong needles and a thimble to help me get through it. Hopefully a movie on the couch will help too.

Freckled Nest pin cushion swap!

Sometimes I don’t get to my RSS feed in time and miss a giveaway or some other timed event, which almost happened with Leigh-Ann’s Pin Cushion DIY and Swap. Luckily I got there just in time and now I get to be part of this super cool little craft making and gift giving extravaganza!

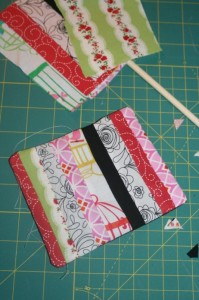
Today I had a few minutes, that’s really all it takes, to whip up a pin cushion using her tutorial. The awesome thing about it is you need very little fabric and it’s a great way to use up some scraps if you so choose.

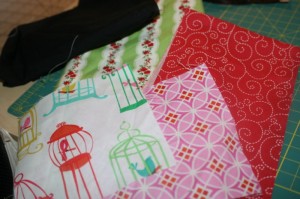
I pulled together some squares of fabric I liked and started sewing.   It was super easy and ironing between each step really helped flatten it out and make it look professional (sometimes I get lazy with that step).

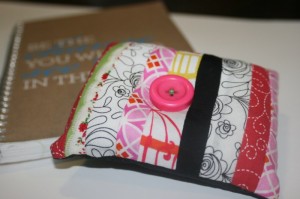
It didn’t take long to have it big enough for the square, I put a black piece of fabric on the back and choose a but pink button for the front and a cute blue one for the back.  I had to get a little creative with sewing the hole closed, I wasn’t happy with my first attempt.  I think I’m going to go make another one and then decide which one I mail off to my partner!

Tea cup pin cushion . . . tutorial-ish.

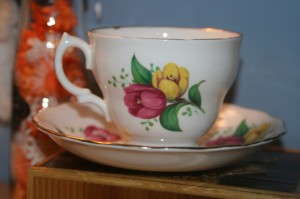
I’ve come across cute little tea cup pin cushions and today I remembered I had 2 special tea cups wrapped in bubble wrap hidden away in a cupboard because I had no where to display them.  They were my Great Grandmother’s and they were passed onto me when my Grandfather died about 2 years ago.  So I decided to go about creating a tea cup pin cushion.  It’s not that tricky, or a fine science or anything, but here’s how I did it.
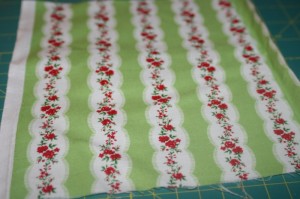
I chose some vintage-y looking fabric I had lying around.

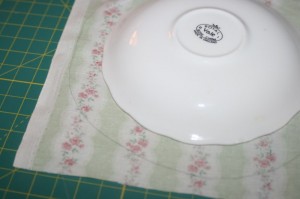
I needed to cut the fabric into a circle, had no clue about what size to I just got something round.  I placed the saucer on the fabric and traced a little bit from the edge and cut the circle out.

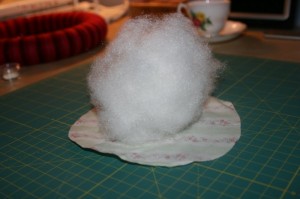
Then I grabbed some stuffing . . . stuff and guesstimated how much I would need.  It looked like a lot but once it was all squished up it was perfect.  So if you’re trying this, take a little bit more than you think.

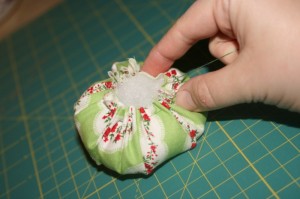
Then I did a running stitch around the circle and pulled on the thread to gather the fabric and close up the fabric.

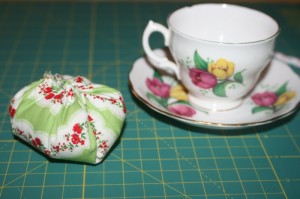
So then you have this little dumpling like bundle.

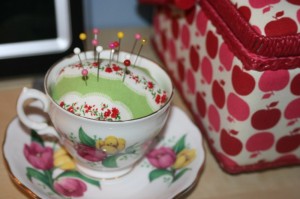
And voila!