


My cup cozy designs came from part having funny things to say and part wanting to help people keep their drink a bit insulated and their hands a bit safe while sparing the environment extra cups or cardboard sleeves.
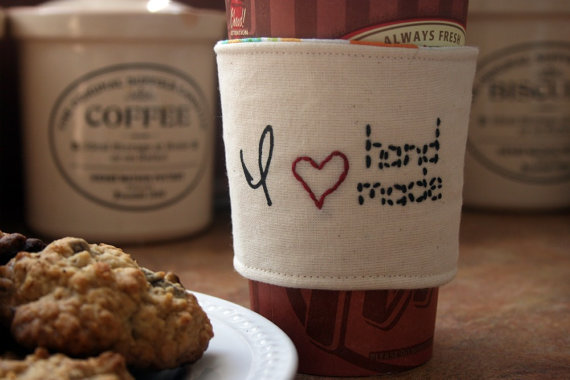
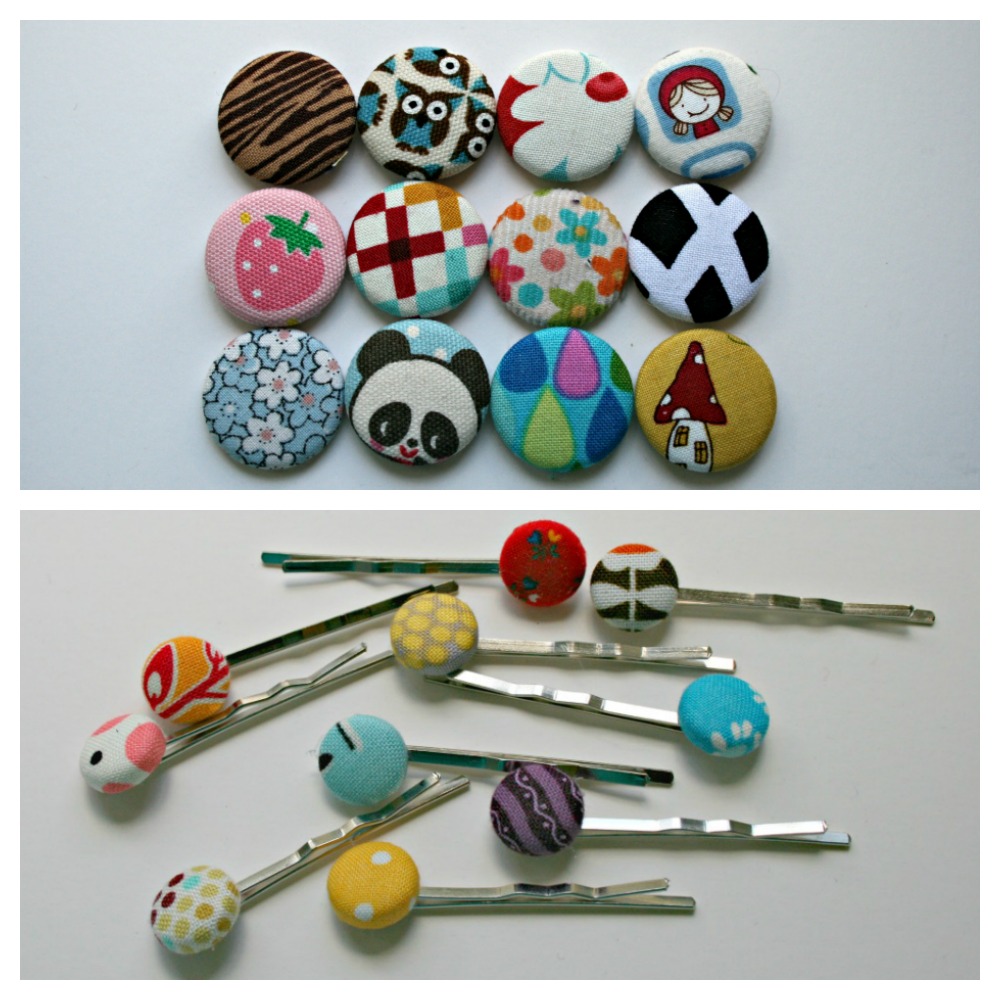
I try to be conscious of my consumption of items and how much I use up my craft supplies. I repurpose things and use up all my scraps (down to 1 inch magnets and then teeny tiny scraps for hairclips). I take donated scraps from people, thrift things to reuse, when I screen print and make mistakes I use those pieces as interfacing and lining for other projects. I try.
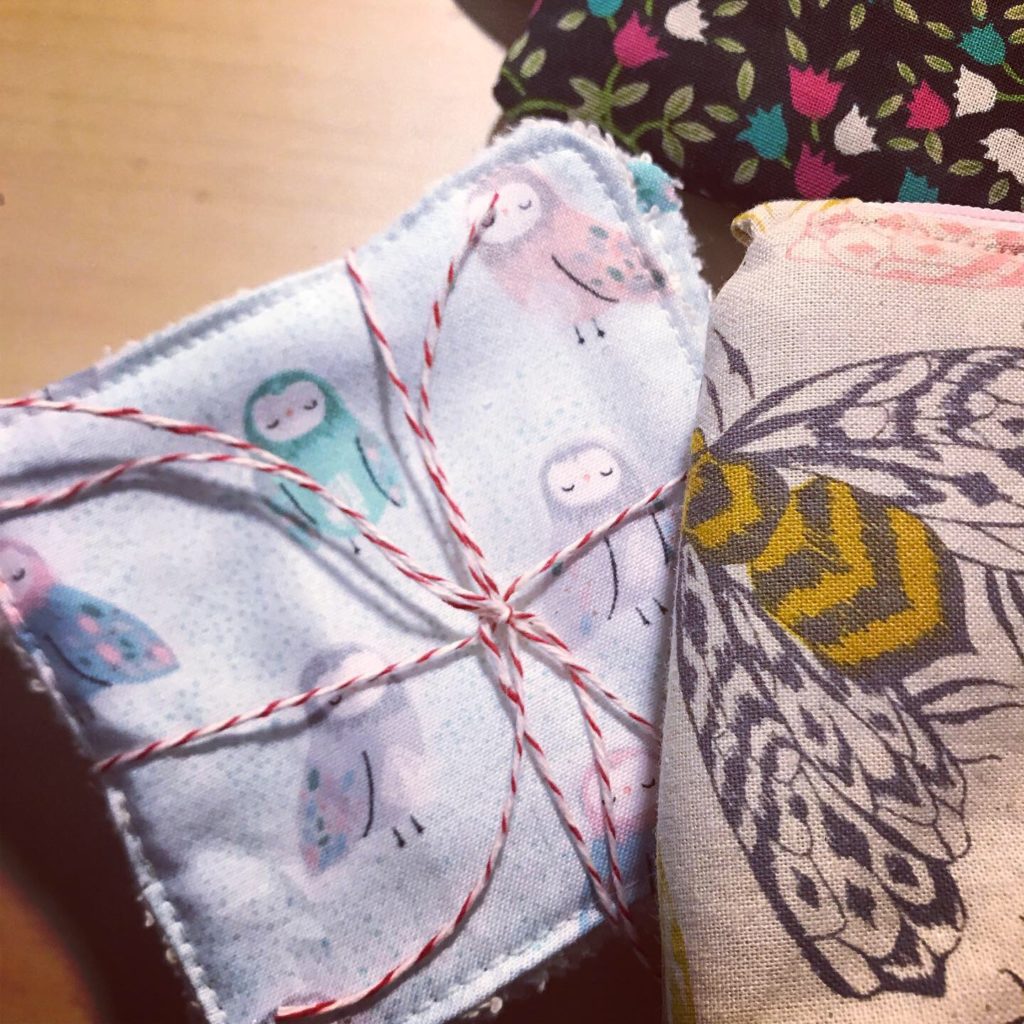
Recently I’ve tried to up my game in our household – reusable produce bags, reusable make up removal wipes, hand made face cloths and wipes. I keep them in a travel bag in the bathroom then once they are used put then in a mesh bag to breathe then just wash and dry in the mesh bag.
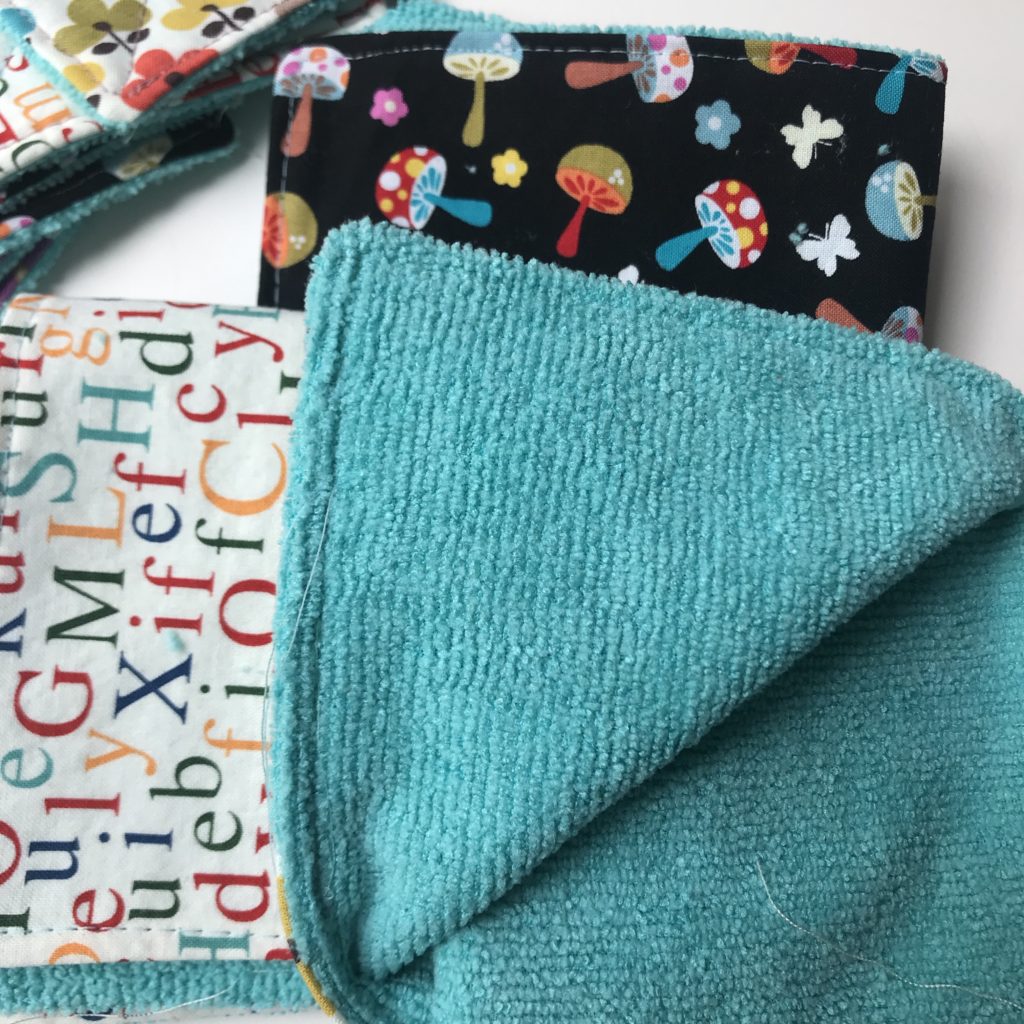
This ones were made with our favourite colour in my house, which we call Swoon. My son wanted some slightly larger ones for his face. I just used up fun prints I had on hand and made a bunch for our use.
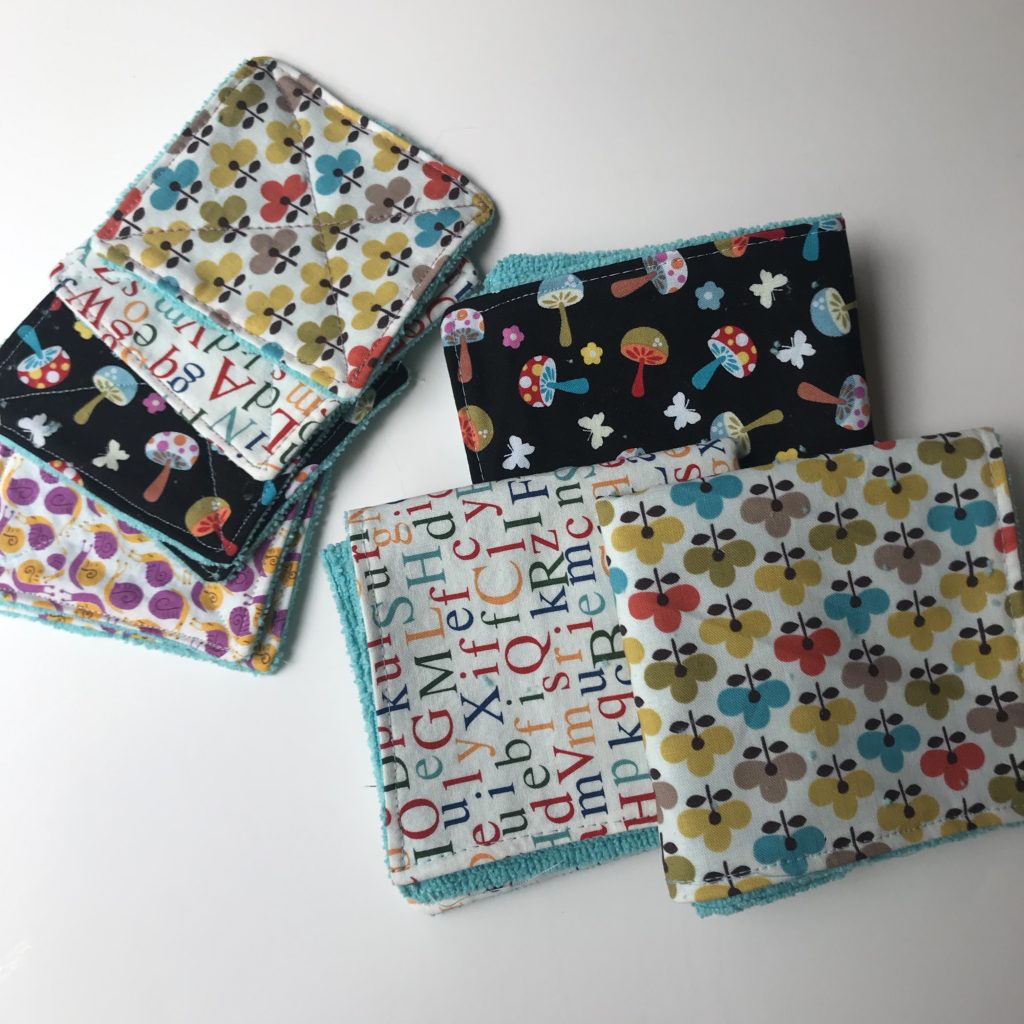
As I posted about them I had some request and so I went ahead and made some for friends. It saves on having to buy one time use make up puffs and doesn’t make any solid waste.
Looking forward to making more and adding them to my table at craft shows and my Etsy shop.


