Category Archives: repurposing

Winter cleaning happy mail?

I’ve been clearing my work area and I plan on kicking butt on all these half finished projects cluttering up my space. While I was going that I came across a bunch of neglected, unloved supplies. Perfectly good things but I haven’t used them in ages or probably won’t get to using them.

I had the idea of doing a giveaway but then I thought maybe other people are having the same problem and we could set up a swap. I’ve got some things that came as freebies with Etsy orders, or items from other swaps, cute sticky notes, stickers and of course ribbon, fabric and buttons that I’ll probably never get to using!

Sooooo anyone want to play along? Sign up below until Wednesday January 11th. I’ll match us up (open internationally unless you tell me otherwise) and email partners so you can work out addresses and such. I suppose the contents should cost about $10-$15 but I’m hoping we can all just share some neglected creative stuff and pass it on to someone who may be inspired. Of course you can also include a handmade by you item, I know I will.

I was also hoping this post will distract from the fact that I haven’t completed a CreateAlong project in a while . . . next week I’ll reveal all my neglected projects, I promise!

Guest post!

Hello everyone, well hopefully I’m enjoying some great weather in Belize, maybe I’m even on a beach! Which is why I asked Janee of Yellow Bird Yellow Beard to guest post for me. Here’s her cute DIY.

Hi Fun People!
I’ve seen these adorable little figurines floating around the internet recently, I’m sure quite a few of you have seen them also. Now I’m normally not a huge fan of glitter, but these are simply irresistible. Enjoy!!!
DISCLAIMER::: I’m going to say this just in case you’ve been living in a cave up until now and have never worked with glitter before. Your going to want to do this on an easily cleanable or throw-away-able surface. Or better yet, outside. Or even better still, outside on a throw-away-able surface.


xoxo
Janee

Create Along Friday (a day early, I can’t wait)

Alright I actually did my homework quickly this time. I had plans to make this Saturday with a friend and it got me in the mood for it and even when she had to cancel I forged ahead and finished it.

For my 7 scalloped pieces I used vintage linen fat quarters I’ve been collecting for a bit. Most of them I got from this shop and some are from this one. I had plans for a quilt or something but it won’t hurt that I’ve cut into them a bit.

I made the rest of the bag with just plain black cotton, I liked how it looked with the flowery patterns. I also got fancy and added some interfacing and an inside pocket panel that I stitched to the lining to make with 3 sections. Sewing the scallops involved lost of needle in turning while sewing and when I turned my scalloped pieces right side out I had a lot of puckering, even after ironing. But I just strategically hid them with the other pieces and I picked the neatest one for the top row of scallops. I used some denim for the inside pocket and with the black inside a photo of this part wasn’t working so well.

Actually a photo at all wasn’t working so well. Home alone with 2 little ones it was tricky to get a great shot. As seen by these outtakes. Timer setting failed.

Mirror shot wasn’t working so well. So then I switched to an arty attempt, which is sort of silly.

I used the bag the next day when I took the kids to a birthday party and it got some attention. Thanks again to Kate for sharing such a fun tutorial. Be sure to check out the linky party to see all the great totes everyone made. Add your own of course.

Next on my list . . . a tablerunner!

I’ve admired these doily table runners for quite some time.  I think with snowy weather coming for some of us it will make a great festive decoration. There’s a great tutorial here, but it’s pretty straightforward – collect a ton of doilies and stitch them together in a neat way. Oh and come back and share!

Need a magnet?

I sure don’t, I’ve been making a few. Just a few.

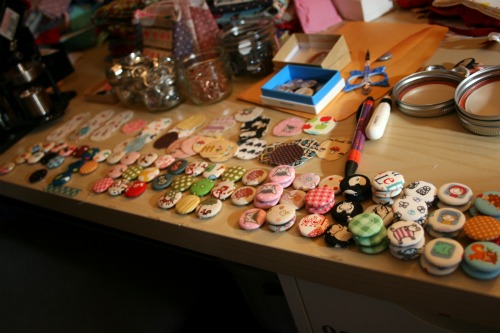
I love you button making machine.

Now to iron out my packaging . . .

Craft swap fun to keep my ipad cozy.

So I signed up for 2 craft swaps this year and in the first one I was lucky enough to get Shealynn for my partner. After a few emails I wasn’t really sure what to send her, she makes/made these great camera strap covers and I didn’t know if I could impress her with anything.

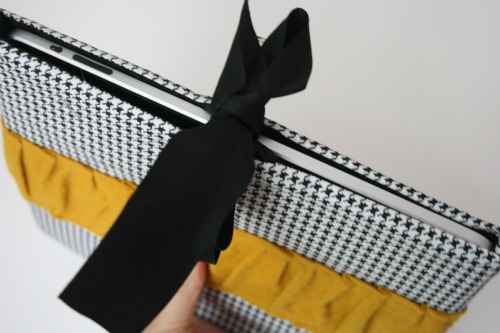
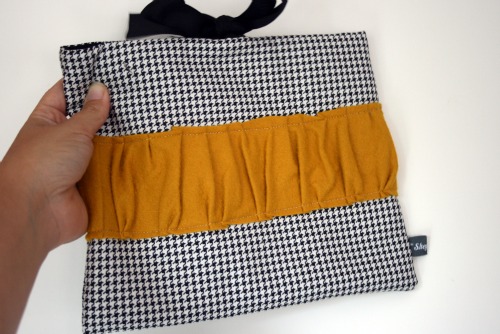
So I just plunged in and sent her a sewing machine cover and some other goodies. I figured if I went first I wouldn’t feel pressure to be awesome like her creations. Sure enough, this amazing ipad cover arrived for me a little bit ago.

Now I had made myself an ipad cover before, but it was showing signs of wear and it was like a sleeve and there have been a few times my ipad was on the verge of just sliding right out when I wasn’t paying attention. So a snazzy new cover was just the kick in the butt I needed to finally cut my old one up and reuse the material.

My gift giving challenge.

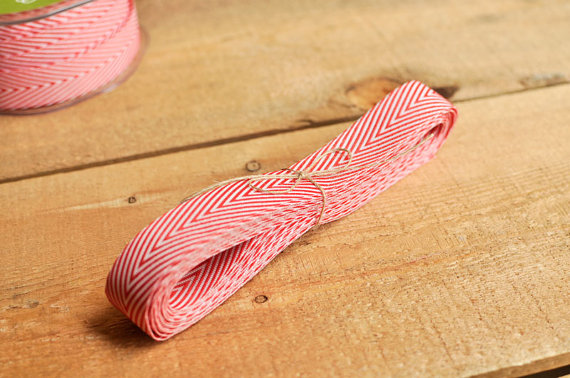
You know I don’t really need yet another creative thing to do but they’re always so fun and cute. Keyka Lou posted this great ribbon the other day which of course sent me off clicking to Etsy to see what it’s all about.

While I was admiring all the pretty chevron ribbons I had a lightbulb moment. I’m going to wrap all my gifts pretty simply, kraft paper or bags or boxes and then go all out making them look great with twine, ribbon, doilies and other such embellishments. That way the items are reusable, repurposable or biodegradable.

Allow me to share some of my fav items and shops that will help me, and you if you want to play, with this challenge. Click images to be whisked away to shops!

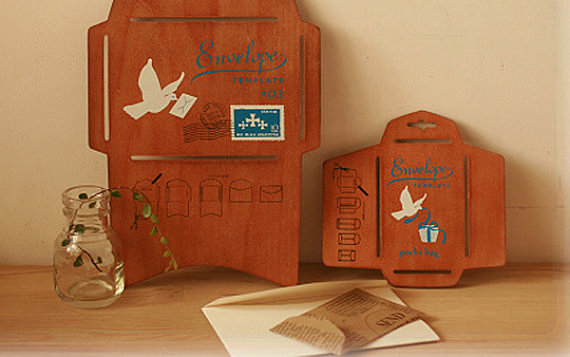
I’ve ordered a set of these already to make my own envelopes out of various papers.

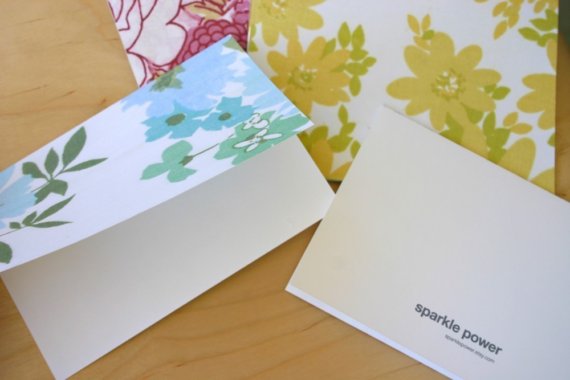
You can order a printable PDF file for these vintage linen inspired cards.

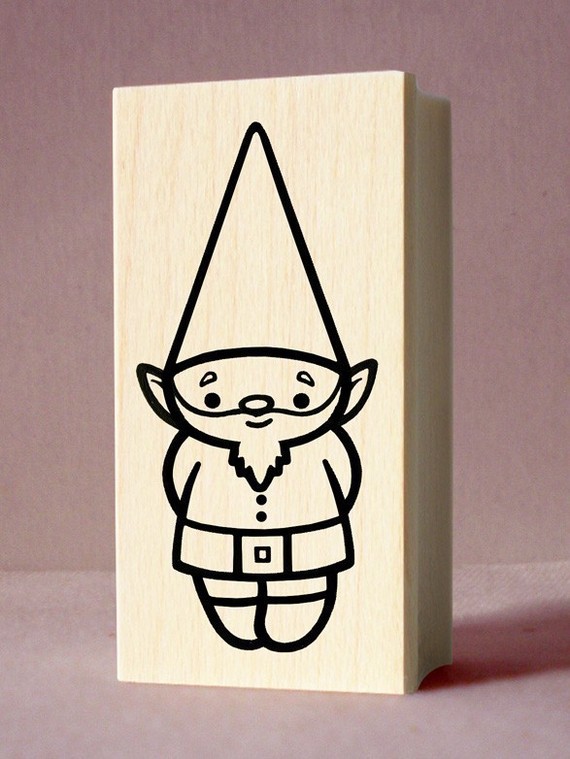
Hoboville has the cutest rubber stamps I have ever seen! A great option for making your own printed wrapping paper.

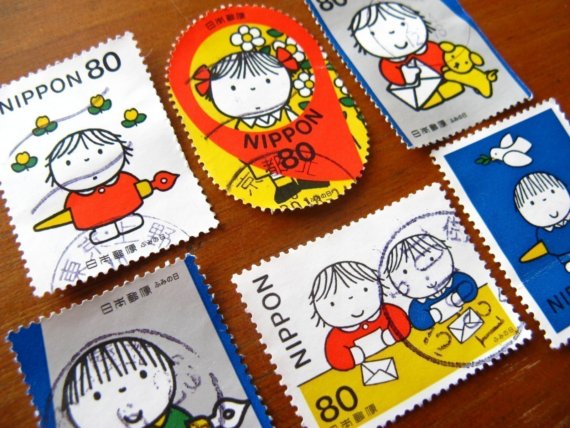
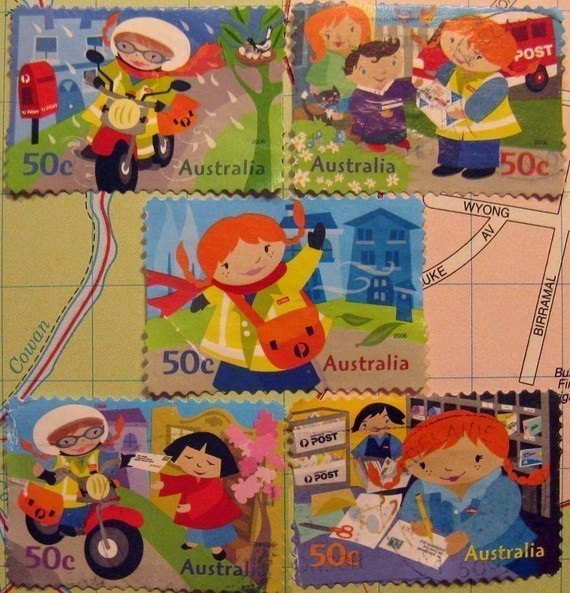
Thriftypyg has some great ephemiria items that would jazz up some plain kraft paper nicely. Check out these cute stamps.

I’ve got some of these stashed away downstairs, no clue what I’m going to use them for but they are ridiculously sweet.

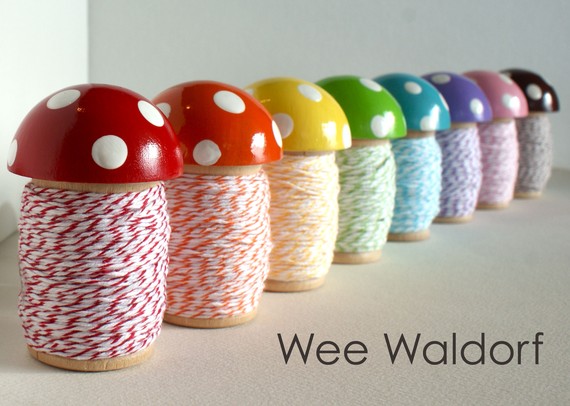
Baker’s twine is pretty easy to find on Etsy but these little mushroom spools are extra super cute.

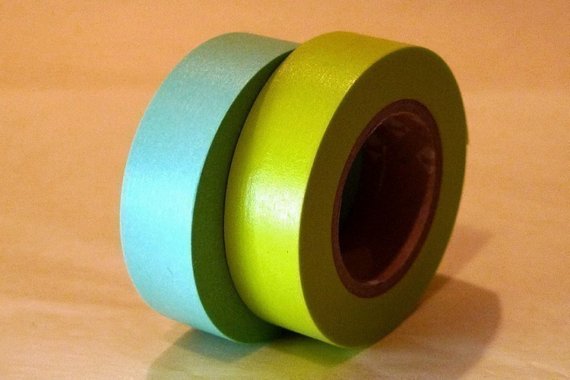
Pretty Tape has a great selection of . . . pretty washi tape and loads of other great packaging accessories.

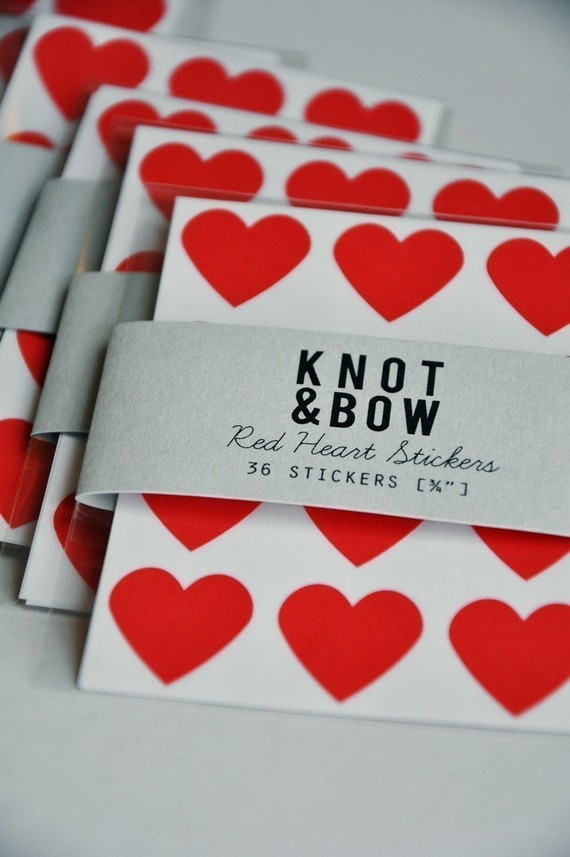
Some of my favourite shops for packaging supplies are Paper & Parcel , California Craft and of course I couldn’t have made it this far without Knot & Bow.

Wheee!

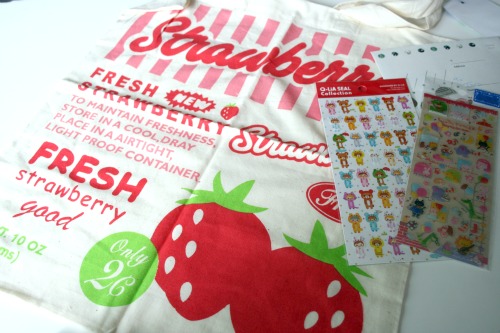
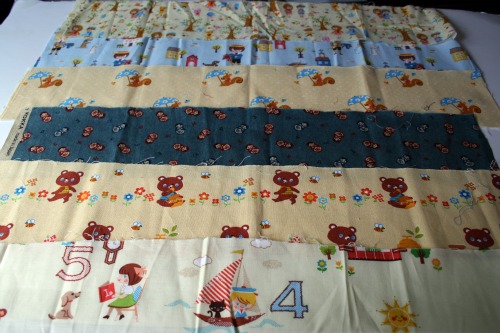
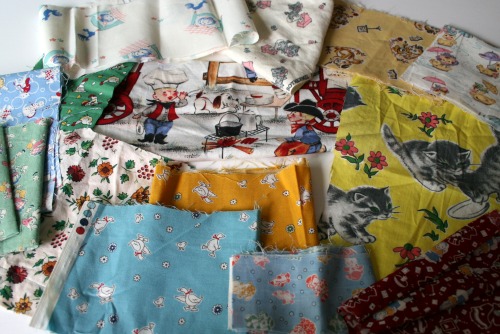
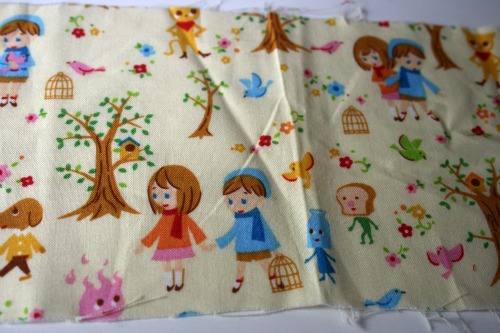
Ok, I got the most amazing scraps in one of my scrap swap packages. I can’t even begin to tell you how awesome the pieces were and how great they fit with the fun fabrics I love! Not to mention she threw in some fun stuff left over from when she ran a Japanese store online.

Here’s some eye candy.

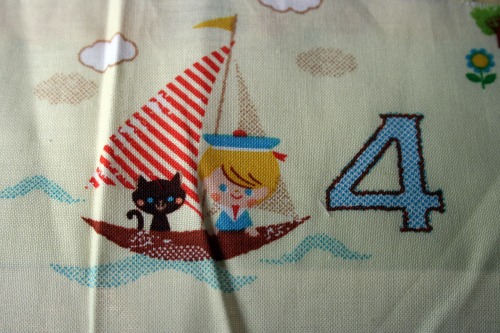
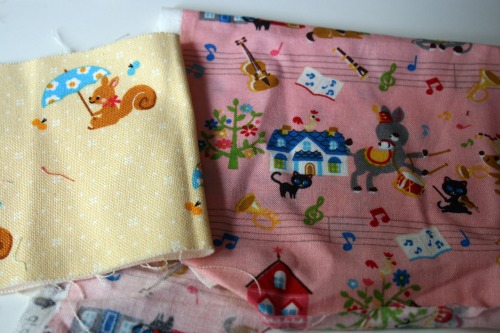
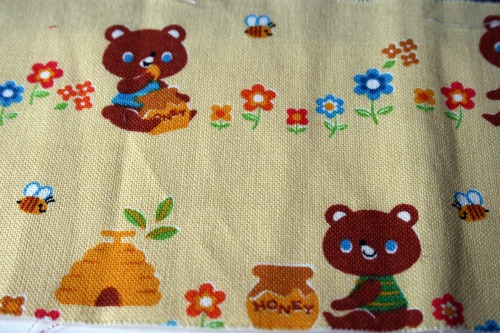
Some of these Japanese prints are amazing! I don’t know if I can bring myself to cut them up and actually sew with them.

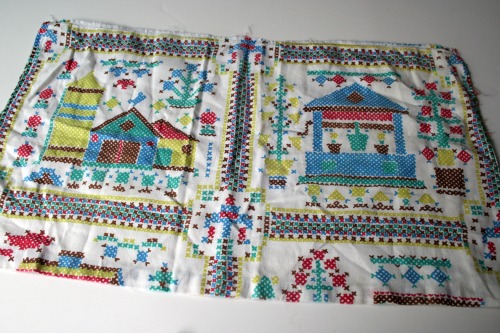
This one is great but I’m totally baffled on what it’s about. Must be another strange Japanese fairy tale, seems to be a lot of people on fire in those.

Anyhow, I’m smitten with the contents of this package. And remember to store your strawberries in a DRAY place.

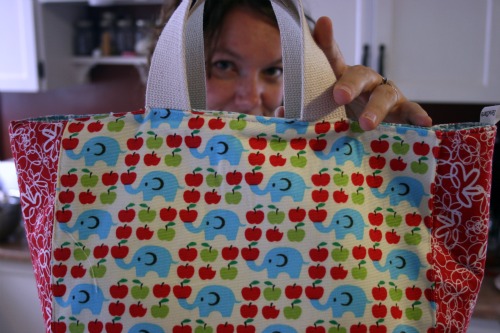
Lunch bag reveal.

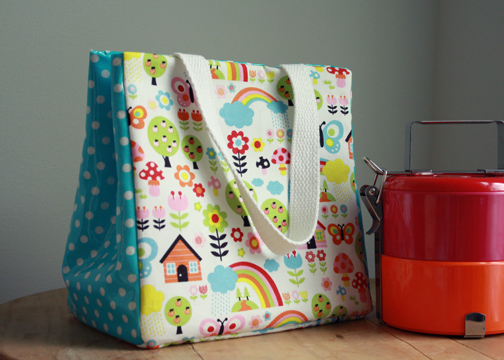
I’m such a nut. So I sat down with the pattern I intended to use for my lunch bag loaded up on my iPad, read the materials, gathered them up and then read the finished size and said to myself “Oh that’s too small!” and wandered off to do my own thing. Welcome to the way I sew my friends. I’m a terrible pattern follower. The truth is out. I’ll share the dimensions I used soon.

So onto my awesome lunch bag.

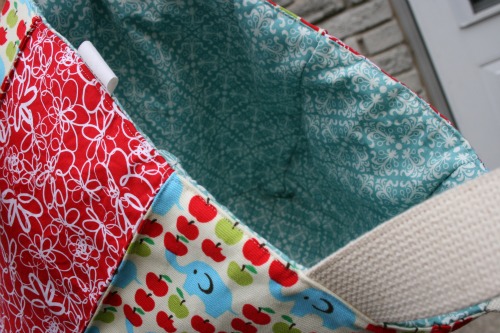
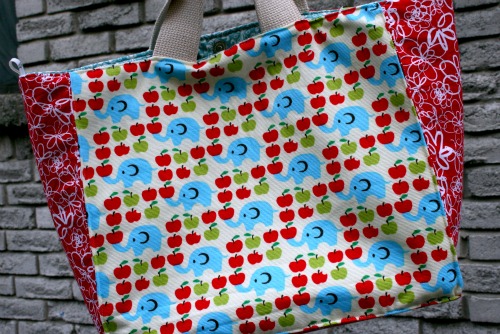
I used some of that wonderful elephant print I had lying around and matched it up with some red $1 bargain cut from a quilting shop, and some aqua damask. I had a piece of handle bits that was just the right size.

I used iron in interfacing and recycled some fleece I had lying around for the padding.

It’s a big hit at school!

Shipping center

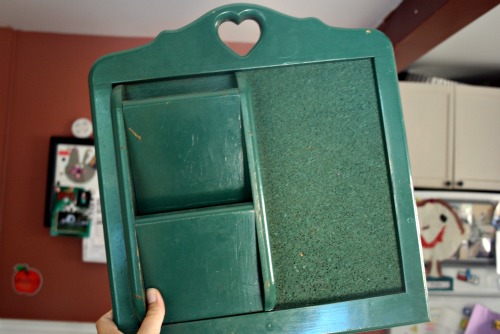
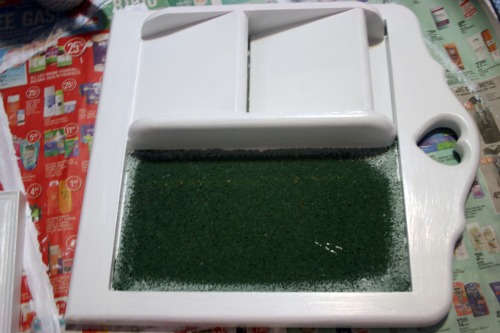
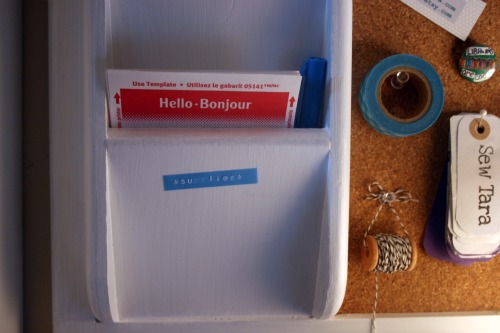
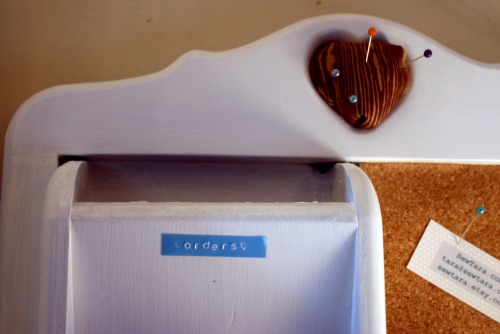
I’ve been looking for a way to organize myself a little shipping area. I found the answer in an unlikely piece. Well I suppose it is a mail organizer to begin with but it was pretty yucky.

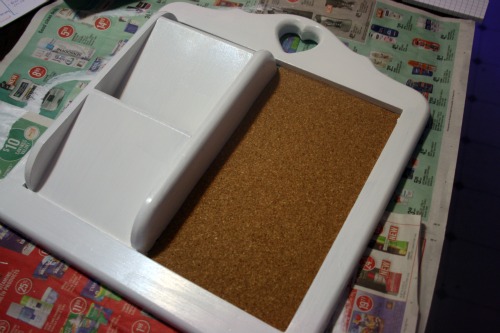
So I painted it.

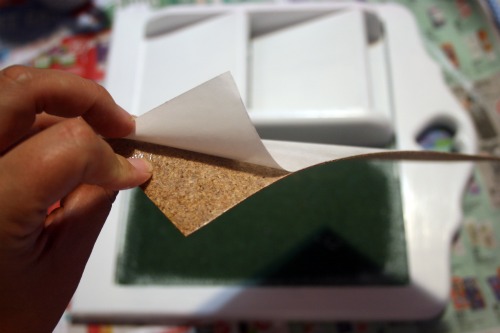
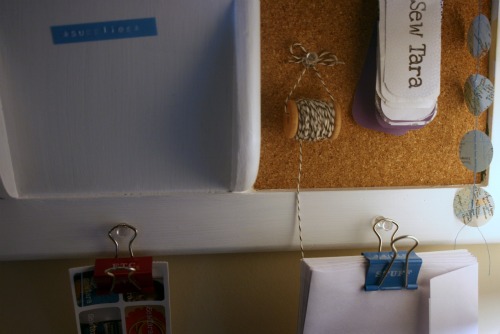
Then, after wondering how I could cover the painted cork with metal to make use of my awesome fun magnets, I decided to just use some cork scrapbook paper stuff I had and stick that overtop of the dark cork.

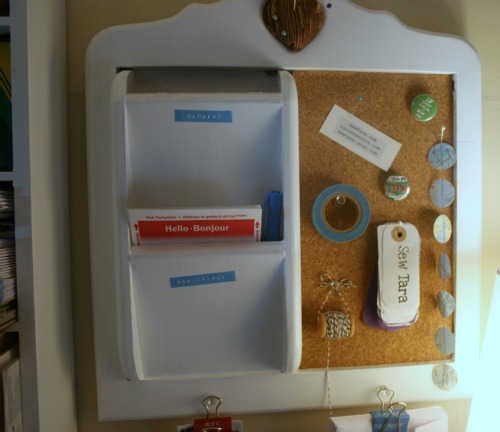
Then I hung it up and attached the things I need! Apologies for the poor lighting situation, again that basement workspace. I really need to keep working on my kids about those bunk beds.

I still struggle with my packaging style. There’s just so many fun things and ideas that I can’t settle on what exactly I want to do. But I have started using up a pile of these “Hello” name tag labels that were left on the ‘take me’ table at school. I write the addresses on them. I use washi tape to stick the corners of the envelopes down, just to make sure they stay closed. I usually wrap the order in kraft tissue paper and then either tie it with baker’s twine and attach a tag or stick it shut with one of my MOO stickers.

At the top I filled in the little heart with some fabric and turned it into a little pin cushion and then I use those on the cork board. Hanging from the bottom are MOO stickers and envelopes that have already been return address stamped and have an address label attached. Just add ink!

Not bad for a thrifty find.

My plan for today.

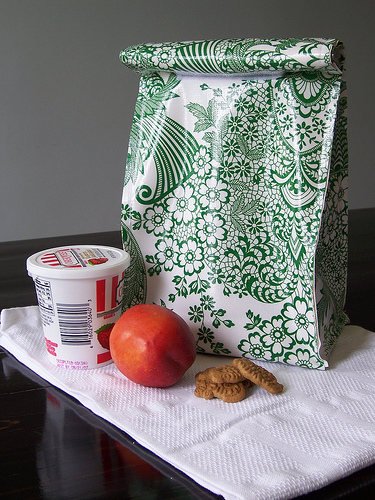
In an attempt to procrastinate from the really important things I should be doing I plan on making myself a lunch bag using this pattern.

I don’t have those particular fabrics but I do have other things that are equally as cute!

I’m also hoping to whip one up for Wesley. He turned a blank white pie box into his lunch box (or so he thinks) by drawing police cars all over it. I decided to make him one with some plain cotton fabric and give him my pile of Sharpies to draw all over it. He only goes to school 1/2 days and so only carries his water bottle and a snack so I hadn’t made him one last year but I think I’ll go with this design and I’ll use this tutorial as a guide.

I’ll post when they’re all done.

Have a great labour day and for all your back to schoolers have a great first day tomorrow!