Tag Archives: reusing

Recycled candle making DIY

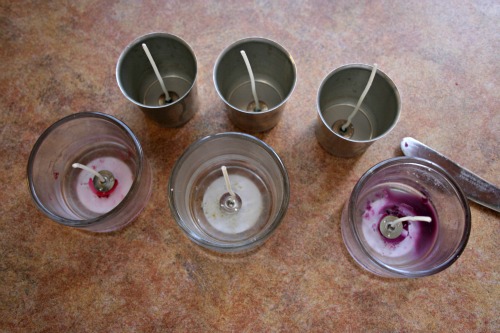
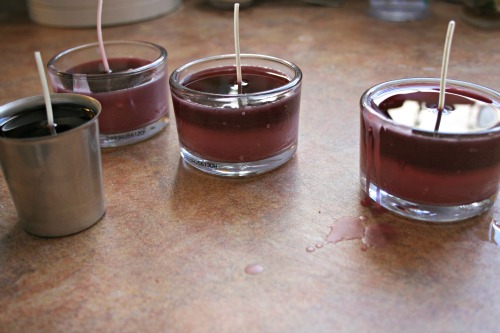
I made candles! Candles from all my old odds and ends of other candles.

I collect the bits and pieces for a while. You can pick up wicks and the little holdy things for them at craft stores. I had some around because I made candles for people for Christmas gifts years and years ago.

The easiest ones to use are the waxed ones that stand up on their own but you can buy string like wicks and you just have to tie them to some something to keep them straight up.

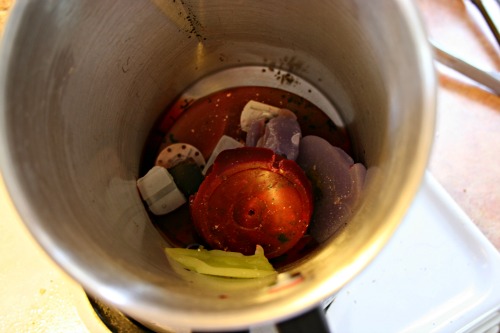
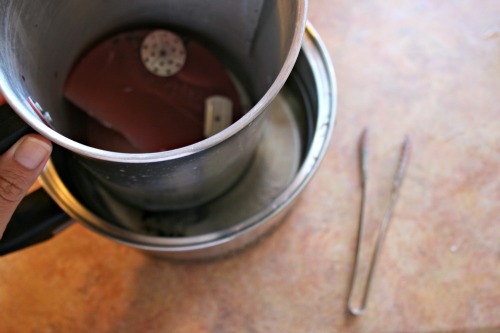
I have a special metal jug/pot thing from Michael’s for melting the wax but you could just dedicate a pot to it. I did do it inside a pot of boiling water, I think the wax *could* catch fire if you were neglectful but you need to be right at the stove for this. Melt all the bits and pieces and then fish out any garbage.

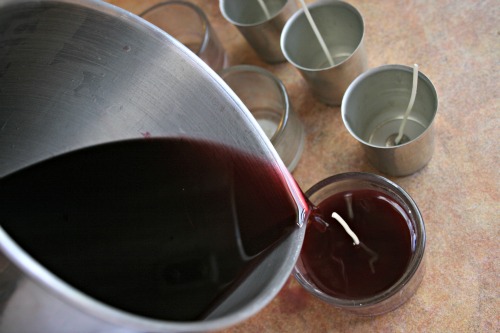
Then you just pour the new melted wax into the containers and molds. I added some colouring things I had and some stuff that makes the wax smell good too, again I got those at the craft store.

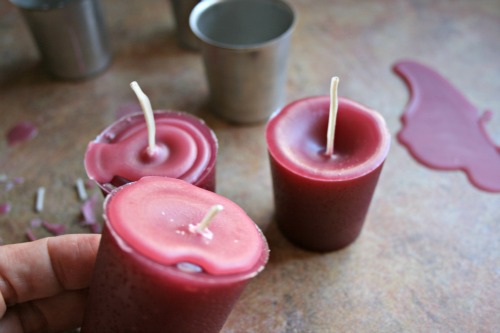
As the wax cools it sort of dips down a little bit so you can leave it like that or I went back and just topped up each candle.

Once they’re cooled you can just pull them out if you made votives or leave them where they are if you re-used previous candle containers.

Super hoops

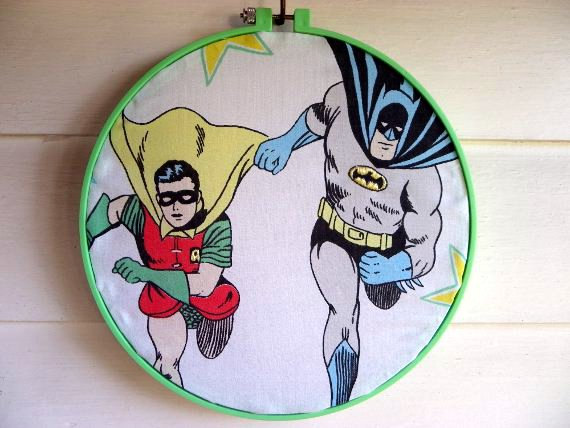
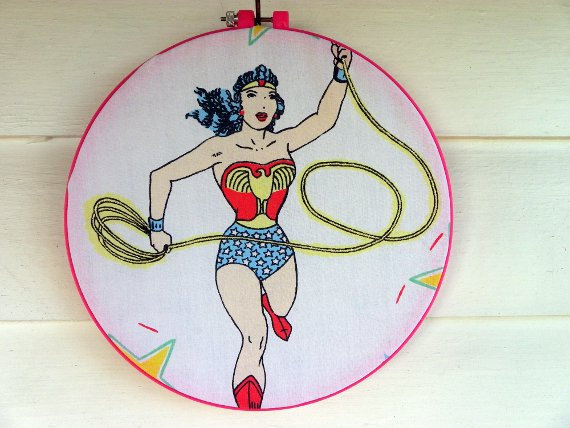
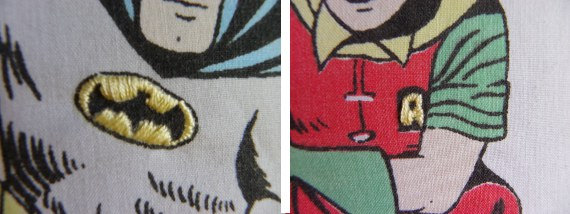
How fun are these?

Made from vintage linens found while thrifting. Some are embellished with some hand stitching. Get Batman and Robin here and the Wonder Woman here.

My plan for today.

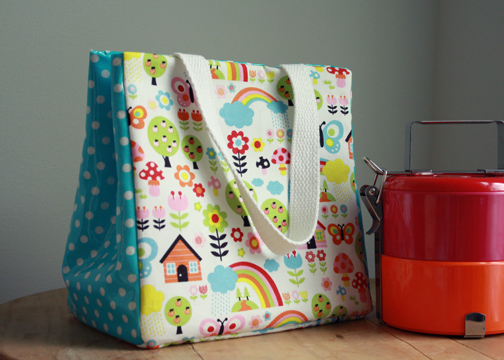
In an attempt to procrastinate from the really important things I should be doing I plan on making myself a lunch bag using this pattern.

I don’t have those particular fabrics but I do have other things that are equally as cute!

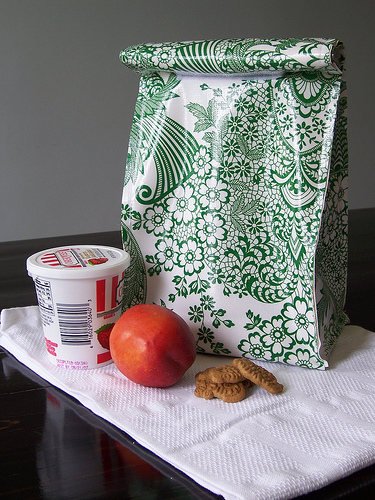
I’m also hoping to whip one up for Wesley. He turned a blank white pie box into his lunch box (or so he thinks) by drawing police cars all over it. I decided to make him one with some plain cotton fabric and give him my pile of Sharpies to draw all over it. He only goes to school 1/2 days and so only carries his water bottle and a snack so I hadn’t made him one last year but I think I’ll go with this design and I’ll use this tutorial as a guide.

I’ll post when they’re all done.

Have a great labour day and for all your back to schoolers have a great first day tomorrow!

Happy Tuesday

Hello if you’re popping over from My Girl Thursday! If you aren’t, head on over there’s a big giveaway right now.

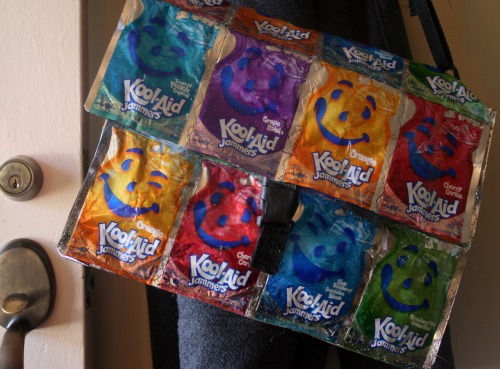
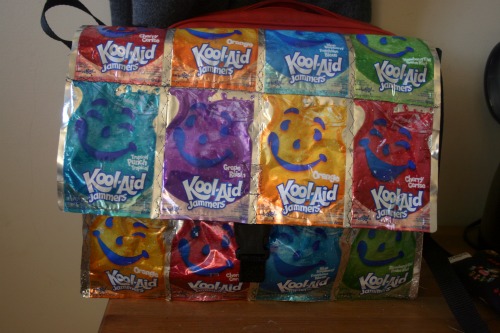
I’m ridiculously excited about something I made on the weekend. Which is kinda funny since it’s made from garbage. I’ve had this idea for months and finally got around to making myself one.

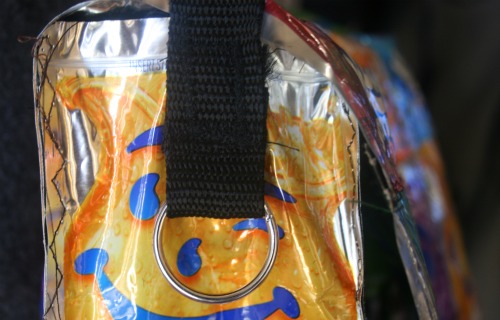
Back at the beginning of my blog I took apart my hubby’s beloved travelling backback. He was throwing it out and I figured those buckles and straps would come in handy some day. Turns out I was right. I used the clasp, a D ring and the other little thingie that makes the strap adjustable. I was on a role Sunday making this and realised I didn’t have any new straping so I decided to use what I had from that backpack. Note: Don’t use 10 year old backpack straps on new creations.

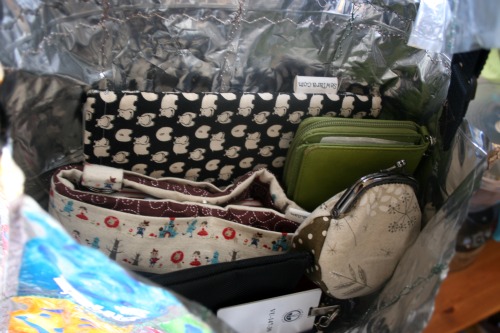
It holds a ton, and can handle weight, that I knew already from my beach bag. There’s my ipad, purse organizer, coin purse (all made by me), wallet and a few other things.

I hung the bag on the hook overnight full of all my things for work, including my camera to take pics. Then as I walked out the door wearing it the strap broke. So I quickly resewed it. It broke again. It was so brittle it was just snapping. I tried to tie it in a knot just to make due and get to work and it just snapped each time. So last night I replaced the strap with new materials after a stop at the sewing store on the way home.

Giveaway!!

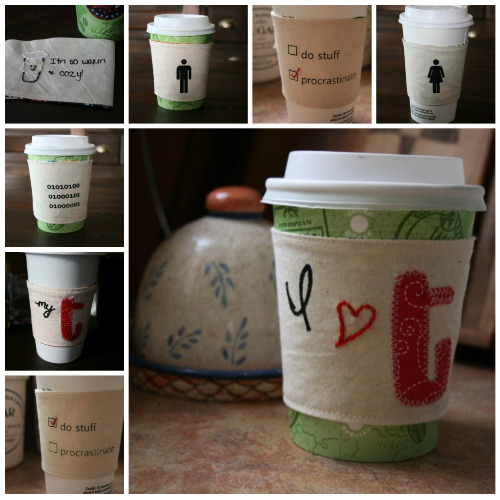
Woohoo!! Head over here and enter a giveaway to win one of my lovely cup cozies.

You just have to visit my shop and then leave Ms Muffins a comment about which one you like best! Giveaway closed September 28th.

Jazzing up boring white address labels.

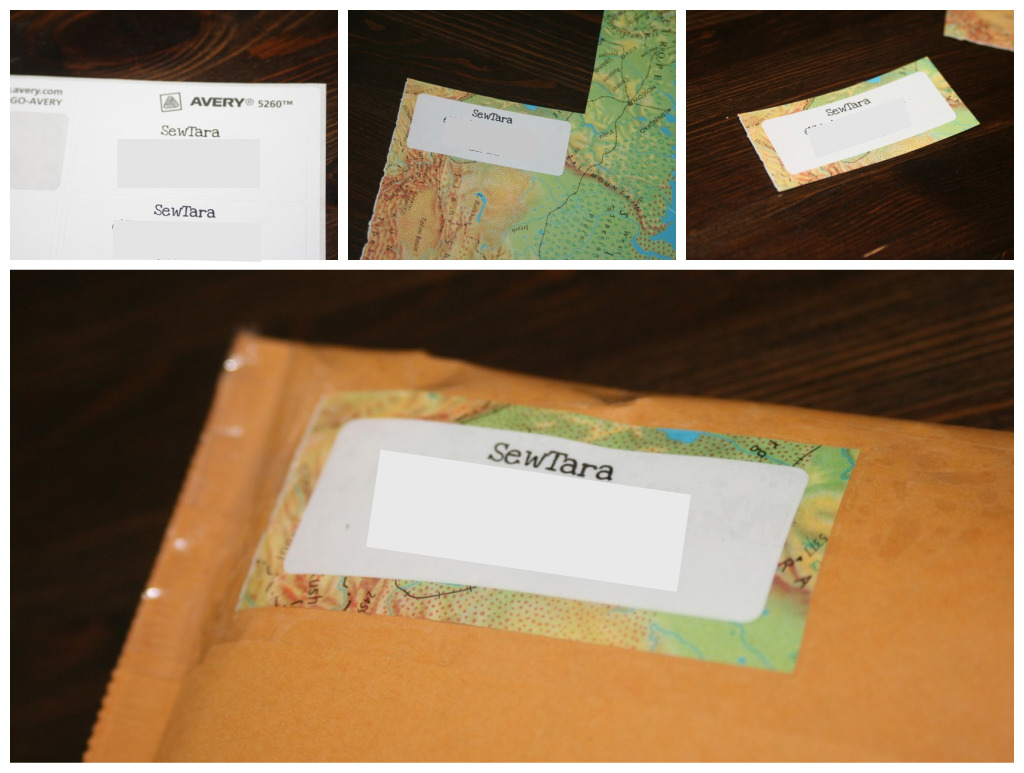
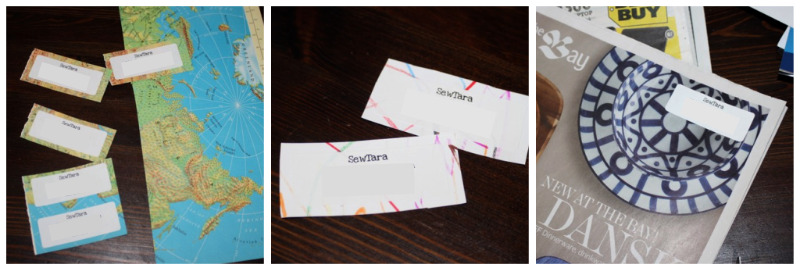
I’ve been doing a lot of shipping lately with the sales in my shop and after a few handwritten return address labels I thought I’d get a bit inventive.  Plus it saves space on the package.  So I printed some return address labels on Avery label paper.  Then I gathered some other paper materials to stick them on to.  I started with an old atlas.

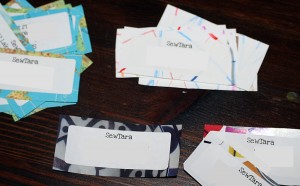
Then I grabbed some other things to reuse like Nate’s recent art work and some flyers from the newspaper.

It was super easy I just peeled off the sticky label and placed it on the backing paper so it would have a neat border.  Then I cut around it leaving a bit of the backing paper showing.  Other things I thought would make really neat backing papers are wallpaper scraps, paint chips and old stamps, sadly I didn’t have any of those lying around.

I used packing tape to just go over the whole label when adhering it to the packaging, I wanted to make sure they stayed on as some are going far, far away.  Glue, a tape runner or a Xyron would work too.