Tag Archives: tutorial

Recycled candle making DIY

I made candles! Candles from all my old odds and ends of other candles.

I collect the bits and pieces for a while. You can pick up wicks and the little holdy things for them at craft stores. I had some around because I made candles for people for Christmas gifts years and years ago.

The easiest ones to use are the waxed ones that stand up on their own but you can buy string like wicks and you just have to tie them to some something to keep them straight up.

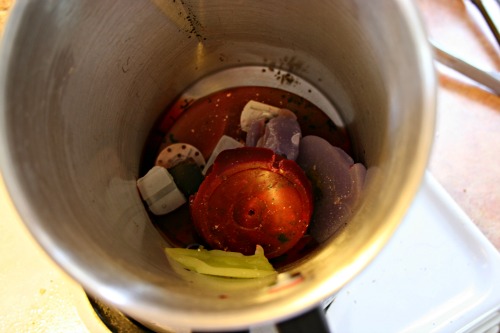
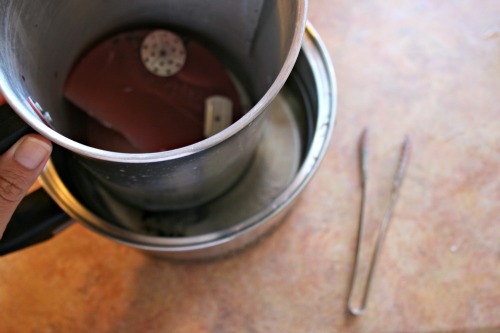
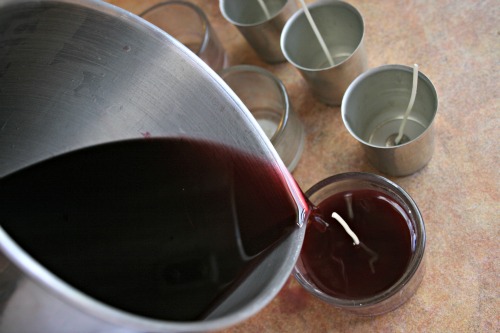
I have a special metal jug/pot thing from Michael’s for melting the wax but you could just dedicate a pot to it. I did do it inside a pot of boiling water, I think the wax *could* catch fire if you were neglectful but you need to be right at the stove for this. Melt all the bits and pieces and then fish out any garbage.

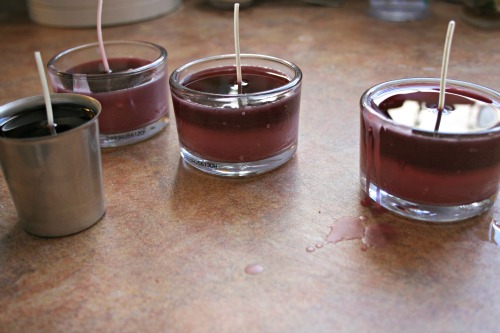
Then you just pour the new melted wax into the containers and molds. I added some colouring things I had and some stuff that makes the wax smell good too, again I got those at the craft store.

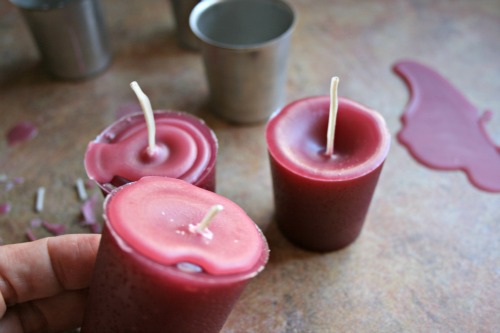
As the wax cools it sort of dips down a little bit so you can leave it like that or I went back and just topped up each candle.

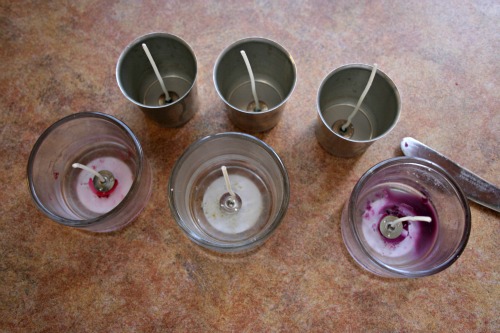
Once they’re cooled you can just pull them out if you made votives or leave them where they are if you re-used previous candle containers.

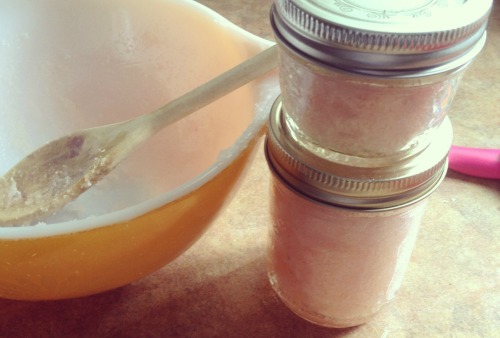
Body Scrub making.

I have been really intrigued with making my own scrubs recently. I’ve started a collection of ideas on Pinterest on this board. Pardon my hair and eye make up pins.

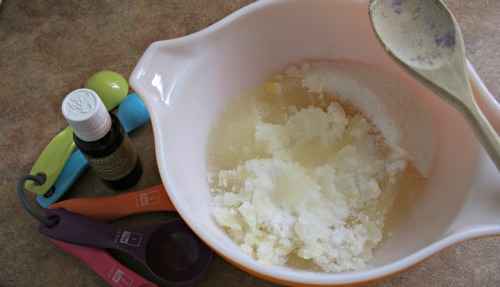
The recipe I used was
– 3 cups sugar
– 1 cup oil
– 10 drops essential oil

Now I played with this a bit and only made a half batch to try it out. I used vegetable oil, which was what I had on hand and seemed weird but honestly it totally works. I’m going to pick up some baby oil or coconut or something that doens’t make me feel like I should be roasting myself!

I put waaaayyy more than 10 drops of the tangerine oil, I probably put closer to 30. That said, I didn’t find that it made the rub smell as much as I would have liked. I’m going to play around with adding actual orange juice? concentrate? extract? I dunno something to give it that kick of smell. I also put a drop or two of red food colouring in just to give it a hint of colour.

Has anyone tried making their own scrubs? I’d love to hear what works and what doesn’t.

Also, if you give these scrubs a try be careful in the shower because it can make things a touch slippy!

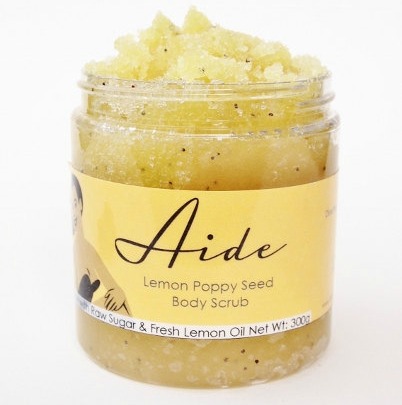
If you’re looking to buy some great natural body products my lovely friend Michelle makes some great stuff. I’m addicted to this Lemon Poppyseed body scrub, I love how it feels and that after the shower I smell a touch lemony.

Easy Peasy Necklace organization

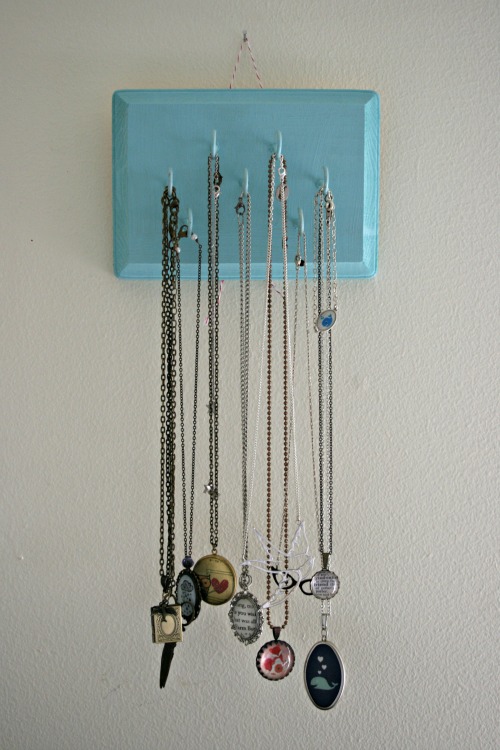
I finally got around to making this little fellow for my growing accessories collection.

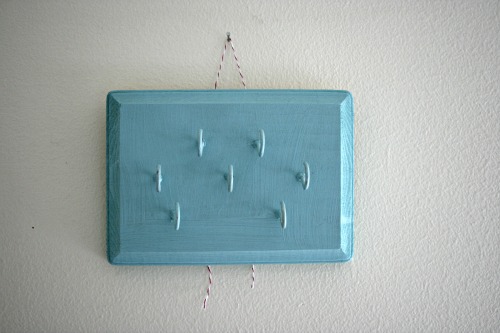
I picked up the plaque at Michael’s, it’s just one of those plain wood ones. Then I screwed in some hooks here and there, painted it a fun colour and stapled some baker’s twine to the back!

Nail in wall and voila!

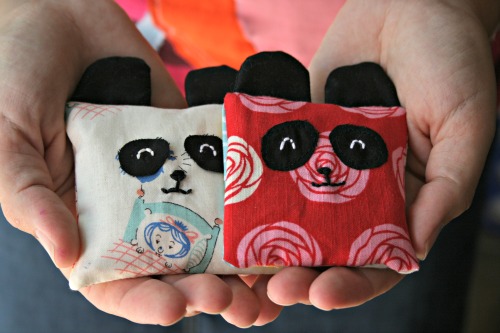
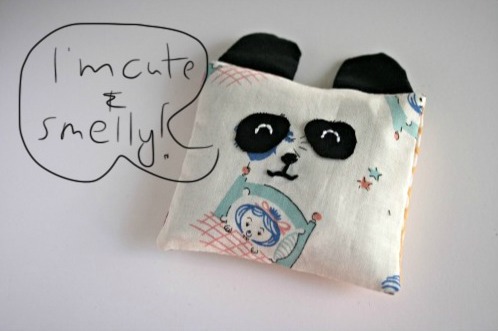
DIY Panda drawer sachets

While shopping at a farmer’s market the other weekend I picked up some lavender and got a neat idea for these sachets for my drawers. They’re really quick and easy and can help destash your scrap bin, something I love to do. I’m making a run for the border today and so in lieu of a Create Along post (too busy with back to school) I thought I’d share this instead.

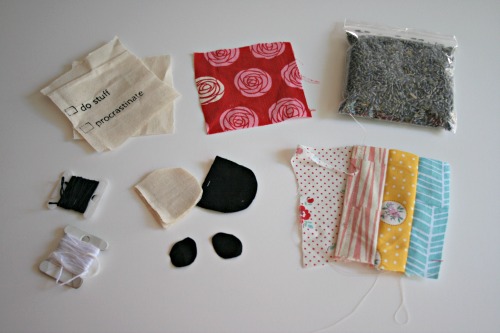
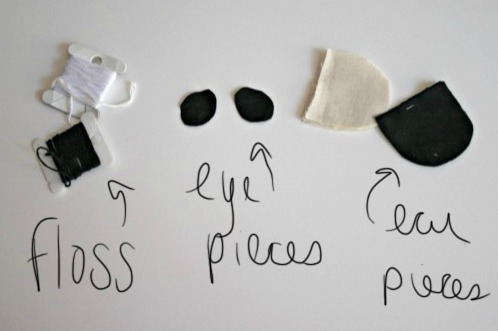
So you will need the following supplies, along with a needle, on a machine or for your hand.

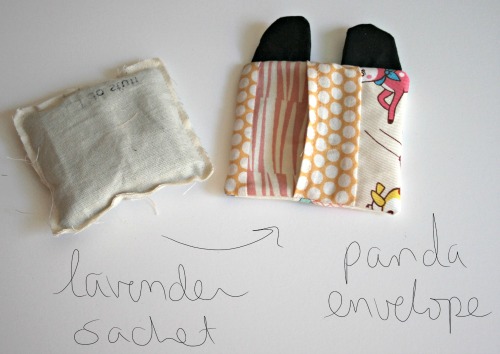
The fabric pieces can be any measurement you want, they just need to end up a square. I made 2 and one is slightly smaller than the other but they’re around 3 1/2 inches square. You need to make 2 quilted pieces that measure wide enough for your front piece and then have some extra because they will overlap and make an envelope pillow cover sort of closing.

You’ll need white and black embroidery floss, some black fabric for eyes and ears and I used some scraps from my cup cozies as lining for the ears.

Panda making

1. Place the eyes on the pretty scrap (sew them on with black thread or iron on with a fusible thing)
2. Embroider the features on the panda, white eyes, and a black nose and mouth.
3. Layer the ear pieces – black, black and then lining. Sew around the curved part of the ears and then turn right side out.
4. Quilt together the backing pieces from scraps, hem the edge where the opening will be.
5. Put the quilted pieces on your work surface right side up, make sure the hemmed parts where the opening will be overlap by at least 1/2 inch.
6. Lay the ears down with the straight edge lined up with the top of the quilted pieces.
7. Place the panda face pretty piece face down on top of the pile. Make sure the ears are sandwiched in.
8. Pin to hold everything in place.
9. Stitch around the entire square.

Sachet making

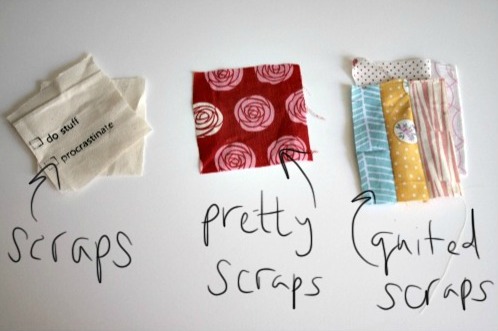
1. Get your scraps and lay one on top of the other. I use the screenprinted bits that got messed up and I can’t turn into cup cozies.
2. Stitch around the square leaving an opening on one side, about an inch wide.
3. Stuff your sachet with something pretty smelling (potpourri, lavender, etc)
4. stitch the opening closed.
5. Trim around the square, be careful not to cut into your stitches.

The great thing about making the panda with an envelope closure is you can swap out the inner sachet when the smell fades or to change things up a bit. I’d love to see what you make!

Also, I’ve been dying to use handwriting on my photos and haven’t been happy with the results/methods. But today I figured I’d give it a try and not be so picky. Elsie‘s post sabout apps and techniques helped guide me in my quest.

Friday Createalong

Ok, since it took me ages to finish my last project, that I only revealed on Monday, I thought it best to just wait until Friday to pick a new one.

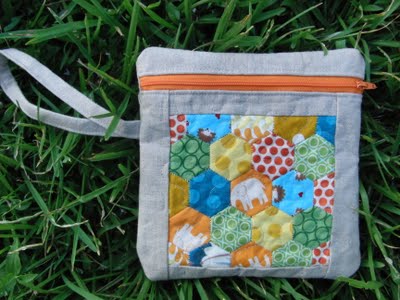
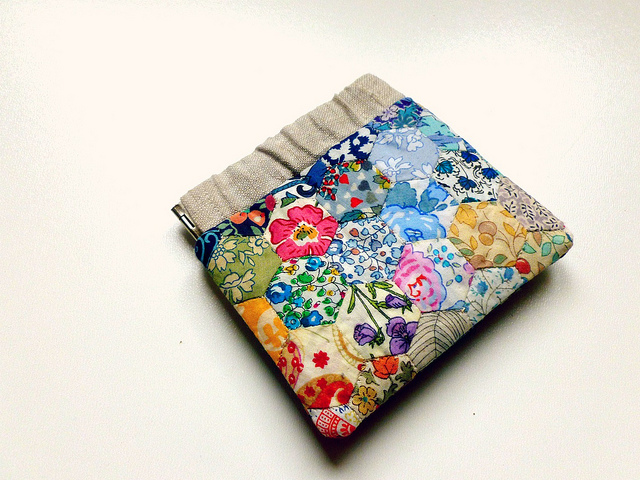
So next up is this pouch from Obsessive Crafting Disorder.

You will need a piece of hexies that looks like this. Then you’re going to trim off the edges and make it smaller, I hate this part. Ever teeny tiny millimetre of hexie bit is such a huge labour, I can’t bear to even trim it down! But hey, that’s how it goes.

23 hexies, I can handle that, please someone play along with me.

Pretty please?

I am no HTML expert, honest

Well I did a bunch of work tidying up my blog layout and some pages over the weekend but I also broke a whole bunch too. Luckily I have one of those computer programmer husband things so he was able to come to my rescue.

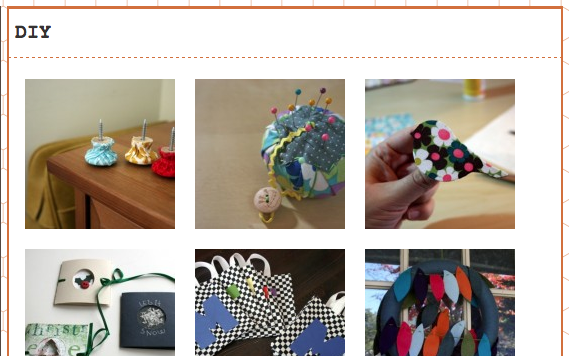
I now have all my DIY projects in a nice fun table on the DIY page.

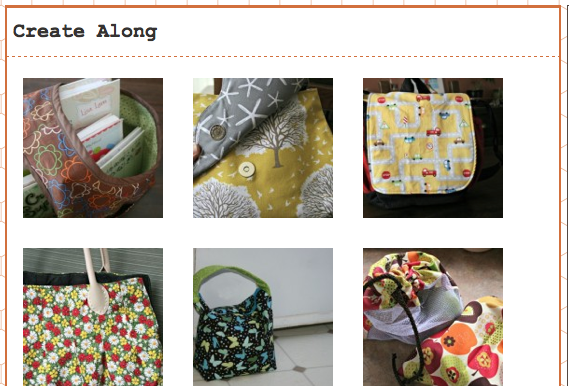
I’ve got all the Create Along projects listed as well on the Create Along page.

I also made my social media icons smaller and much more subtle, they were bright crazy colours before. They were the colours from my blog palette but still too bright. If you want to find me I’m sure you can figure it out, they don’t have to hit you over the head.

I also wanted to take a moment to just say thanks for reading my blog. It’s coming up on 4 years of this wonderful thing and it’s been so much fun. What started as a personal journal of creativity for my eyes only has grown into so much more and I’m so happy that I can continue with it and that others are sharing in my fun.

Friday Create Along.

Well once again thanks to everyone who entered the giveaway and congrats again to Rachel for winning the pattern. Here’s what I made.

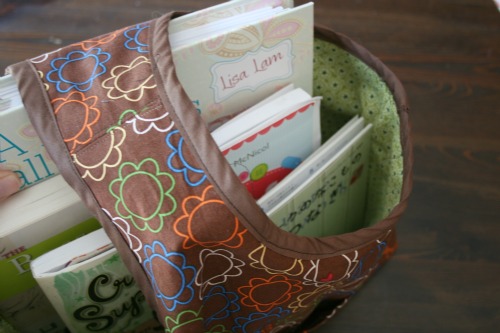
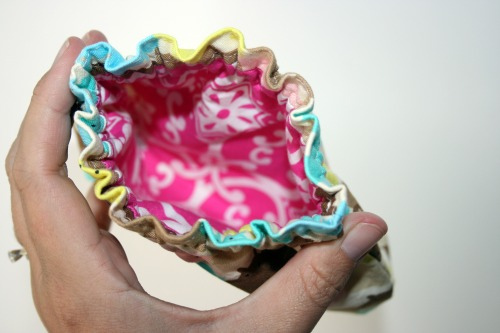
I used a Heidi Grace print I picked up on one of my US trips, I haven’t seen her fun fabric here in Canada yet. I choose a green print for the inside with little flowers because it had a circular pattern like the outside print.

I loved seeing everyone’s ideas for how they would use their creations, of course most of them had to do with projects. I’m going to put my business reading in mine. I have a bunch of craft and small business books I’ve been meaning to get through. I thought I’d get to them over the summer but so far no such luck!

If you would like to make your own BLISSFULpatterns has created a coupon code, SEWTARA15, for 15% off any of her patterns until the end of July. You can also like her on that Facebook thing.

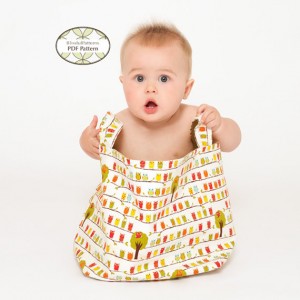
I may have to give this bin a try. Not that I need one, I just like to sew new stuff! Plus the picture is adorable!

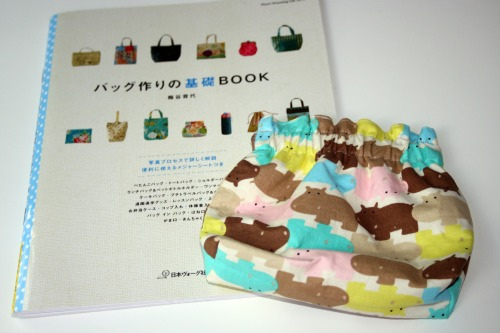
Ok, next up is this flex frame pouch tutorial. I have a few of these frames lying around and I’ve managed to pull one off by fumbling through the instructions in a Japanese craft book I have. But I’m going to go on a hexie binge and this is up first.

There’s lots of hexie tutorials out there, I learned how from Zakka Style, but just Google it if you haven’t made some before. Start making them now if you want to play along in the next few weeks.

Friday Createalong

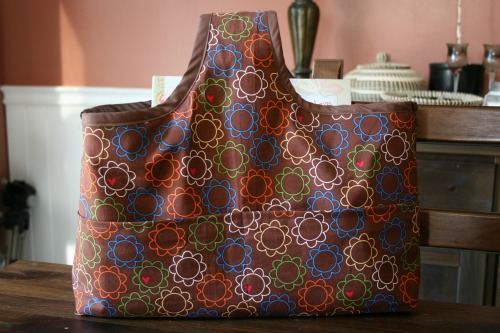
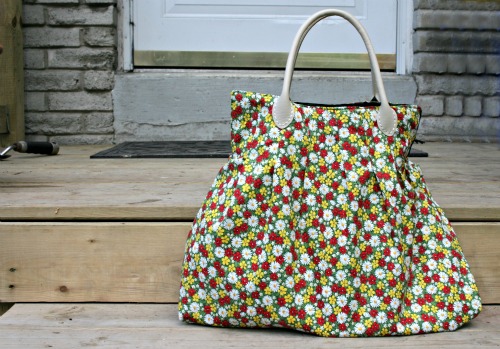
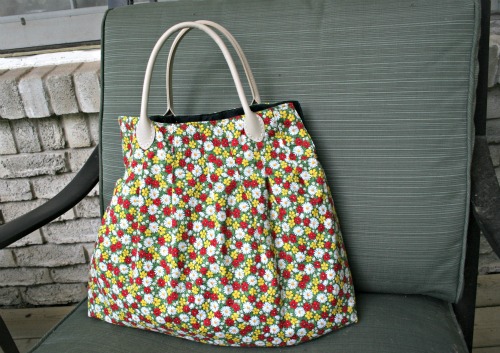
Well I finished this tote and I really love it. This is the first project I’ve made from my ever growing Pinterest board and I’m thankful to Michelle Patterns for presenting me with this challenge. I may be addicted. I picked the fabric up for $3 a metre at a quilting shop and I loved the vintage look of it. As a tote it’s turned out great!

I used this free pattern from UHandbags. The recommended handles are longer than the ones I used but I grabbed what I had on hand. It won’t go on my shoulder but it’s great to carry down at your side.

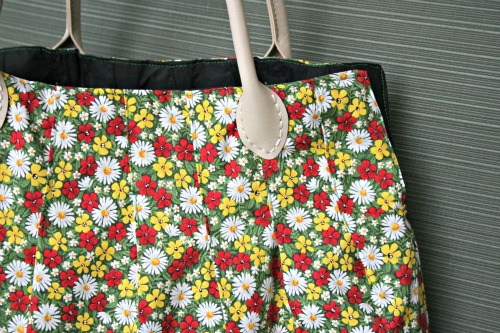
The pattern was pretty easy to follow but man, oh man, I’m not a fan of pleats! Also, I’m not sure what I did wrong, there were supposed to be 6 pleats and somehow I had room for 7 *shrug* But that doesn’t change the bag. However, that meant 7 pleats times 4 pieces of fabric, it was tedious. I do love the way the topstitching works and holds the pleats down. I’ve put pleats in totes before but they’ve only been sewn at the top.

Sewing the handles on was killer on my fingers, going through all those layers and trying to aim for the holes. I also tried to keep the interior stitches really, really small since I matched the thread to the handle colour but foolishly used black for the interior fabric.

Every time I make something new I take it into school to show some of the ladies I work with. The tote was well received. And then a bunch of them asked if I’m done the projects I’m working on for them. Good thing the weekend is coming!

See the other Pinterest Challenge participants here.

Friday Create Along

Here’s my cute little door stop from this tutorial over on Mollie Makes!

I filled it with rice we had lying around, which from what I know about making bean bags, is fine unless the rice gets cooked somehow. It can even get wet but will be fine once it dries.

Annnnd now I’m not choosing another project for next week since I have to finish planning and run my school’s Community Day next week. Usually our Community Day is a big fundraiser for our school and the money goes to help pay for things like graduation, the next year’s Community Day, etc. This year my school is the lucky recipient of a national award from Let Them Be Kids. On Saturday, June 9th our staff, students, parents and community will be pulling together and working hard all day to erect 2 play structures in our school yard. Current our school yard has nothing but pavement and a small patch of grass, this will be such a big amazing change for us. If you’re local and want to help, or are feeling generous and can make a donation, you can follow the links for more info.

School morning organization help

This post was originally posted over at Meremade as part of her September Back to School posts. My opinion may be biased but it’s a pretty handy idea and so I’m sharing it here.

Now that it’s back to school time things are a little busier in our house. I’m a teacher and with 1 in SK and having to get the kids out the door and over to the sitter I can use some help. This year I work in the mornings and not being a morning person doesn’t help when I have to get 3 people ready and out the door.
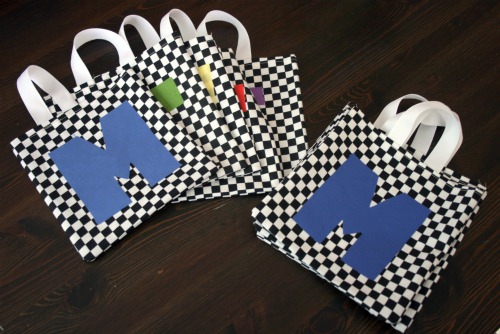
I usually lay out all of our clothes the night before and now I’ve come up with a handy little DIY that can help us all do it for the whole school week!

You will need:
Fabric for the tote bodies (you will be cutting 10 8×8 pieces)
Contrasting fabric for cutting the letters (I used a charm pack I had lying around)
Ribbon for the handles
Heat and Bond (really helpful but not necessary)
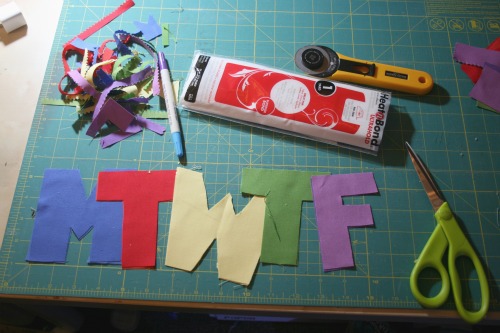
The first step is to cut your letters. I was planning on getting all fancy and cutting mine with my Cricut but I decided to just give it a go and do it by hand. Once I saw the size of my letters I decided that 8×8 would be a good size for the tote bags. I have 2 little boys so I’m only tossing some socks and underwear in there. If you have girls and might be including hair accessories or tights you may want to make your totes a tad bigger.
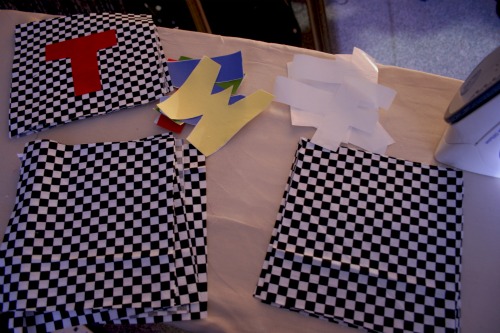
Cut your 8×8 tote pieces, set aside. Cut Heat and Bond as backing for your letters. This product saves a lot of time and allows you to just iron on your letters rather than having to sew them all around. If you like the look of stitching on top you can still do that of course, the Heat and Bond just makes extra sure those letters aren’t fraying or budging!
Iron the letters onto the bag tote front pieces. So 5 will get letters, 5 will stay blank.
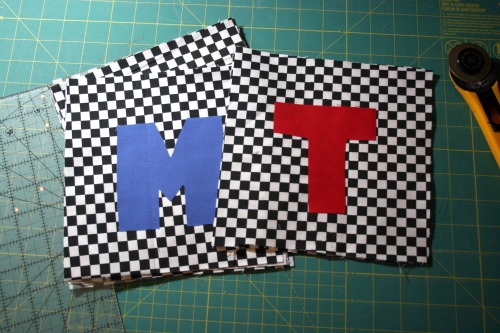
Now you’ve got 10 squares of tote worthy fabric. We need to hem the top edge. So turn the fabric down to make a little hem, I did about 1/2 inch, press and sew.
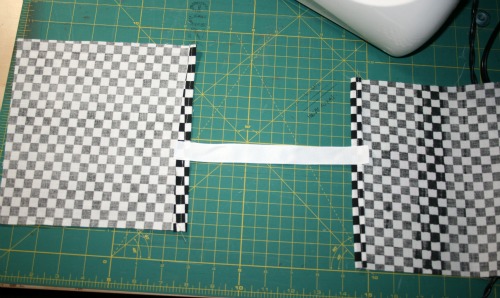
At this point you could make yourself handles using coordinating fabric but I looked up and my ribbon collection was staring back at me so I choose to go to the easy route. Attach the ribbon slightly off center on the tote pieces. So sew it left of the center line on one piece and right of the center line on the other. If you lay it all out it will look like mine.
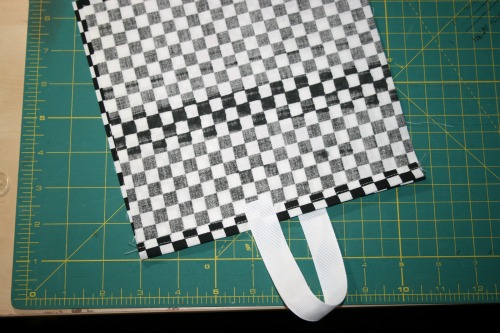
So you’ve created a loop to hang over the hanger.
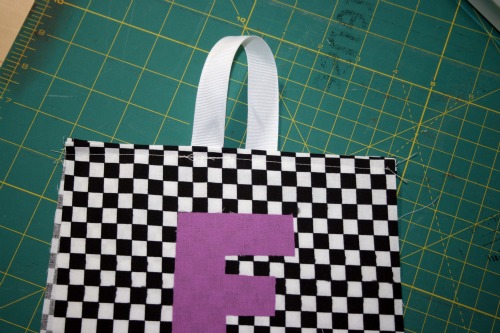
Place the tote pieces right sides together and stitch around the 3 raw edges. And you are done!
If you happen to have some of those hangers from the store lying around you can use those to hang a top and bottom and then slip a handy little tote with the right day of the week on it over the hanger, fill with needed accessories, in my case socks, underwear and a diaper.
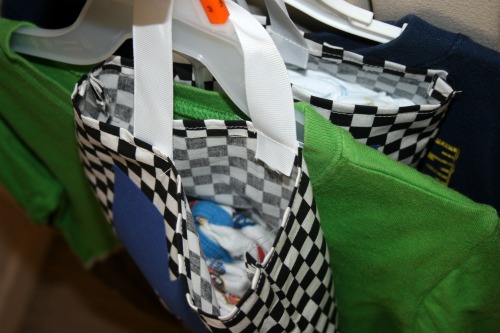
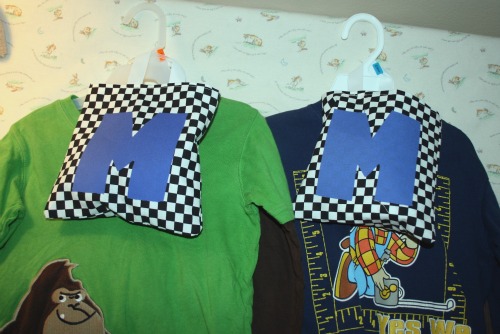
Hang in a handy spot (like on my linen closet door) and you’re ready to go!
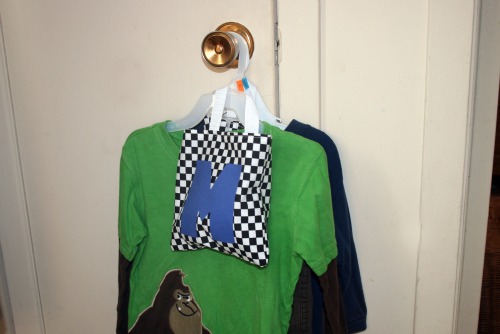
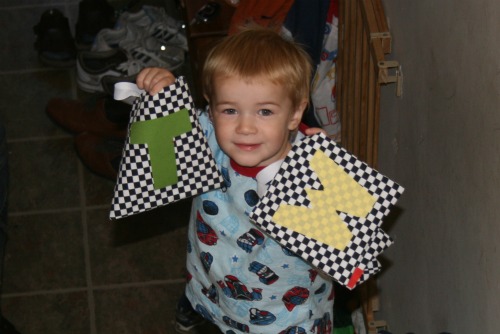
Oh and keep the empty ones in a safe place. This picture is moments after Nate saying ‘Thanks Mom’ and wandering off with the Tuesday-Friday totes.