This post was originally posted over at Meremade as part of her September Back to School posts. My opinion may be biased but it’s a pretty handy idea and so I’m sharing it here.
Now that it’s back to school time things are a little busier in our house. I’m a teacher and with 1 in SK and having to get the kids out the door and over to the sitter I can use some help. This year I work in the mornings and not being a morning person doesn’t help when I have to get 3 people ready and out the door.
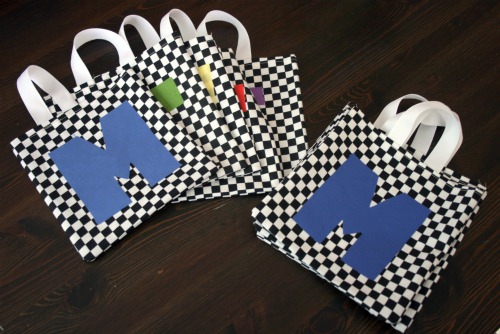
I usually lay out all of our clothes the night before and now I’ve come up with a handy little DIY that can help us all do it for the whole school week!
You will need:
Fabric for the tote bodies (you will be cutting 10 8×8 pieces)
Contrasting fabric for cutting the letters (I used a charm pack I had lying around)
Ribbon for the handles
Heat and Bond (really helpful but not necessary)
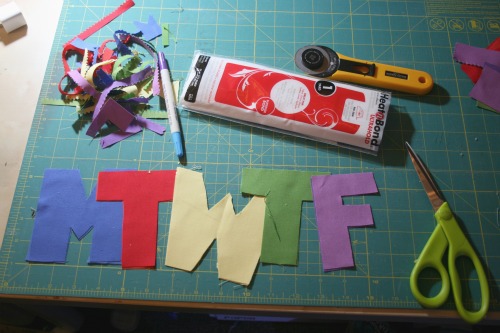
The first step is to cut your letters. I was planning on getting all fancy and cutting mine with my Cricut but I decided to just give it a go and do it by hand. Once I saw the size of my letters I decided that 8×8 would be a good size for the tote bags. I have 2 little boys so I’m only tossing some socks and underwear in there. If you have girls and might be including hair accessories or tights you may want to make your totes a tad bigger.
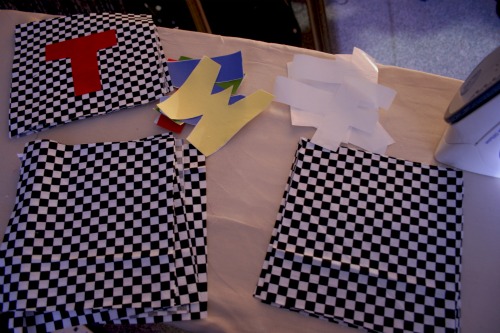
Cut your 8×8 tote pieces, set aside. Cut Heat and Bond as backing for your letters. This product saves a lot of time and allows you to just iron on your letters rather than having to sew them all around. If you like the look of stitching on top you can still do that of course, the Heat and Bond just makes extra sure those letters aren’t fraying or budging!
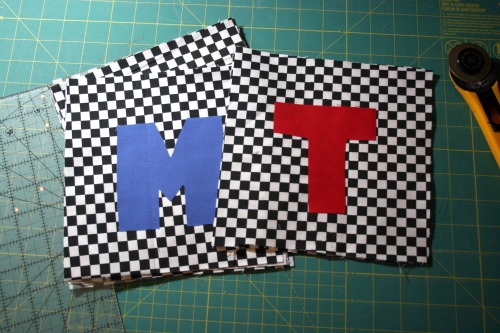
Iron the letters onto the bag tote front pieces. So 5 will get letters, 5 will stay blank.
Now you’ve got 10 squares of tote worthy fabric. We need to hem the top edge. So turn the fabric down to make a little hem, I did about 1/2 inch, press and sew.
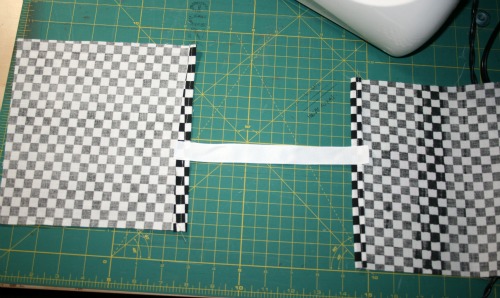
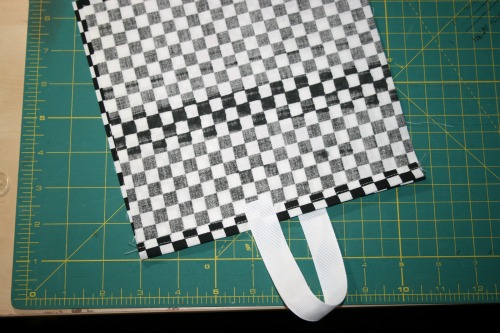
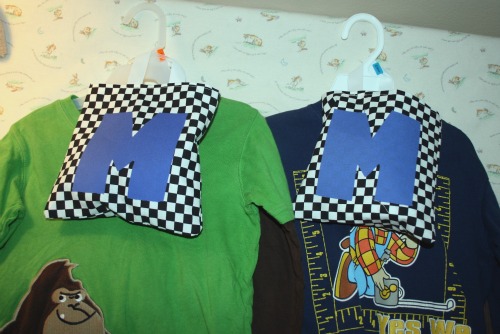
At this point you could make yourself handles using coordinating fabric but I looked up and my ribbon collection was staring back at me so I choose to go to the easy route. Attach the ribbon slightly off center on the tote pieces. So sew it left of the center line on one piece and right of the center line on the other. If you lay it all out it will look like mine.
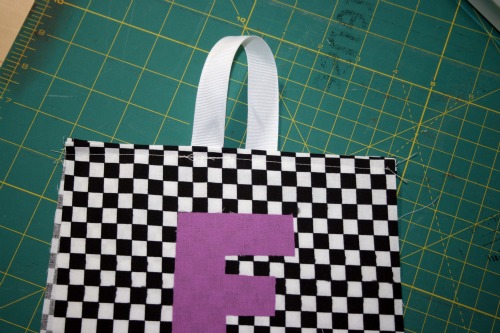
So you’ve created a loop to hang over the hanger.
Place the tote pieces right sides together and stitch around the 3 raw edges. And you are done!
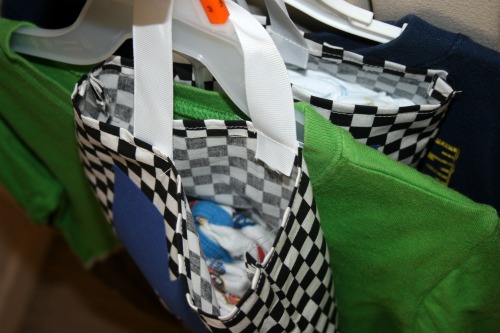
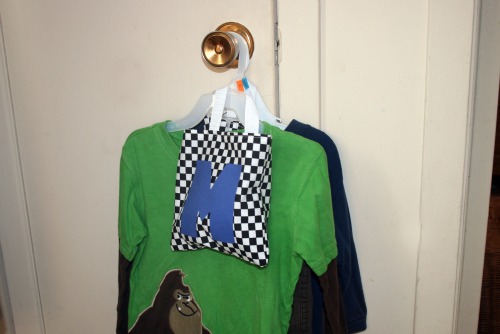
If you happen to have some of those hangers from the store lying around you can use those to hang a top and bottom and then slip a handy little tote with the right day of the week on it over the hanger, fill with needed accessories, in my case socks, underwear and a diaper.
Hang in a handy spot (like on my linen closet door) and you’re ready to go!
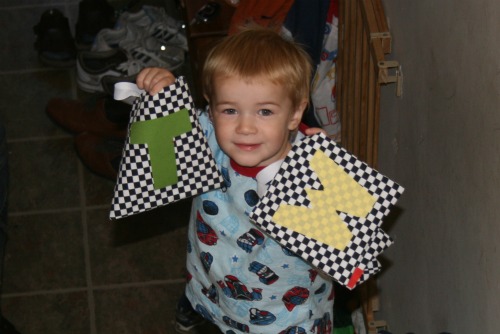
Oh and keep the empty ones in a safe place. This picture is moments after Nate saying ‘Thanks Mom’ and wandering off with the Tuesday-Friday totes.


