Tag Archives: floral

Friday Createalong

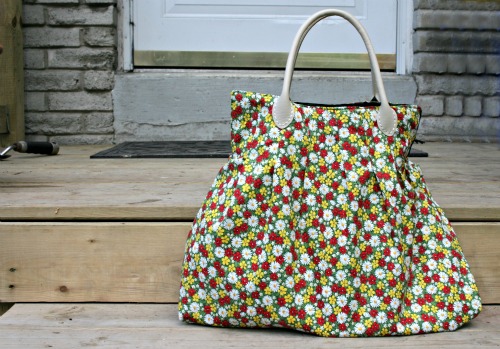
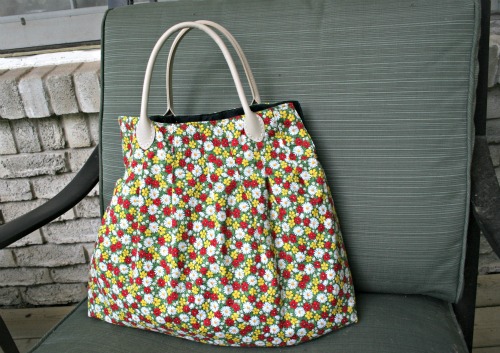
Well I finished this tote and I really love it. This is the first project I’ve made from my ever growing Pinterest board and I’m thankful to Michelle Patterns for presenting me with this challenge. I may be addicted. I picked the fabric up for $3 a metre at a quilting shop and I loved the vintage look of it. As a tote it’s turned out great!

I used this free pattern from UHandbags. The recommended handles are longer than the ones I used but I grabbed what I had on hand. It won’t go on my shoulder but it’s great to carry down at your side.

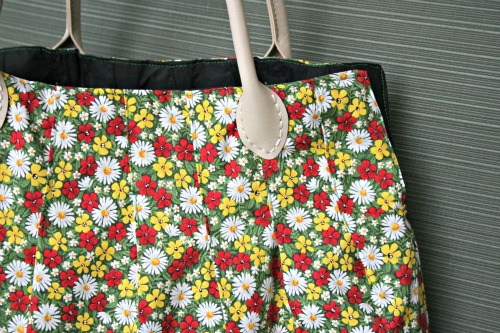
The pattern was pretty easy to follow but man, oh man, I’m not a fan of pleats! Also, I’m not sure what I did wrong, there were supposed to be 6 pleats and somehow I had room for 7 *shrug* But that doesn’t change the bag. However, that meant 7 pleats times 4 pieces of fabric, it was tedious. I do love the way the topstitching works and holds the pleats down. I’ve put pleats in totes before but they’ve only been sewn at the top.

Sewing the handles on was killer on my fingers, going through all those layers and trying to aim for the holes. I also tried to keep the interior stitches really, really small since I matched the thread to the handle colour but foolishly used black for the interior fabric.

Every time I make something new I take it into school to show some of the ladies I work with. The tote was well received. And then a bunch of them asked if I’m done the projects I’m working on for them. Good thing the weekend is coming!

See the other Pinterest Challenge participants here.

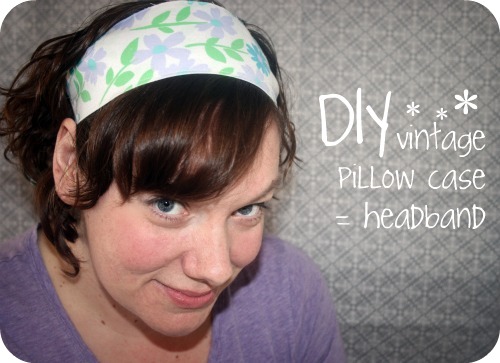
DIY vintage pillow case restyle.

On the weekend I turned my kitchen table into a bit of a nightmare so I could squeeze in some crafting while Nate was avoiding his nap. I was working on a project with vintage pillow cases and inspiration hit and took me on a bit of a detour.

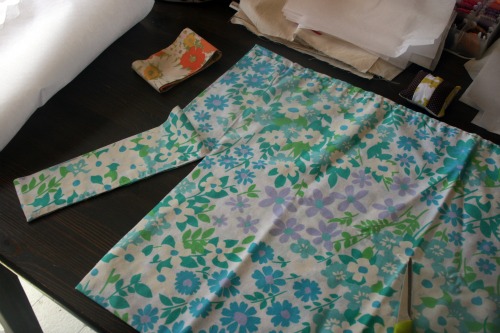
Start with a vintage pillow case and trim off the nice finished edge at the opening where you put your pillow in. You can either trim really close to the stitching and have a closed loop piece, or cut into it and have an open edge. I’m going to show you how to work with both options.

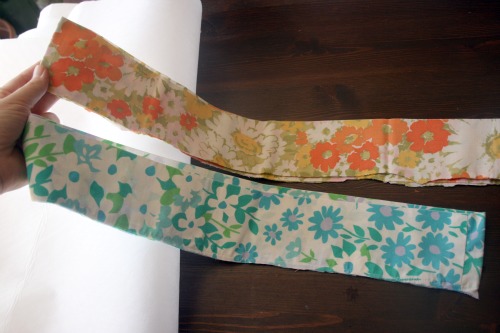
Now you have 2 big loops, cut off the seam so you have one long piece of fabric.

I was cutting the orangey one for another project and in the process I trimmed a bit into the seam and created an opening on one edge. So here’s how to finish that off and make a nice clean edge, and a thinish headband.

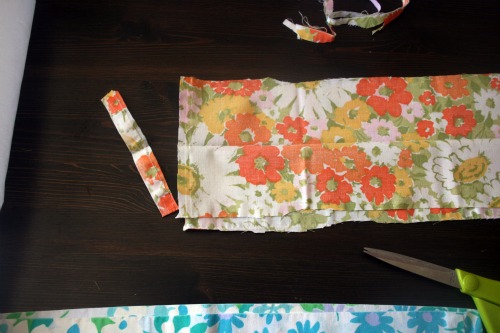
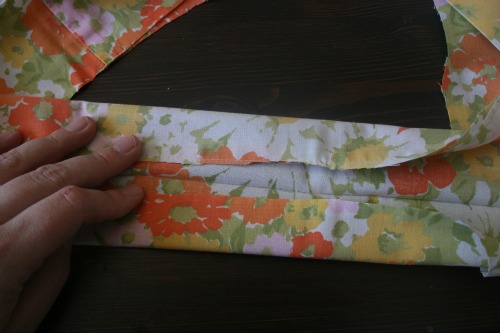
Open the fabric up and use the fold inside, the part that was the very end of the pillow, as a guide to fold the unfinished edges inward. I didn’t go all the way because I wanted my band a bit thicker.

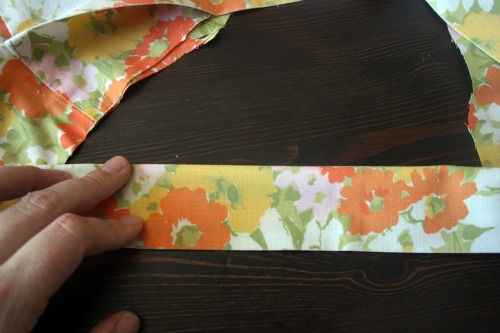
Then fold it again so the raw edges disappear inside. You can iron and pin at this point before you sew. Of forge ahead like I did.

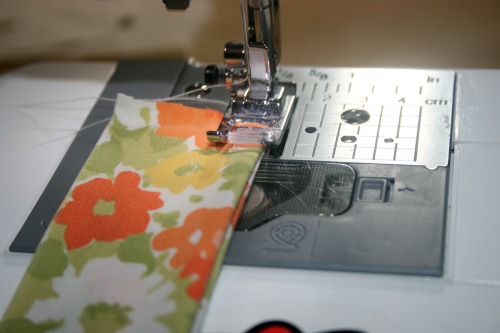
Top stitch along the sides to make nice clean edges. Fold the bottom raw edges up inside the ‘tube’ to create a clean edge and topstitch to seal it all in. Then you have one nice ruler shaped piece of fabric that you can wrap around your head and tie at the back.

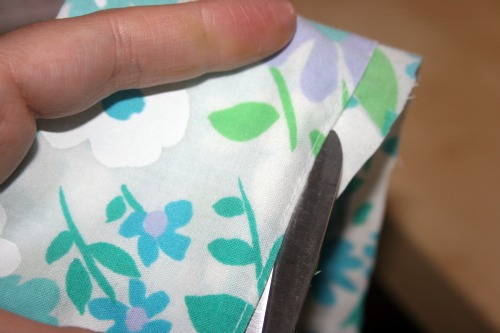
For my blue headband I just carefully trimmed around the pre-existing stitching. Why make more work?

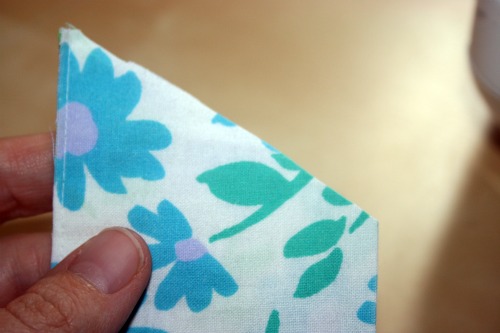
Then I cut the ends on an angle just to had some interest to the ends. Fold the raw edges inside and top stitch around the whole thing.

There you have it, a lovely new headband that was half made already!

Vintagey laptop sticker DIY

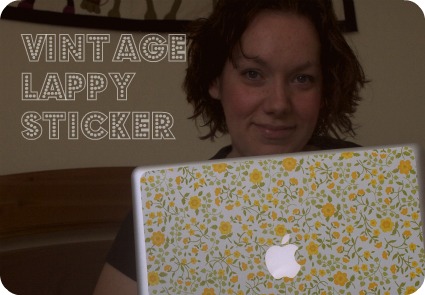
My last laptop was plastered in fun goofy stickers.  Then I got my new shiny Macbook and it’s just been all simple and silver, until now.  I tracked down some vintage Contact paper to adorn my lappy.  After checking around in a few thrift stores, and frankly just not wanting to wait, I went ahead and ordered some on Etsy.  I’ve been checking back frequently and the selection does vary from day to day just in case you want to grab some.  Also, be sure to check under the ‘supplies’ and ‘vintage’ categories, you get different results.  While I was waiting for my goods to arrive One Pearl Button coincidentally posted a link on covering idevices yourself with helpful links to templates.  But I wanted to do my Macbook and the templates don’t take into account the apple cut out.  So I got adventurous.

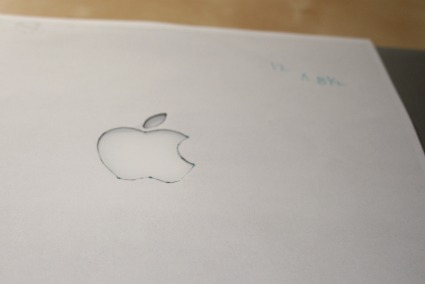
First I used my printer/scanner/copier and made a copy of the front of my laptop so I’d have a copy of the apple logo.  Next I carefully cut out the apple with my little exacto knife pen thingie.  I placed it over my laptop just to make sure I trimmed it well.

I measured the top of the laptop and guesstimated at the size of the surface area before the slight curve.  I have a 13 inch and I figured it was about 12 x 8 1/2.

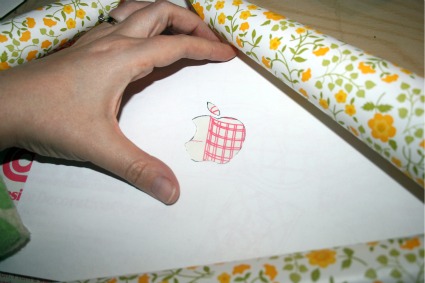
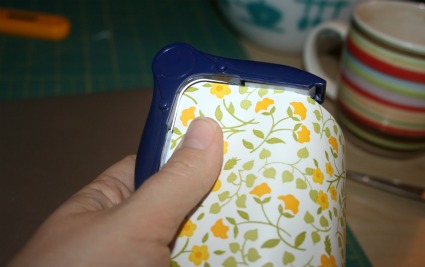
I cut the apple out of the Con-tact paper, aproximated the center and cut the piece 12 x 8 1/2.  Then I used my scrapbooking corner rounder to clip the corners.

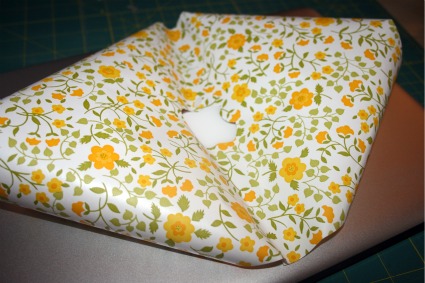
Sticking it onto the laptop proved a bit finicky.  I didn’t want to start at one side and work my way across so I carefully took the backing off and exposed the sticky side of the Contact paper in the middle where the apple is.  This allowed me to line up the apple all nice and straight and then just work my way out towards the edges.

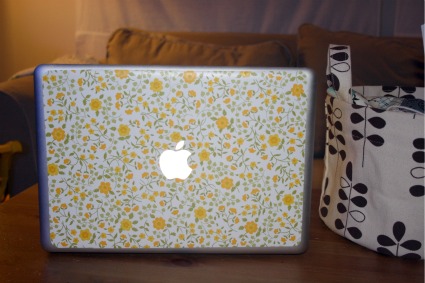
Once it was all nice and flat I opened the cover and examined my handiwork with the apple lit up.  There was a spot where I needed to trim and I just used the exacto really gently to shave off a teeny bit.  I’m sure happy with the results, I love the grey and yellow combo.

Plus I’ve got some other patterns in my stash and so when I get bored of this I can just peel it off and switch it.