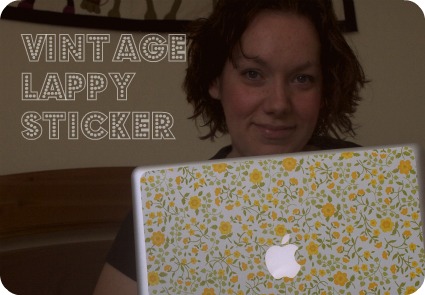
My last laptop was plastered in fun goofy stickers. Then I got my new shiny Macbook and it’s just been all simple and silver, until now. I tracked down some vintage Contact paper to adorn my lappy. After checking around in a few thrift stores, and frankly just not wanting to wait, I went ahead and ordered some on Etsy. I’ve been checking back frequently and the selection does vary from day to day just in case you want to grab some. Also, be sure to check under the ‘supplies’ and ‘vintage’ categories, you get different results. While I was waiting for my goods to arrive One Pearl Button coincidentally posted a link on covering idevices yourself with helpful links to templates. But I wanted to do my Macbook and the templates don’t take into account the apple cut out. So I got adventurous.
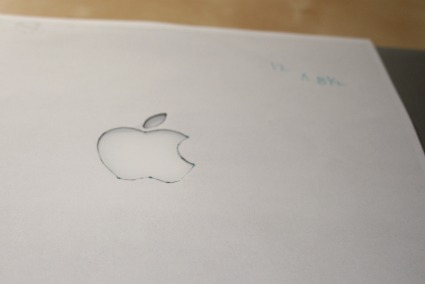
First I used my printer/scanner/copier and made a copy of the front of my laptop so I’d have a copy of the apple logo. Next I carefully cut out the apple with my little exacto knife pen thingie. I placed it over my laptop just to make sure I trimmed it well.
I measured the top of the laptop and guesstimated at the size of the surface area before the slight curve. I have a 13 inch and I figured it was about 12 x 8 1/2.
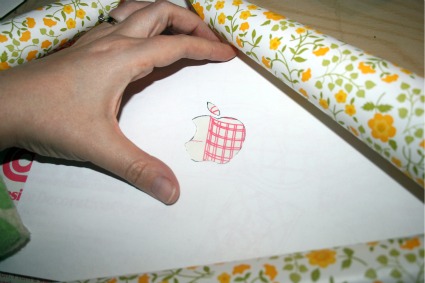
I cut the apple out of the Con-tact paper, aproximated the center and cut the piece 12 x 8 1/2. Then I used my scrapbooking corner rounder to clip the corners.
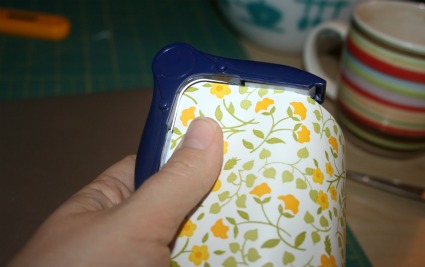
Sticking it onto the laptop proved a bit finicky. I didn’t want to start at one side and work my way across so I carefully took the backing off and exposed the sticky side of the Contact paper in the middle where the apple is. This allowed me to line up the apple all nice and straight and then just work my way out towards the edges.
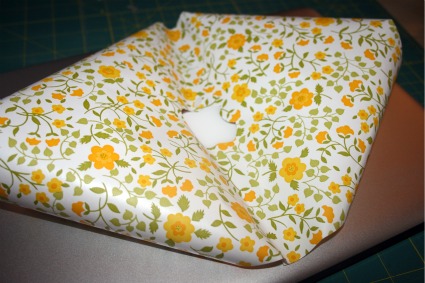
Once it was all nice and flat I opened the cover and examined my handiwork with the apple lit up. There was a spot where I needed to trim and I just used the exacto really gently to shave off a teeny bit. I’m sure happy with the results, I love the grey and yellow combo.
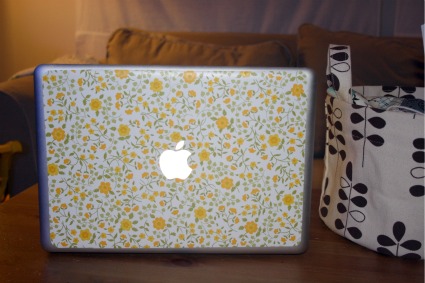
Plus I’ve got some other patterns in my stash and so when I get bored of this I can just peel it off and switch it.


