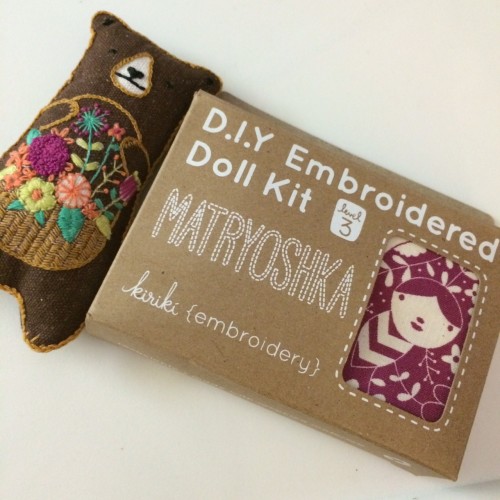
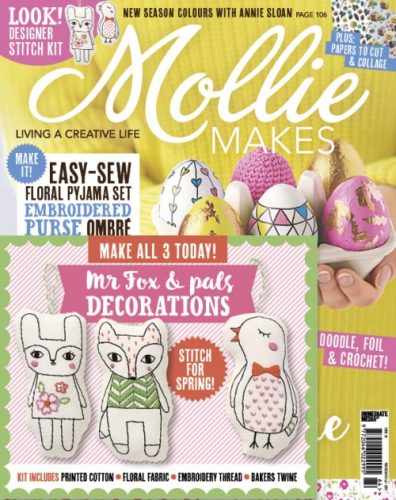
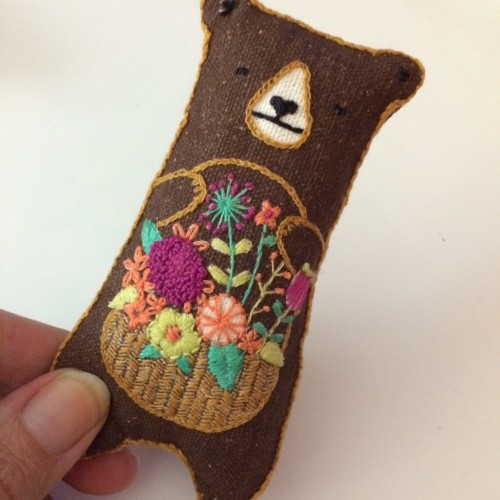
I’ve become a bit addicted to embroidery lately. I’ve been carrying around little projects to have on hand. After finishing my Mollie Makes bear I happened to stumble onto this little beauty on Etsy in Jenny Blair’s shop.
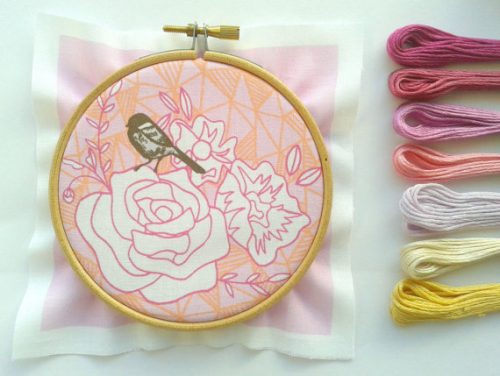
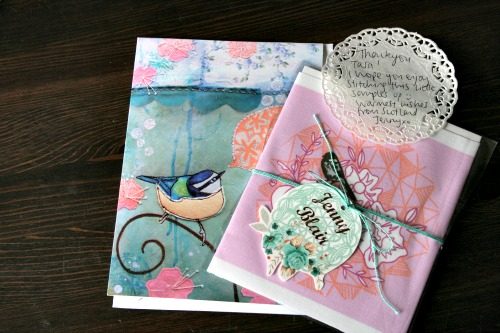
It’s a sampler so just the printed fabric arrived for me to fill it in how I’d like. Which is a great idea. It came packaged very nicely, and the fact that it’s all nice and flat means that shipping was pretty reasonable.
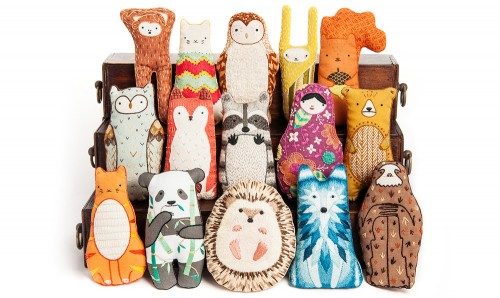
She has a mix of pdf, fabric and kits in her shop. They’re all really quite lovely. I’m swooning over these ones.
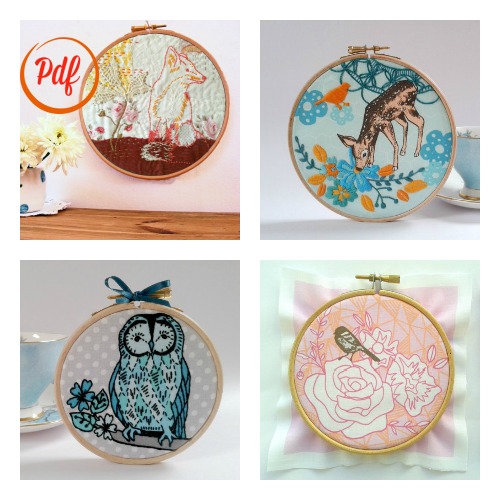
Find her blog online or follow her prettiness on Instagram.
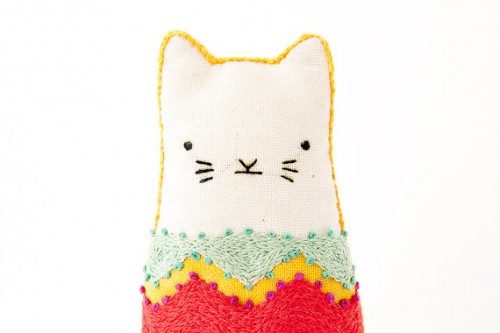
 I tend to toss the kits in a drawer and then hope to get to them. Recently I’ve been making it a point to get to them and this kit helped give me the push I needed to do so. It’s also launched me into a stitchy frenzy. I pulled out my previously (read ages ago) purchased Kiriki kit.