Tag Archives: felt

Happy, happy mail.

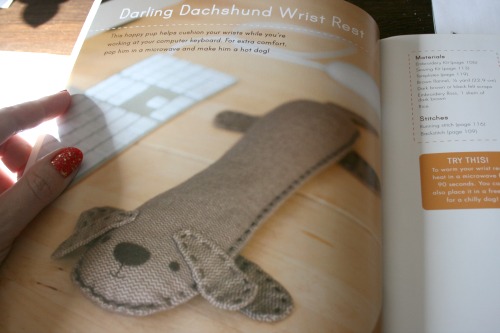
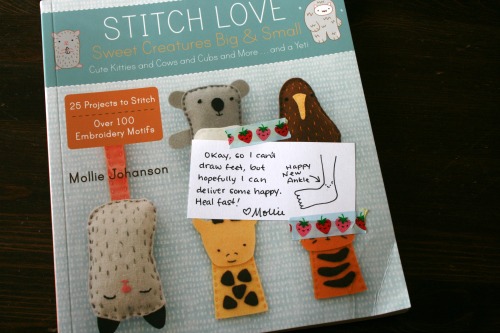
Not only did some great books arrive for me the other day, medicine and my bff showed up with some fun stickers for me but I also got a surprise get well gift from my best yet to be met online friend Mollie.

IMG_3127

Look at how fun she is?! She even drew a signature Mollie smiley face on the ankle!

IMG_3128

I already have a plan for making something fun based on this project.

IMG_3132

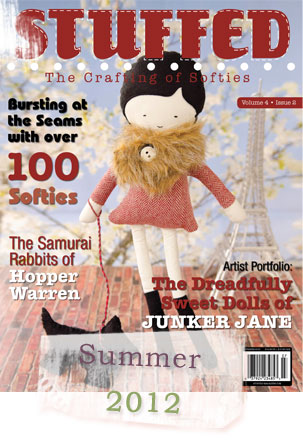
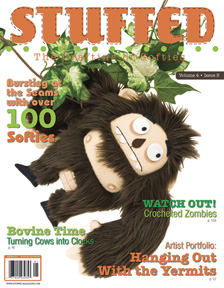
Stuffed magazine

Apparently, not only has this publication been around for a while, but it’s only published twice (?) a year. But I have to tell you it’s the cutest magazine, full of such eye candy.

I had one in my hand during one of my cross border expeditions but I passed on actually purchasing it. I regret that now. It’s hard to find now since it’s published in January, and I’ve found it once here in Canada and it was $15 which just sort of breaks my brain and I can’t part with all that money for it.

I did find a download for a bit cheaper online, well I think it was $10 so not *that* remarkably cheaper.

I tried to be a cheater pants and take screen shots of parts of it but they seem to be onto that sneaky trick. You’ll just have to trust me it’s a super fun magazine. Find a copy and flip through it.

Sometimes . . .


when I’m buried in larger projects and I just want to make something fun start to finish I do just that.
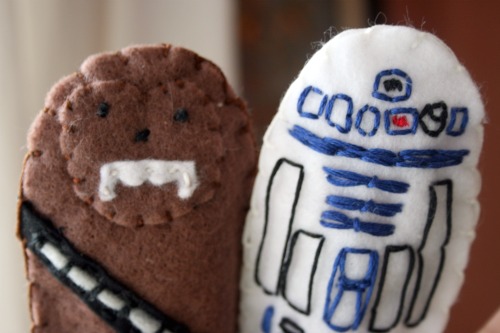
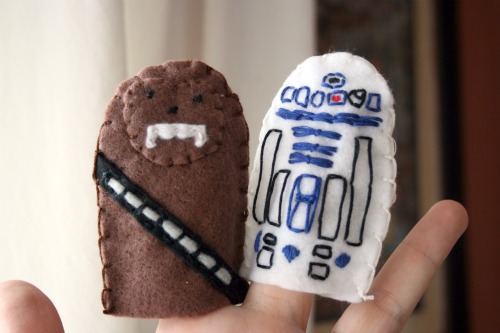
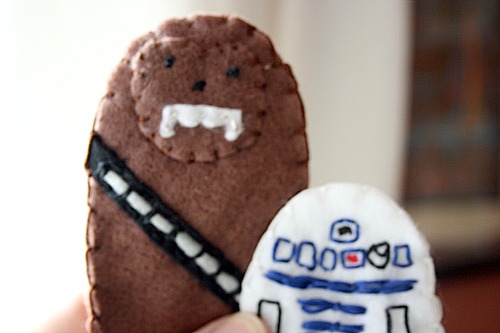
The other day was one of those days, so I made these.

Technically I suppose Chewie should me much, much taller than R2 but hey, fingers only vary in size a teeny bit.

Friday Create Along

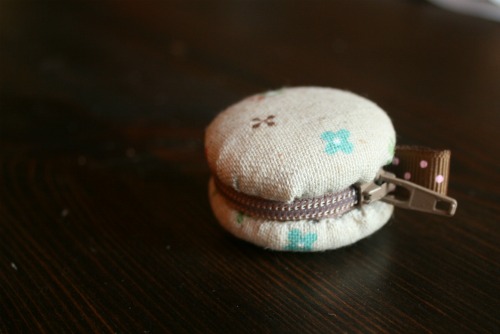
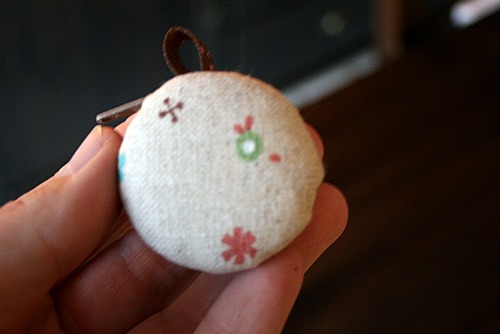
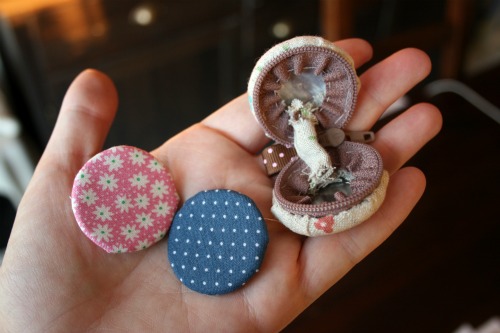
Ok so here’s the tutorial for last week, the little macaroons. I finished mine last night.

It’s pretty cute. It’s also pretty tiny and other than storing or giving rings/earrings I’m not sure what else I could do with it.

I also had a problem, see if you can figure it out.

Yeah, there’s no way I can get the inside pieces in. I might have to get a slightly smaller size. I’m not sure if the fabric I chose for the outside is too thick, it’s a Japanese cotton/linen blend. Or if it’s just all to bulky in there.

But the good news is no one will ever see in there since this is my little macroon and at least it looks great from the outside!

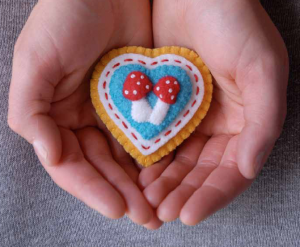
Next up is this charming little brooch. Now this is a great project because it’s hand sewing, uses felt and creates an accessory and that fits with my goal to accessorize more!

I’m a copy owl

My friend and I were browsing Pier One a few weeks back and saw these really cute owl plushies.
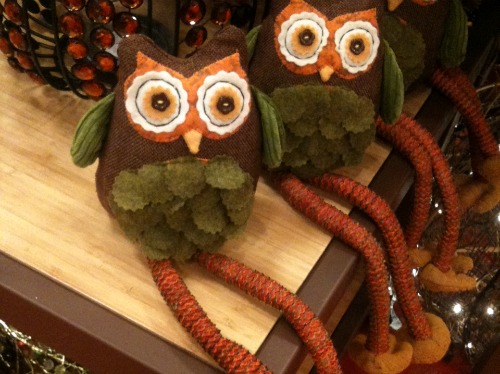
No clue what they’re for but they were really cute, and $18. Of course I did one of those, “We can totally make that” things and took a sneaky photo of them. We went and bought some felt that night and then we got crafty while we were away at the cottage. Using some felt, embroidery floss and 2 buttons, here’s what we came up with.
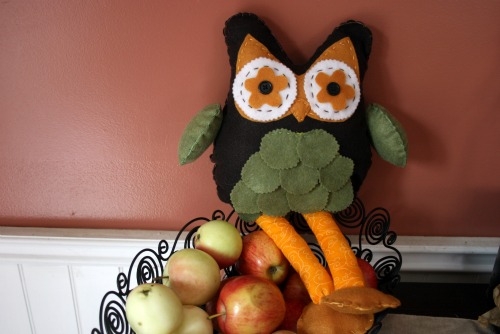
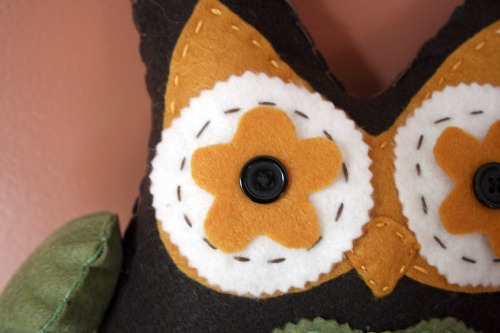
We cut all the shapes by hand, it probably would have been easier with some sort of Cricut type thing, but whatever. We stitched it by hand, almost entirely. I used my machine to sew the green bits on the belly so they’d be stuck on well. We were going to get ambitious and knit or crochet the legs but didn’t have the right supplies at the cottage. My friend decided not to put legs on her owl at all, just attach the feet, and I used some fabric and made some little legs instead of the HUGE ones on the Pier One owls.
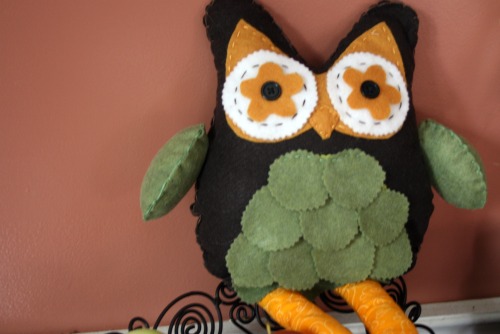
Here’s a sketch, because I have yet to learn how to do pattern pieces all fancy like, of all the bits you need if you want to give this a try yourself. I’m all about putting your own spin on crafts so it’s measurement free, my owl is about 10 inches tall (legs not included.
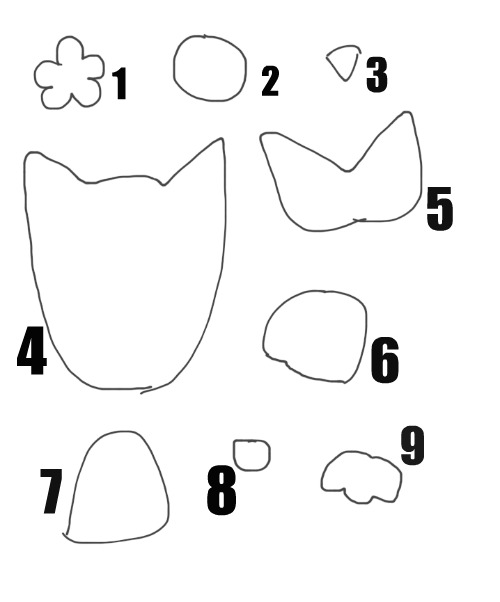
1. Eye flower cut 2 (shape can be different)
2. Outside eye circle cut 2 (should be a circle, I used pinking shears to give it a fun edge)
3. Beak cut 1
4. Owl body cut 2
5. Face, base this on the size of your body piece. Cut 1.
6. Wings (optional, my friend didn’t make any) Cut 4.
7. Belly piece, this is hidden once the owl is all done but it’s there under the ‘feathers’. Cut 1
8. Feathers cut enough to cover piece #7, my owl has 12.
9. Feet cut 4.
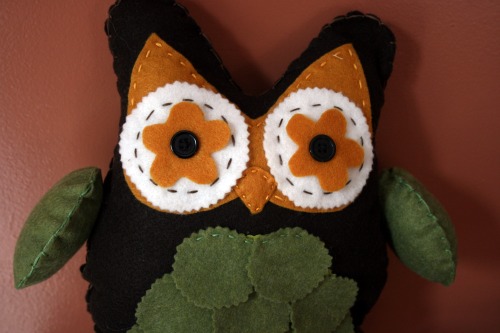
Assembly

1. Sew the buttons on the eye flower pieces with the white circles behind
2. Sew the white circles to the face piece with a contrasting thread and some fun stitches.
3. Sew the face piece to the owl body, sew the beak on as well.
4. Attach the belly piece to the owl and cover it with the feathers, staggering them a bit.
5. Stitch the 2 body pieces together, leaving the bottom open. Mind are stitched with embroidery floss showing on the outside. You can stitch it right sides together on a sewing machine and turn it if you’d like. I was going for a more rustic look.
6. Stuff your owl.
7. Stitch the wings together, leaving a small opening and stuff them. Attach to the body.
8. Cut 2 pieces of fabric, mine were about 3 x 8 and fold and stitch down the long edge, turn the tube rightside out and stuff.
9. Stitch the feet together, leaving a small opening, stuff and stitch closed. Attach to the legs.
10. Tuck the legs into the opening at the bottom of the body and stitch it up!
Fun Find.

Found this shop on Etsy yesterday. I’ve become a little addicted to checking the front page and I usually refrain from peeking at the ‘recently listed’ items at the bottom but I happened to scroll down and glimpses these cute items.


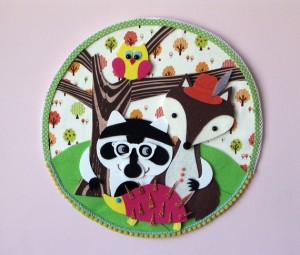
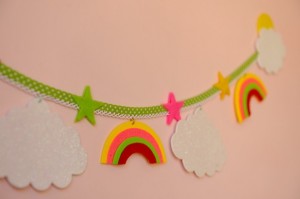
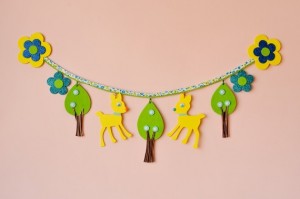
How awesome are these banners?!


It’s one of those, ‘good thing I don’t have daughters’ moments.

Click images to be transported to the shop and more wall art cuteness.

Another Style School creation.

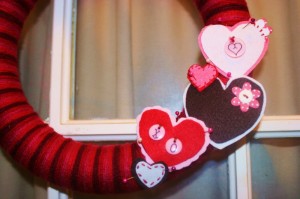
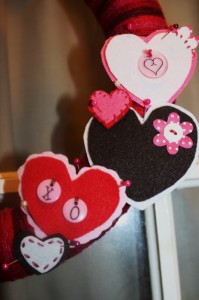
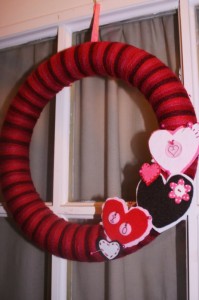
I’ve been dying to try to make this, but I can’t find a foam heart shape anywhere!! Despite Valentine’s Day quickly approaching.  So I decided to make my wreath project with a Valentine theme.

I was going to use paper for all the hearts but worried about it standing up to the cold and damp if i chose to hang it on the front door. So I used pieces of felt.

I used a multicoloured yarn to wrap around the foam wreath, there’s no way I’d be that uniform in my colours!