Category Archives: cozy

Making a few changes.

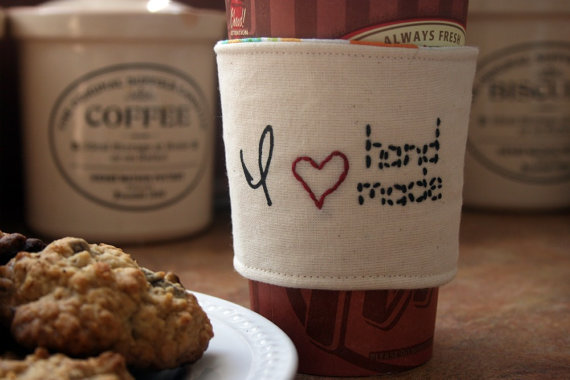
My cup cozy designs came from part having funny things to say and part wanting to help people keep their drink a bit insulated and their hands a bit safe while sparing the environment extra cups or cardboard sleeves.
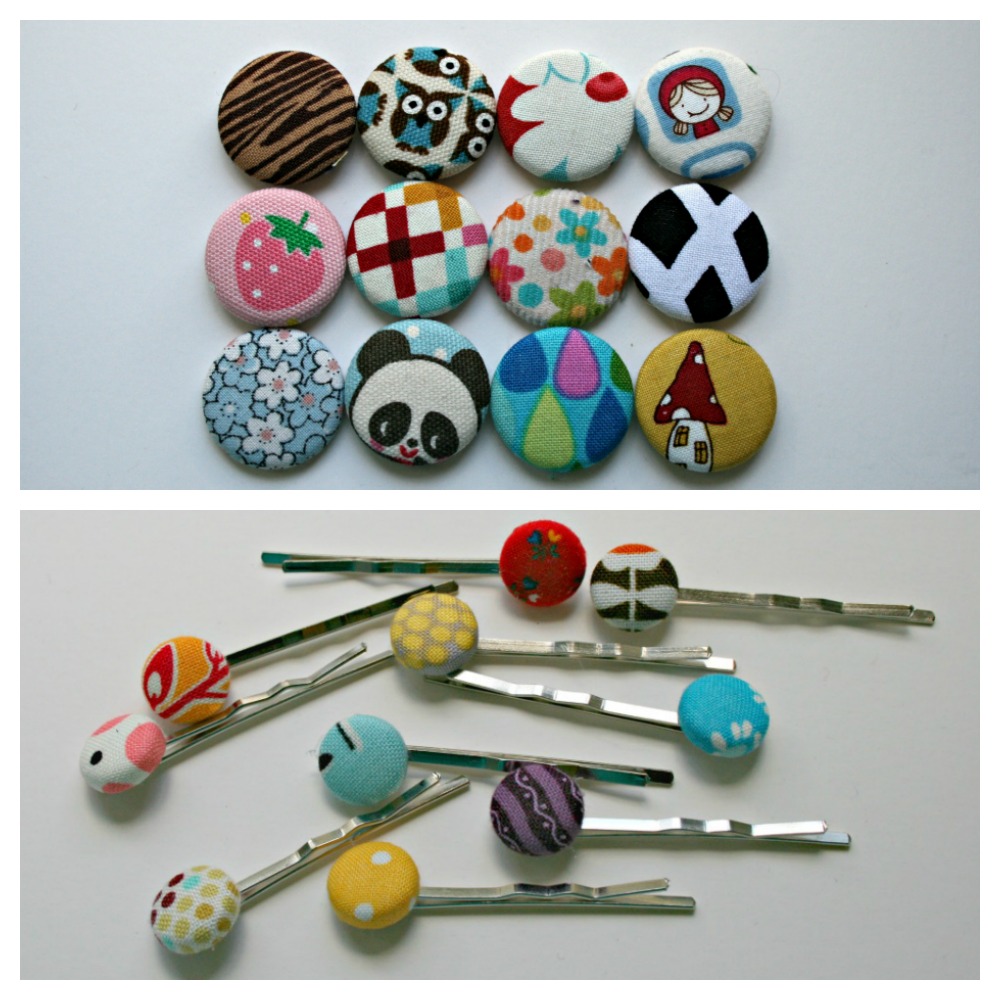
I try to be conscious of my consumption of items and how much I use up my craft supplies. I repurpose things and use up all my scraps (down to 1 inch magnets and then teeny tiny scraps for hairclips). I take donated scraps from people, thrift things to reuse, when I screen print and make mistakes I use those pieces as interfacing and lining for other projects. I try.
Recently I’ve tried to up my game in our household – reusable produce bags, reusable make up removal wipes, hand made face cloths and wipes. I keep them in a travel bag in the bathroom then once they are used put then in a mesh bag to breathe then just wash and dry in the mesh bag.
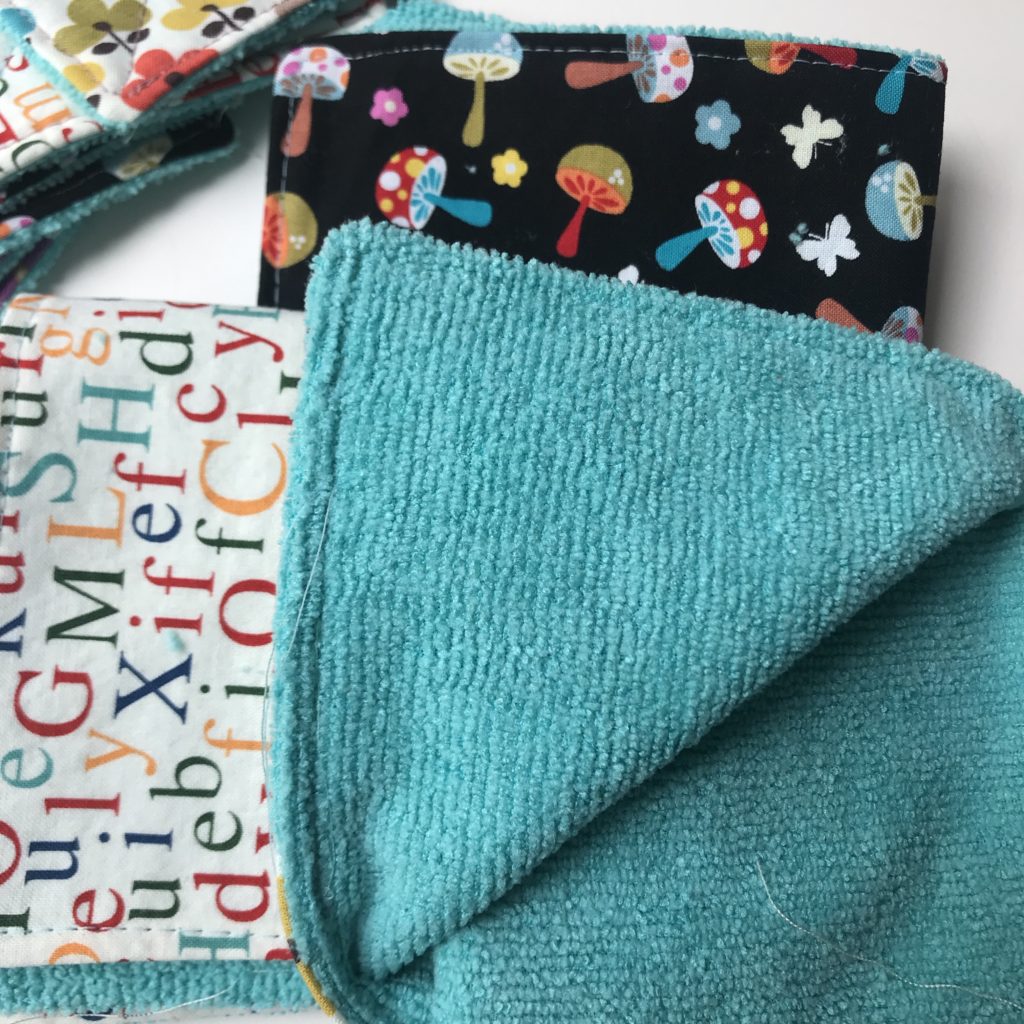
This ones were made with our favourite colour in my house, which we call Swoon. My son wanted some slightly larger ones for his face. I just used up fun prints I had on hand and made a bunch for our use.
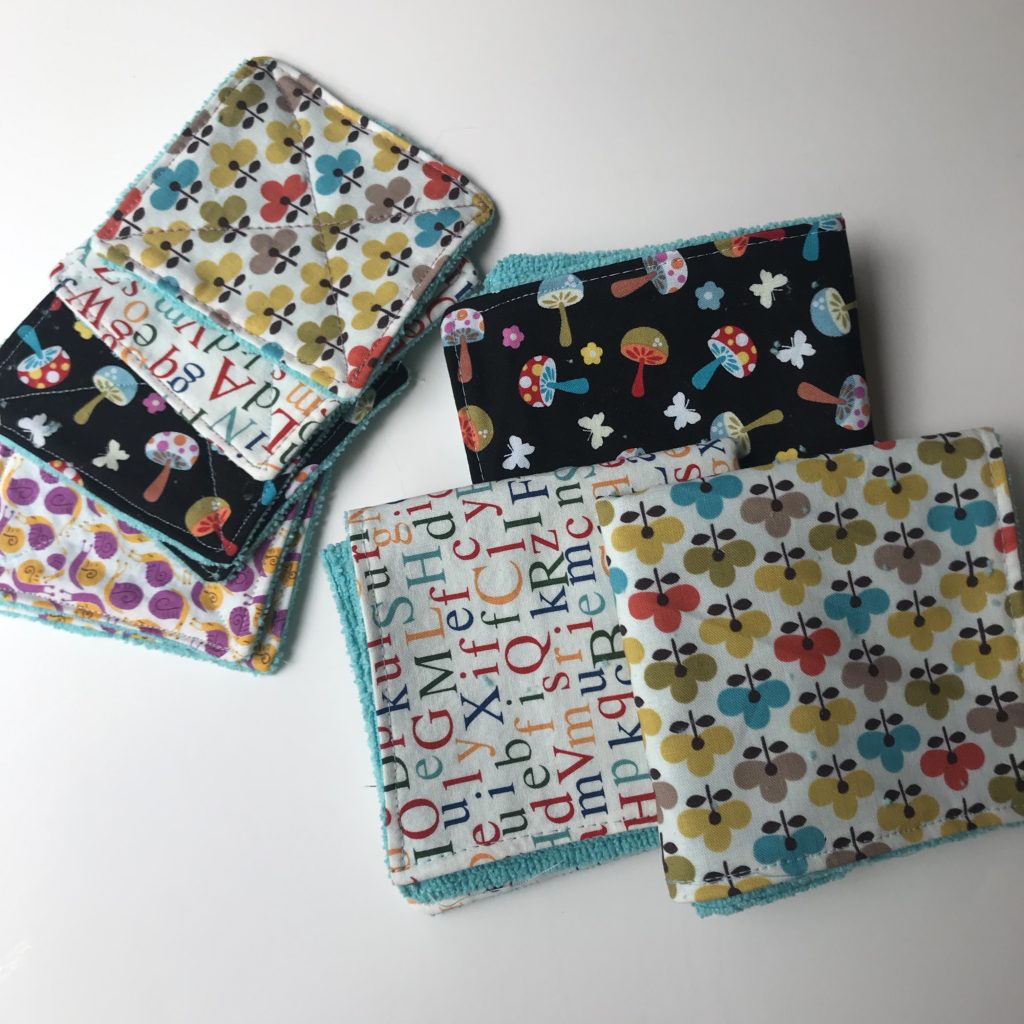
As I posted about them I had some request and so I went ahead and made some for friends. It saves on having to buy one time use make up puffs and doesn’t make any solid waste.
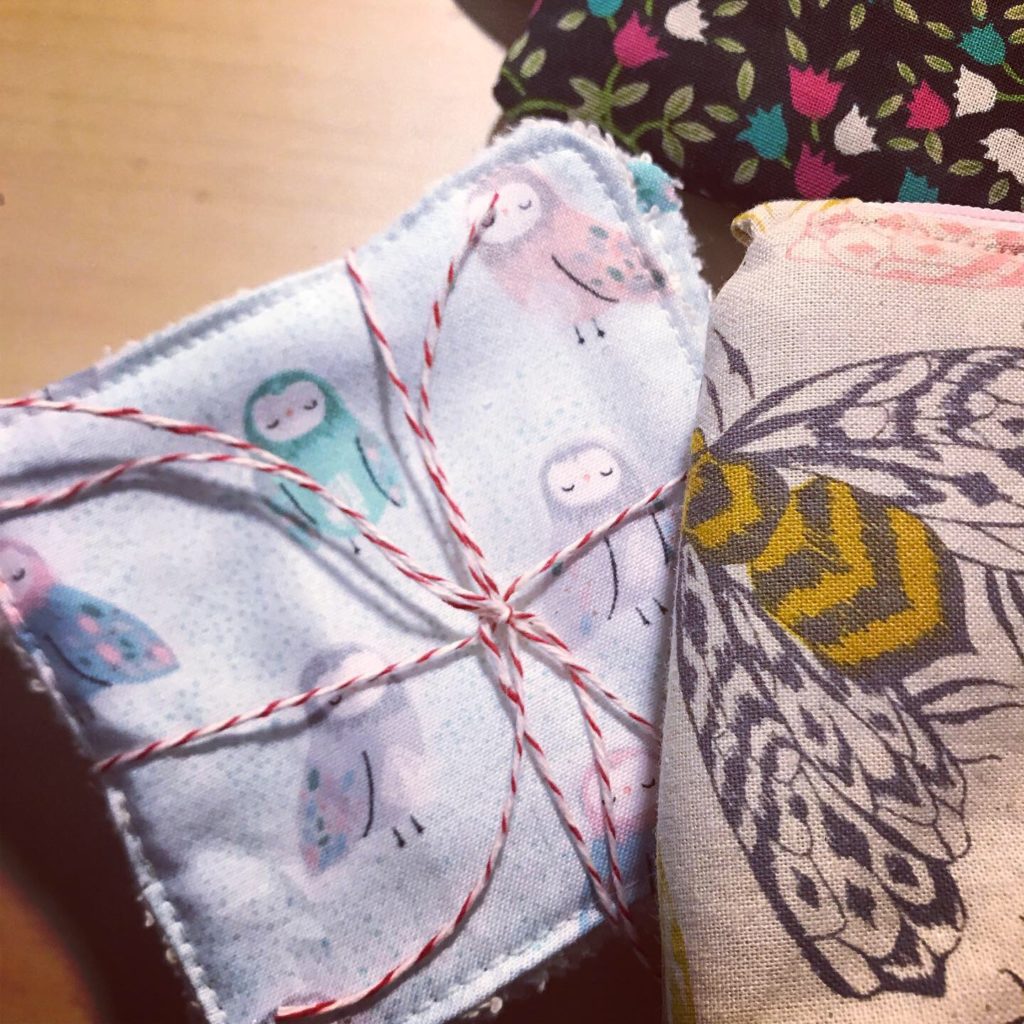
Looking forward to making more and adding them to my table at craft shows and my Etsy shop.

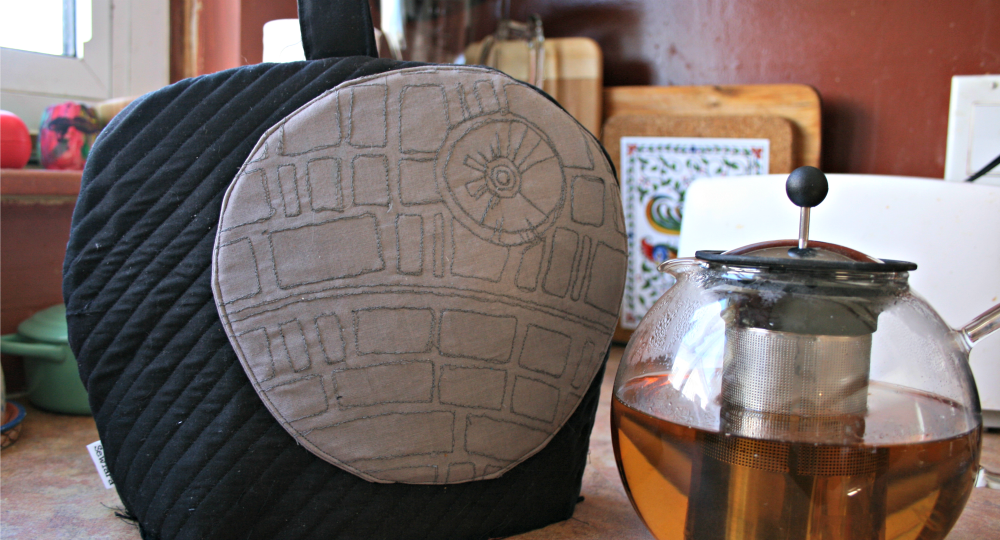
Inspired by the dark side.

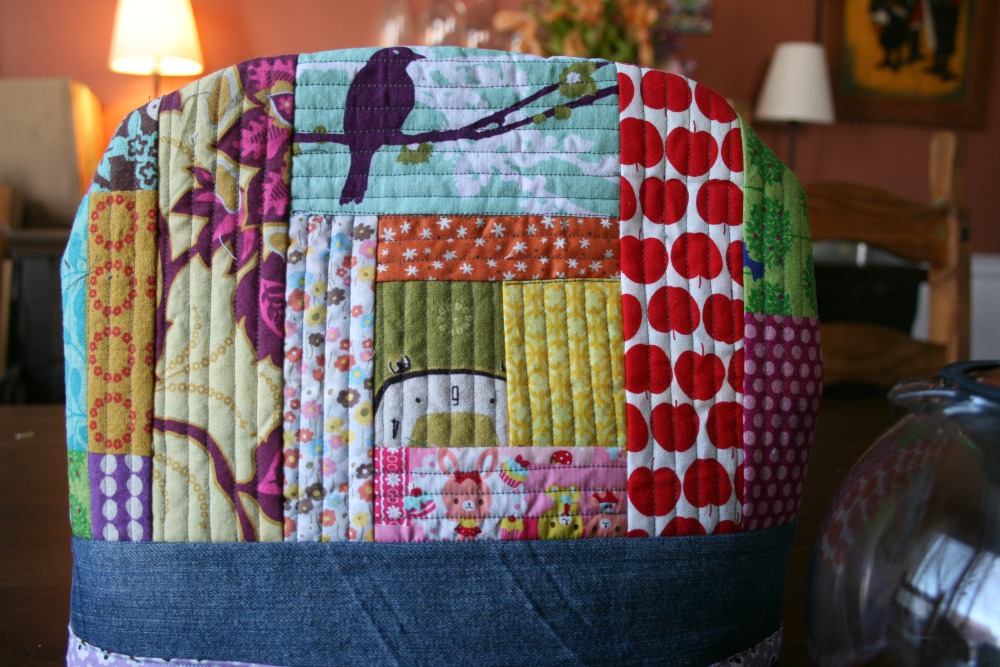
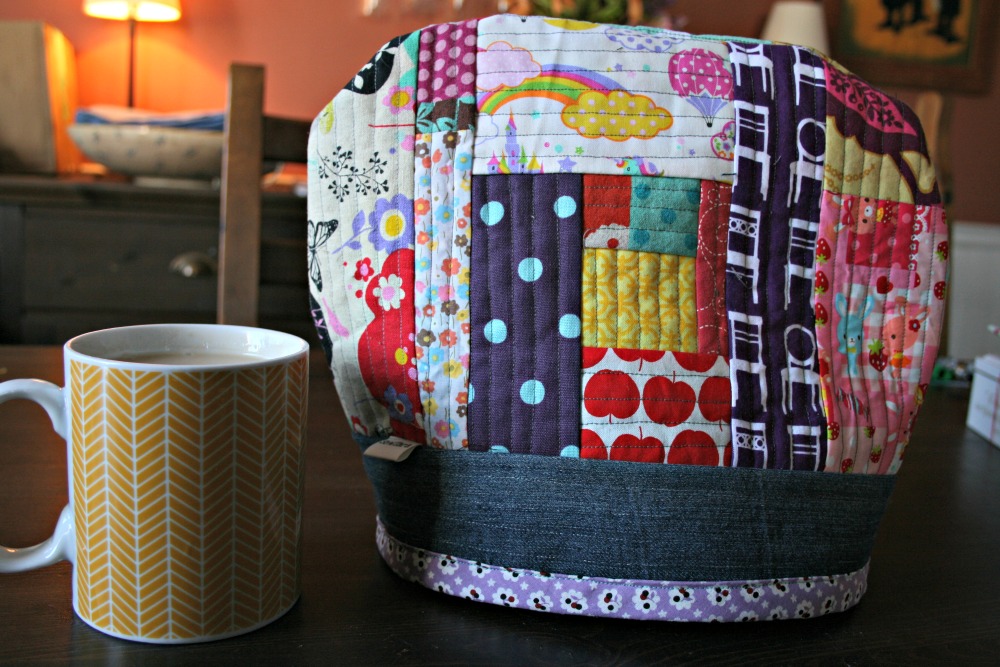
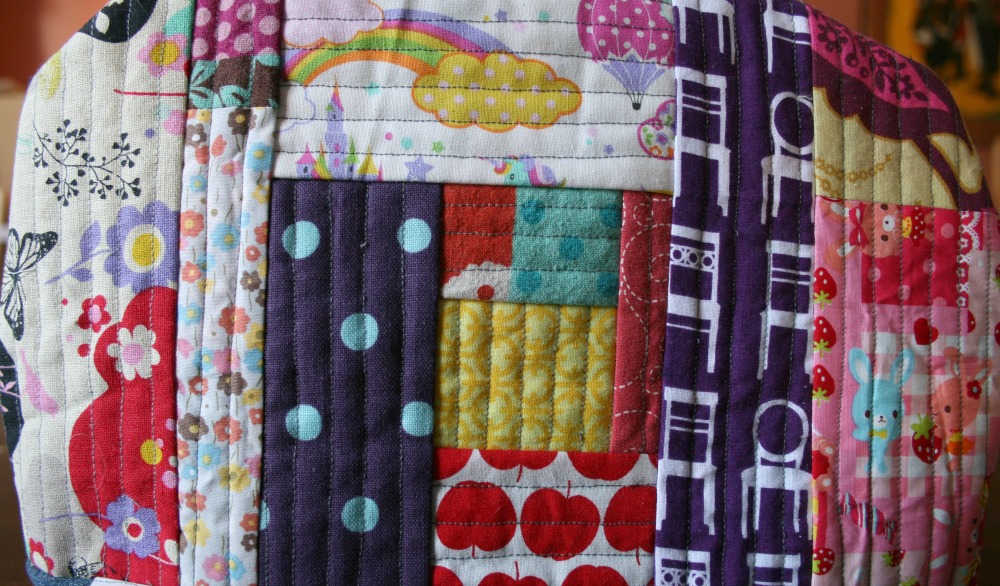
Well after I finished construction on this on Sunday I decided to make myself one. I used the techniques I learned in this patchwork bags course from this wonderful lady when I made this bag. Using scraps I pieced together my own fun cozy.

I even used the left over bias tape I made from the Tinkertote.

Keeps my tea pot super warm, for sale oh and funkily cute.

The Dark Side of the tea pot

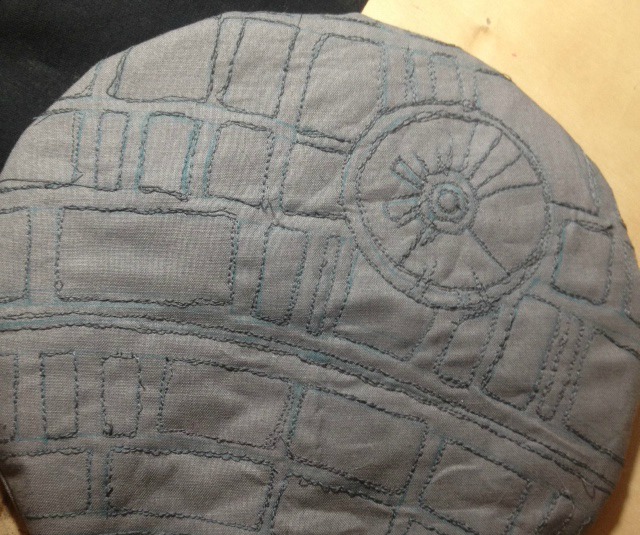
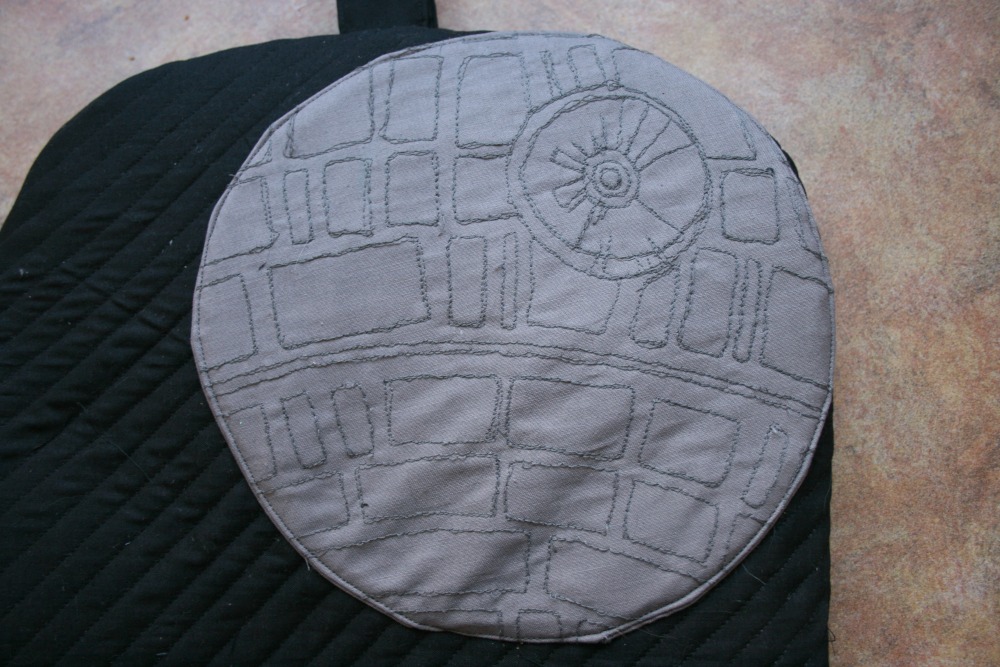
I was asked by someone if I could make their friend a tea pot cozy that looks like the Death Star.

I totally was up for the challenge.

I Googled an image of the Death Star and was all prepared to hand stitch with embroidery thread when I decided to try that whole free motion quilting thing again. Here’s an Instagram of things in progress.

I wasn’t happy with the bias tape I had on hand so I have to run out tomorrow but it’s one step away from completion.

I’m super happy with how it turned out. I Googled some measurements and went with the largest size. Fits my tea pot perfectly so I hope it works for them! Can’t wait to hear what they think of it!

This one time, I had a blog.

Wow. I’ve been so neglectful here, in my life, in my creating. It’s about to change.
Just before Christmas I got this lovely email.

“Dear Tara

Thank you so much for inspiration!
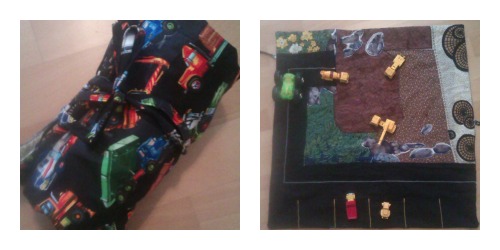
My son had a special wish for christmas: a construction site.
In a dark corner of my mind I found the memory of a celebrate the boy collection, with streets and playcosies and such cool stuff. So I started the hunt and stumbled over your project. Just the right thing
So I started sewing and tadah: here it is.
The pictures are taken with my phone, therefore no star quality… But I hope you recognize it.

Thank you for inspiration and tutorial.

And Happy holidays!
Love
Barbara
From Switzerland”

I think she did a great job and I’m so happy I was able to help her create something for her son.

The tutorial is from the wee beginnings of my blog. I giggle now to look at my badly taken photos and how little my big boy is in them!

I’m also grateful that she’s given me a little kick in the butt to get back on this blog horse! See you tomorrow.

I have made something new.

It’s in my shop now.

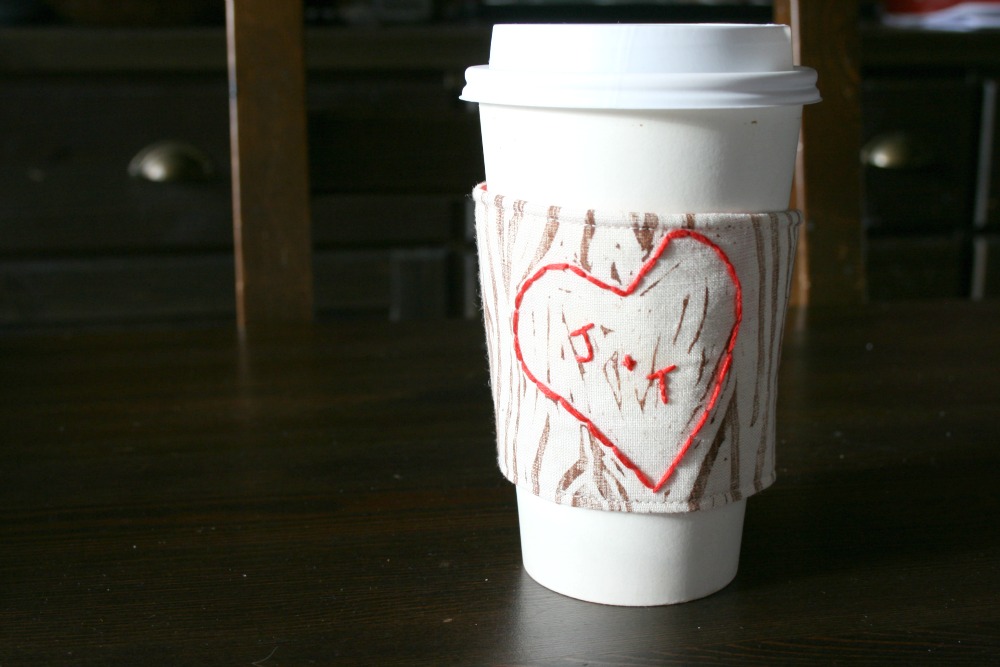
It was created with Valentine’s Day in mind but it’ll work for all year round.

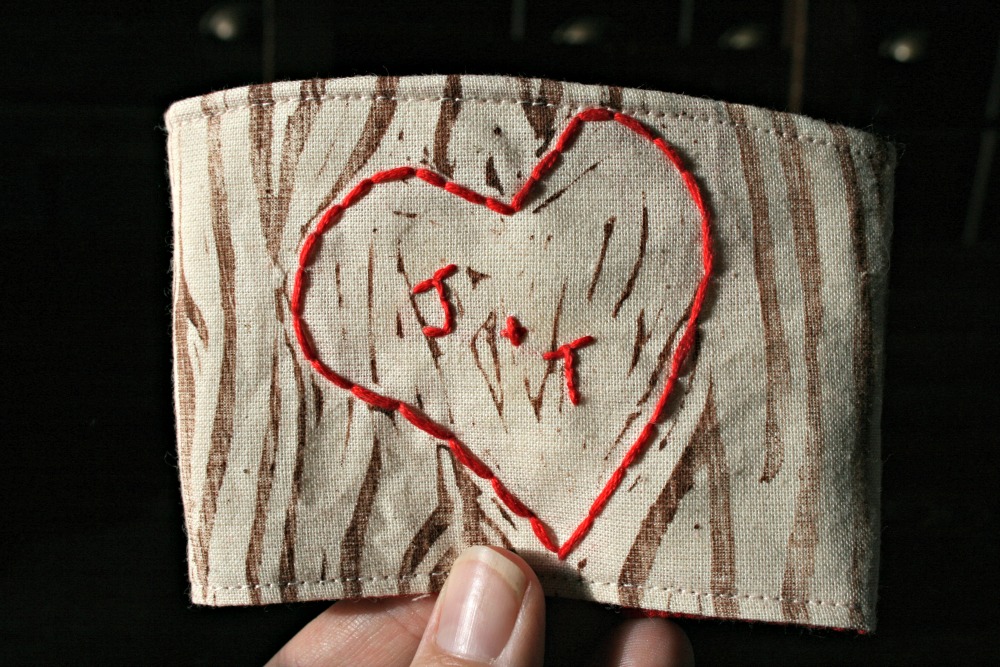
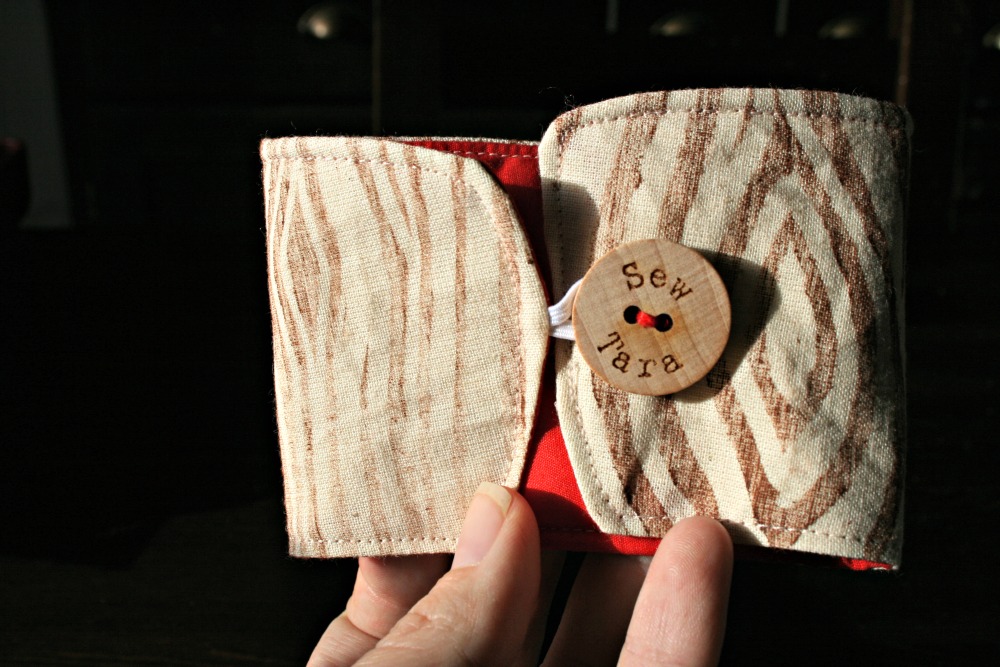
I carved a HUGE stamp with my own little hands (the first of many I hope) and then stamped with brown fabric ink on the unbleached cotton. Then I cut out my usual cozy shape and embroidered the lettering and heart on. Then stitched it up into it’s lovely cozy form.

The wood button goes really well with it and saves me using a label! You can you admire, or buy, one here.

New cozy design.

I had a custom order that involed this sort of idea a while back. Then I handstitched it for the order but since then I decided to make a screen print of it. But then it was the great ‘to cute face’ or ‘not to cute face’ debate.

I decided on the cute face. I blame this on knowing Mollie.

I’m getting old

I can’t remember what I’ve blogged and what I haven’t! It’s terrible. I keep all my photos organized by month, guess I need a sub folder so I can sort what’s been posted and what hasn’t. Then I won’t appear so crazy. Like I do now.

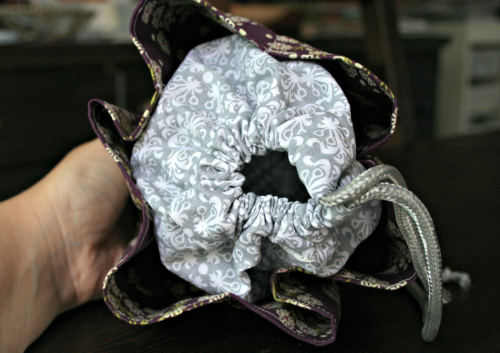
A friend at work (hi Kim!) asked if I could make one of these bingo bag thingies for her mom as a gift. I agreed and was even provided a pattern. It was super simple to make and while I was surprised at how small it seemed when I was done, once I got to school we dug out some bingo dabbers and found they fit perfectly!

I love trying new things. Now I know how to make little pleated pockets all around the outside of something. It was also fun to do a drawstring again.

Another sunglass cozy.

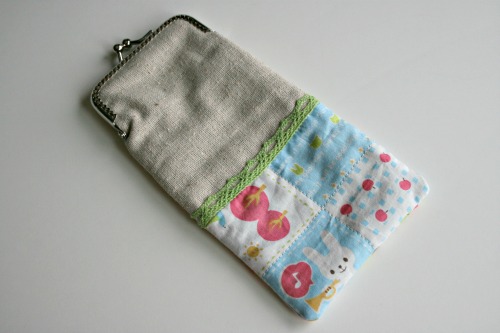
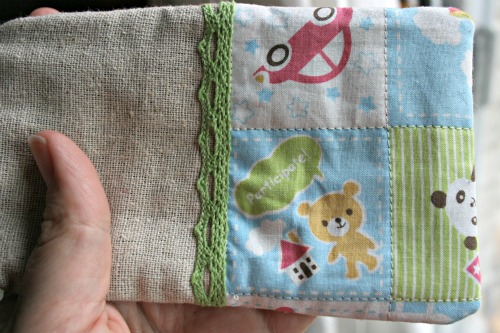
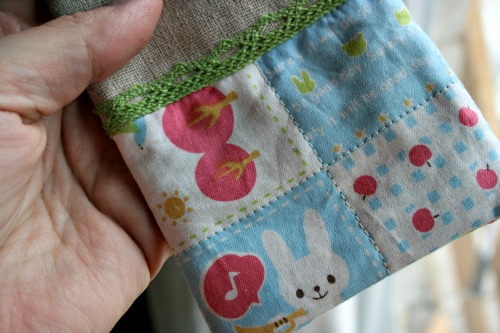
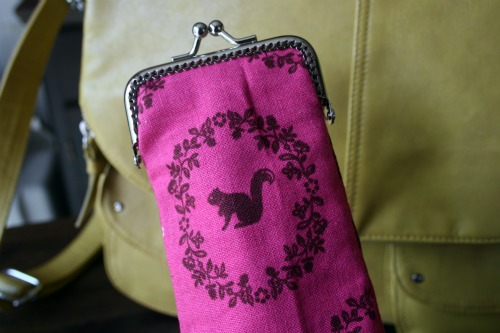
I finally finished stitching on the frame for this fun sunglass cozy.

Well I intended for it to hold sunglasses but My iPhone fits perfectly, and you could put eye glasses in it too. I’m debating writing out the pattern and even making kits. I’ve got a few frames left but I’ll need to stock up on more.

The fabric is a fun piece of Japanese print I had lying around. I quilted around the square designs to make it look even more like a quilt.

A new home for my sunglasses.

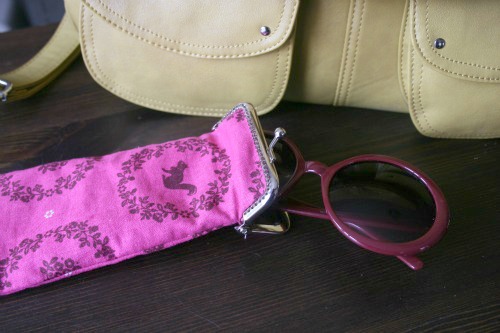
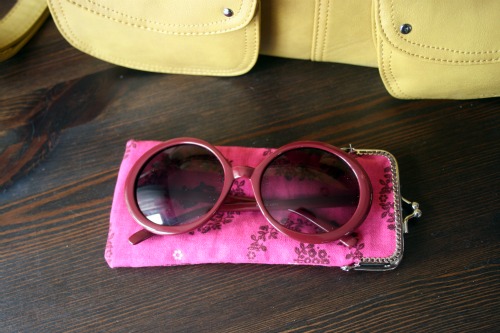
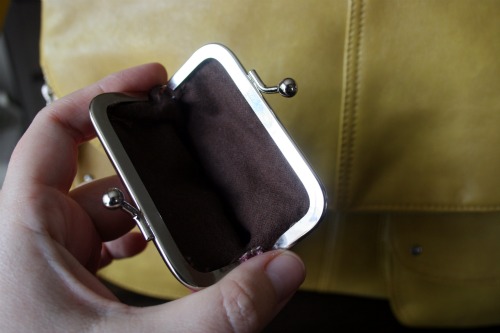
I love randomly making stuff. I was in my work space looking at a coin purse frame and had this little brainwave.

I really need to learn to draw these patterns out in a way to share/sell them.

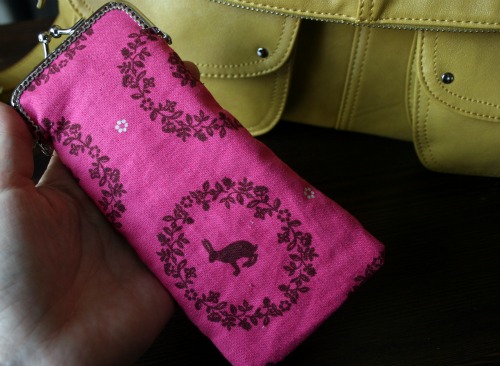
I actually cut into a fat quarter Echino fabric I’ve had lying around forever.

My sunglasses fit in perfectly. I took it into work and some of the ladies I work with have sunglasses that are thicker when they’re all folded up, which was sad, but it works for me!

I even managed some fancy print placement.

I’ve got some others in the works, just have to get sewing those frames on.

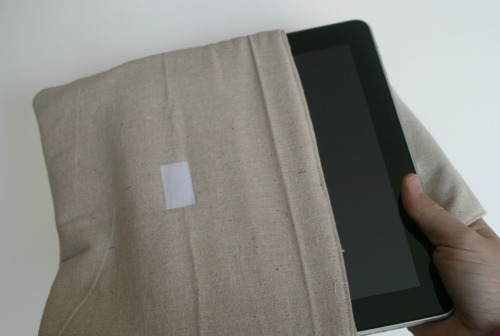
My new iPad cover.

I’ve had this idea for ages and finally had everything to make it. It’s so fun and I’m debating making it a PDF pattern, once I learn how to do that.

Joanna and I had a great time brainstorming a crafty address for the envelope.

The air mail ribbon is available a few places on Etsy and I ordered some fabric covered in stamp images and cut out some fun ones.