Wow, feels like it’s been forever since I’ve done a DIY so here one is! I’m going to show you how to make these great little gift tags, an easy way and an up-a-notch way. I shared these last week over at Celeste’s blog and now I’m sharing it here! These ones are holiday themed but it would be really easy to change some colours and stickers and use them on birthday gifts or for another occasion.
You will need – cardstock (colours and some white), stapler, paper cutter/scissors, adhesive
Optional fun goodies – ribbon, stamps, stickers, embellishments, ink or markers
Cut the coloured papers in 2 1/2 x 7 1/4 inch strips. The white papers should be 2 1/2 x 5.
Fold the white pieces in half, these will make the inside ‘pages’ of the card.
Fold the coloured paper at 2 1/2 and 5 inches. The remaining section will be slightly less than 2 1/2 inches in width. Using scissors or a punch make a cut out in the middle of the card.
Next grab one of the white scraps and decorate it in some fun way. I chose to use a snowflake stamp and my markers. I used the snowflake to create a patterned paper.
Then place adhesive around the opening for the stamped white piece to stick on. Keep the adhesive over to the one side so it doesn’t peek out later.
Then add some more adhesive on the back of the white paper and fold the last bit over to hide it all.
Place the white piece inside the card and add a staple.
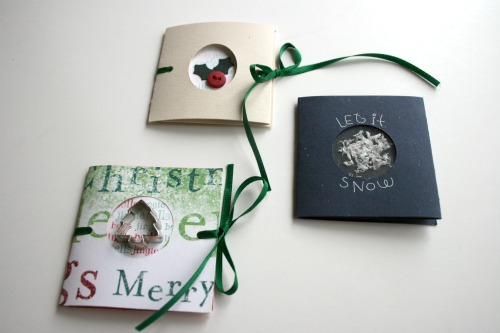
Now turn the card over and add the embellishment on the outside. Voila!
Depending on the supplies you want to get your cards can get really fancypants. The holly one was made with a button and leaves from a scrapbooking punch. The snow flake one has 2 pieces of an overhead sheet with some fake snow stuff I got at the dollar store inside.
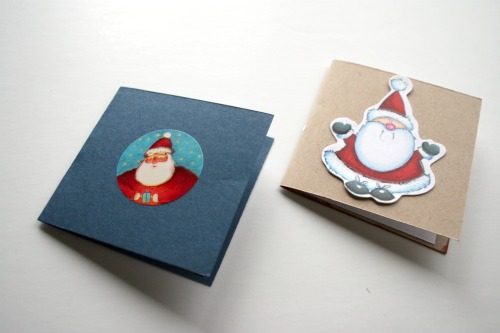
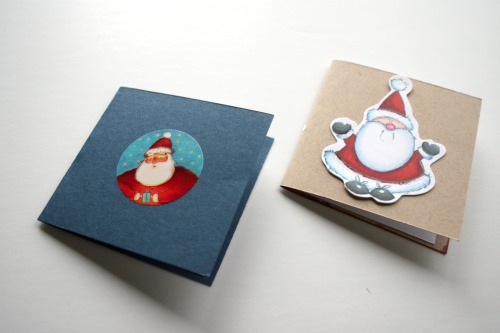
Or you can also just put some stickers or cut outs on the outside.




![IMG_8238 [800x600]](http://www.sewtara.com/wp-content/uploads/IMG_8238-800x600.jpg)
![IMG_8235 [800x600]](http://www.sewtara.com/wp-content/uploads/IMG_8235-800x600.jpg)
