Tag Archives: applique

Darth Vader and R2D2 go handmade

While browsing Halloween costumes, in an attempt to talk Wesley out of being a garbage man again, he saw a Darth Vader mask and cape and decided that was going to be his Trick or Treating get up. I approved. We didn’t buy the whole outfit type costume because have you seen the price of those things?!! Not to mention the terribly quality of them!! I figured I can’t make the mask so that’s ok to buy, and having the cape is just bonus but I can totally make him some pants and a shirt to go with it.

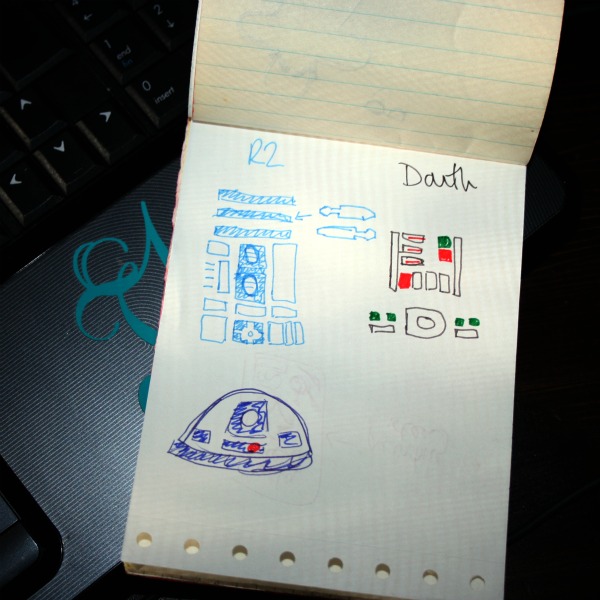
I googled images of Darth Vaders chest plate part to get an idea of what I had to rig up and came up with these sketches.

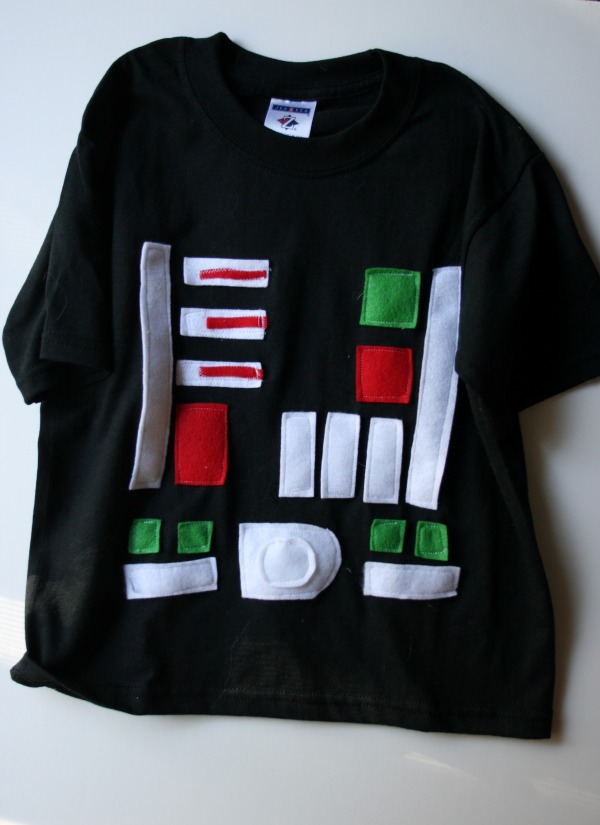
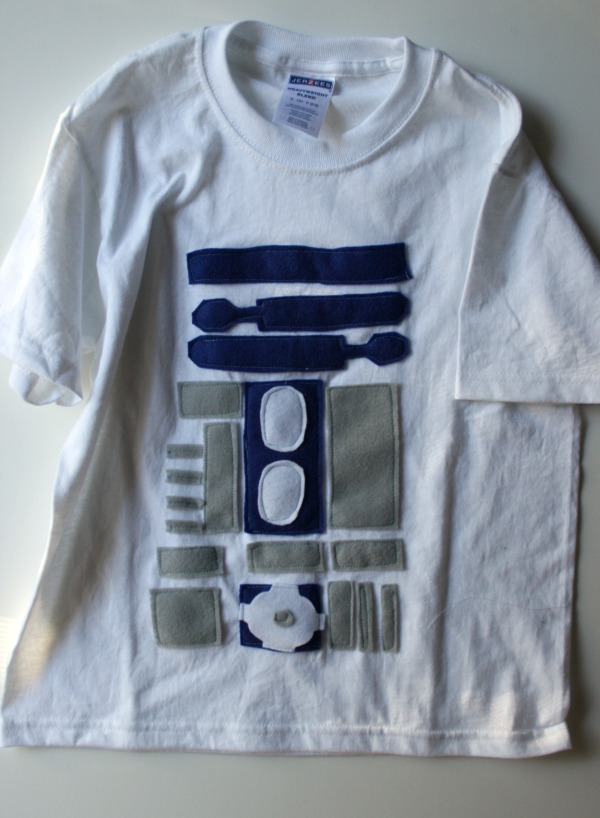
Then I went to Michael’s to take advantage of the 2 for $7 T-shirts they’ve had on sale lately. I grabbed the smallest youth size, they’ll still be a bit big, especially for Nate but great if they end up wearing jackets underneath. I cut up felt and stitched it to the front of the shirts and came up with these.

I made some of R2’s pieces gray when they should really be white but I thought this way it shows up better. I also still have to finish his hat, which is really his gray winter hat with felt pieces attached. Wesley already wanted to wear his T-shirt. Can’t wait to see them all dressed up and standing together. My mom made me some awesome costumes when I was little,  fittingly one was Princess Leia.  So, am I going to get in trouble later for making them costumes that go together?

Got some spare time this week? I’ll show you how to make some Trick or Treat bags.

Of course, like most projects, I’ve been meaning to get to this one for a while. I finally managed to squeeze it in this weekend.
I wanted to make the kids some bags to collect all their candy in that they could use for a few years. I find most things out there are cheaply made or too big for their 4 and almost 2 year old hands. Soooo off to the cutting board I went.

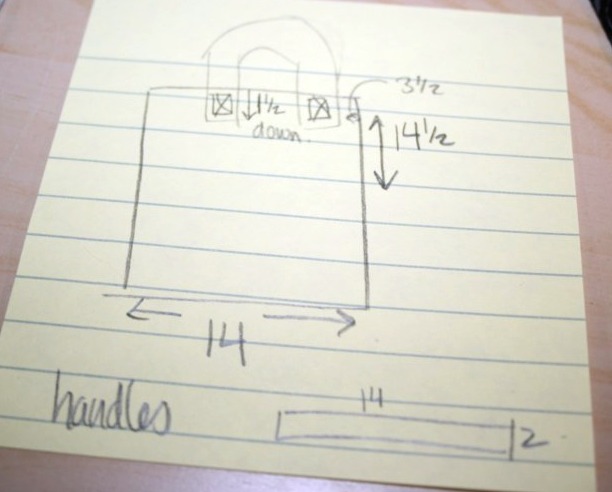
Here’s my high tech diagram. I really need to learn some sort of graphics program . . .

Measurements are in inches. That’s the handle placement I used, seems to be fine.

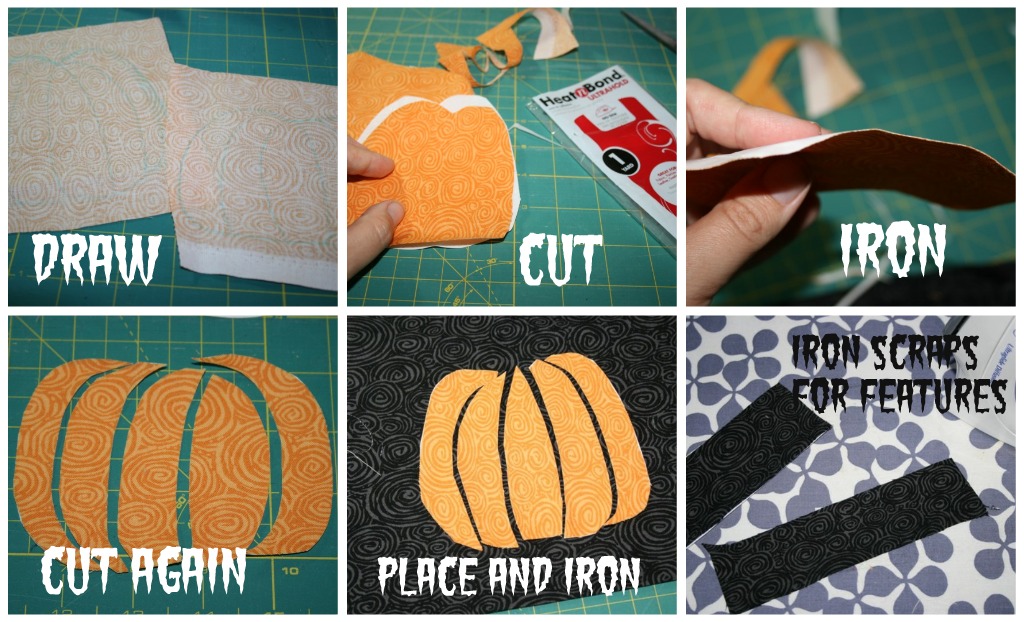
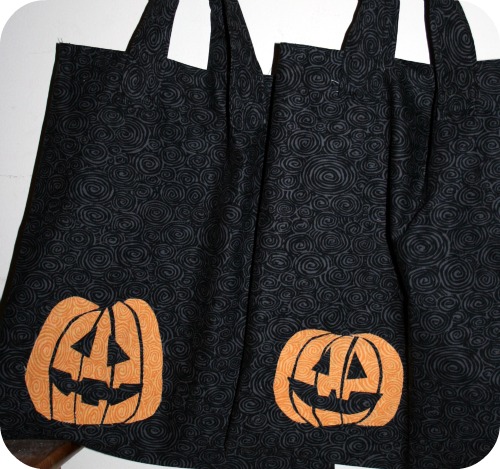
I used washable marker to sketch out some pumpkin shapes.  I just free handed it but  you could search for images or choose another design all together.  Cut them out and fuse them to a new sew adhesive, like Heat and Bond.  I wanted the black lines to show through on my pumpkin so I cut it up into a little puzzle and pieced it together on the front of the bag.  Then ironed it on.  I used some scraps of black and fused them to the Heat and Bond and then cut out some features.  Guess I was on a roll because I don’t have pictures of that step!

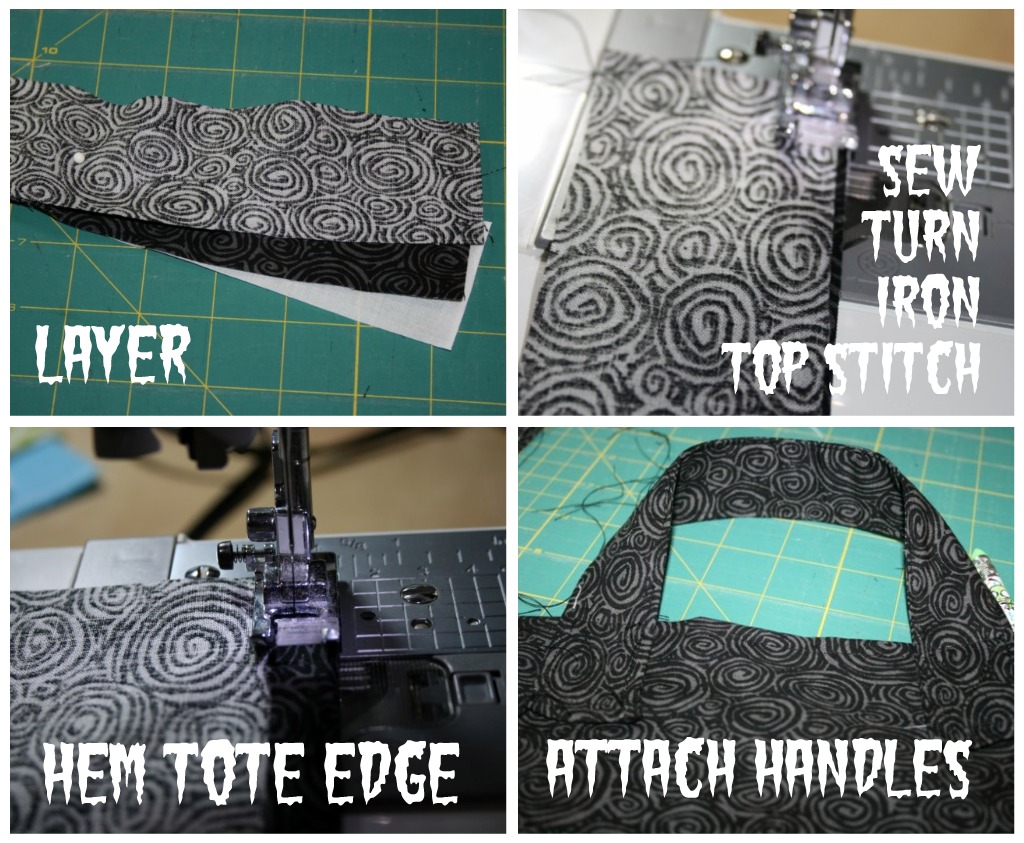
Layer your handle pieces together, I added some interfacing for some more stability.  Sew down both sides and turn them right side out.  That part is tricky, I found a chop stick helped.  Iron them flat to get nice crisp edges and then top stitch all the way around turning the rough edges under.  Hem the top edge of the tote, seam size isn’t really all that important just use the same mesaurement for the front and back.  Finally attach the handles with a fun box stitch.

Lastly lay your front and back pieces right sides together and sew around the sides and bottom.  I debated boxing the corners on my totes but decided not to, go ahead if you want.  Turn the whole thing right side out and ta da, fun Trick or Treating tote!

My cup cozy is in the ‘procrastinate’ position.

Weeeeell, maybe it hasn’t been all procrastinate I have been busy with my shop but that was only since July.  Remember my counting books?  I posted about them in . . . months ago.  A big part of the problem was running out of osenburg, which I have only found at Joann’s craft stores so that means a cross boarder trip.  When I went in September I bough 10 yards of it.  I should be good for a while.

Last night I buckled down and finished one for someone.  She asked for 2 of them so I’m hoping to get the other one done this weekend.  And spidey senses must have been tingling in my area because just randomly 2 other friends asked where the books are for their babies.  So I’ve got a little To Do list for this weekend and those counting books are on it!  Along with a few other things of course.

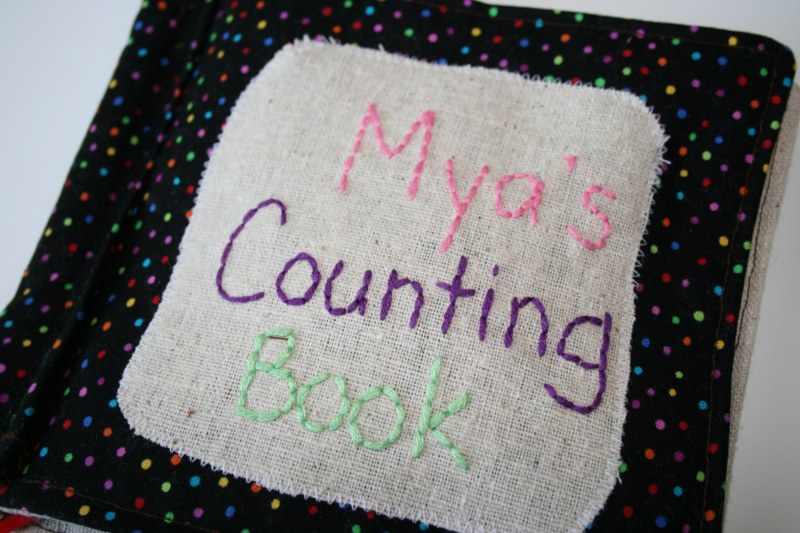
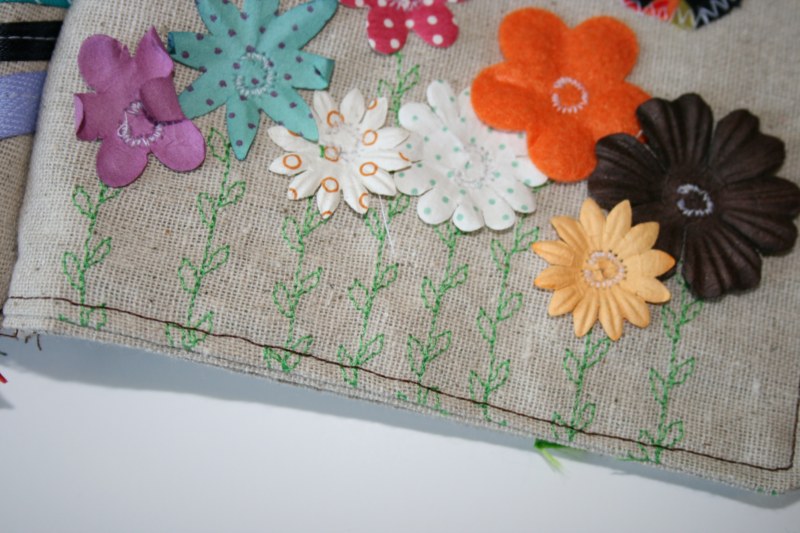
Here are some shots of Mya’s counting book.

I finished it at about 11:30 but wasn’t happy with the size of the first few pages, somehow the pages were getting bigger at towards the back.  So I did some stitch ripping and re-sewing until the wee hours.

Thanks to my fancy pants new to me sewing machine I was able to add some fun, and time saving touches.

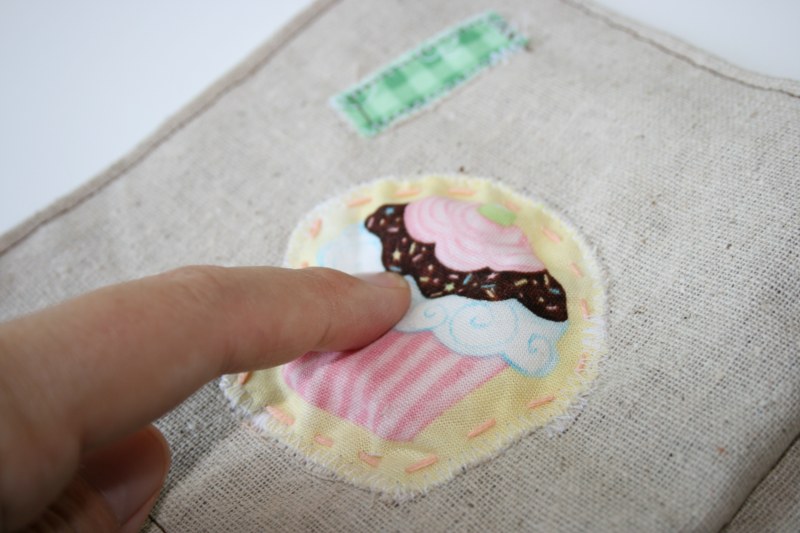
I also got creative with the tactile side of things and put this fun stuffed cupcake on the first page.

Finished off with my lovely labels, which are iron on but I sewed them as well because I like that look.

First Home Ec project!

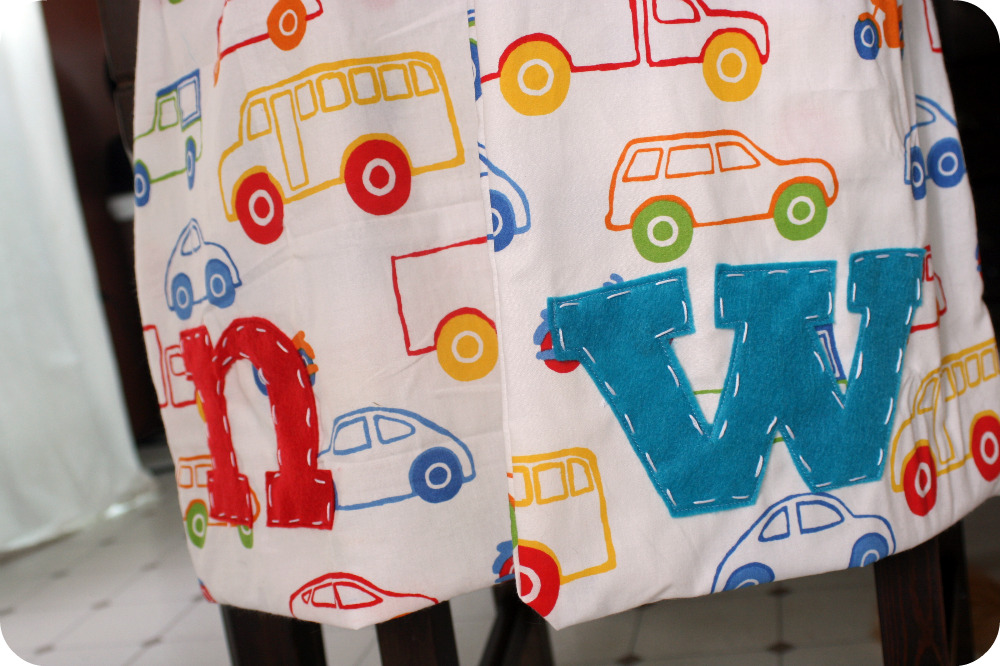
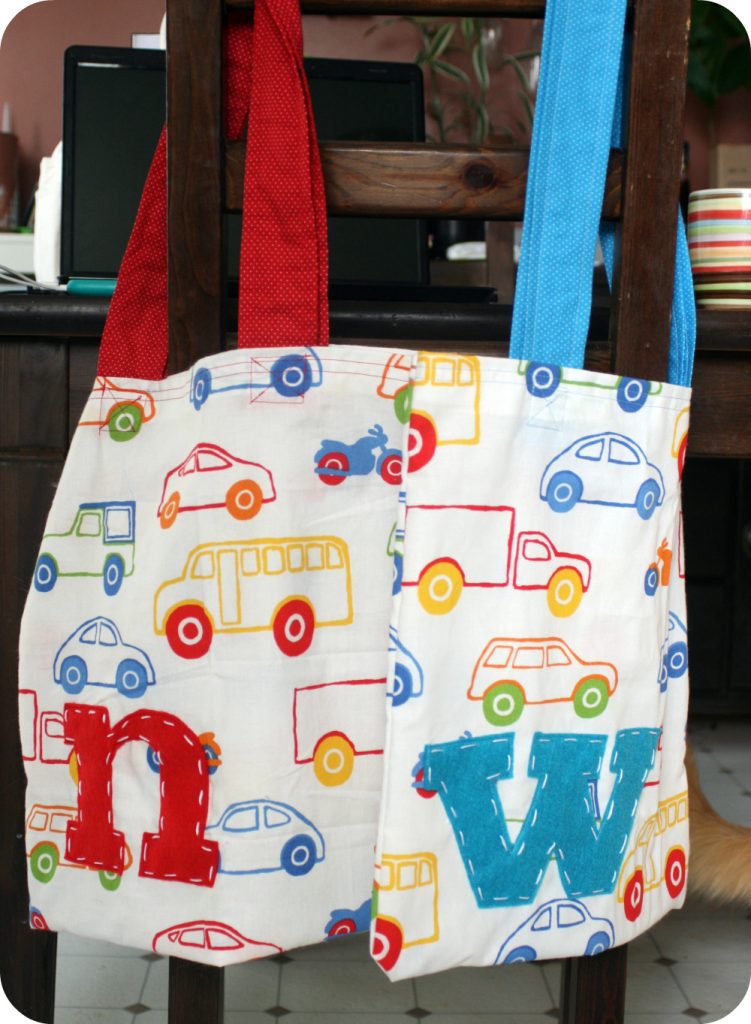
I’ve been a bit of a slacker lately with my online classes.  Don’t know if my brain just isn’t into it because I’m not in school right now and it’s still vacation or what, but I managed to get my act together and finish the tote project we were assigned in Home Ec.  Actually, not only did I finish it, I finished it twice!!  I decided to make the boys bags for when we go to the library.  I also thought they’d be a good place to keep the library books during their stay in our house so I can find them easily when it’s time to return them.  But now I’m thinking these bags are so cute they’d make great overnight bags too.  I used my cricut to cut out some big letters on cardstock and used those as a template to cut the felt.

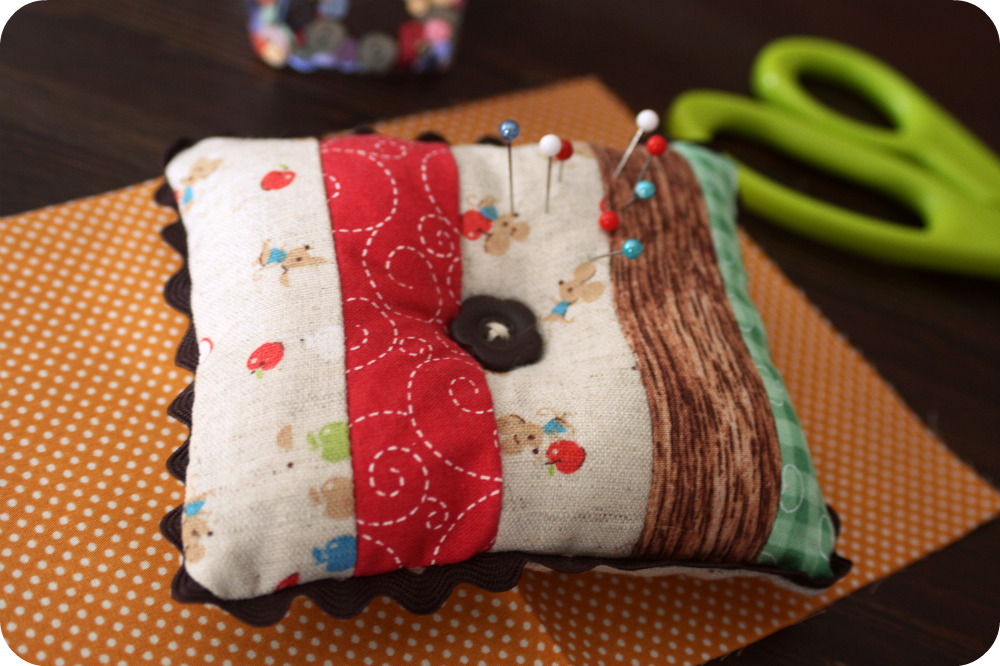
I did make this a few days ago, LA included the tutorial from her blog as a bonus in the class, but I’ve been making those for months so it doesn’t really count as part of my ‘homework’.  I added the rick rack to be fun, and cause myself some headache, I still haven’t perfected the use of that stuff!

Girly Handmade Beginnings pants this time!

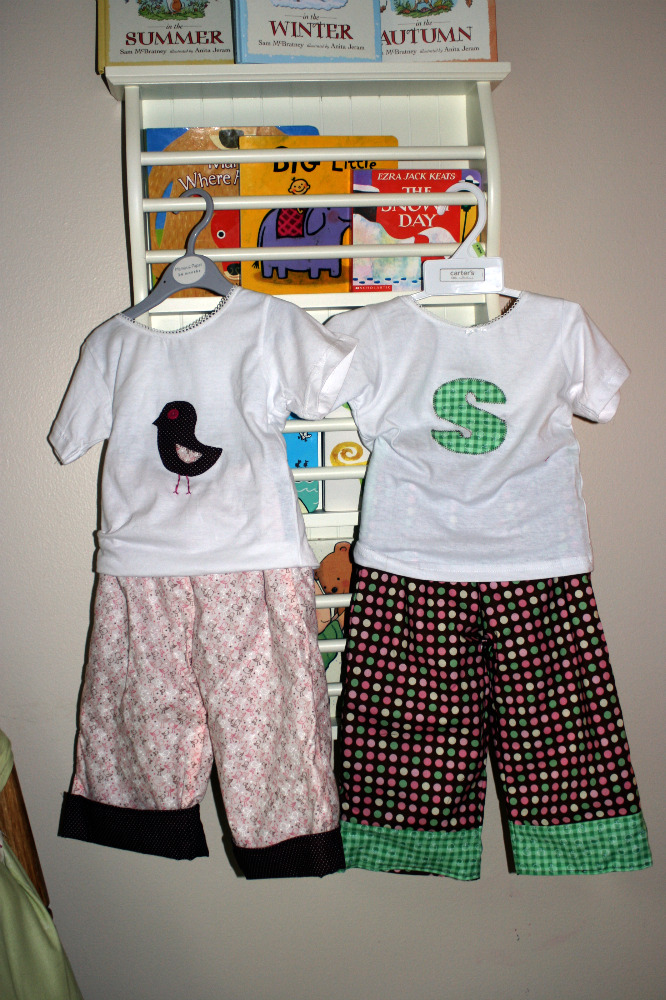
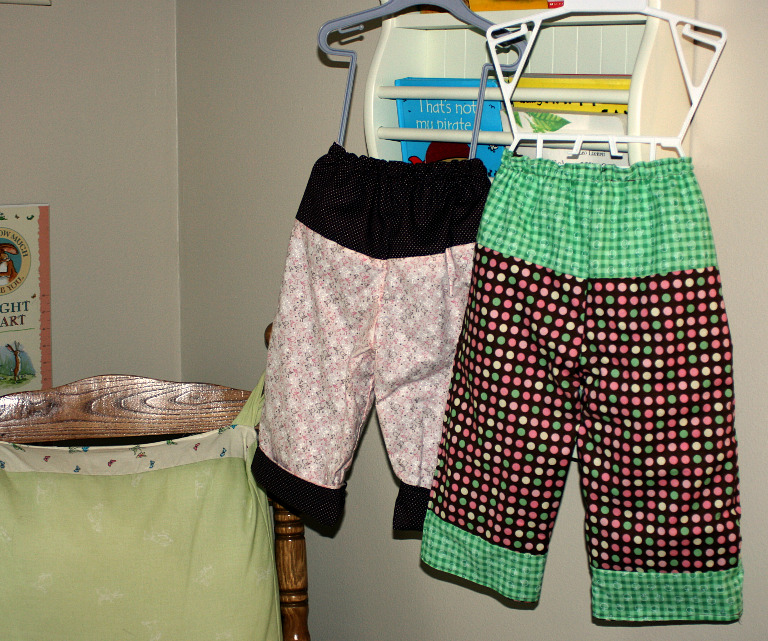
I was so happy to get to pick out some fun and girl-ish stuff to make for the lovely baby Samantha.  I also got fancy and appliqued some t-shirts to go with the reversible pants.  Needed a nice thoughtful gift and a break from being a pillow factory.

You can’t really see but there are little brown, pink and white birds on the first pants.  I added some brown with white polka dot fabric to the inside to make rolling up the pant legs more fun.  On the second pair of pants I actually cut the leg shorter and added that bank of green apple fabric so when she grows bigger and can’t roll up the pant legs they’ll still look like they have a fun contrasting cuff.

Now I just have to get her counting book all done! :)

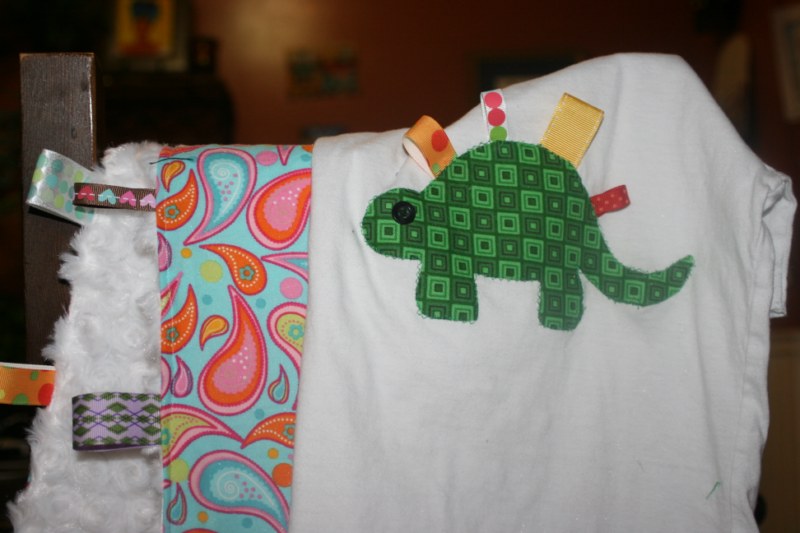
My productive day with taggies and steggie!

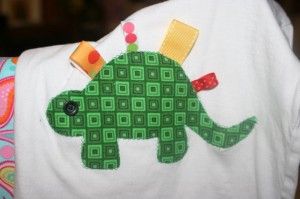
Well I managed to get some time to myself today and was a mad sewing . . . machine?  I made 3 taggie blankies, and I must say working with that soft wonderful minky stuff is a bit of a pain.  Then I made my son a shirt.  I’ve had the plain white one sitting there for ages and ages.  Since I was in a taggie sort of mood I whipped up a taggie steggie!

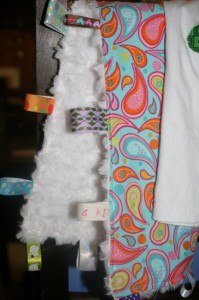
This was the last taggie blankie I made and words cannot describe how totally soft and wonderful the white fuzzy side feels!  Plus the fun bright retro fabric is pretty cool too.

Got a few things lined up to work on while watching a movie.  Let the productivity continue!

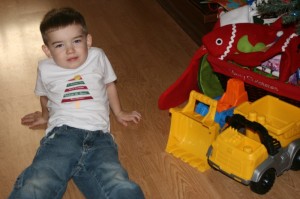
Christmas tree action shot, and a match for baby bro.

Managed to get Wesley to sit still long enough to take a picture of his shirt.  He thought I was taking a picture of the front end loader and dump truck he parked in front of the Christmas tree.  I did take a picture of them but I moved slightly to include Wesley in the shot.  Once the flash went off he realised what I had done and said ‘No! Not me! The trucks!!’

tree shirt

Then I got ambitious and made a matching onesie for Baby Nate.

onesie

First birthday shirt.

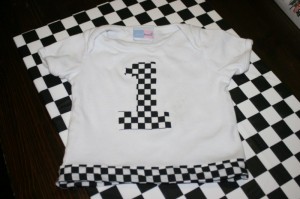
Tomorrow we’re having Baby Nate’s first birthday party, it is a bit early but with the trip we have to push things up.  Tonight I whipped up this shirt for him to wear.  I really wanted to make one, I got the idea somewhere of a number one appliqued over a star.  Since his party is all about Pixar’s Cars I used my checked flag material.

number 1 racing fan

A friend had given me a bag of hand me down baby clothes and there were some onesies in there that would be too short for Nate.  I cut them right at the bottom to make them into little t-shirts. I used Steam-A-Seam to stick the number 1 on.  But I was still worried it would be a bit short and wanted to add some length so I made my own bias tape to add to the bottom of the shirt.  Can’t wait to see him in it tomorrow!

Ribbon Christmas tree t-shirt.

Made this today for my big little guy. I didn’t take an action shot for fear he’d get something on it and I hoped he can wear it out tomorrow.

christmas tree t

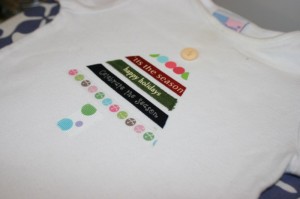
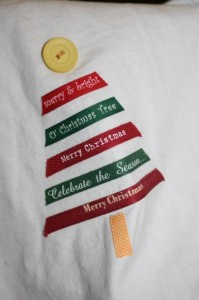
I picked the red and green design just to make it look a little boyish. i didn’t have a star button for the top, and I was eager to finish it so it’s a circle, I’m sure he’ll cope. I cut the ribbons and planned them out based on the sayings. Then I stuck them to my new friend, Steam-A-Seam and ironed away. Once again, I am impressed.

I came across the idea online in the last few days but can’t find exactly where. Today when I searched in google I found some other tutorials on it as well. So while I can’t claim I invented this craft I also can’t really know who did. But I do know it’s neat, easy and I like it!

May I present my new invention – the Playcosie!

Looks like the car cosie you say? Ohhhhhh scroll down my friend.

Looks like the car cosie you say? Ohhhhhh scroll down my friend.

When I gave Wesley his car cosie he thought it was pretty cool.   However, he looked up at me after a few minutes and said, “Where’s the rest of the road?”.  So I thought of making him a playmat, he has mats with roads on them already, but I thought one from me would be neat.  Then today I noticed he had all construction vehicles parked on his cosie and thought I’d make him a construction site playmat instead.  I even have the perfect fabric (which is also part of my work in progress car cosie for Nate).

And so once again here I find myself creating from scratch.  Not using my grid paper this time, but I will jot down the measurements of what I’m doing and make a template later.  BUT I asked myself, why make it just a play mat? what about the vehicles? does he have to carry his car cosie as well?  So I had the idea to incorporate the car cosie pocket idea into a parking lot and then the vehicles are stored easily and the playmat could fold and roll up just like a larger version of the car cosie!!  I’m getting pretty brave for a ‘sometime’ sewer.  Here’s how I’m doing it.

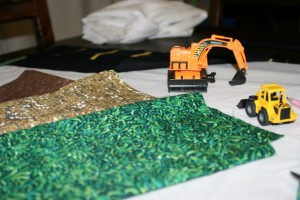
1. I have a construction themed fabric for the backing (18 x 22, from Walmart’s craft section), black for the road and parking lot, yellow for the lines, green for grass, brown for the dirt and a patterned stone print for here and there.  I may have to break out the Steam a Seam again for the appliqué, we’ll see.
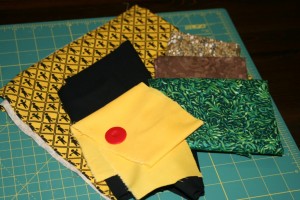
Fabric selection

Fabric selection

2.  I cut a piece of black fabric to be the pocket (10 x 22), fold in half and iron. I sewed it to piece of black fabric to be a road in front of the parking spaces ( 8 x 22, just because). I suppose you could just cut this all as one piece and press twice to be pockets and a road but I wasn’t being that logical. Attach the pocket piece to the road piece by sewing along the raw edges.

3. Pin it at about 3 inch intervals, leaving 1/4 for seams. This 3 inch part was a bit ‘ishy’, I eyeballed it after I didn’t like the 3 inch spaces. Sew along those lines over the edge of the fold a little bit. One tutorial I read said to be sure to backstitch as those pockets are going to get a lot of use from little hands.Then I got out my new love, Steam a Seam and cut out little yellow lines which I ironed on over the pocket stitching. I recommend not sliding the iron around the fabric but rather use a lift and press technique as those little yellow lines might jump onto your iron and get all sticky and messy. Just saying, it could happen.
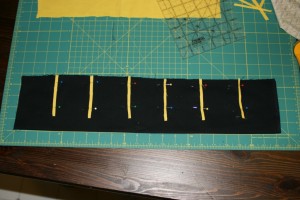
Parking lot in progress
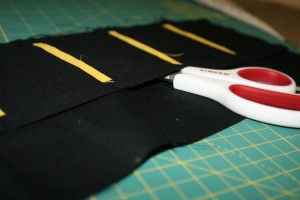
Parking lot in progress

Voila, a pocket.

Voila, a pocket.

4. Decide how big you want your construction site.  If you attach the pocket piece at the edge of your outside material your mat will be around 18 x 22 inches total.  Depending on your needs and the child that might be big enough.  OR if you want more play for your buck you can slide the parking lot up a bit, cut a ‘filler’ piece of fabric for the outside, some nice co-ordinating print perhaps and have a bigger mat.  I had a scrap of black so I added a couple of inches to mine, making is almost square, 21 1/2 x 22.
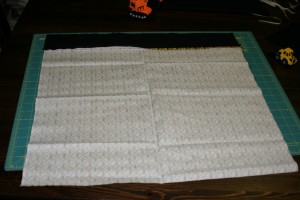
Wrong side with strip I added for more space.

Wrong side with strip I added for more space.

5.   Now it’s time to get wild and crazy!  I didn’t want to use interfacing but wanted to add some weight to the project, so I cut a piece of white lining to fit the entire area.  Then I marked off where my pocket/road section would end.  Then it’s time for a bit of freestyling to fill up the construction site!  Lots of mud?  dirt? a puddle of water? some grass? pile of wood? pilons? whatever!  Fill  up the remaining space either quilt style or appliqué with scraps or prints picked special for this purpose.
Decisions, decisions.
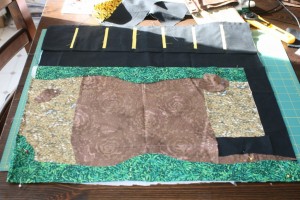
Decisions, decisions.

Rough plan (sorry for the sun)

Rough plan (sorry for the sun)

6. Once you have that all worked out sew it to the lining. First I went all around the perimetre with a straight stitch. Then I used a zigzag stitch and just went around everything with black thread. I figured it’s a construction site it can look a bit rough. I also hope it stops fraying and secures the pieces down from my 2 little munchkins.
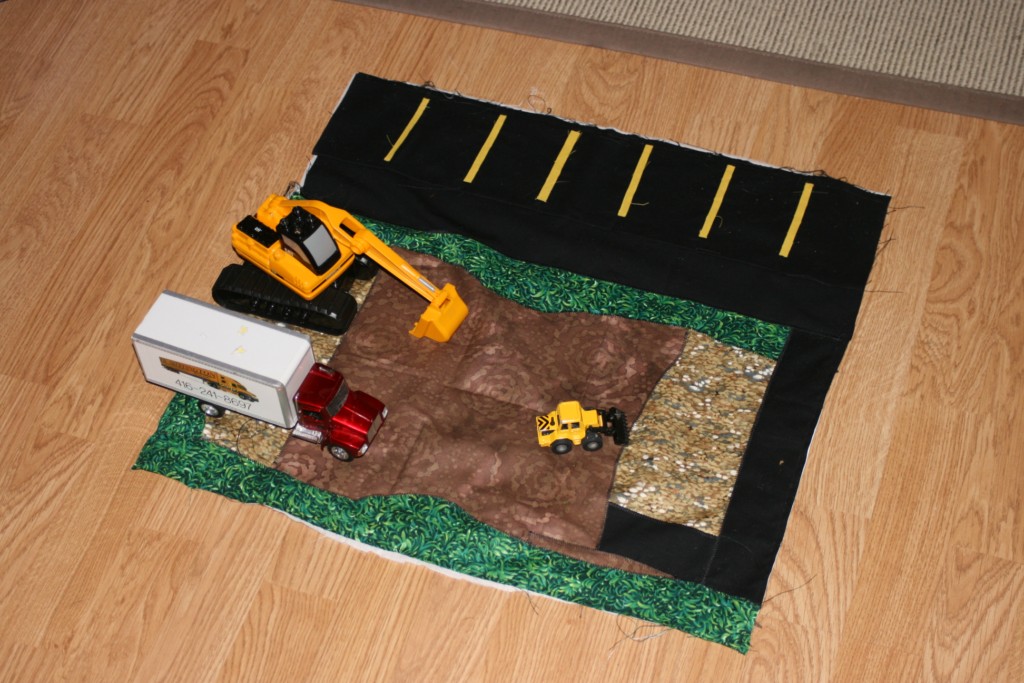
Look close for zig zags.  Wesley was waiting at the machine and ran off with this to play.  So no detail picture.

Look close for zig zags. Wesley was waiting at the machine and ran off with this to play. So no detail picture.

7. Now we got my trusty friend Steam a Seam out again and placed some mud puddles here and there. This part was fun because Wesley could help me do it and it can hide any stitching or spaces you just don’t want anyone to see.
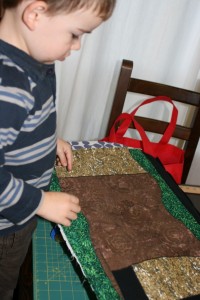
Wesley wanted to put them all in the big mud area in the middle.  I stiffled his creativity and moved them around a bit to where I wanted them.

Wesley wanted to put them all in the big mud area in the middle. I stifled his creativity and moved them around a bit to where I wanted them.

8.  Now put things right side together, sew all around, remember to place an elastic for the button and leave an opening to turn. I put the elastic loop in and sewed all around leaving the space across from the loop open to turn. Then I came upstairs and put some cars and trucks into the parking spots, rolled it up and got a feel for where a button should go. Then I reached into the hole and attached the button.

10.  Time for some top stitching fun!!  Turn the project right side out and press to get a nice crisp fold. Top stitch all around the edges of the project.  If you’re a quilter you can even get fancy and do some stitching around the playmat (not on the parking lot!).
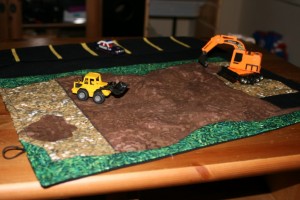
I'm sure I have these all set up wrong, Wesley will fix it in the morning.

I'm sure I have these all set up wrong, Wesley will fix it in the morning.

11. Ta da!
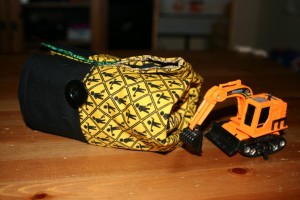
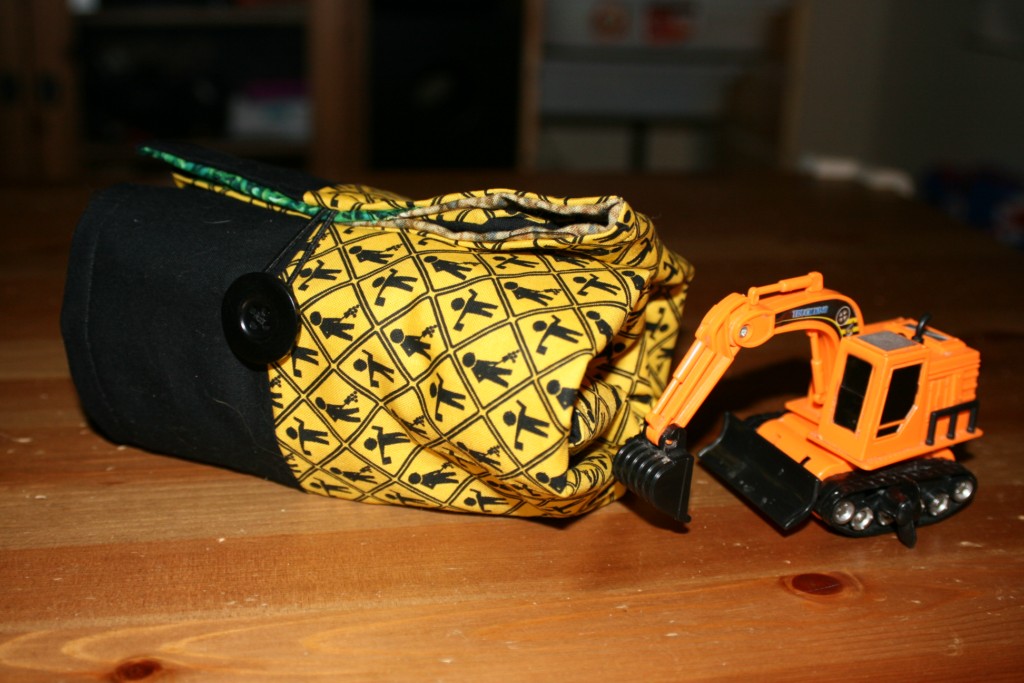
All rolled up and ready to go!

All rolled up and ready to go!

Things I learned:

– I should make my patterns and do my thinking during the day so I just have to follow steps at night when the kids are in bed and I try to sew.

– Lots of black scraps, left over from mistakes, isn’t so bad.  It can be parking lots on some other playmat.

– Having yellow thread on hand would have saved me a step.

– I need a bigger cutting mat.

– Don’t tell your child what you’re doing when making them something cool they will really like. It makes things go slower.