Tag Archives: baby

My cup cozy is in the ‘procrastinate’ position.

Weeeeell, maybe it hasn’t been all procrastinate I have been busy with my shop but that was only since July.  Remember my counting books?  I posted about them in . . . months ago.  A big part of the problem was running out of osenburg, which I have only found at Joann’s craft stores so that means a cross boarder trip.  When I went in September I bough 10 yards of it.  I should be good for a while.

Last night I buckled down and finished one for someone.  She asked for 2 of them so I’m hoping to get the other one done this weekend.  And spidey senses must have been tingling in my area because just randomly 2 other friends asked where the books are for their babies.  So I’ve got a little To Do list for this weekend and those counting books are on it!  Along with a few other things of course.

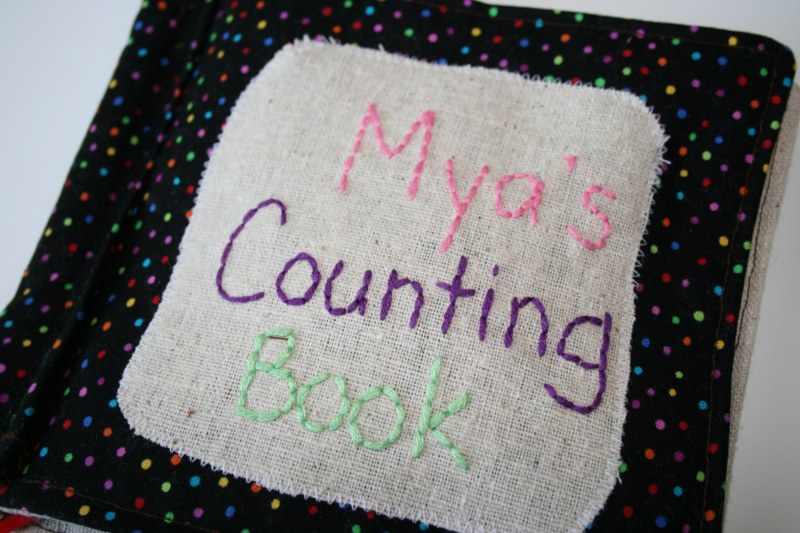
Here are some shots of Mya’s counting book.

I finished it at about 11:30 but wasn’t happy with the size of the first few pages, somehow the pages were getting bigger at towards the back.  So I did some stitch ripping and re-sewing until the wee hours.

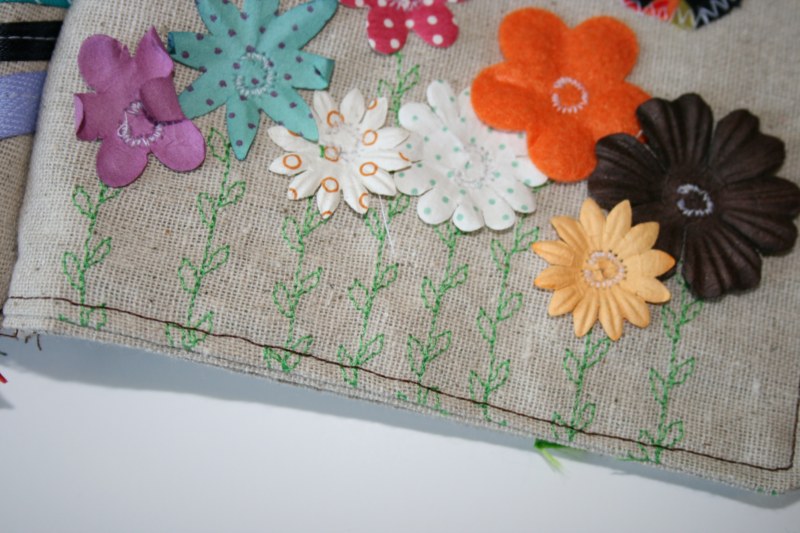
Thanks to my fancy pants new to me sewing machine I was able to add some fun, and time saving touches.

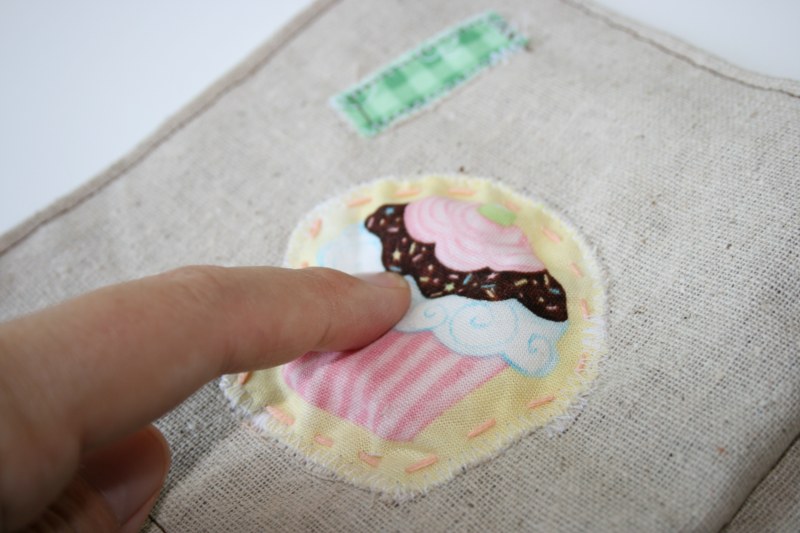
I also got creative with the tactile side of things and put this fun stuffed cupcake on the first page.

Finished off with my lovely labels, which are iron on but I sewed them as well because I like that look.

Girly Handmade Beginnings pants this time!

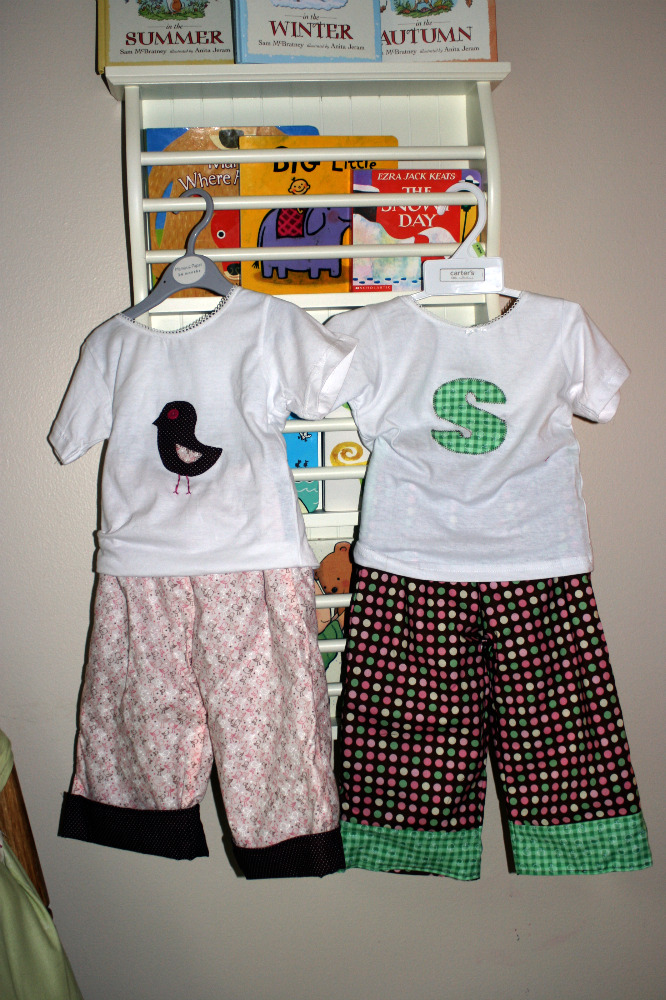
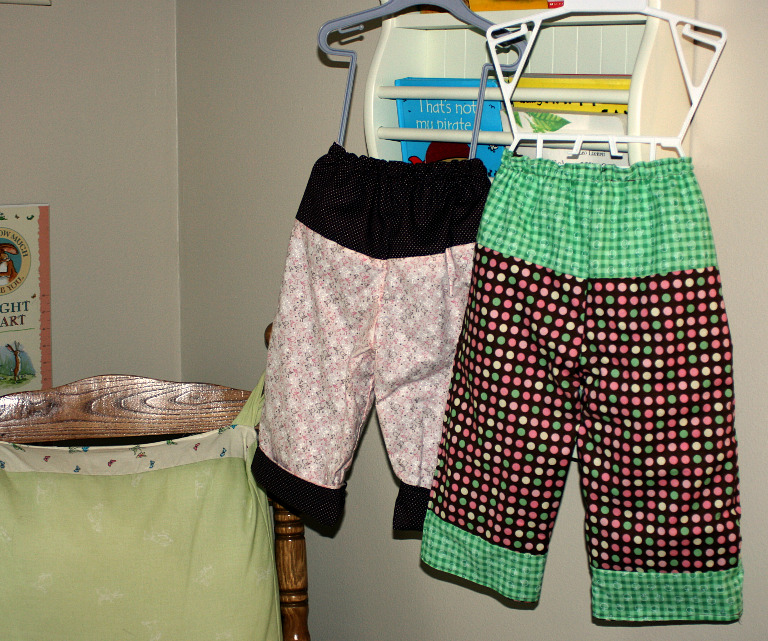
I was so happy to get to pick out some fun and girl-ish stuff to make for the lovely baby Samantha.  I also got fancy and appliqued some t-shirts to go with the reversible pants.  Needed a nice thoughtful gift and a break from being a pillow factory.

You can’t really see but there are little brown, pink and white birds on the first pants.  I added some brown with white polka dot fabric to the inside to make rolling up the pant legs more fun.  On the second pair of pants I actually cut the leg shorter and added that bank of green apple fabric so when she grows bigger and can’t roll up the pant legs they’ll still look like they have a fun contrasting cuff.

Now I just have to get her counting book all done! :)

Finally a beginning to the Handmade Beginnings projects.

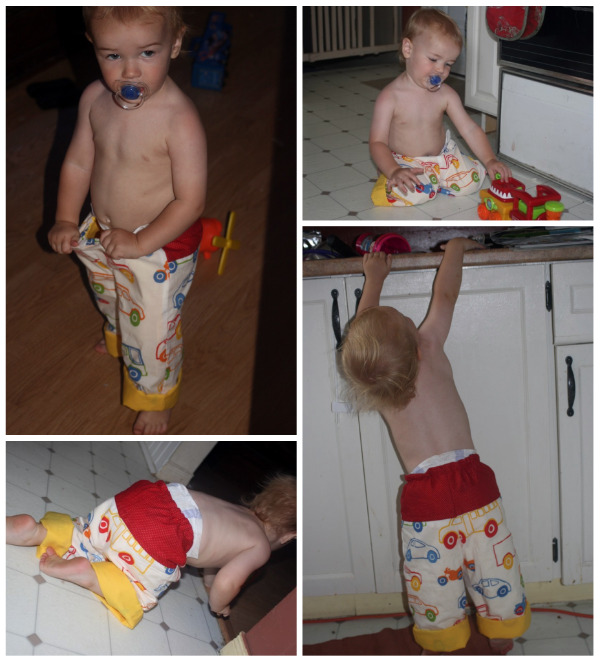
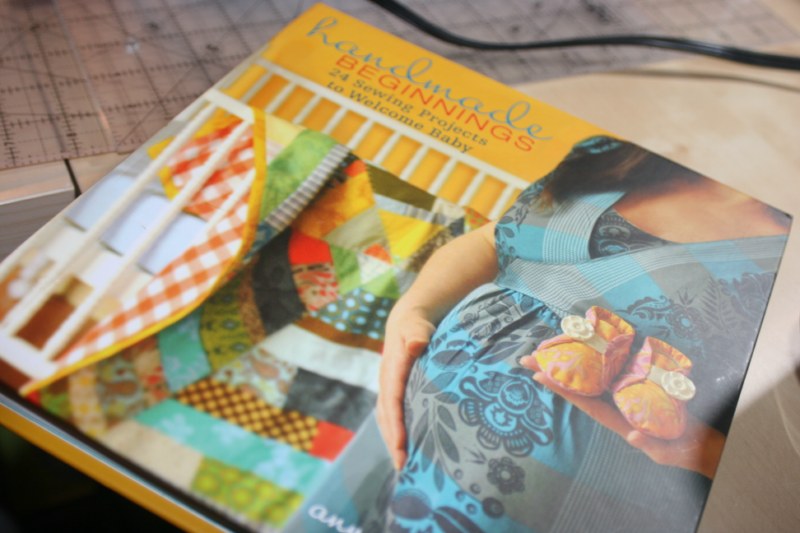
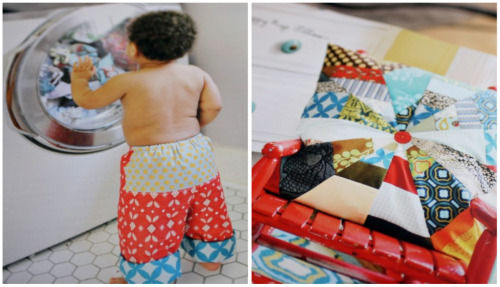
Finally decided to take some time to tackle a project from Handmade Beginnings. I vowed to use things I had on hand so while they aren’t as colourful as the ones in the book they’re equally as cute once they’re on my little sweetie. I used some IKEA fabric and some red with little white polka dots and just plain yellow.

It’s been pretty hot lately so Nate sort of objected when I snagged him to put some pants on for a photo op. So it only lasted a few shots. I had to distract him with toys and stealing his suckie to get him to stretch up for a nice back shot.

The instructions were really easy to follow.  I was surprised by the way they laid out the patterns, to save paper I understand, and I had to tape it all to a window and trace the pieces onto graph paper.  I went with the 24 month pattern, even though Nate’s only 18 months, they’re a little big so they’ll fit him for a while.  I turned the cuffs up twice so they wouldn’t be too long.  He was napping when I was finishing them up so I used Wesley as my model.  The pants would fit him perfectly if there was another inch or two on the bottom.  I’m hyped to make some more.

A happy beginning with Happy Beginnings!!

Wheeeeee!  My copy of Happy Beginnings arrived this week.  I’m soooo exited.  I can’t really decide which project to start with but I’m pretty sure it’s going to be either these baby pants of the scrappy nap pillow!

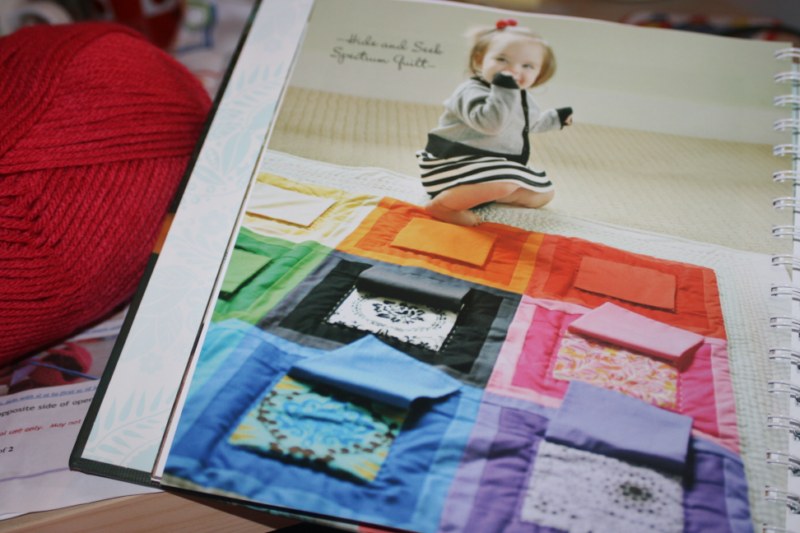
Someday I’m tackling this peek-a-boo quilt.

Taggie madness!

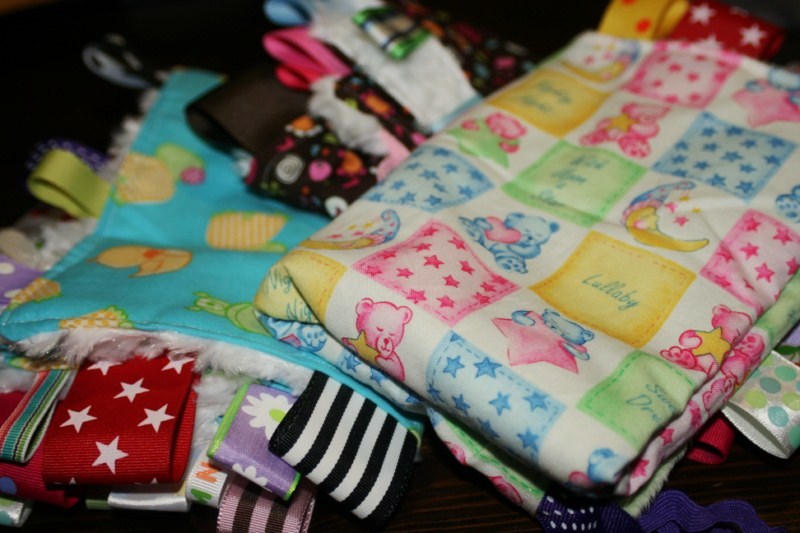
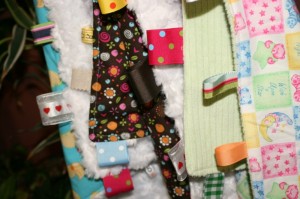
I’ve been working on taggie blankies the last few days.  For a change of scenery last night I made some crayon cosies instead, THEN I cut fabric for more taggie blankies.  Hoping tomorrow to get the ribbons pinned on, possibly on my lunch hour at work, so I can sew them together tomorrow night.

I really like the brown one, it’s a Heidi Grace fabric from Joann’s.  The white cuddly stuff on the back is soooo soft.  I might have to make myself a king sized taggie blankie for our bed!

One Yard Wonders strikes again . . . and again?

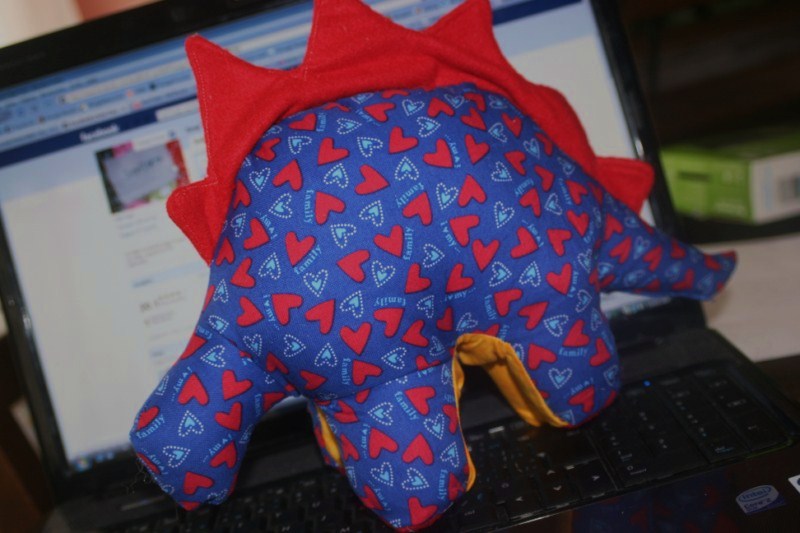
I finished stuffing Steggie and sewing him up today.  He’s a bit wonky though.  I think maybe I’m a better make it from scratch person than a pattern follower.  But, wonky or not he was made with love!  Nate was trying to pull him off the table this morning before he was even stuff so clearly he likes him already.  I’m still not sure I did the darts correctly, and his feet seem to be a little misshapen.  Oh and one leg is somehow a bit shorter . . . *sigh*

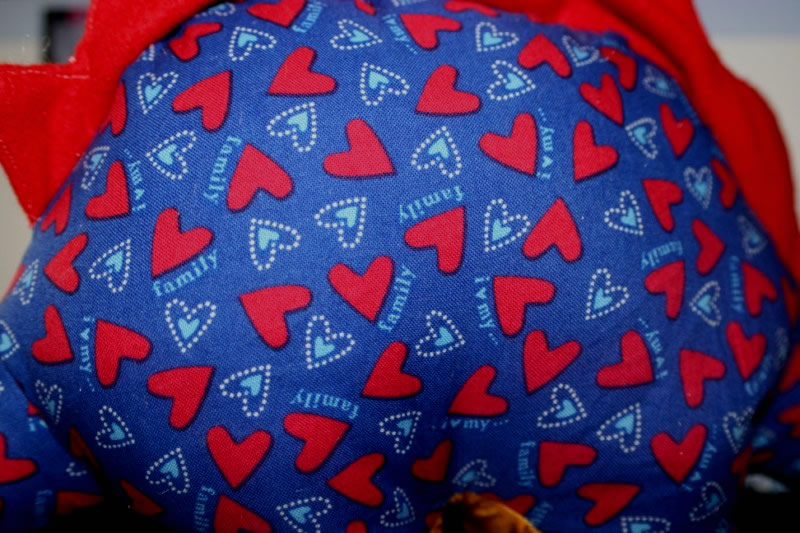
I love the fabric, it’s Heidi Grace and has little hearts on it and is so cute.  I found it challenging to sew the feet and they’re a little more uneven than I would have liked.  Of course Wesley asked if I would make him one tomorrow.  He even specified ‘orange with blue spikes’.  Choosing complementary colours already?  That’s my boy!  Guess I’m trying Steggie again.

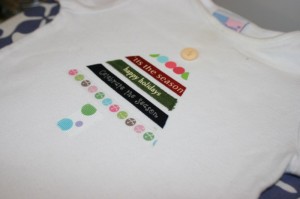
Christmas tree action shot, and a match for baby bro.

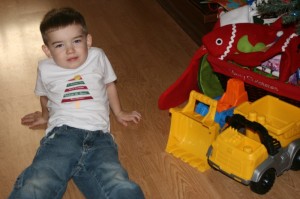
Managed to get Wesley to sit still long enough to take a picture of his shirt.  He thought I was taking a picture of the front end loader and dump truck he parked in front of the Christmas tree.  I did take a picture of them but I moved slightly to include Wesley in the shot.  Once the flash went off he realised what I had done and said ‘No! Not me! The trucks!!’

tree shirt

Then I got ambitious and made a matching onesie for Baby Nate.

onesie

Soft book tutorial.

I tried to make notes as I went along, and take pictures, but it’s hard enough creating something from nothing and then to document it as well!! But here it goes.  Using some advice from Bella Dia, and what I think is my own good sense here are the steps I used in making my fabric counting book.  Hopefully it’s enough information to help you create one too.
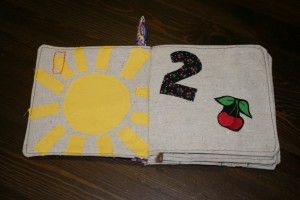
Soft book.

1. Plan – First, because I was lounging at the TV when I was struck with this idea, I sketched out my plan for each page. Knowing what materials I had on hand helped me decide on the page designs.   I made the pages like this:  1 sun, 2 cherries, 3 blind mice, 4 triangles on a kite, 5 fingers on a hand,  6 flowers, 7 colours in a rainbow, 8 fall shapes, 9 buttons and 10 bows.
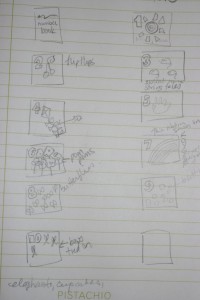
Sketch.

2.  Cut – I cut 10 pieces of fabric, 6 1/2 by 6 1/2 square. I was going to make the cover out of some other material but I decided in the end to use the same fabric and cut 2 more pieces. So you’ll need 12 altogether, split if you want to vary your prints.
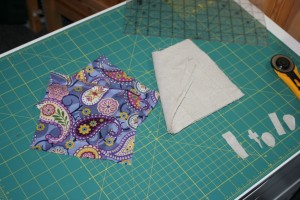
The cover I didn't use and the fabric for the inside pages.

3.  Create (I know it’s a vague step) – Based on your ideas for each page just go to work creating them on each of the 10 squares. I used a variety of methods to put my pages together.  Here’s a layout of all the pages before some finished touches and before they were assembled.
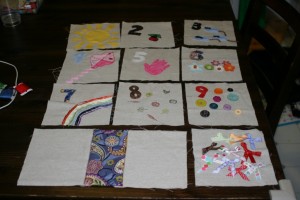
Group shot,

I used Steam-A-Seam, applique, yarn, rick rack, buttons, embrodery, ribbon, rubber stamps and paint to complete all 10 pages.  See my previous post for close up shots of each page.

4.  Page assembly – Pin pages 2 and 3, right sides together, here’s where it takes some thinking, leave the side that will go in the ‘binding’ of the book open for turning.  It’s going to covered by the printed fabric so it doesn’t matter about finishing that edge.   Since I placed all my numbers in the top left corner it was a bit easier to remember what side to leave open.  Turn and Press.  Repeat for pages 4 and 5, 6 and 7, then 8 and 9.  Sew, turn, press.
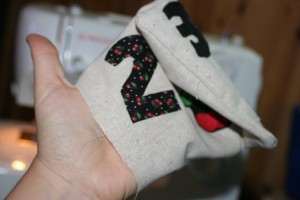
Sewn pages.

5.  Cover creation – Since I decided not to use my original cover pieces I went back and cut some from my linen.  But my supply was running low and I had to cut 6 1/2 by about 6, leaving me a bit short.  So I cut a piece of printed fabric to use as a ‘spine’ for the book.  I accidentally put my fabric where my cold drink of water had been and it got a bit wet, ignore the spots.  I zigzagged stitched the spine to the front cover and back cover of the book.
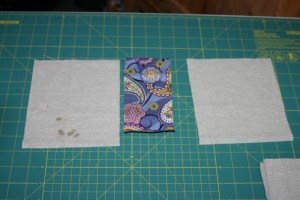
Covers and spine.

6.  Personalize – Attach any sort of label/saying you want on the back page of the book.  Fabric stores have those cute, ‘Made by Mommy’ or ‘For Someone Special’ labels that would work well here.

IMG_2944 [1024x768]

7.  More Personalizing – Decorate the front cover, I personalized mine and embroidered it.  You could appliqué it, or sew some 3D embellishments on.  Then when finished, sew page 1 to the spine, leaving the binding side open for turning.  (Name blocked out for gift surprise protection)
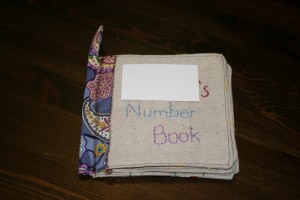
Cover

8.   Cover assembly – Sew page 10 to the back cover, right sides together, sew on the top, right and bottom leaving the left side open for turning.  Then sew page 1 to the front cover , sew on the top, left and bottom, leaving the right side open for turning.
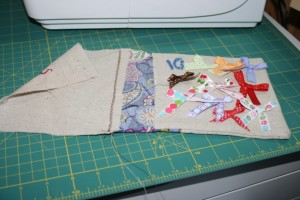
Page 10 attachement.

9.  Loop – I also attached a little loop piece of fabric, it was about 2 1/2 by 3 and I just folded it right sides together, sewed along the long side, turned it and pinned it to the top of the binding.  Sorry for the busy pattern of my ironing board.
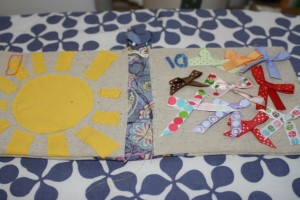
Cover assembly.

10.  Top stitching – Top stitch around the edges of all the pages, as close as possible.  I used a brown thread so it showed on all my pages.  You could get fancy and change threads but at this point I was excited to get finished, hence the lack of photos.  Lay the book cover/page 1 and page 10/back cover page flat.   Fold over and press the book spine part to make a little hem.  Top stitch all around that piece.

11.  Inserting the pages – Once I finished all my top stitching I carefully set the pages inside the book making sure to line all the edges up along the inside at page 1 and 10.  Then I realized just how thick my book was and wondered how on earth I was going to get it under the sewing machine foot!!  I’m relatively new to sewing, and mostly I learn just by trying stuff out so here’s what I did in this situation.  I put the pages in, secured with some pins, folded the cover over the book and then slid it under the machine foot in the middle of the spine where it was thinest.  Then I sewed down to the bottom of the book and backstitched.  Turned the book over, inserted it where my stitching started and went in the other direction to the top of the book.
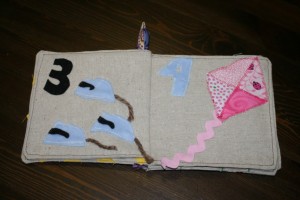
Page 3 and 4.