Tag Archives: kids

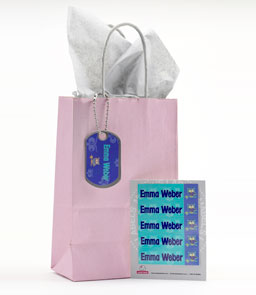
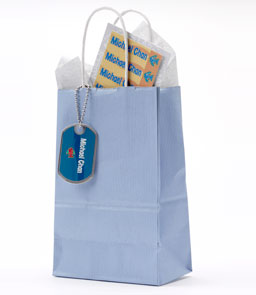
1, 2, 3, Mabel’s Labels giveaway day 3.

Well I’m sad that today is the last day of my fun Mabel’s Labels giveaway. Today is the day to enter if you have 3 little people in your life who could use some amazing personalized labels for some of their very “I don’t want to lose it” stuff! I also have to say that yesterday’s winner is Heather! Cece and Hannah are going to look quite smashing going back to school in style.

This has been so much fun and I’d like to thank the lovely people at Mabel’s Labels for working with me to ship the items straight to the winners, honestly, this company/product is awesome!

Please head over to Mabel’s Labels and leave me a message letting me know the names of your 2 little people and what colours/designs you would like!

Once again, the giveaway closes at midnight when I pick the lucky winner!

1,2,3 Mabel’s Labels giveaway Day 2!

Okie, so I fancily wrote everyone’s name on a little slip of paper and tossed them into an empty plastic green strawberry basket and pulled out Laura C’s name! Congrats Laura, looks like Chrissy can at least have her things returned to her should she lose them!

That means today my friends, is the day to enter if you have 2 little special people in your life who could use an awesome Canadian made personalized product to label some of their very important stuff! Have 3 important little people in your life? Uhhh, come back tomorrow then.

Please head over to Mabel’s Labels and leave me a message letting me know the names of your 2 little people and what colours/designs you would like!

Giveaway closed at midnight when I pick the lucky winner!

Also, if you happen to sew or craft at all today is the last day to sign up for my fabric scrap swap, come play!

Cheapish sensory fun for kids.

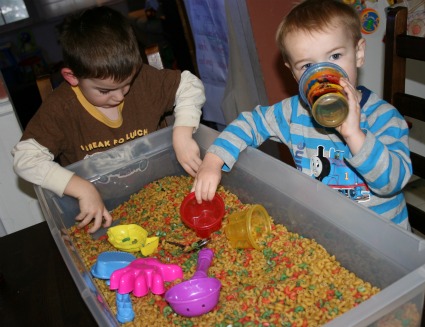
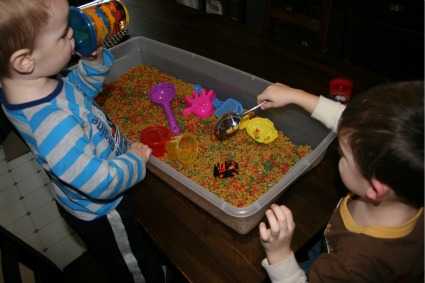
It’s snowy outside. I’ve had this idea for a while but finally got around to it. I grabbed an under bed storage box, 4 bags of elbow pasta, food colouring and rubbing alcohol. I was going to use rice but was told by someone that it can get quite slippy when it spills on the floor. Plus elbows make a noise you can hear and they’re easy to spot and pick up with your bare hands.

My boys loved it and have played in it every day.  Wesley insists on calling it ‘macaroni and cheese’, it’s cute.  Look, Nate can’t even stop for a drink it’s so much fun!!  I tossed in some metal kitchen utensils too since they make fun noises with pouring macaroni.

I had picked up some discount sand toys at the end of the summer with this plan in mind.  The entire thing cost me under $20 but you could use any tub (I just wanted hide away storage) and you might have rubbing alcohol and food colouring already on hand.  I Googled how to colour pasta, it’s ridiculously simple.  Grab a zip lock type bag, pour in about 1/4 cup rubbing alchohol, about 12 drops of colouring and some pasta.  I wasn’t exact.  It’s pretty easy, more colour, darker pasta . . I’m sure you get it. Leave it sit in the bag sort of flattened and spread out for one hour then turn it over for another hour.  Pour it all out onto a cookie sheet with some paper towel or rag on it and let it dry over night.  In the morning it’s all good to go!

Note don’t bother trying to colour it yellow it does nothing.  I assumed so but had to try just to be sure.

Top secret project sort of revealed!

Wild Olive and I are going to tease you.  We’ve been working on something together for a while now and we’ll tell you all about it on Monday but why not give you a peek now?

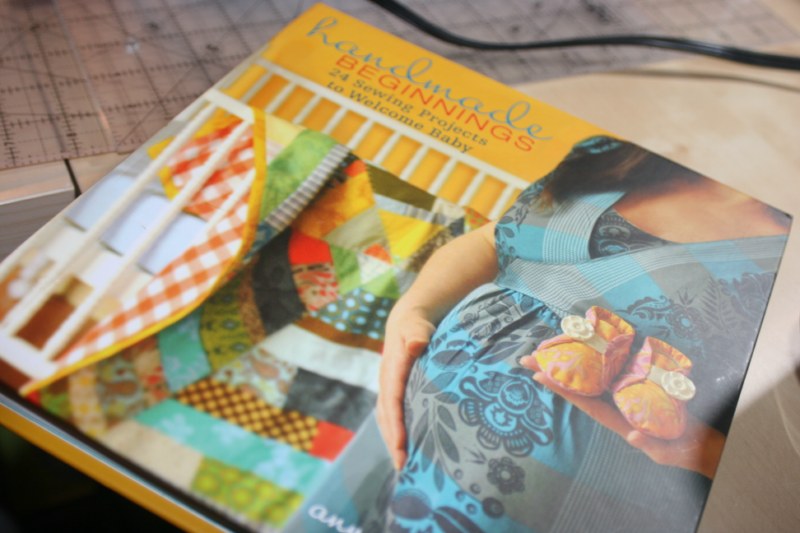
Finally a beginning to the Handmade Beginnings projects.

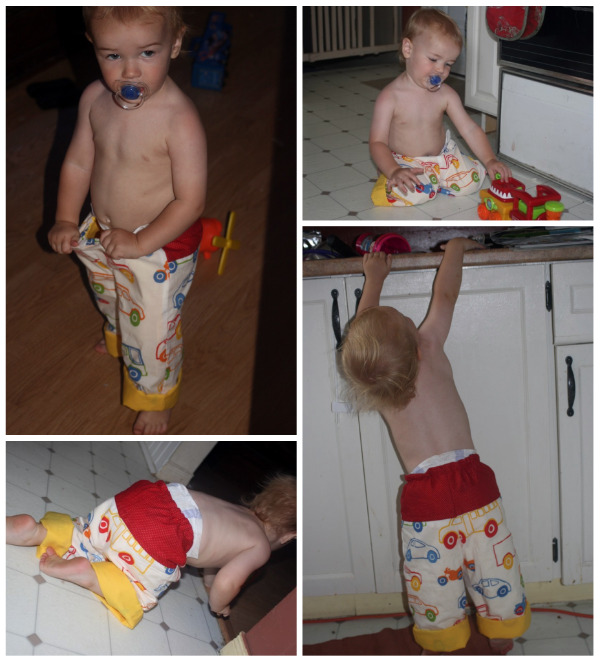
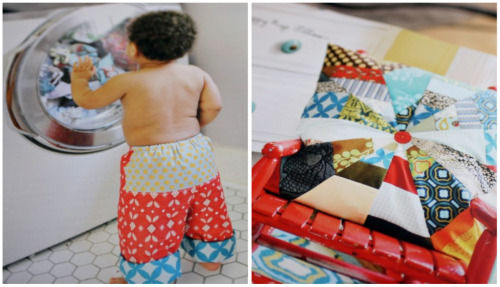
Finally decided to take some time to tackle a project from Handmade Beginnings. I vowed to use things I had on hand so while they aren’t as colourful as the ones in the book they’re equally as cute once they’re on my little sweetie. I used some IKEA fabric and some red with little white polka dots and just plain yellow.

It’s been pretty hot lately so Nate sort of objected when I snagged him to put some pants on for a photo op. So it only lasted a few shots. I had to distract him with toys and stealing his suckie to get him to stretch up for a nice back shot.

The instructions were really easy to follow.  I was surprised by the way they laid out the patterns, to save paper I understand, and I had to tape it all to a window and trace the pieces onto graph paper.  I went with the 24 month pattern, even though Nate’s only 18 months, they’re a little big so they’ll fit him for a while.  I turned the cuffs up twice so they wouldn’t be too long.  He was napping when I was finishing them up so I used Wesley as my model.  The pants would fit him perfectly if there was another inch or two on the bottom.  I’m hyped to make some more.

A happy beginning with Happy Beginnings!!

Wheeeeee!  My copy of Happy Beginnings arrived this week.  I’m soooo exited.  I can’t really decide which project to start with but I’m pretty sure it’s going to be either these baby pants of the scrappy nap pillow!

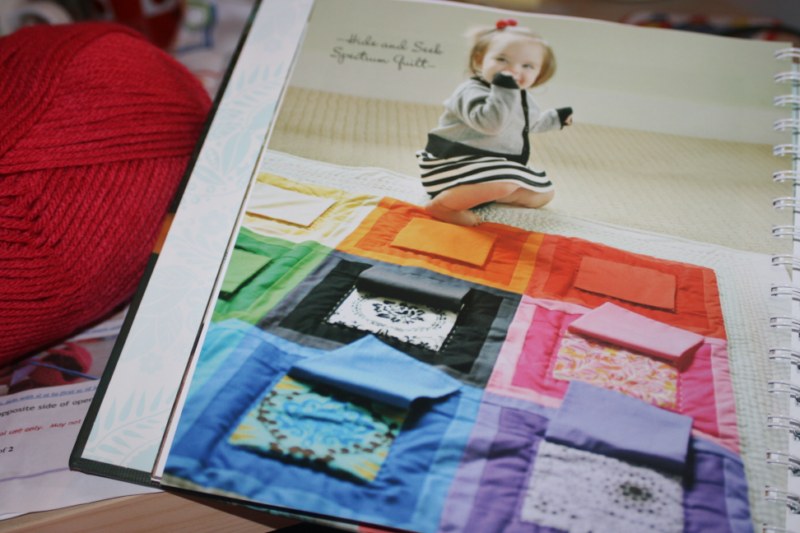
Someday I’m tackling this peek-a-boo quilt.

One Yard Wonders strikes again . . . and again?

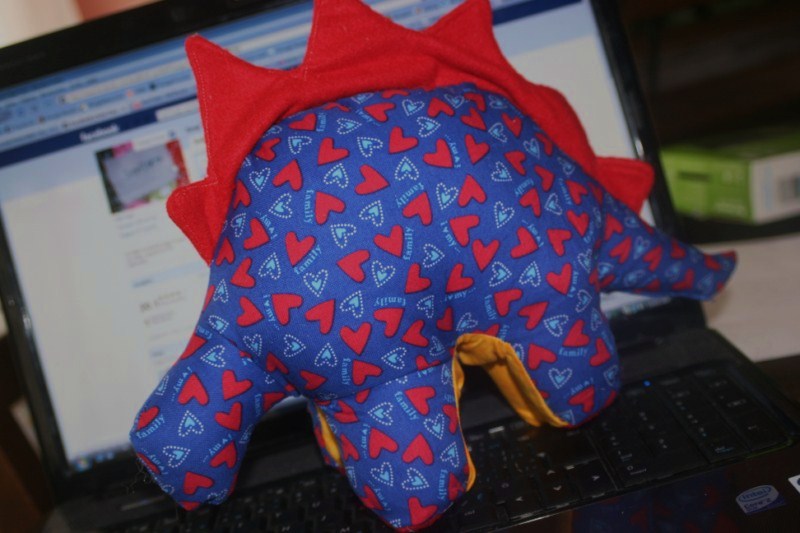
I finished stuffing Steggie and sewing him up today.  He’s a bit wonky though.  I think maybe I’m a better make it from scratch person than a pattern follower.  But, wonky or not he was made with love!  Nate was trying to pull him off the table this morning before he was even stuff so clearly he likes him already.  I’m still not sure I did the darts correctly, and his feet seem to be a little misshapen.  Oh and one leg is somehow a bit shorter . . . *sigh*

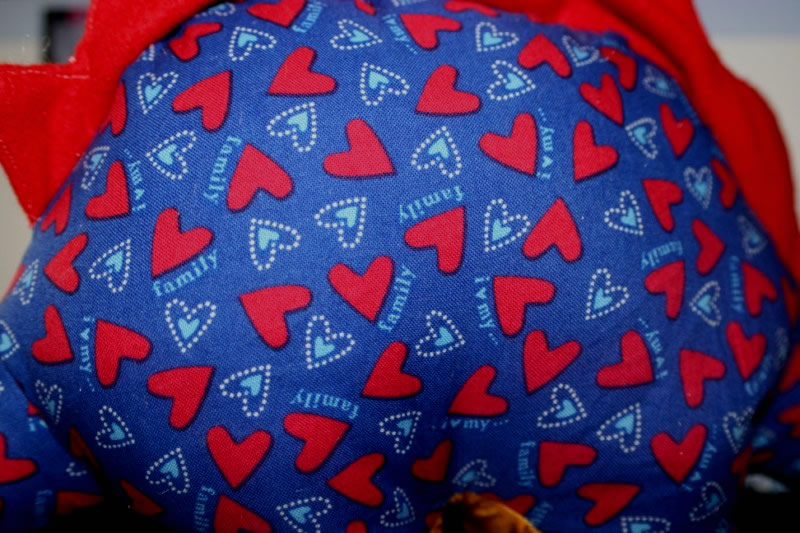
I love the fabric, it’s Heidi Grace and has little hearts on it and is so cute.  I found it challenging to sew the feet and they’re a little more uneven than I would have liked.  Of course Wesley asked if I would make him one tomorrow.  He even specified ‘orange with blue spikes’.  Choosing complementary colours already?  That’s my boy!  Guess I’m trying Steggie again.

My newest idea, and a thrift find!

I was struck with an idea last night while in the kitchen with the kids.   I think it might have been inspired by my sewing machine cover on my chair.  I had the idea to make a little pouch thingie for the back of the kitchen chairs to store some creative supplies within arms reach of my son when he’s sitting down.  I also figured it would come in handy once he’s at school for completing homework, we can keep pencils and other supplies right there and not have to worry and fumble around looking for things.  So I went to my trusty sewing machine once the kiddies were in bed and whipped this up,
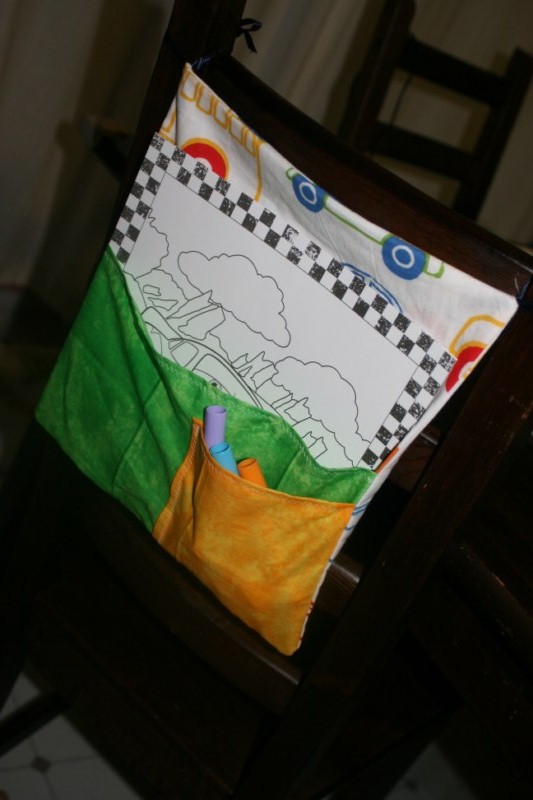
I still need to play with the design a bit, I’d like it to roll up and be portable so you could grab it and go, in the van, to Grandma’s off to the park, whatever. I’m hoping to make it fairly universal so it would fit almost any kitchen or dining room chair. It attached with ribbon that I just tied, thought that was more universal than sewing loops. The fabric is from IKEA, I wanted something kid friendly but not too loud and obnoxious for the kitchen. I have no idea how one is supposed to make a pattern but I relied on my trusty chart graph paper and sketched and cut a template out yesterday while the kiddies ran about.
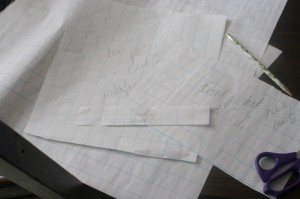
It’s a very high tech process. Hopefully I can get to making a second one tomorrow.

In unrelated news, every other Tuesday I have my ‘night out’ with my bff! Lately I’ve taken to dragging her to thrift stores. Last Tuesday I found this and loved it!
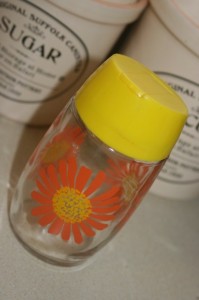
It reminds me of my Nanny and all my summers spent at the trailer at the lake. Trailers and cottages always seem to have random vintage/retro stuff in them like this. Plus my Nanny, like most Grandparents, was happy to keep things around as long as they still worked, even if they were older than me. My favourite was the avocado green electric knife she had that didn’t actually turn off unless you unplugged it from the wall . . . because that’s safe!! I miss you Nanny, thanks for teaching me to knit and showing me how to cook a turkey, love you.

Ribbon Christmas tree t-shirt.

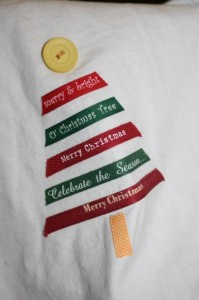
Made this today for my big little guy. I didn’t take an action shot for fear he’d get something on it and I hoped he can wear it out tomorrow.

christmas tree t

I picked the red and green design just to make it look a little boyish. i didn’t have a star button for the top, and I was eager to finish it so it’s a circle, I’m sure he’ll cope. I cut the ribbons and planned them out based on the sayings. Then I stuck them to my new friend, Steam-A-Seam and ironed away. Once again, I am impressed.

I came across the idea online in the last few days but can’t find exactly where. Today when I searched in google I found some other tutorials on it as well. So while I can’t claim I invented this craft I also can’t really know who did. But I do know it’s neat, easy and I like it!