Tag Archives: zipper

DIY – Adding a zippered pocket while lining your tote!

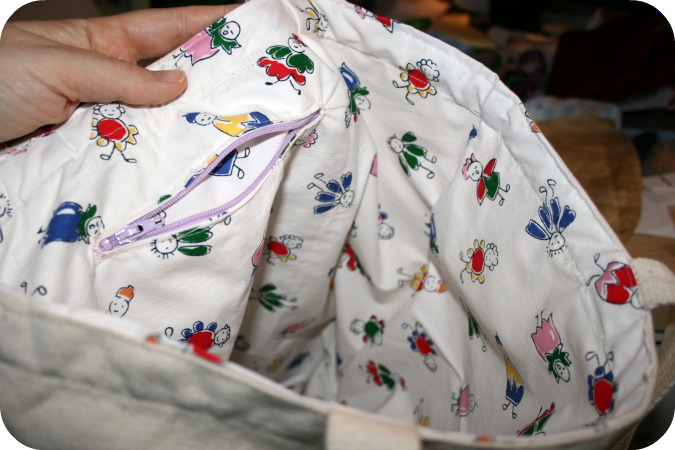
Ok, welcome those of you who are feeling adventurous!  Here’s my little part 2 on lining a tote where I’ll walk you through the steps to adding a zippered pocket to the lining.

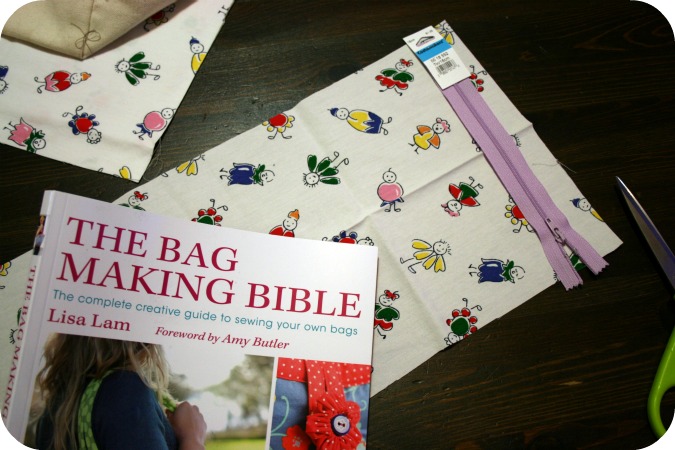
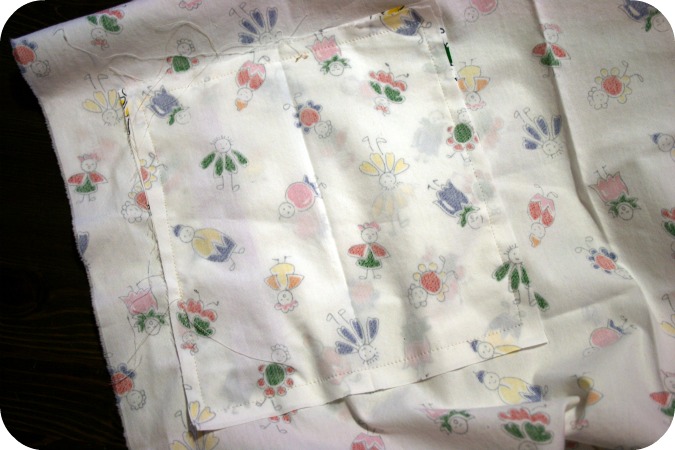
I cracked open my Bag Making Bible for this part and followed the instructions for inserting a zipper.  Lisa Lam explains very well,  I’ll give you enough information, hopefully, to tackle it yourself.  I used the panel of fabric I cut off the bottom to make my pocket.  I just folded it in half and cut it to have 2 squares to use for the pocket.

Decide how big you want your pocket and cut 2 pieces of fabric to that size, allowing for a 1/4 inch seam.  The zipper should be placed with about 3 inches on either side of the pocket pieces.  I didn’t know this, but you can just cut off the end of the zipper if you need to shorten it.

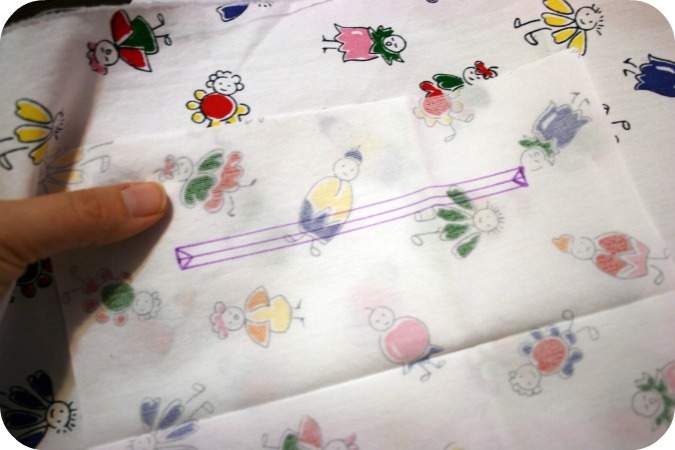
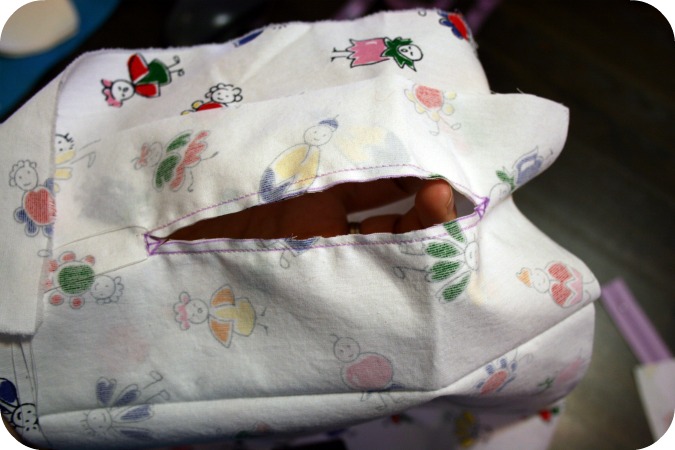
Place one of the pocket pieces right sides together on the lining piece where you want to have a pocket.  Trace out a rectangle the same size as your zipper.  Mark a line down the middle and those cute little triangles at the ends.

Sew along the outside of the rectangle, this will sew the pocket piece to the lining piece.

Cut along the guide lines you drew inside the rectangle, the half way line and the little triangles.

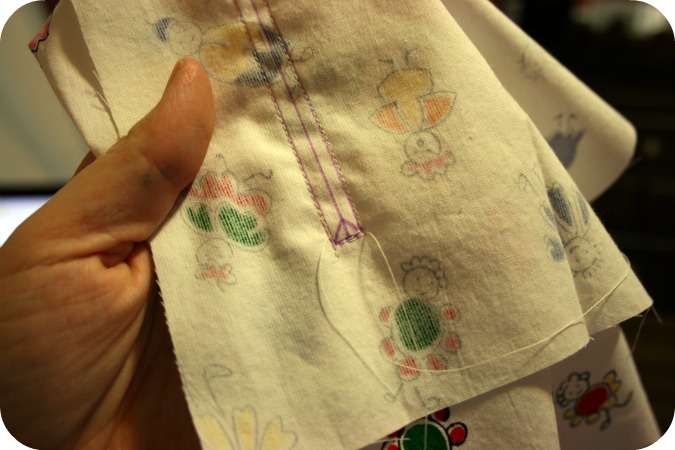
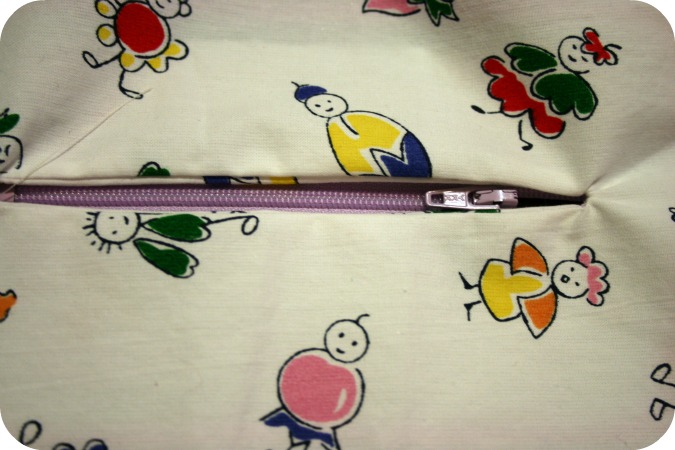
Next turn the pocket piece through the hole, as Lisa says “like you’re putting a letter in the post”.  Press to get a nice crisp seam.  Lay your zipper on the wrong side of the pocket.  The book suggested using double sided tape stuff to secure it, I don’t have that and just pinned it.  Use your zipper foot to sew along and stitch the zipper in place.

Lay the lining piece right side down and place the other pocket piece, right sides together, on top of the pocket piece with the zipper in it.    Sew around all four sides with a 1/4 inch seam.  This will stitch both pocket pieces to the lining fabric.

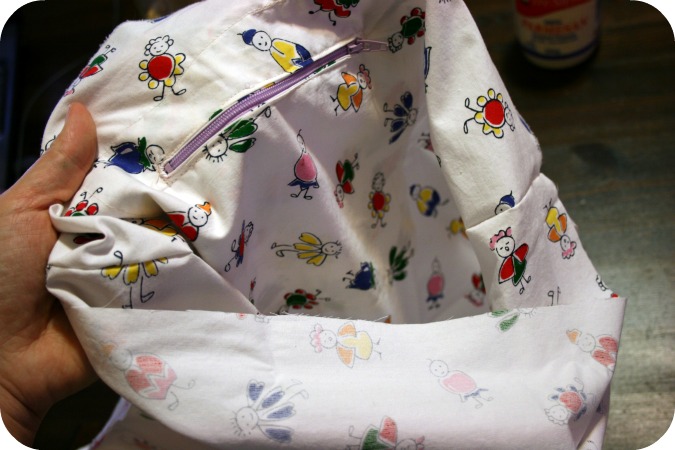
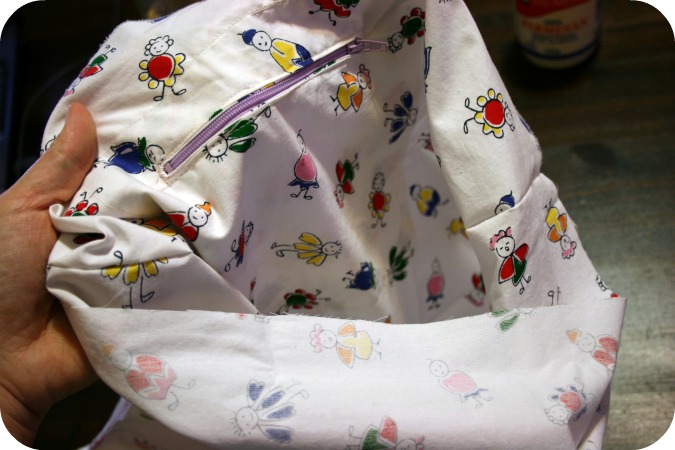
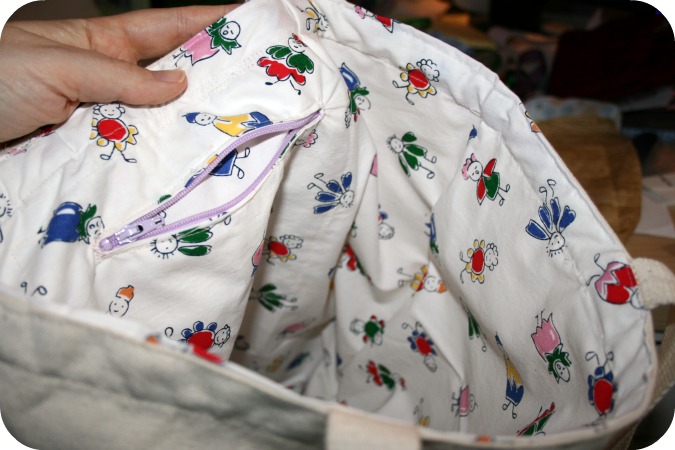
Flip it over and access the pocket through the zipper!  Voila!

Now head back to post part #1 to finish lining your tote.

DIY – Lining a tote!

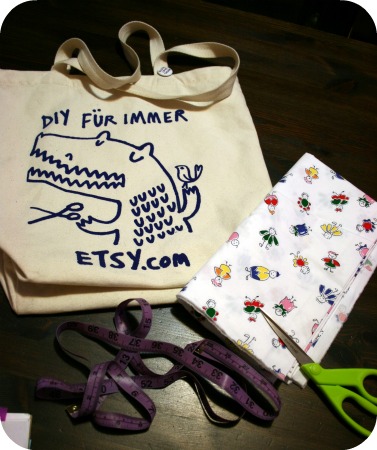
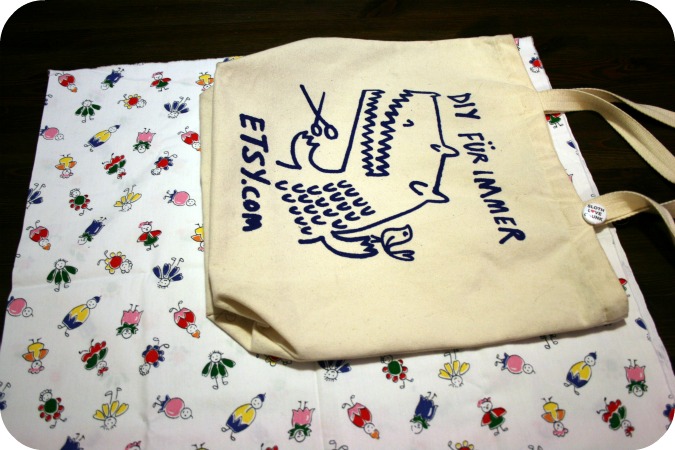
I have this great Etsy tote I picked up at the Renegade Craft Fair in Chicago.  As a crafty blogger and shopkeeper I was so thrilled to have something with the Etsy name on it!  Normally I use it as my work/school bag.  Over the Christmas holidays I planned on relining it with some fun fabric.  Initailly I was going to use a vintage sheet, but then I thought of better plans for those where they’ll be seen more and settled on this cute little print I was given in one of those loads from a friend.  Those ‘oh I came across this at my house/mom’s/grandmother’s and thought you might be able to use it’ sort of things.   So here are some steps you can take to turn a simple tote you have into something way cooler.

You will need a tote, fabric for lining it, tape measure, scissors, sewing machine and iron.

If you want to follow my Little Miss Fancy Pants steps you’ll also need a zipper.  Just in case you want to take the more adventurous path.

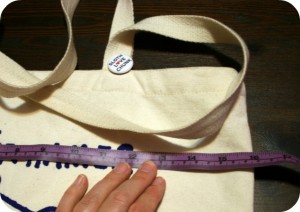
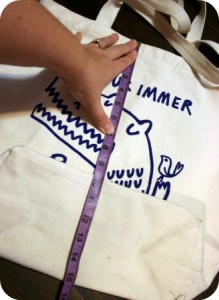
First measure your tote.  Measure the width and length.  My tote has boxed corners so I flattened the bottom out to get an accurate measurement.
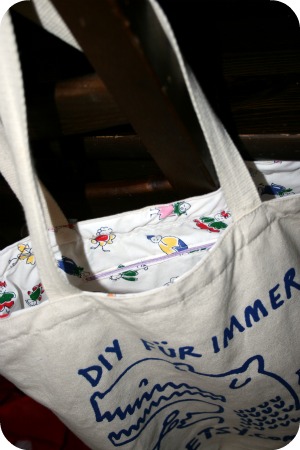
My tutorial contains some very technical steps so bear with me.  Mostly it’s me just making up things I think will work along the way.  Don’t worry, they do work.

Lay the tote onto the fabric you’re going to line it with and leave some seam allowance along the top and sides, 1/4 inch is good.

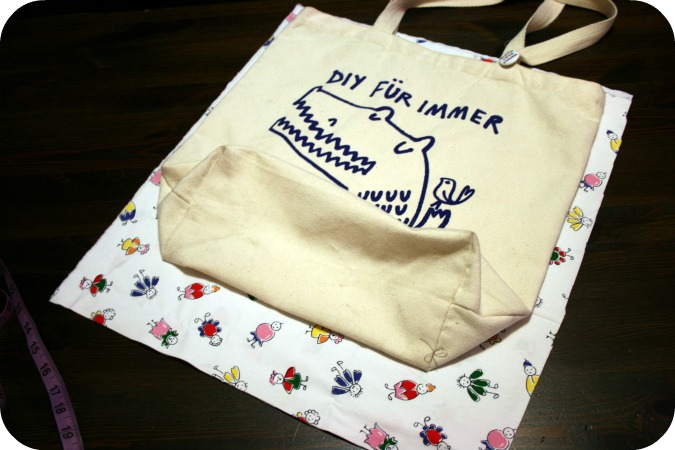
Because of the boxed corners I measured to the seam and added that measurement to the lining fabric.  Then later I had enough material to box the lining as well.  Mine was about 2 1/2 inches so that’s where I made my cut across the bottom of the lining fabric.  Cut down the remaining side to leave the 1/4 inch seam allowance.  Now you have your tote and 2 pieces to line it with.

*If you’re feeling up to adding a zipper I’m going to post those steps tomorrow in a part 2 DIY*

Otherwise carry on here!

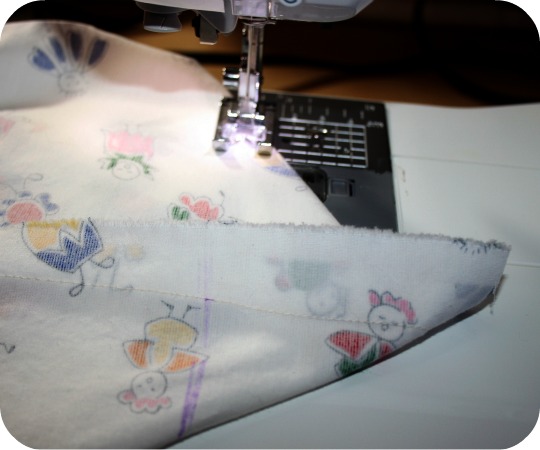
Head to the sewing machine, lay the 2 lining pieces right sides together and sew around the sides and bottom, leaving the top open.

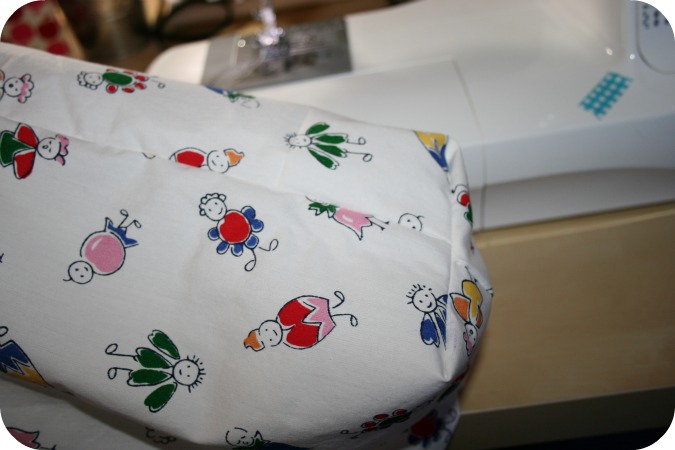
Now you will have this big pocket type lining piece (possibly without a zipper).  Can you tell I was screen printing with my lovely emulsion covered thumb?

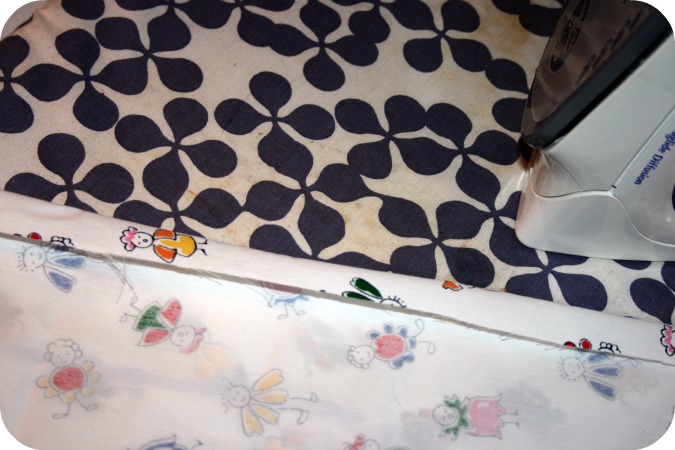
Fold over the top edge 1/4 inch and press.   I think I need to put ironing board cover on my To Sew list!

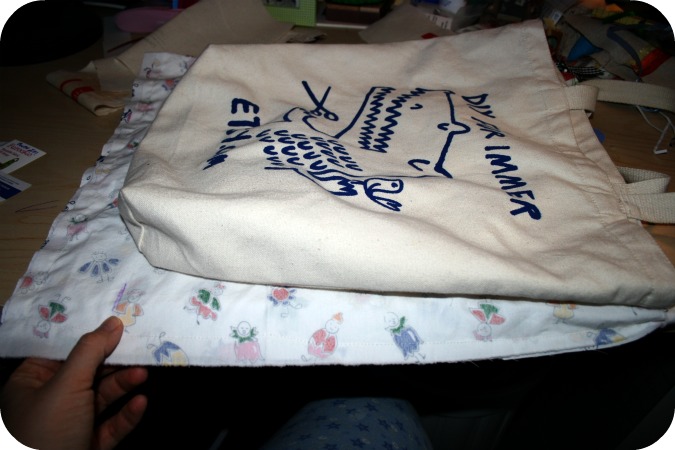
If your tote has boxed corners, lay your lining piece under your tote with the top edges lined up where they will be sewn.  Mark off the bottom of the exterior tote so you have a guide line to sew along.  Now note it was late at night and you can see my lovely jammie clad knee.

Fold the bottom of the lining at the mark line to make a squared bottom and sew straight across the tote to create a boxed corner.  You can trim that excess triangle of fabric off or just fold it under.

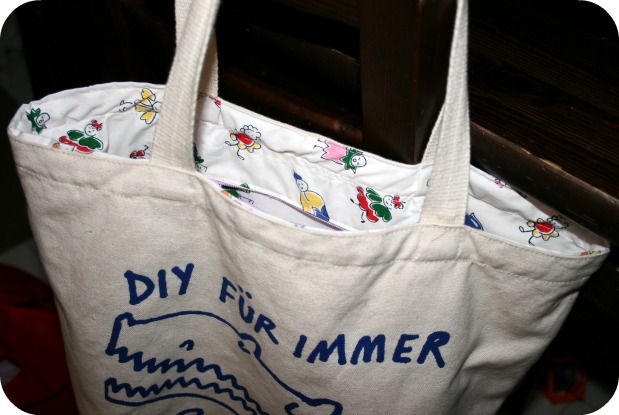
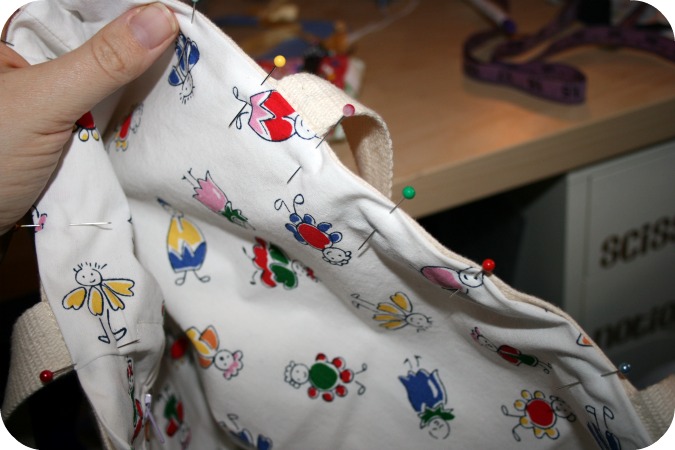
Now plunk your lining inside the pre-made tote exterior.  Make sure you get the boxed corners down deep in the tote and pushed in at the corners.  Match up the top seams of the lining and tote and pin all around.

Go back to the machine and sew all around the tote top edge with a 1/4 inch seam allowance attaching the lining to the tote!

Behold your newly lined tote!

Random stuff to share.

I haven’t really bothered to take any new pictures these last few days since I have no card reader to copy them over anyhow.  Which means tomorrow I have a truck load of things to snap photos of!  I’ve made a few really cute things and I need to add some items to my shop.  On top of that I still have a line up of cup cozy orders!

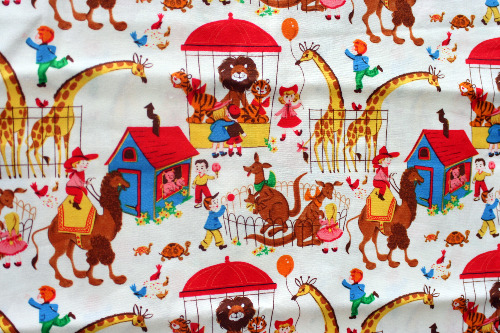
In the meantime I figured I’d share some things I’ve had kicking around but just haven’t posted yet.  The first is this awesome fabric I picked up at a Mary Maxim tent sale on clearance.  It’s really 50’s-ish looking and so fun.  I think I may tackle turning it into a quilt, with some reds, oranges and browns.  I think it could be really nice.

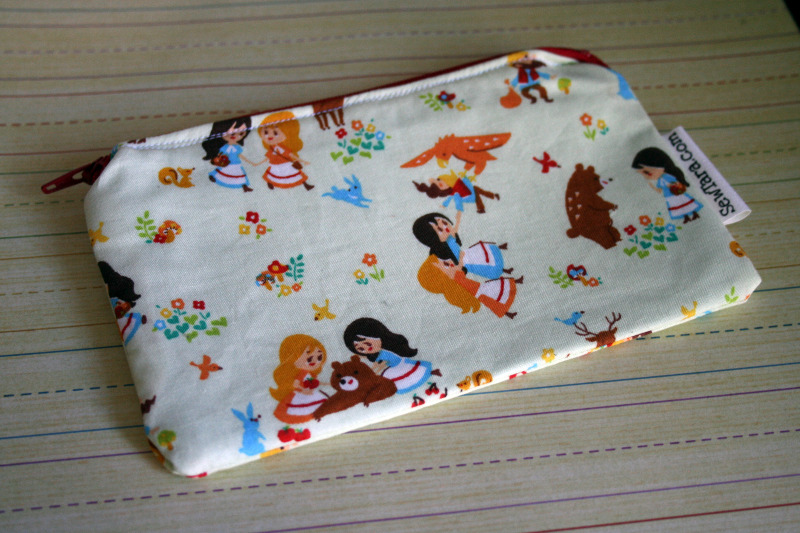
I also whipped together another pouch.  Sometimes I have what appears to be ‘beginner’s luck’ but I don’t realize it until I make the second item.  The first crayon cozy I made I used rick rack without incident.  Haven’t been able to pull rick rack off properly since!

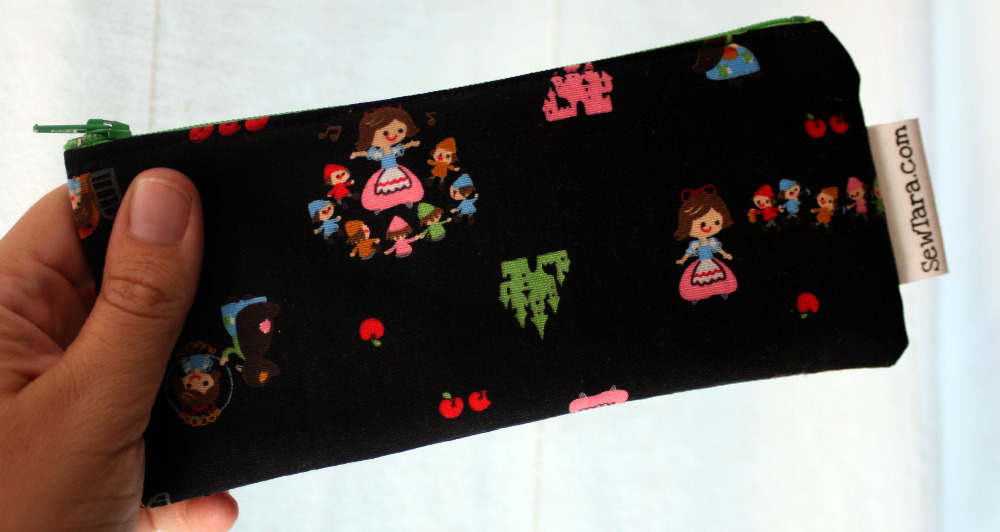
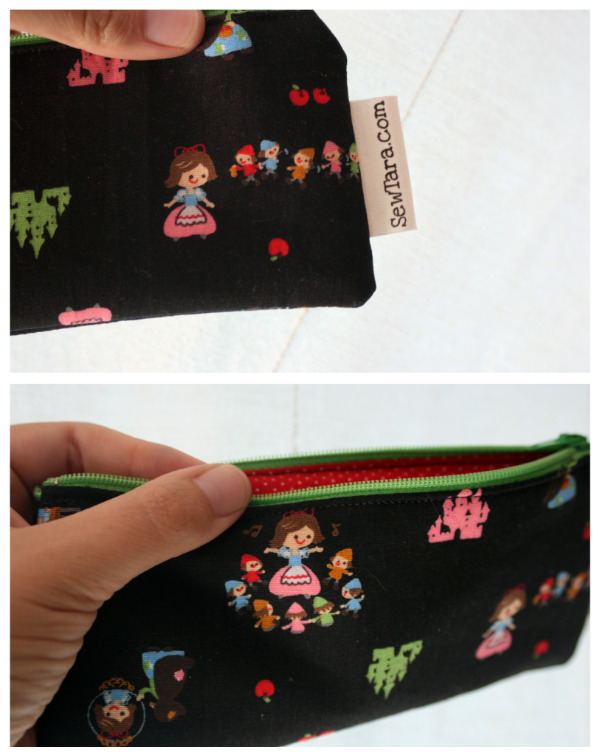
Then I made the lovely Snow White pencil case and it all turned out beautifully.  But when I made this one something wonky happened at the zipper ends and instead of nice squared corners I have rounded ones.  It’s not that big of a deal but since I know it’s not what I intended it bugs me.

We had a street party today.  Everyone was invited and asked to bring a ‘ethnic dish’.  Some people brought family recipes from way back, some people (like me) brought things they’re good at making but either way it was all fantastic!!  There was waaaay too much food and a ton of desserts.  The kids all banded together to run about like maniacs from lawn to lawn.  While it was a tad cool, the weather was lovely, I just ran home to keep making teas.  I came in when the kids seemed pooped and got everyone off to bed before some TV and stitching.  Now I’ve switched to bed and lappy and it sounds like the party has switched to ‘now that we’ve all drank too much lets sing along to whatever song is on’.  It’s kind of funny, even with the window closed I can sort of here them, but they sound so enthusiastic and like they’re enjoying themselves it’s making me smile.

My first zippered project!

I went downstairs last night to make something that was consuming my brain.  I did the usual, ‘oh I’ll just work through 1 show and then go to bed’ and as usual didn’t go to bed until hours later.  After completing enough to get my creation out of my head inspiration struck while looking at some of my new lovely fabric scraps.  Originally I wanted to attempt the boxy pouch but quickly realized none of my scraps were the right measurements.  So I ventured off on a journey to make a lined pencil case type thingie.  And boy did it turn out to be quite the journey!!

After much stitch ripping, brain scrambling and muttered potty mouth words I have a very sweet and cute Snow White zippered pouch!  I even got fancy and stitched one of my new labels into it.  Shout out to Jennifer for those wonderful little labels by the way.

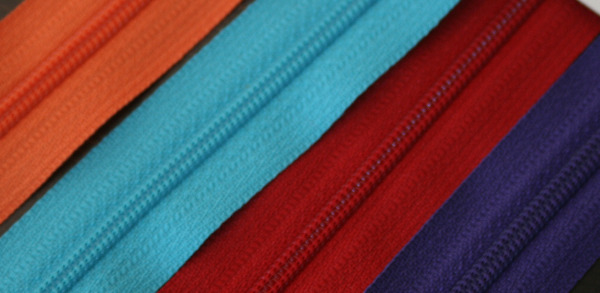
I only had the one zipper, there was a trip to the fabric store this morning.