Category Archives: kid fun

Counting book frenzy.

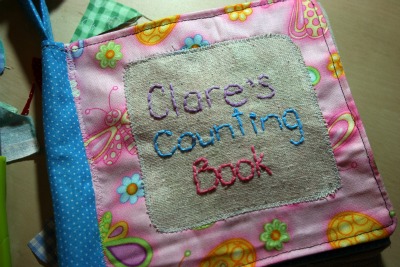
Since my Etsy shop rush was over I  turned to the pile of counting books I had lined up to get them finished in time for Christmas.  Here’s one I did for Clare.  I was trying it without the numbers, I liked the look of the pages without them.  In the end I did end up putting them on, these pics are pre-numbers.

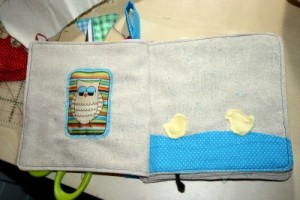
1 puffy owl and 2 rubber duckies.

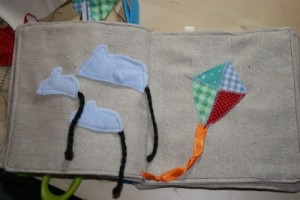
3 mice and 4 triangles on a kite.

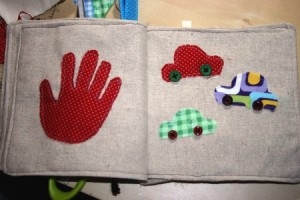
5 fingers and 6 wheels.

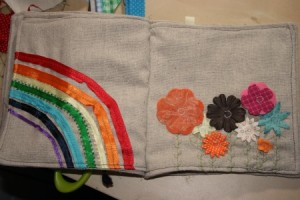
7 colours in a rainbow and 8 flowers.

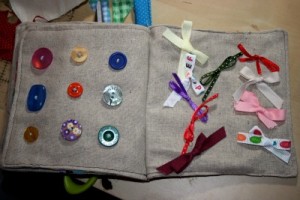
9 buttons and 10 bows.

I also made one for Griffin, which I was really proud of. It had a puppy like this for the first page and was super cute. In all my rushing I left to hand it over without taking pictures first. Silly me.

Well duh!

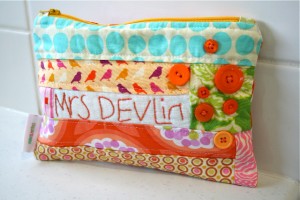
Ok so how lame is it that I’m a teacher, and a crafty one at that and I’m only realising now I should have made my son’s teacher a gift!?  Again a sign of how busy I have been these last few weeks.  So while I don’t have a gift to send in with Wesley today I’m totally planning on making this lovely teacher one of these before the school year ends!

It’s super cute, functional, personalized and handmade!! How can she not like it!  From a crafty sewer perspective my son can help with writing her name and choosing the buttons and fabric and I get to use up some of the fun scraps I have lying around.  It’s all win win. Thanks for sharing Make It Perfect!

Probably the reason I hadn’t picked her up a gift yet is because I know how tricky it is as a teacher at Christmas/end of year when you get gifts.  It’s sort of a weird time especially depending on the school you’re at.  Not every student will get you a gift and the ones who do might want to see you open the gifts but you don’t want to make a big deal about it if some students don’t have the means to buy gifts.  It can be awkward.  I’m also a terrible lair and have a horrible poker face and Christmas teacher gifts tend to be of the mug/snow globe/ornament nature, which while totally thoughtful there’s sort of only so many you can have.   So pencil case it is!  Perhaps I’ll even use my 2 weeks off to craft one and send it in for January, random gifts are cool too.

Make a Memory, the secret project revealed.

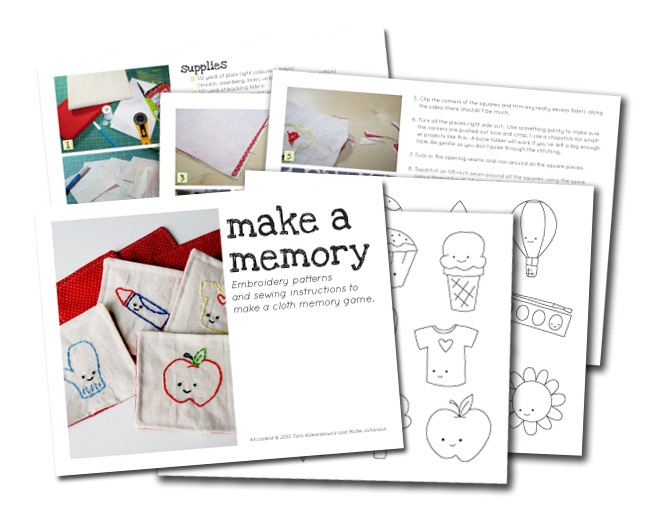
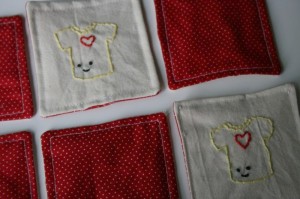
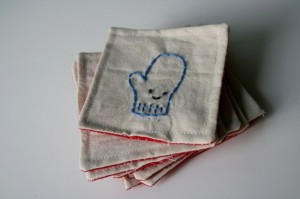
Ok, I can spill the beans now, the cat is out of the bag . . . insert other silly saying here. Mollie of Wild Olive and I have been busily working on a project together. I had this great idea to make a cloth memory game, something that would last a while and be special because it was handmade. I sat down to sketch out some ideas when it occurred to me that she could make drawings waaaay cuter and better than I ever could, so I sent her an email and asked if she’d like to be part of a collaboration. I was thrilled when she said yes.

As I’ve said before, I’m not familiar with a graphics program, nor do I understand the magic behind making PDF patterns (both on my To Do list I might add) so I figured teaming up would solve those problems. I had the idea and did the sewing, instructions and photos and Mollie added her fantastic designs and technical know how. The PDF is for sale in my Etsy shop, as well as Mollie’s where you can check out her other fun embroidery patterns.

Hope you had a great Halloween!

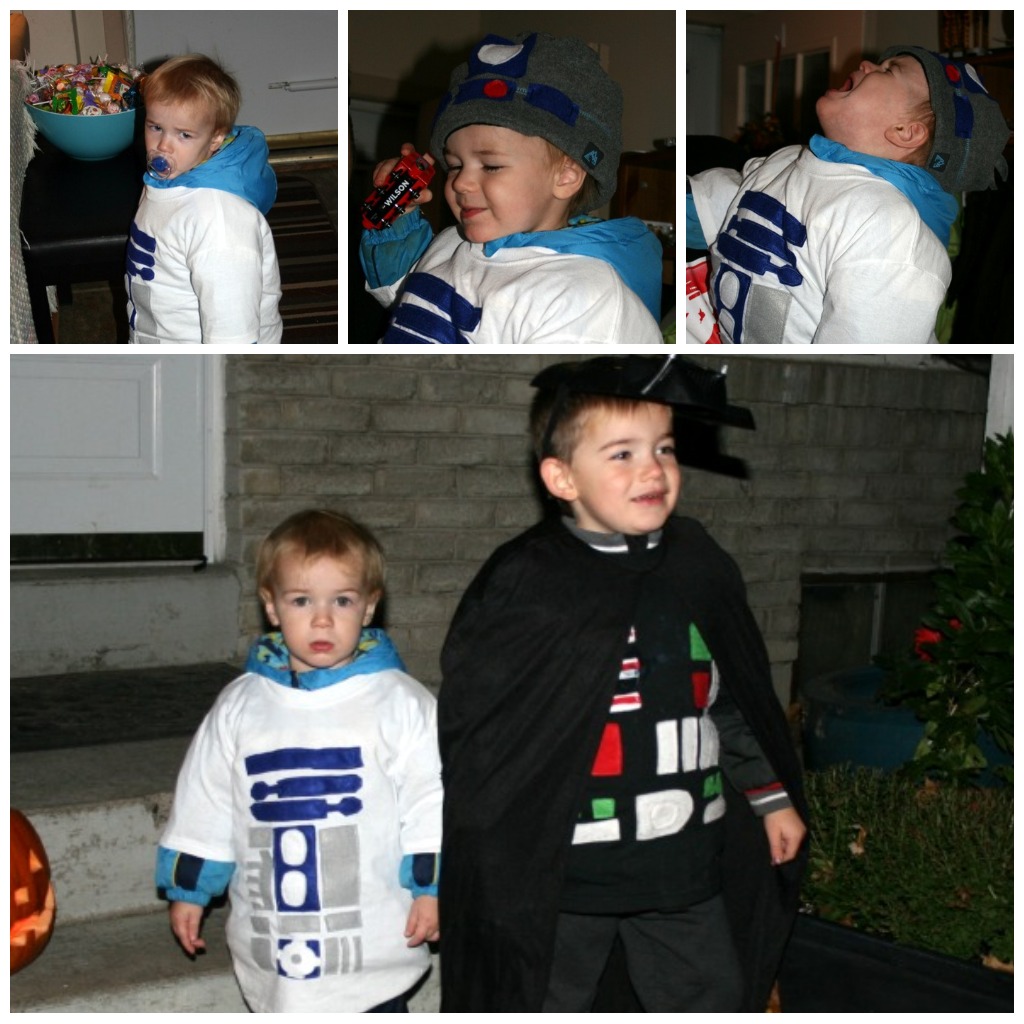
We sure did, it’s so much fun having little ones to take around and teach them the wonder of this fun little holiday. Nate was still pretty confused through it all, knocking on strangers’ doors, getting things to eat, in the dark, in funny clothes . . . I could almost hear the little wheels in his brain spinning and trying to digest what was going on. He wasn’t impressed with having to wear a costume either, mad at putting it on, madder when we took away his train he carries everywhere and his suckie, and furious when I tried to get him to wear the hat. And I’m sure I’ll get in trouble for the whole ‘sibling matchy type outfits’ when he’s bigger. Oh well, they looked cute so it’s all worth it!

Darth Vader and R2D2 go handmade

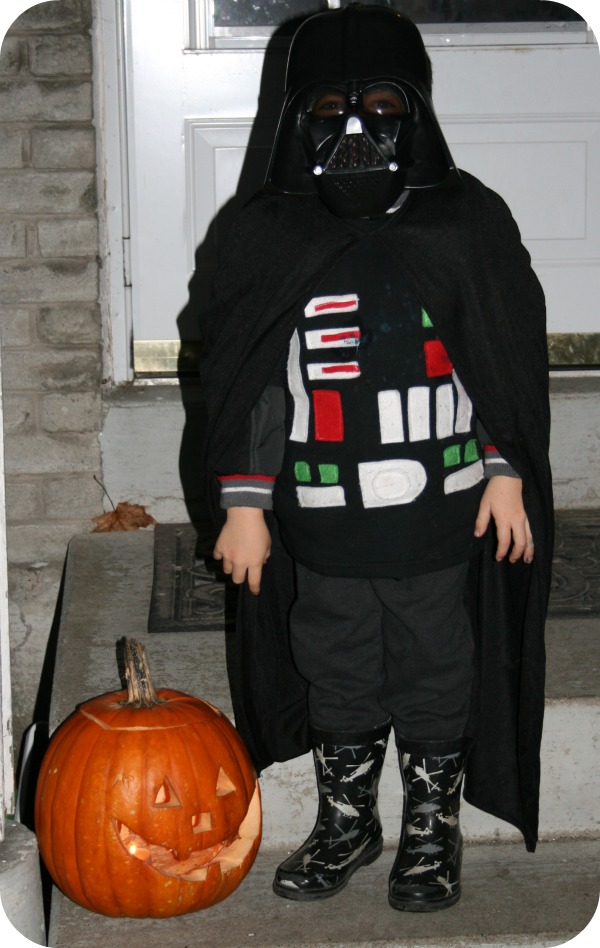
While browsing Halloween costumes, in an attempt to talk Wesley out of being a garbage man again, he saw a Darth Vader mask and cape and decided that was going to be his Trick or Treating get up. I approved. We didn’t buy the whole outfit type costume because have you seen the price of those things?!! Not to mention the terribly quality of them!! I figured I can’t make the mask so that’s ok to buy, and having the cape is just bonus but I can totally make him some pants and a shirt to go with it.

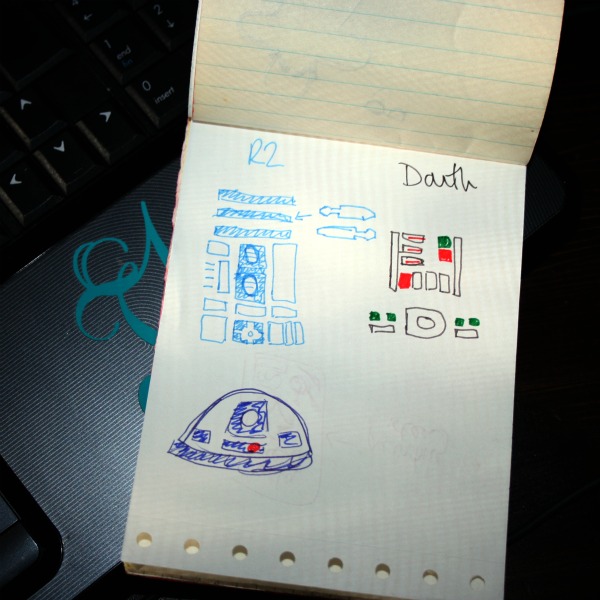
I googled images of Darth Vaders chest plate part to get an idea of what I had to rig up and came up with these sketches.

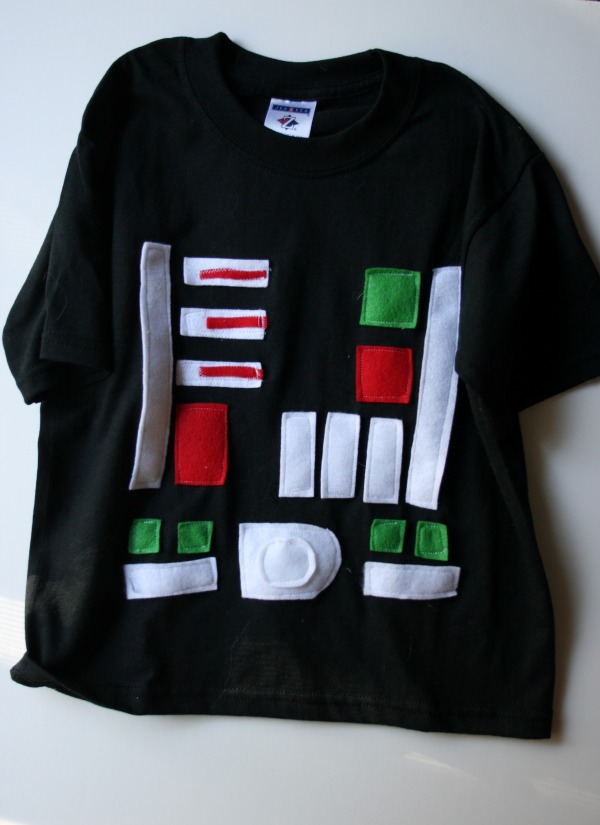
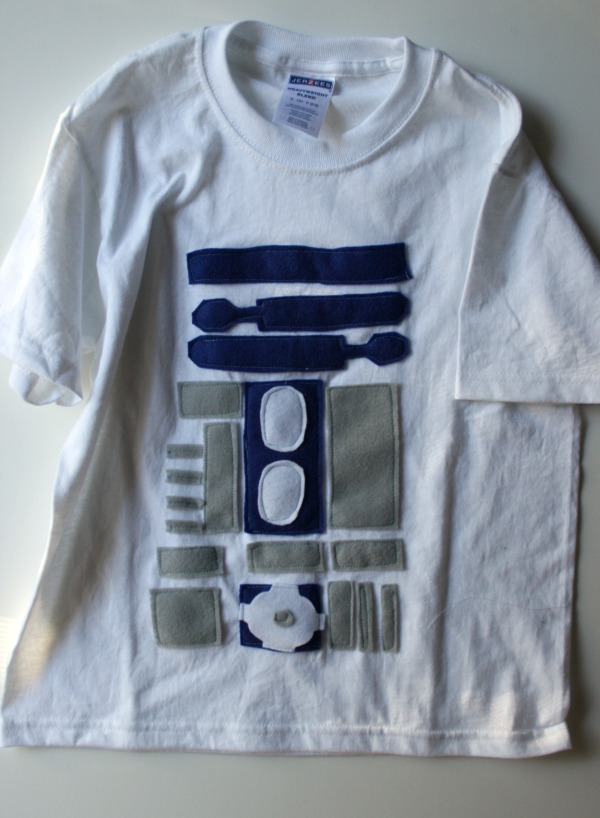
Then I went to Michael’s to take advantage of the 2 for $7 T-shirts they’ve had on sale lately. I grabbed the smallest youth size, they’ll still be a bit big, especially for Nate but great if they end up wearing jackets underneath. I cut up felt and stitched it to the front of the shirts and came up with these.

I made some of R2’s pieces gray when they should really be white but I thought this way it shows up better. I also still have to finish his hat, which is really his gray winter hat with felt pieces attached. Wesley already wanted to wear his T-shirt. Can’t wait to see them all dressed up and standing together. My mom made me some awesome costumes when I was little,  fittingly one was Princess Leia.  So, am I going to get in trouble later for making them costumes that go together?

Top secret project sort of revealed!

Wild Olive and I are going to tease you.  We’ve been working on something together for a while now and we’ll tell you all about it on Monday but why not give you a peek now?

Remember that time I stayed up really, really late writing a post that, apparently, never got posted?

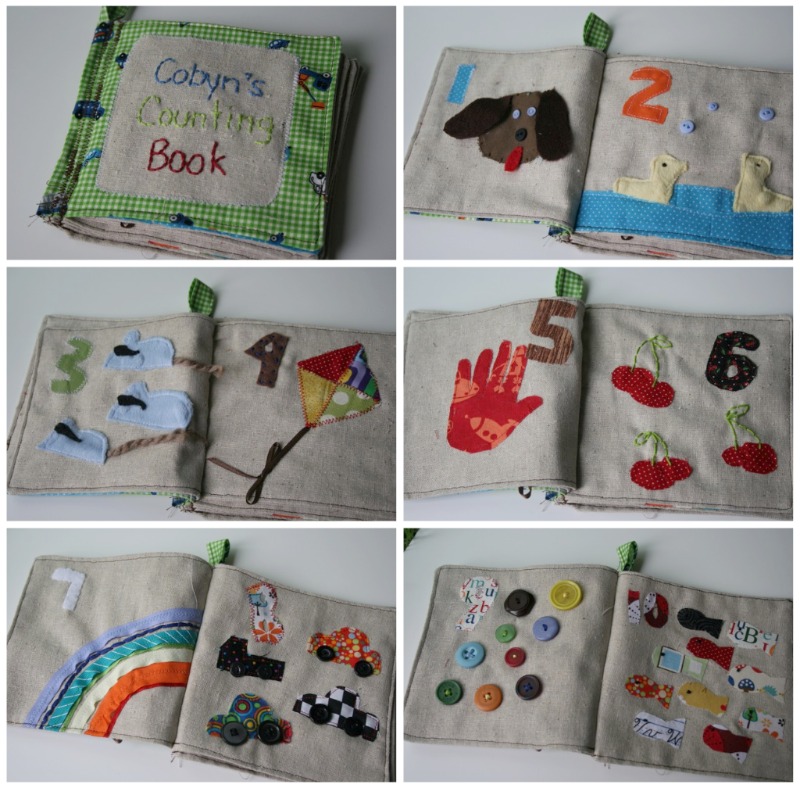
Here’s Cobyn’s counting book.  The puppy was a new idea and considering the cute fuzzy ears and floppy tongue I think he’ll be making a reappearance in future books.I used some of my favourite standard pages #3, 4, 5, and 7.  Then I borrowed from Nate’s book for pages 8 and 10.I copied Mya’s book for page 6 and 2. Here’s Cassie’s book from waaay back, just for some extra handmade goodness for your eyes.

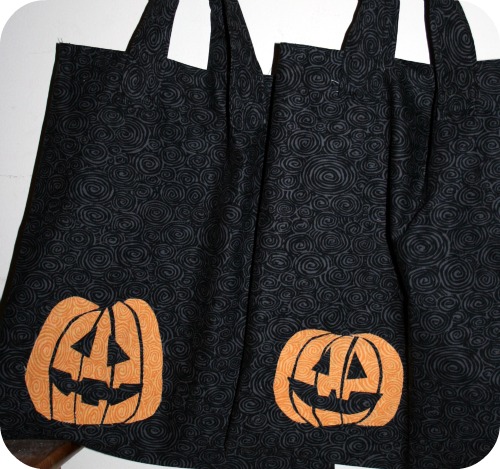
Got some spare time this week? I’ll show you how to make some Trick or Treat bags.

Of course, like most projects, I’ve been meaning to get to this one for a while. I finally managed to squeeze it in this weekend.
I wanted to make the kids some bags to collect all their candy in that they could use for a few years. I find most things out there are cheaply made or too big for their 4 and almost 2 year old hands. Soooo off to the cutting board I went.

Here’s my high tech diagram. I really need to learn some sort of graphics program . . .
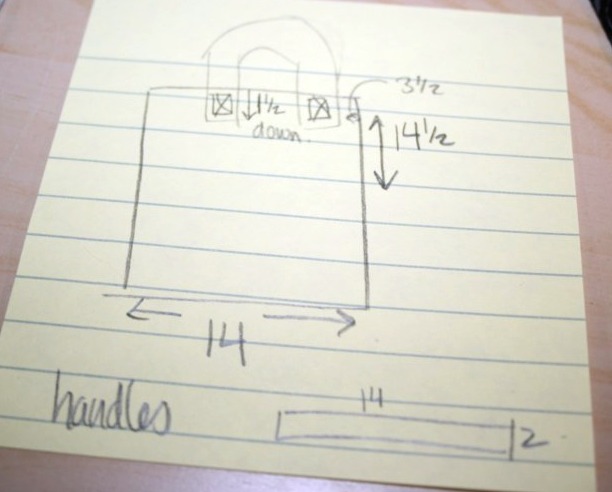
Measurements are in inches. That’s the handle placement I used, seems to be fine.
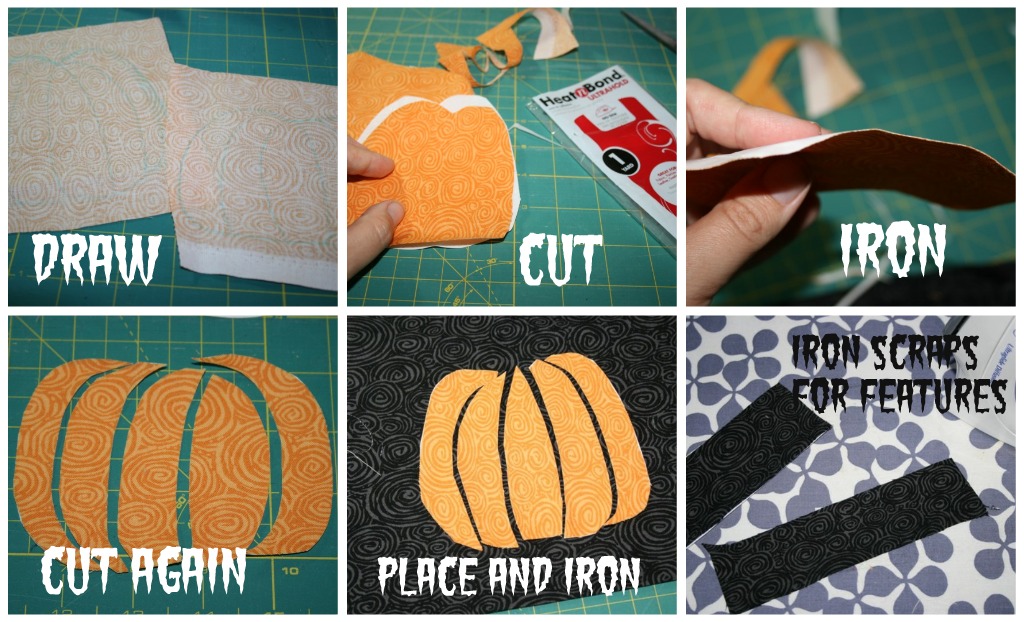
I used washable marker to sketch out some pumpkin shapes.  I just free handed it but  you could search for images or choose another design all together.  Cut them out and fuse them to a new sew adhesive, like Heat and Bond.  I wanted the black lines to show through on my pumpkin so I cut it up into a little puzzle and pieced it together on the front of the bag.  Then ironed it on.  I used some scraps of black and fused them to the Heat and Bond and then cut out some features.  Guess I was on a roll because I don’t have pictures of that step!
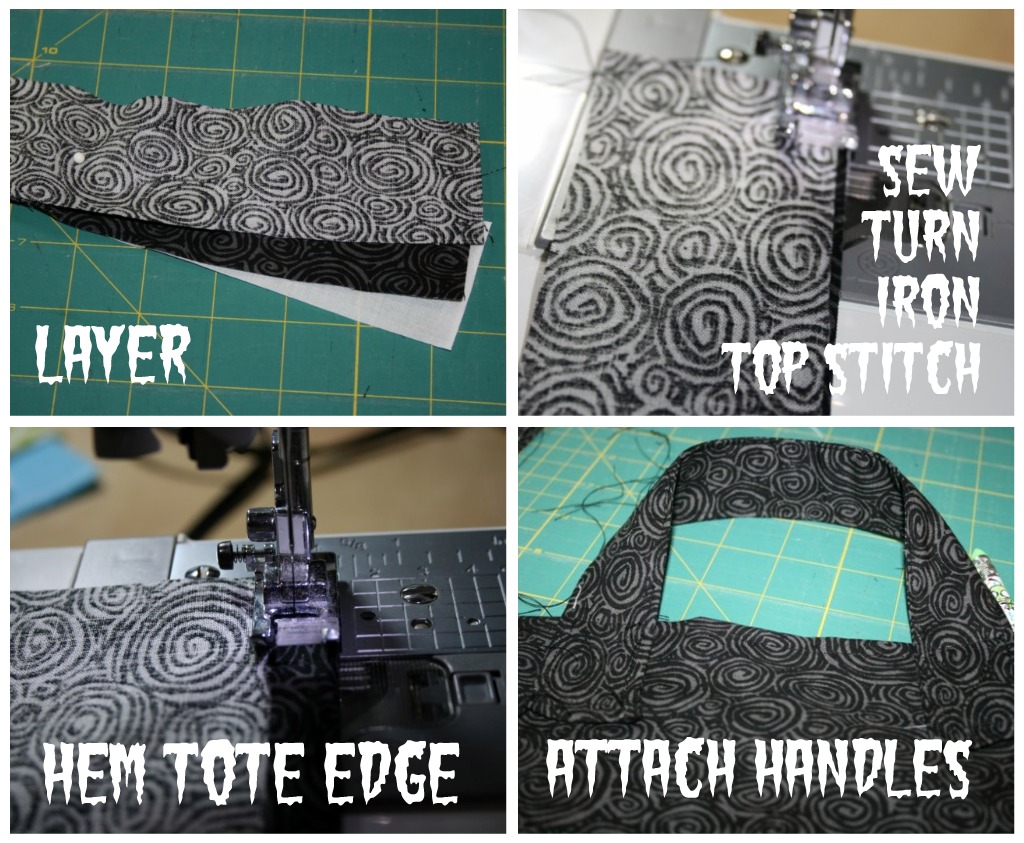
Layer your handle pieces together, I added some interfacing for some more stability.  Sew down both sides and turn them right side out.  That part is tricky, I found a chop stick helped.  Iron them flat to get nice crisp edges and then top stitch all the way around turning the rough edges under.  Hem the top edge of the tote, seam size isn’t really all that important just use the same mesaurement for the front and back.  Finally attach the handles with a fun box stitch.

Lastly lay your front and back pieces right sides together and sew around the sides and bottom.  I debated boxing the corners on my totes but decided not to, go ahead if you want.  Turn the whole thing right side out and ta da, fun Trick or Treating tote!
My cup cozy is in the ‘procrastinate’ position.

Weeeeell, maybe it hasn’t been all procrastinate I have been busy with my shop but that was only since July.  Remember my counting books?  I posted about them in . . . months ago.  A big part of the problem was running out of osenburg, which I have only found at Joann’s craft stores so that means a cross boarder trip.  When I went in September I bough 10 yards of it.  I should be good for a while.

Last night I buckled down and finished one for someone.  She asked for 2 of them so I’m hoping to get the other one done this weekend.  And spidey senses must have been tingling in my area because just randomly 2 other friends asked where the books are for their babies.  So I’ve got a little To Do list for this weekend and those counting books are on it!  Along with a few other things of course.

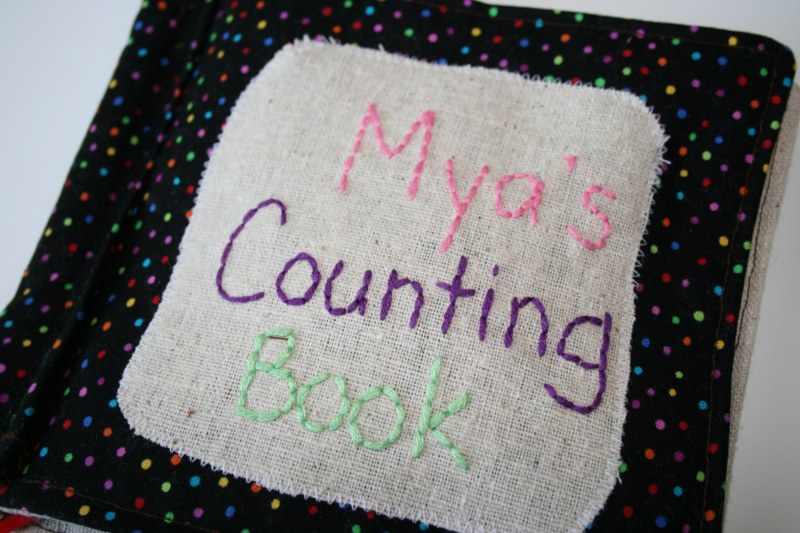
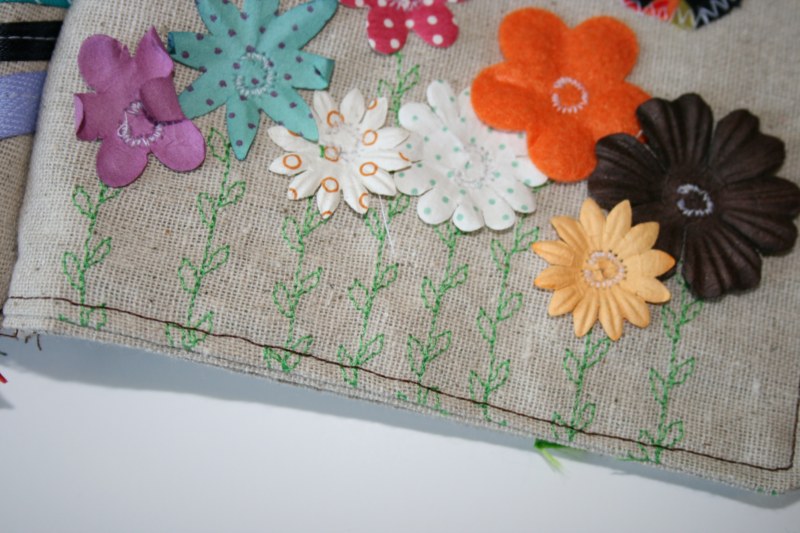
Here are some shots of Mya’s counting book.

I finished it at about 11:30 but wasn’t happy with the size of the first few pages, somehow the pages were getting bigger at towards the back.  So I did some stitch ripping and re-sewing until the wee hours.

Thanks to my fancy pants new to me sewing machine I was able to add some fun, and time saving touches.

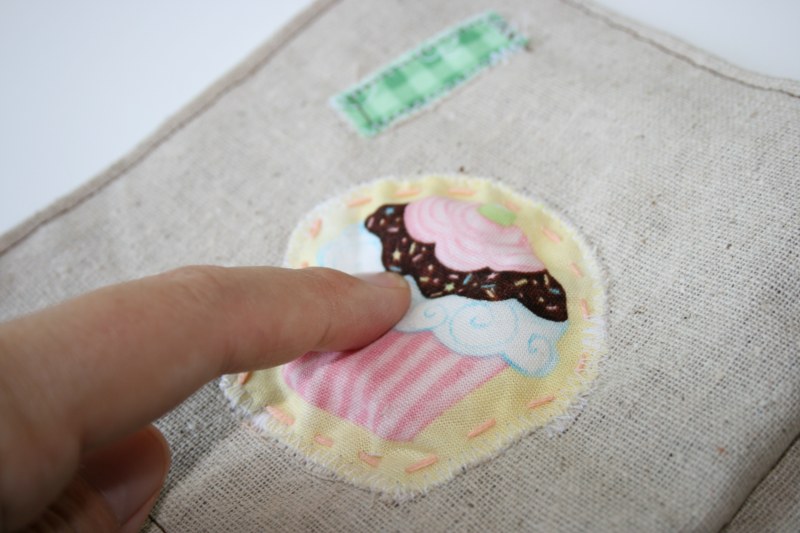
I also got creative with the tactile side of things and put this fun stuffed cupcake on the first page.

Finished off with my lovely labels, which are iron on but I sewed them as well because I like that look.

I did it again!

Actually I did a few things again – stayed up too late, procrastinated on ‘must dos’ by doing ‘wanna dos’, and finished another counting book! Only 3 more to go. Here’s a peek at Cobyn’s counting book.

I stuck with my favourites for # 3, 4, 5, 7, and 9.  I’ve done cherries before in Cassie’s book but I tried it a little different this time. I also borrowed from Mya’s book for #2 and 6.  Fishies and cars I did in Nate’s book.  The puppy was a new idea but is so fun with a floppy tongue and fuzzy ears that he’ll be making repeat appearances in some future books for sure.