Category Archives: kid fun

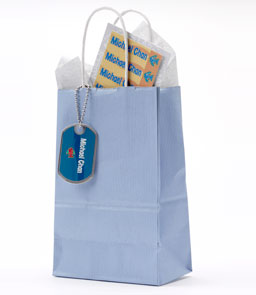
1,2,3 Mabel’s Labels giveaway Day 2!

Okie, so I fancily wrote everyone’s name on a little slip of paper and tossed them into an empty plastic green strawberry basket and pulled out Laura C’s name! Congrats Laura, looks like Chrissy can at least have her things returned to her should she lose them!

That means today my friends, is the day to enter if you have 2 little special people in your life who could use an awesome Canadian made personalized product to label some of their very important stuff! Have 3 important little people in your life? Uhhh, come back tomorrow then.

Please head over to Mabel’s Labels and leave me a message letting me know the names of your 2 little people and what colours/designs you would like!

Giveaway closed at midnight when I pick the lucky winner!

Also, if you happen to sew or craft at all today is the last day to sign up for my fabric scrap swap, come play!

1, 2, 3, Mabel’s labels giveaway!

Hello there, so here’s my first venture into the world of a video blog. I figured I’d make it a fun giveaway and that way people won’t notice the silliness. Please excuse the over use of the word “um”, I did 2 takes and it didn’t get any better so, um, oh well.

Here’s the link to Mabel’s Labels so you can see all their nifty products. Here’s where you go to design your own Loot Bag Combo Builder, it shows you a proof right there.

Remember today’s winner gets 1 set of personalized labels and a Tag Mate. This is open to everyone world wide. Please only enter once.

***OOOPS There was some technical difficulty loading this video yesterday so I had to work around what I had planned. Soooo the giveaway was bumped a day (I don’t have a nice quiet house to re-shoot). When I say “Friday” is the last day, it’s now Saturday. Sorry about that***

Leave your comments below and good luck!

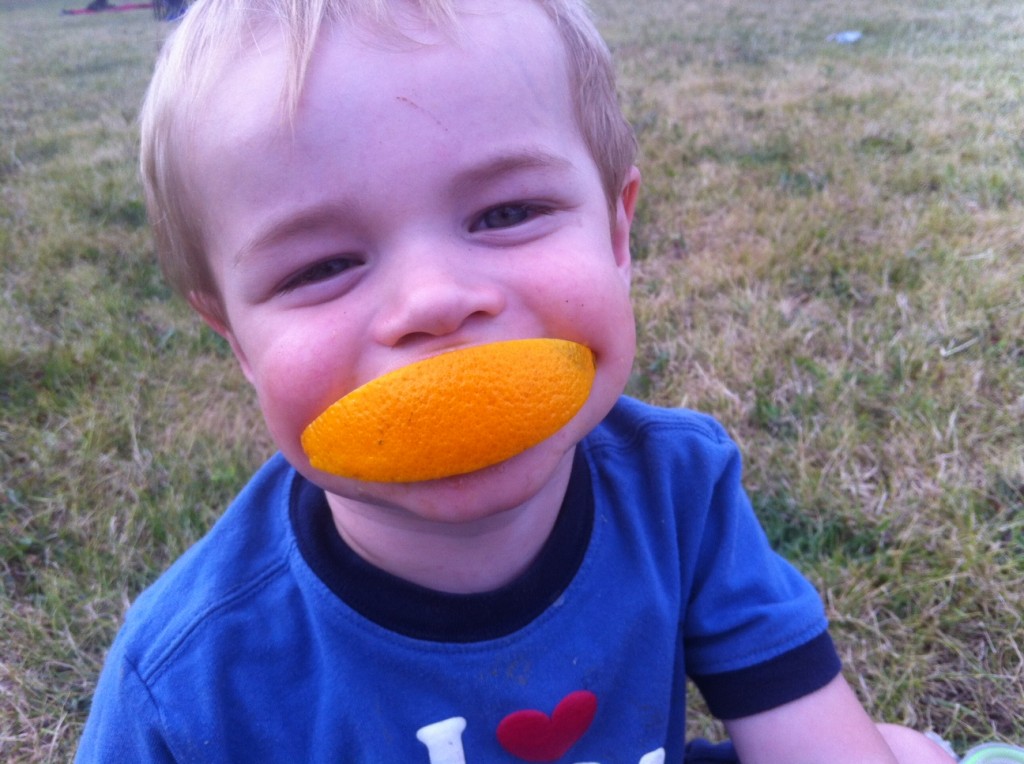
Nate

If you have a kid you know time just seems to fly by once they’re a part of your life.

If you have 2 kids you know that time flies by even faster than it did before. I can’t imagine the blur it must be if you have more!

I have photos and photos of Wesley for the first 2 years of his life. Then Nate came along and it got busier and taking photos was tougher. I was lugging around so much stuff I didn’t want to carry around that one more thing so I could *maybe* take a picture. Luckily my phone makes it easier to capture life’s little moments. Like Nate in the hot van on one of the hottest days of the summer singing “Jingy Bells”

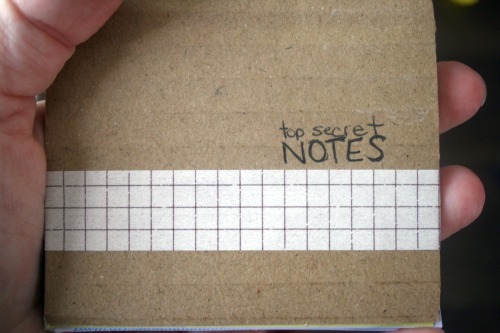
DIY little notebook

I made this little notebook using papers and things from around the house. You should have everything you need to whip one up in a few minutes. They’d be great for keeping in your bag for lists, or for the kids. My kids are always wanting their own handy, dandy notebook! Plus you can recycle the whole thing once you’re done with it. Re-use the twine if you’re that hardcore.
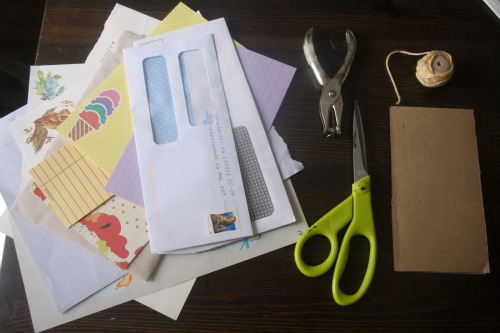
You need 2 pieces of cardboard cut to the same size. These will make the front and back of the notebook. Gather some scrap papers. I used a lot of bill envelopes, pages from thirfted writing papers and some atlas pages. A whole punch, scissors, twine/string/yarn/floss or something stringy.
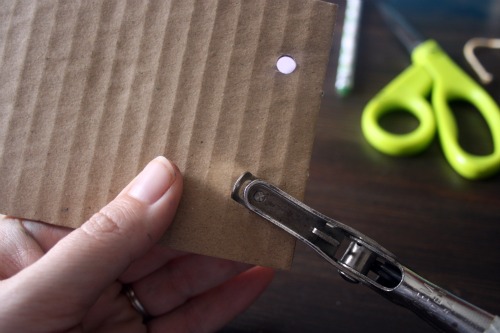
Punch holes in the cardboard pieces that are going to be the front and back of the notebook.
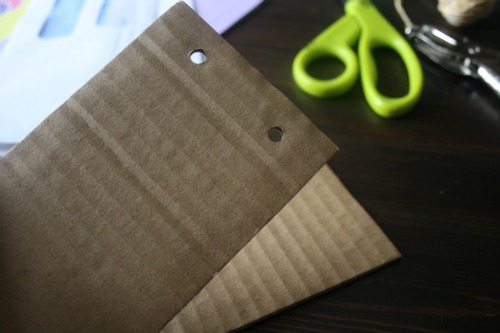
Then with your scissors score a line across the front cover piece of cardboard. Just press gently so you only cut through the top layer of paper.
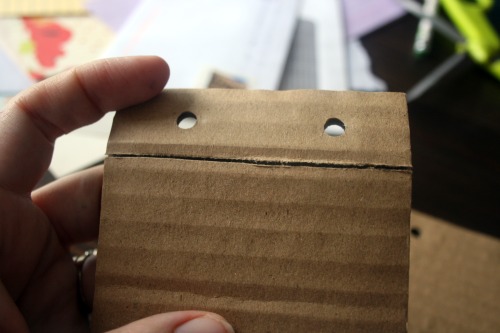
Decide how you want your pages to be placed. If there’s writing on some of them, like atlas pages, you’ll need to decide what side you want to have available for notes.
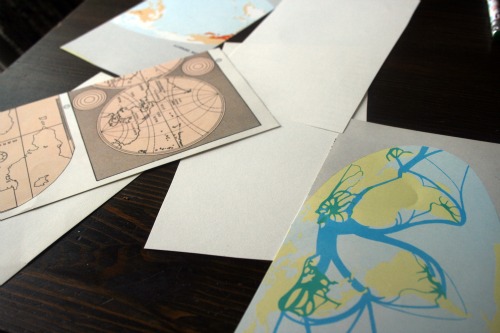
Trim the pages to the same size as your cardboard cover. You could get fancy and get out a paper trimmer and actually measure this but I just held them to my cover and cut around it. Remember, it’s not ‘lazy’ it’s ‘creative’.
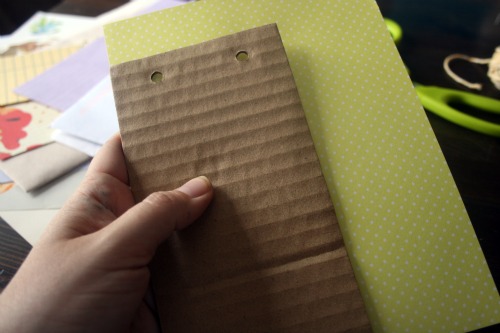
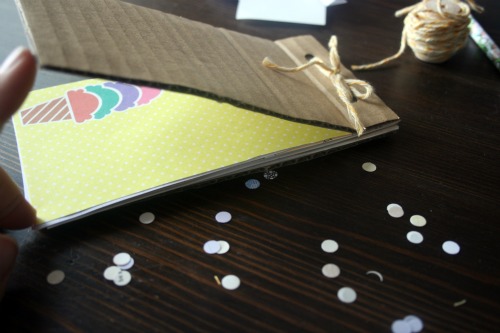
Then in the spirit of ‘creative’ I held the pages up to the cover and punched the holes in the same place, lined up with the ones on the front and back cardboard pieces. Punch all the pages you want in your notebook. Thread some stringy like substance through the 2 holes and tie it up in some pretty way.
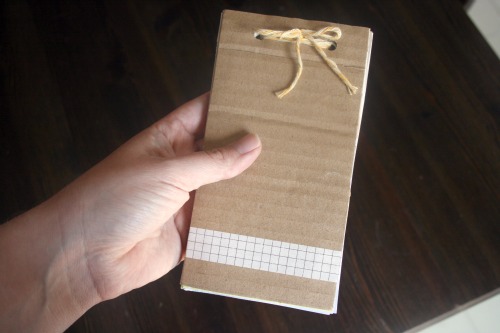
You can decorate the cover or leave it blank. I stuck a bit of washi tape on mine just for fun, gotta use that stuff up somehow I just keep collecting it. I had tried to stamp doily designs on it but the cardboard is too bumpy and it doesn’t print well. You’d have better luck using a stencil I think rather than trying to stamp.
Happy Easter!

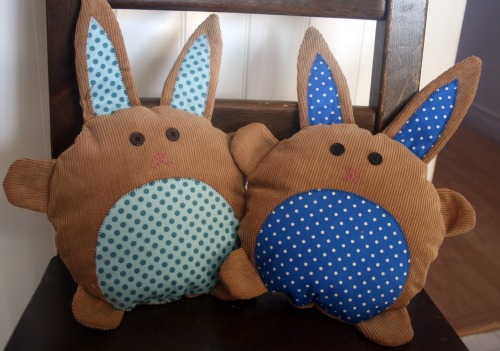
Here’s our goofy little bunny and his big brother. It was hard enough to get a photo of one bunny let alone two!

I made Wesley a lego bunny and set it on his night table to surprise him when he woke up.
Hope you’re all having a wonderful day.
Hippity Hoppity

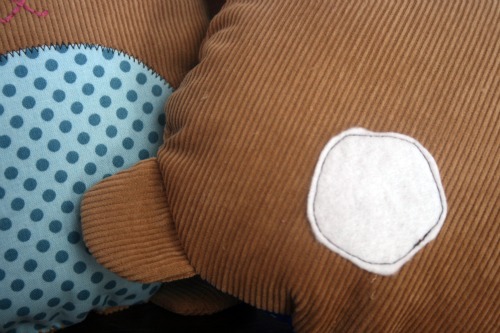
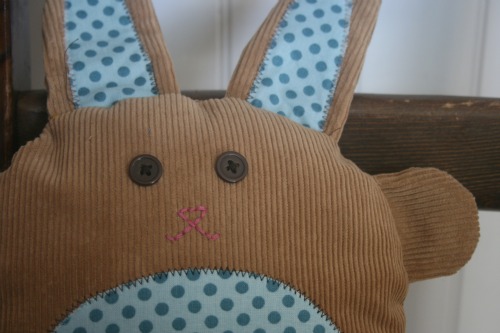
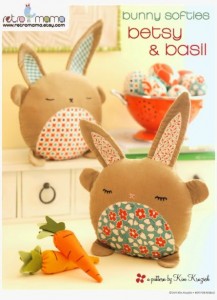
Here’s a peek at the bunnies I made for my little bunnies.

They’re really easy to make so there’s still time to make one for the somebunny special in your life.

You can get the pattern here.

Vintage haul

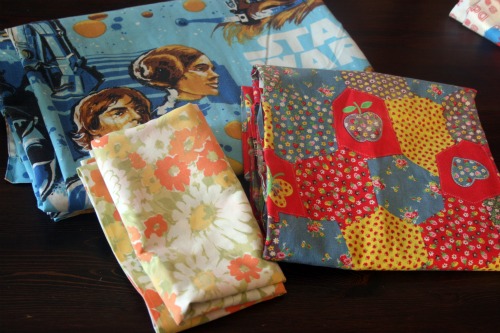
I found some really fun stuff thrifting last week.

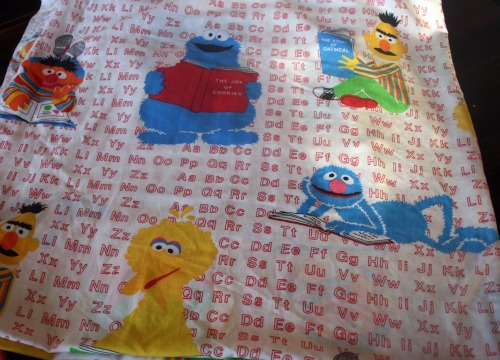
There’s that pillow case I turned into a lovely headband, and actually 2 other projects that remain to be revealed.  That patchwork stuff is a big chuck of fabric.  I couldn’t resist picking up the Star Wars sheet.  My hubby still has his childhood Return of the Jedi comforter that he uses every night.  When I make our bed I hid it under our nice duvet.  Someday, when we have more rooms I think I’ll make a guest bed with Star Wars bedding.

I found this lovely gem and couldn’t resist.  It’s too bad I already made library bags for the boys when I took Home Ec because this would be perfect.  Maybe I’ll rename their library totes something else and wip up some with this anyway.  You can never have enough totes right?  Is it wrong to push my addiction on to my children?


Crafts for my boys.

Last week I pulled some late-nighters finishing some things for the boys.  I finally got to making them rag quilts. Nate’s is all Lightening McQueen fabrics and Wesley’s is this funky loud pirate print. Hrm, guess there should be a photo here. Too lazy right now.

I also made them some cute little bunnies using this pattern.  I haven’t been able to take pictures of the ones I created yet because they’re hiding in the basement until Easter.

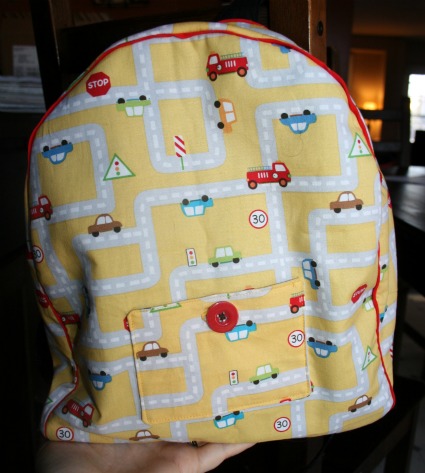
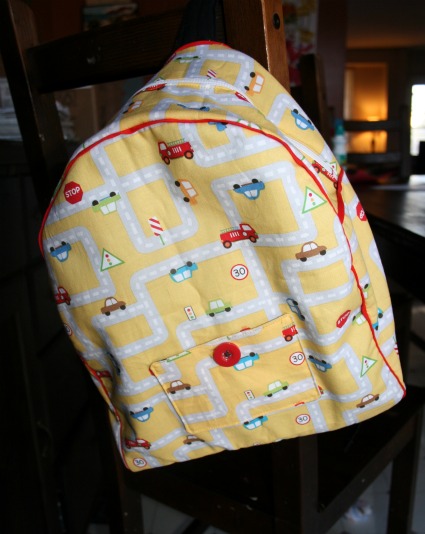
Aaaannnd I made Nate this cute little backpack using Made by Rae‘s pattern. Because I can never just make a pattern the way it’s written I had to get a little more complicated and I added some fleece to the inside to give the bag some more stability.  I used a cotton print so it was pretty flimsy, she recommends a heavier fabric, I didn’t listen. I added a little pocket to the outside too, for change or his library card, I don’t know it’s just a fun detail.

I’ve also been trying to use what I have on hand and not buy more stuff.  So instead of piping I used bias tape and positioned it just so.  I love how it turned out.  Nate loves to leave with a backpack when I walk them across the street to the sitters.  Guess he wants to be like his  goes-to-school big brother!

My creative weekend in pictures.

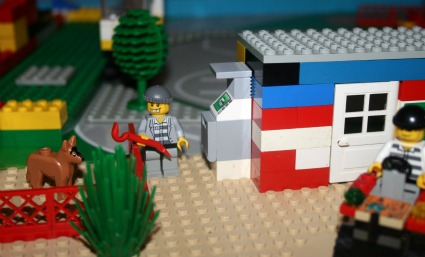
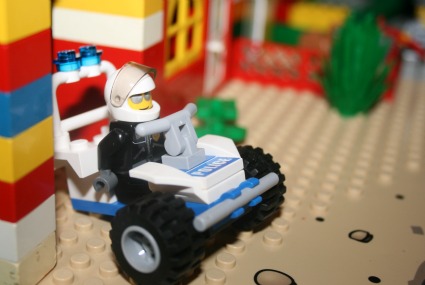
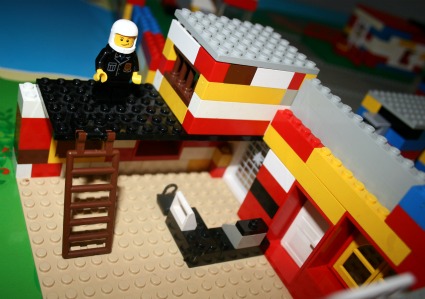
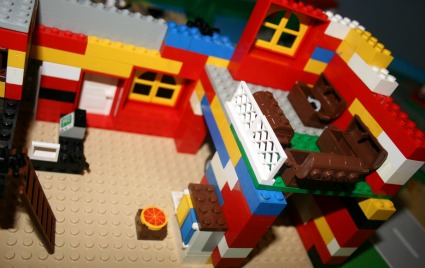
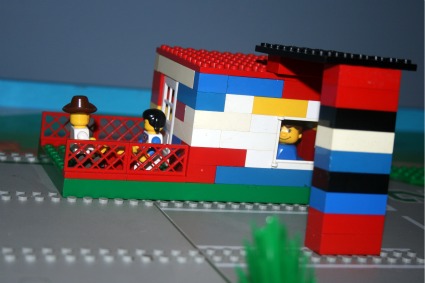
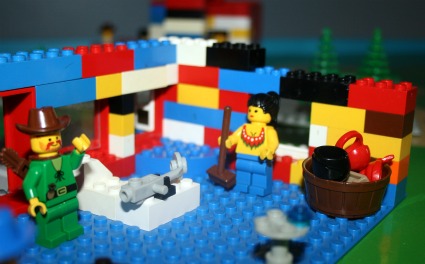
Friday night I made this after Wesley went to bed and I had the urge to create a LEGO town for him. So while we watched some mindless shows I constructed on the coffee table. I only took a crummy nighttime iPhone picture and it was night, so I waited for Mr. Sun.

Saturday morning we moved it up to his room on the train table so he could expand it. I had to charge the camera battery before I could snap some up close shots. When I went up to snap some pics later in the day it appears Natezilla had destroyed the town when we weren’t looking. I was sad. There was some rebuilding but my heart wasn’t really into it after seeing all the destruction. Here are some shots of the parts I was pretty proud of.

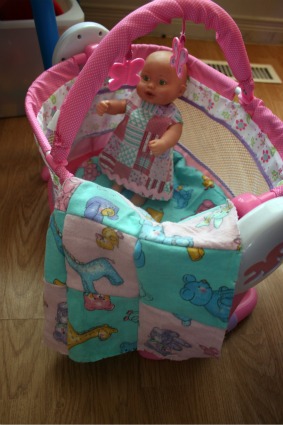
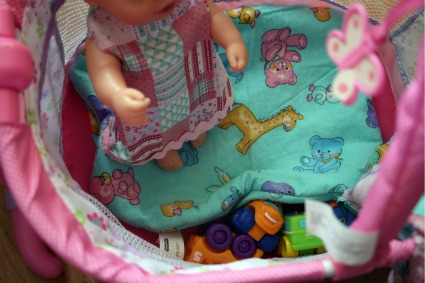
Saturday Nate found Baby Jobby and played with her all day (except when she was napping and he destroyed a whole town). I bought Baby Jobby while pregnant with Nate because Wesley was asking for a doll. Nate found her neglected and naked in some corner. So I spent some time sewing up some diapers and a dress. Then we went out to buy another baby, there had been a feud, but came home instead with a bed for Baby after Wesley assured me they could share 1 baby and take turns.

I love how there’s a bunch of cars in the crib with Baby Jobby.

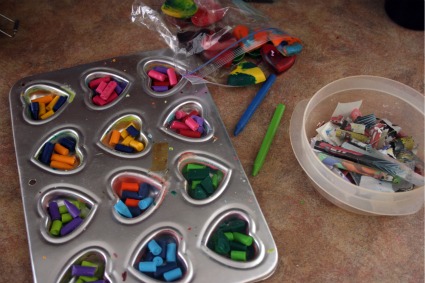
Oh and somewhere in all that we made heart shaped crayons for Wesley to give to his classmates. Thanks to Frugal Family Fun Blog for the tips on making them.

Well I have some cup cozy orders to finish thanks to my playful procrastination over the weekend!

Cheapish sensory fun for kids.

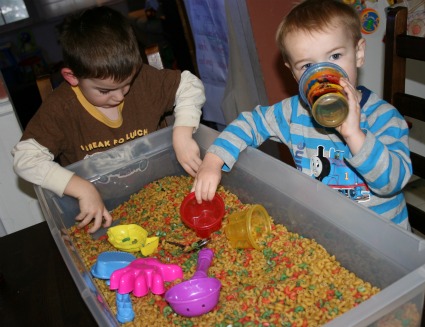
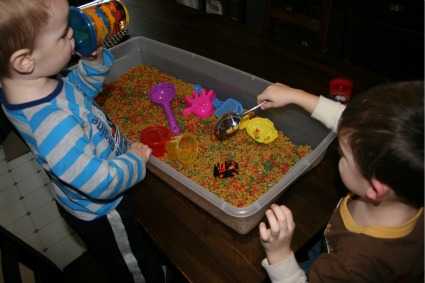
It’s snowy outside. I’ve had this idea for a while but finally got around to it. I grabbed an under bed storage box, 4 bags of elbow pasta, food colouring and rubbing alcohol. I was going to use rice but was told by someone that it can get quite slippy when it spills on the floor. Plus elbows make a noise you can hear and they’re easy to spot and pick up with your bare hands.

My boys loved it and have played in it every day.  Wesley insists on calling it ‘macaroni and cheese’, it’s cute.  Look, Nate can’t even stop for a drink it’s so much fun!!  I tossed in some metal kitchen utensils too since they make fun noises with pouring macaroni.

I had picked up some discount sand toys at the end of the summer with this plan in mind.  The entire thing cost me under $20 but you could use any tub (I just wanted hide away storage) and you might have rubbing alcohol and food colouring already on hand.  I Googled how to colour pasta, it’s ridiculously simple.  Grab a zip lock type bag, pour in about 1/4 cup rubbing alchohol, about 12 drops of colouring and some pasta.  I wasn’t exact.  It’s pretty easy, more colour, darker pasta . . I’m sure you get it. Leave it sit in the bag sort of flattened and spread out for one hour then turn it over for another hour.  Pour it all out onto a cookie sheet with some paper towel or rag on it and let it dry over night.  In the morning it’s all good to go!

Note don’t bother trying to colour it yellow it does nothing.  I assumed so but had to try just to be sure.