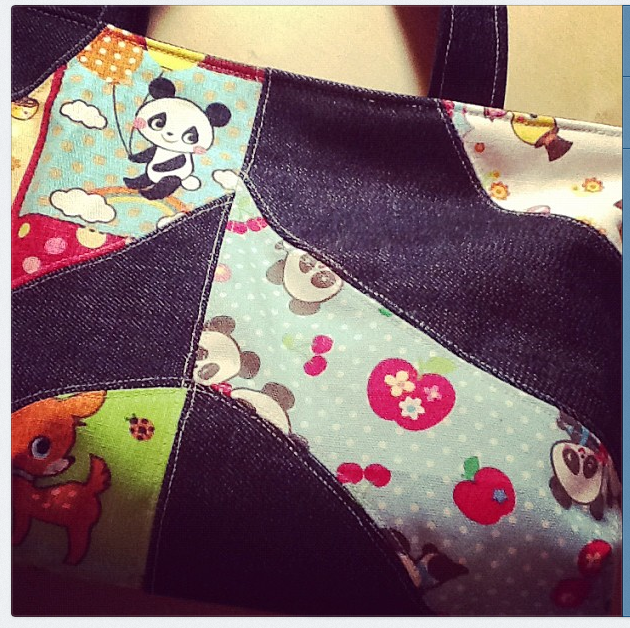
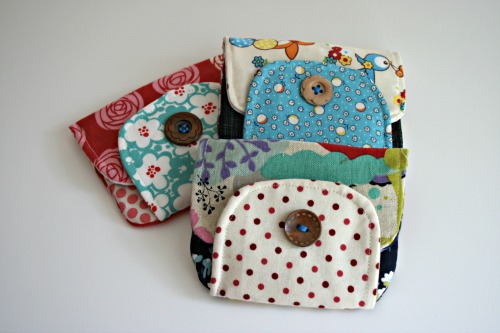
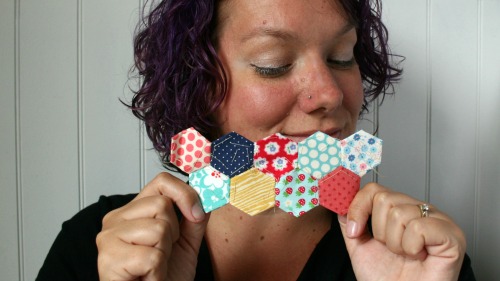
Yep, ask I made some. Pattern available from Michelle Patterns, buy link at top right.
Tag Archives: scraps
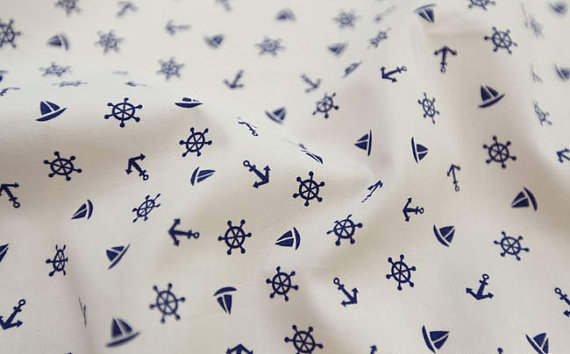
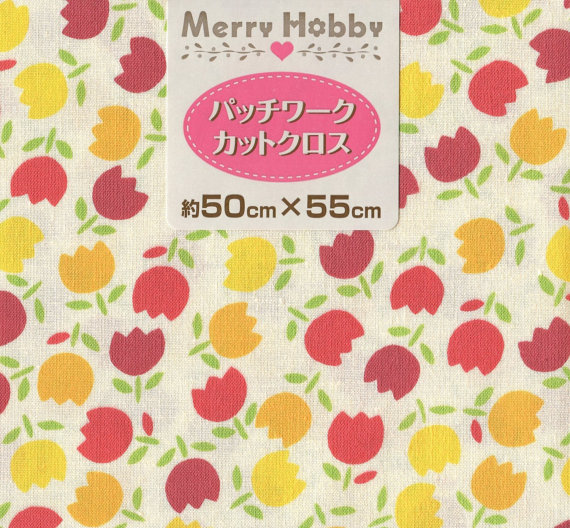
Pretty fabrics
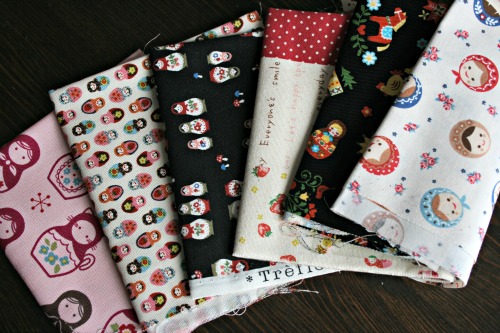
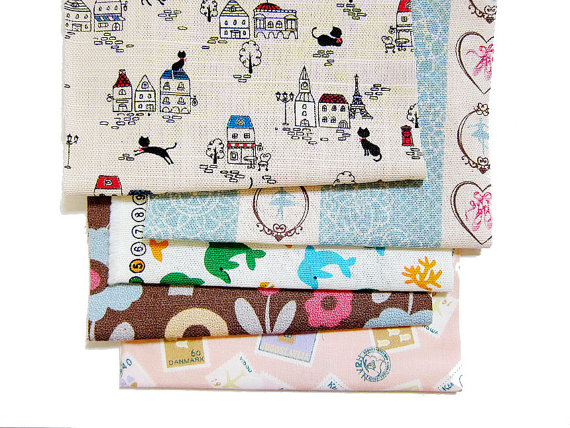
I splurged and got myself some fun Japanese fabric scraps the other day from this shop, physician Beautiful Work.
They arrived ridiculously quick. All the way from Japan.
I love how I can mail a cup cozy to the US and it takes ages to arrive but fabric from Japan got to me in just under a week.
Silly postal mysteries.
Friday Create Along.
So you know what I should have been doing yesterday with my afternoon off, no not attending 3 appointments, I *should* have been photographing my finished bag!
I promise to snag some pics over the weekend.
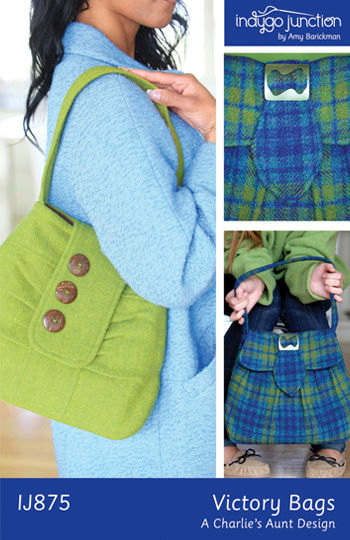
Also I’m going to make this next.
You may be able to find it elsewhere but that’s where I bought it.
Posted in createalong
Tagged japanese fabric, purse, scraps, sewing, stitch magazine, victory bag
Fun Fabrics
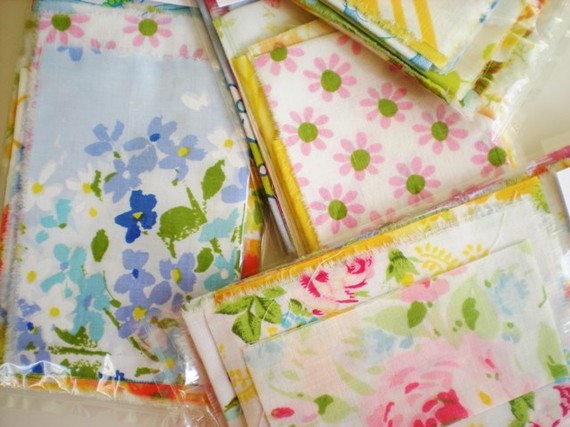
I was asked recently by My Girl Thursday to share my sources for the fun fabrics I have. She says she has the bug now, if you kind of sort of like fabric I’d leave now because you’ll be totally addicted to hoarding it after this post. Almost all of mine comes from Etsy shops so I’ll share some of my favs with you. Sometimes I just do a search for scraps, but my brain gets confused with number crunching the prices and shipping combos and I usually head back to the stores I know.
I’m addicted to cutesy Japanese prints. Boqinana has great stuff. It’s so hard not to fill my cart with ribbon after ribbon after ribbon. This store is also full of some great fabrics.
This and That from Japan . . . well the store name says it all. Sadly on vacation at the time of posting this but check back, it’s totally worth it. They carry great fabrics, supplies and craft books. Pages and pages of awesome I tell you!
The Hey Day Shop has fun fabrics and usually has a selection of scrap packs to choose from.
I’ve ordered from The Dainty Squid’s destash store before, not sure if it’s still up and running.
The only place I’ve been able to find fun Japanese fabrics in person is at Quilt A Bag in Markham, which is only good to know if you live nearish to there. The ladies are lovely and they carry a lot of Japanese craft books and supplies for projects, coin purse frames, handles, cute ribbons, Japanese craft books. They attend the Creativ Festival in October and carry a lot of great kits with everything you need to finish the project.
I’ve ordered vintage fabrics from Pink Fawn Designs before. While it’s pretty easy to find vintage linens if you go thrifting you can expand your collection, handy if you have a certain project in mind, and not have to use the entire sheet you bought on the one project.
Starlit Nest has packs sorted by designers, themes and even offers a big ole flat rate box deal. Shop 4 Craft has some great wooden buttons, if I’m just in the mood for buttons I go there if I have a hankering for fabric I’ll hit one of the shops that carries fabric AND buttons and get all splurgey.
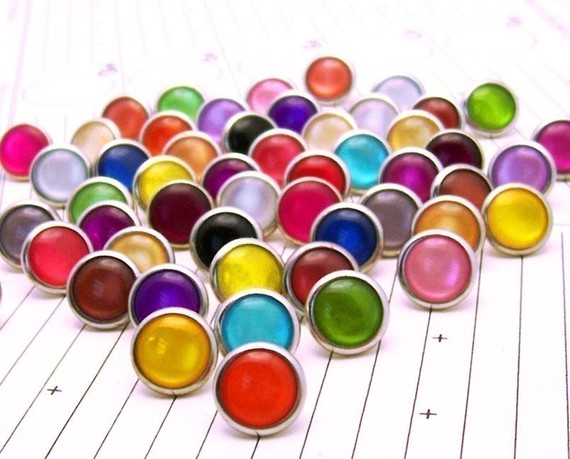
For snaps I go to Cowgirl Snaps. When I found this shop I thoguht that the pictures must be tweaked adn there’s not way the colours could be that vibrant but when they arrived they were amazing. The colours are great and there are options for mixing and matching.
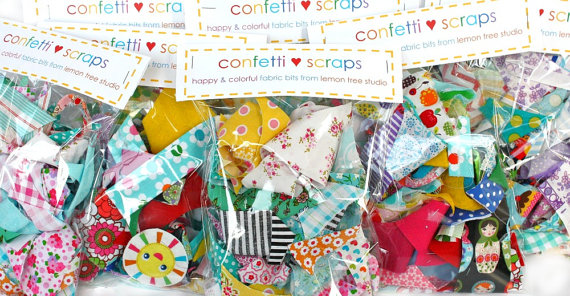
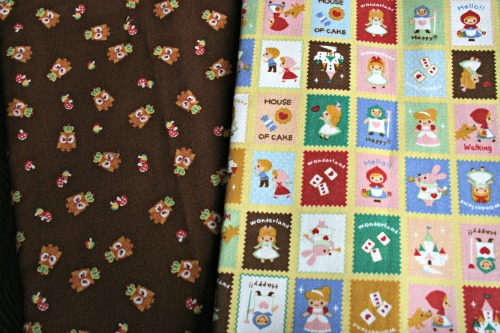
On my wish list are these great fun scraps. Sometimes, being in Canada, it’s hard to find scraps worth purchasing because shipping can get ridiculous. Someday I’ll splurge on these teeny bits of loveliness.
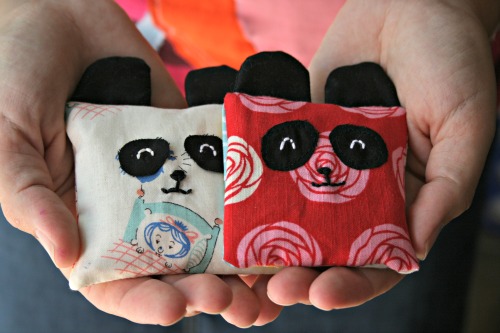
DIY Panda drawer sachets
While shopping at a farmer’s market the other weekend I picked up some lavender and got a neat idea for these sachets for my drawers. They’re really quick and easy and can help destash your scrap bin, something I love to do. I’m making a run for the border today and so in lieu of a Create Along post (too busy with back to school) I thought I’d share this instead.
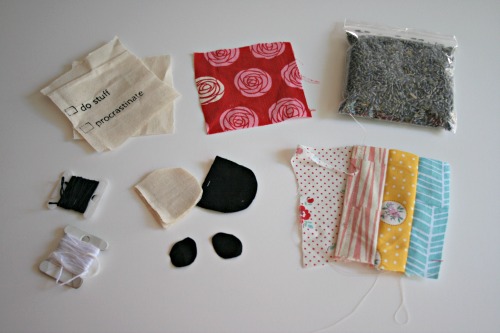
So you will need the following supplies, along with a needle, on a machine or for your hand.
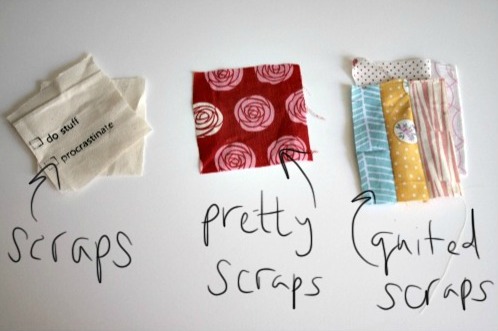
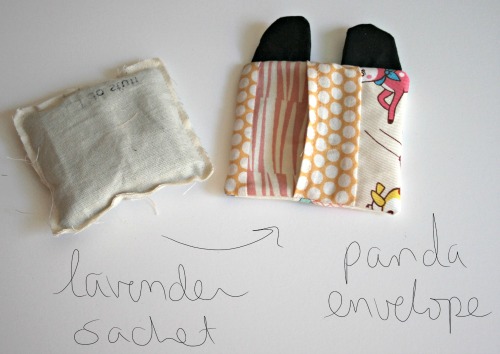
The fabric pieces can be any measurement you want, they just need to end up a square. I made 2 and one is slightly smaller than the other but they’re around 3 1/2 inches square. You need to make 2 quilted pieces that measure wide enough for your front piece and then have some extra because they will overlap and make an envelope pillow cover sort of closing.
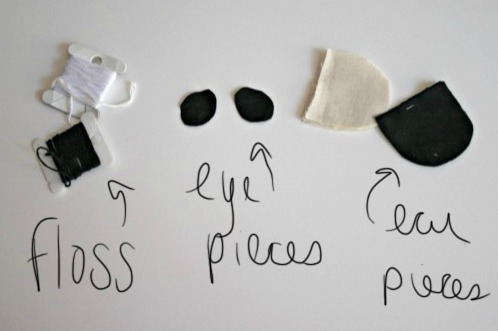
You’ll need white and black embroidery floss, some black fabric for eyes and ears and I used some scraps from my cup cozies as lining for the ears.
Panda making
1. Place the eyes on the pretty scrap (sew them on with black thread or iron on with a fusible thing)
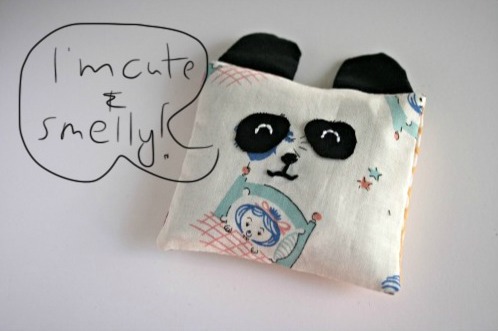
2. Embroider the features on the panda, white eyes, and a black nose and mouth.
3. Layer the ear pieces – black, black and then lining. Sew around the curved part of the ears and then turn right side out.
4. Quilt together the backing pieces from scraps, hem the edge where the opening will be.
5. Put the quilted pieces on your work surface right side up, make sure the hemmed parts where the opening will be overlap by at least 1/2 inch.
6. Lay the ears down with the straight edge lined up with the top of the quilted pieces.
7. Place the panda face pretty piece face down on top of the pile. Make sure the ears are sandwiched in.
8. Pin to hold everything in place.
9. Stitch around the entire square.
Sachet making
1. Get your scraps and lay one on top of the other. I use the screenprinted bits that got messed up and I can’t turn into cup cozies.
2. Stitch around the square leaving an opening on one side, about an inch wide.
3. Stuff your sachet with something pretty smelling (potpourri, lavender, etc)
4. stitch the opening closed.
5. Trim around the square, be careful not to cut into your stitches.
The great thing about making the panda with an envelope closure is you can swap out the inner sachet when the smell fades or to change things up a bit. I’d love to see what you make!
Also, I’ve been dying to use handwriting on my photos and haven’t been happy with the results/methods. But today I figured I’d give it a try and not be so picky. Elsie‘s post sabout apps and techniques helped guide me in my quest.
Friday Create Along
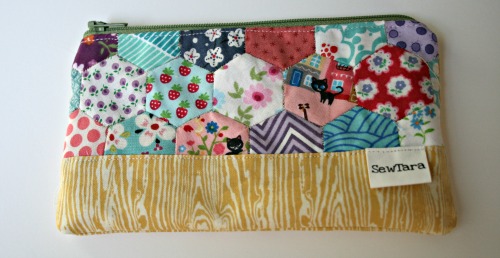
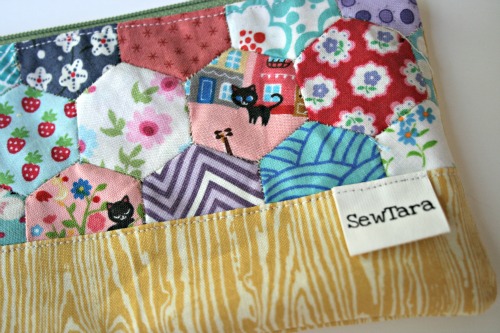
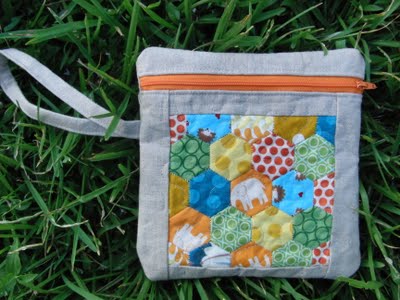
Finished my Melinda Zipper Pouch.
I don’t know if I’m getting faster at hexies or they’re just starting to grow on me, but they look pretty fun in a finished project and I’m liking this pouch a lot.
I even got fancy and placed those little kitties just so. The unique way to attach a label to this pouch was also kinda nifty.
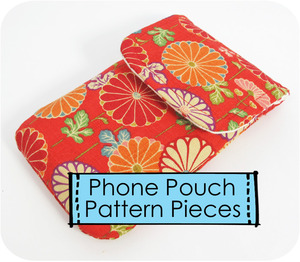
Next up is this quick little phone cozy from Michelle Patterns. I need a quick project as back to school looms this week, *sigh*. This pattern is only from the pieces, but if you’ve used her patterns before you can figure it out pretty easily. I’ll also tip you off when I write my post on Friday.
Addicted to these things
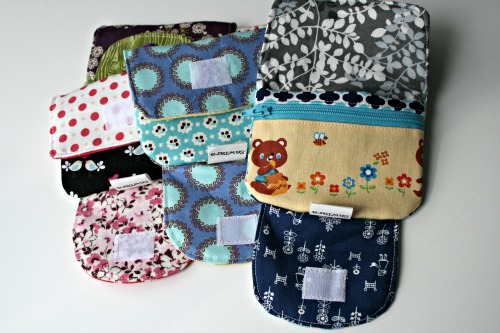
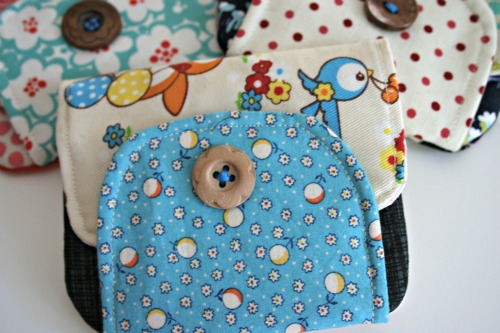
I went on another scrappy wallet binge. Pattern available here zip pocket pouches.
On the weekend while we were camping I took a pile of fabric and cut out tons of pieces for more wallets. I sorted them in zip lock bags and labelled them A, B, C, D and E. I was also organizing my space last night and I made a project bin for them, it’s got all the zip locks in it, and some scraps to cut out later, zippers, precut velcro and lining pieces all ready to go.
Now when I need something quick to make to satisfy my ‘I gotta make something’ urge, I can just pull that bin over and go crazy.
Tagged japanese fabrics, keyka lou, michelle patterns, scraps, sewing, wallets
Friday CreateAlong
Whew, sure it was almost midnight but I finished it!!
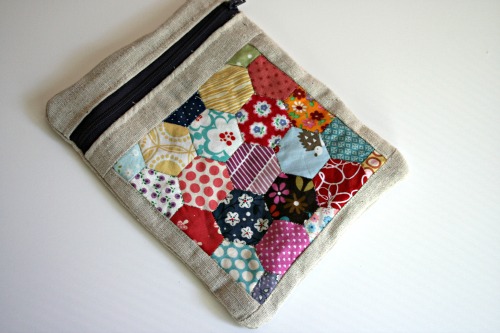
Tada! Hexies do look so pretty all together, but I’m really not sold on them considering how much work they take. Thank to OCD for sharing the tutorial. And my apologies for crediting OCD the pattern is actually from The Plaid Scottie, she was just guest posting, I should really read fine print.
I had some trouble with the assembly after the zipper part. Having made lots of zippered pouches I undestood that step, but someone new to installing a zipper in a lined pouch might be confused. Sewing gets really spatial sometimes and you have to be able to visualize the end while you’re going along, that can be hard the first time. I tried to assemble it my own way when I didn’t understand her instructions but then I had to get cozy with Mr Stitch Ripper. Then I gave the instructions a second try and managed to get it.
Next up, the Melinda Zipper Pouch from I Think Sew.
Friday Createalong
Ok, since it took me ages to finish my last project, that I only revealed on Monday, I thought it best to just wait until Friday to pick a new one.
So next up is this pouch from Obsessive Crafting Disorder.
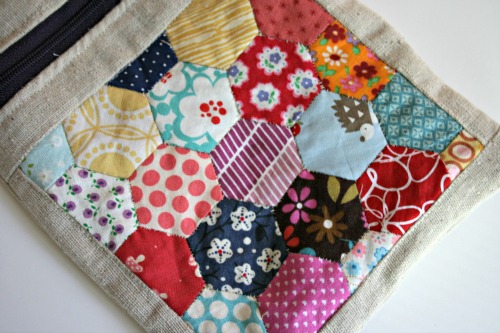
You will need a piece of hexies that looks like this. Then you’re going to trim off the edges and make it smaller, I hate this part. Ever teeny tiny millimetre of hexie bit is such a huge labour, I can’t bear to even trim it down! But hey, that’s how it goes.
23 hexies, I can handle that, please someone play along with me.
Pretty please?
Posted in createalong, scraps, sewing
Tagged create-along, hexies, pouch, scraps, tutorial
Friday Create Along
Oh hexies.
I’ve underestimated your power.
I’ve had this pile of hexies in progress for a while, and I really thought I’d have enough together to pull off the pouch.
But alas, I do not.
So perhaps next week?


