Tag Archives: tote

Covert robin goodies.

My gifts arrived a while ago, like a few weeks, I’ve just been so busy with life, sewing and trips to NYC that I haven’t had time to get back to writing about it!

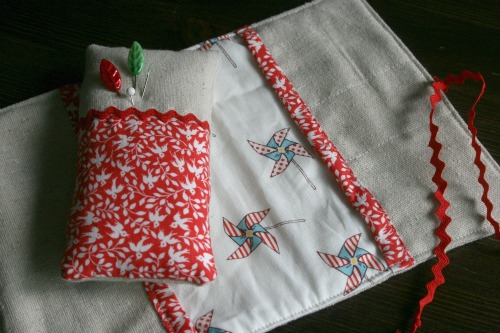
You may recall I made these great sewing kits and sent one to my Covert Robin partner Cassie.

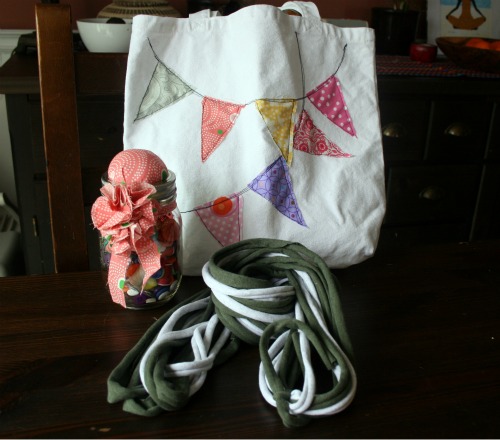
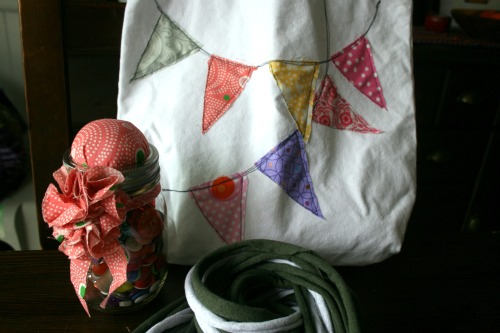
Here are the goodies that arrived for me. And I am ridiculously embarrassed because I cannot find her blog or anything useful to link back to her! Grrrrr.

An awesome little tote, a t-shirt scarf (had never seen/heard of one of those before) and a great pin cushion mason jar full of crafting odds and ends.

I love the sketchy look of the bunting with colourful scraps and the free form stitching.

Why I sew all sorts of things.

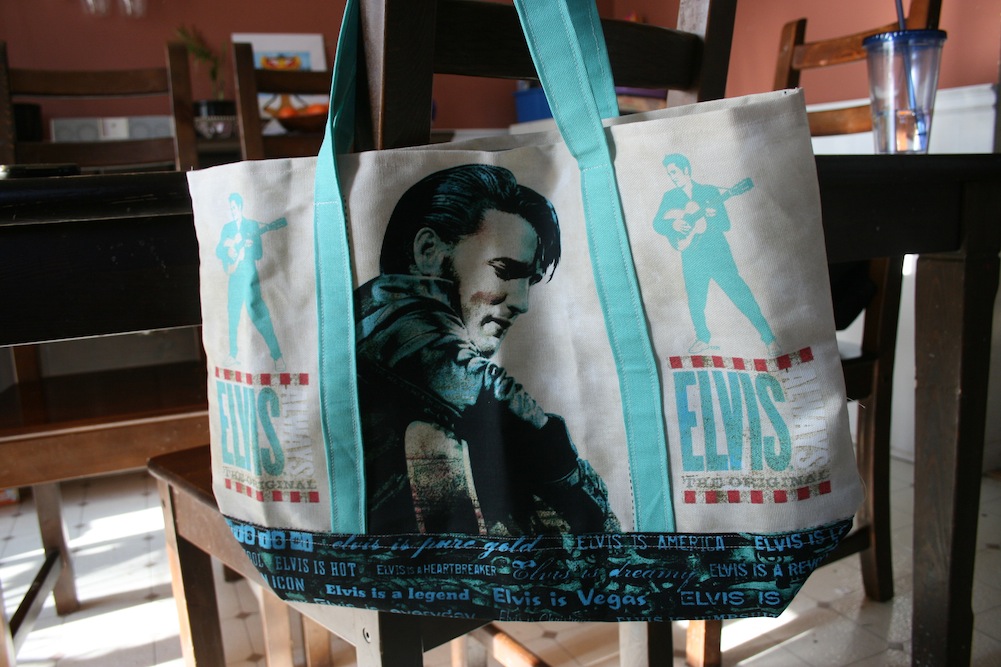
I like to try different things with sewing, I find I learn something. Sometimes it’s a big Ah Ha moment other times it’s just a neat little trick. I picked up this panel of fabric at Fabricland for something ridiculous like $4 a few months ago. My aunt is a big Elvis fan so I figured I’d make it for her. When I sat down to sew it I figured it was a no-brainer, cut and sew.

*Ignore the cat chasing a ball of paper and the big garbage bag in the background.

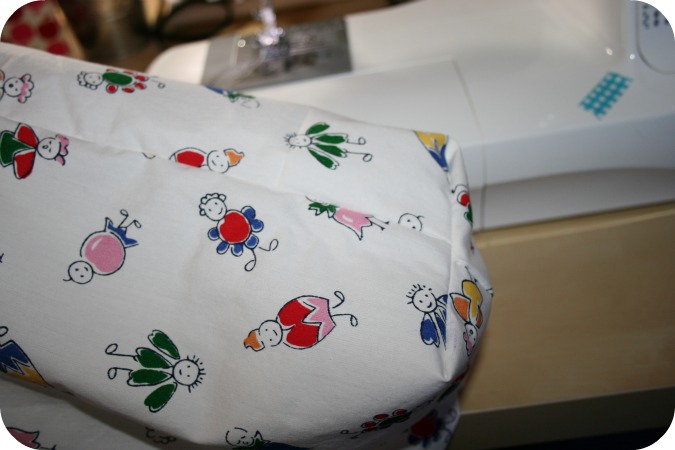
It was really simple but they used this neat way of boxing the bottom corners of the bag but folding the bottom all accordion like before stitching it. So I learned something new. Plus my aunt was all happy.

Create Along Friday

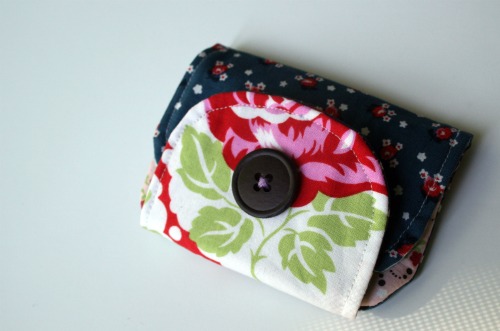
Okie so here’s my cute little zip pocket pouch.

I’m proud of it for many reasons.

1. it’s made entirely of scraps from my ever growing pile.

2. it’s the 7th Keyka Lou pattern I’ve made (I have more of her PDFs, untouched)

3. did I mention I got to use some scraps


I love Michelle’s patterns.  Not only are the designs really nice but the patterns are clear and simple to follow and I usually learn something new.  She’s got great sewing tips on her blog and all sorts of little tricks to make finishing touches easy.

Please let me know if you played along, and I’m sure she’s appreciate if you added your photo to her Flickr group.

Next up!

See Kate Sew is doing this great sweet scalloped tote sew along and so I figured I’d join in and let you know about it too. Plus it’s a free pattern and tutorial! She’s also following it up with a linky party so if you get yours done by the 15th you can even link up on her blog!

Magic ratio?

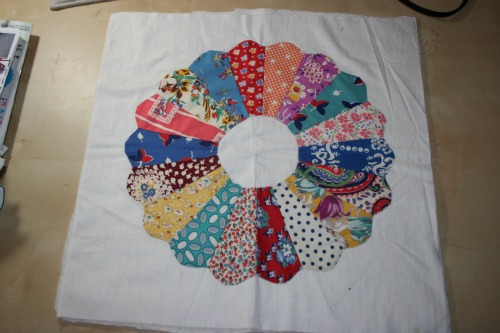
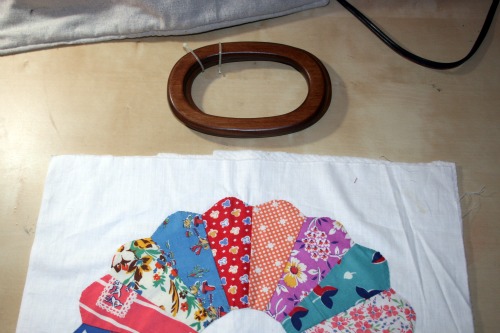
A while back I picked up this little pieced bit of applique.  It was in a thrift shop that also sold antiques and handmade items.

I’m thinking of adding handles and turning it into a tote, because I don’t have 365 yet and can’t change every day.

So my question is – is there some magic way to figure out how bit your handles should be based on the size of the bag. The ones I have seems a bit small so I’m not sure. Anyone have any ideas?

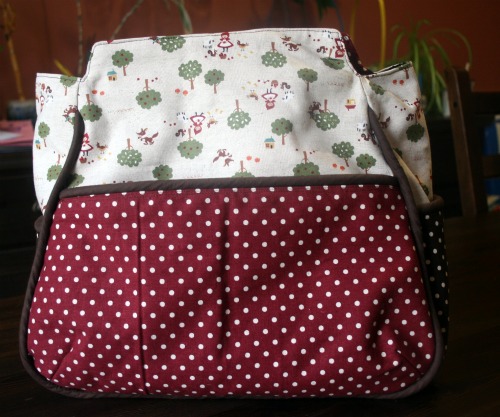
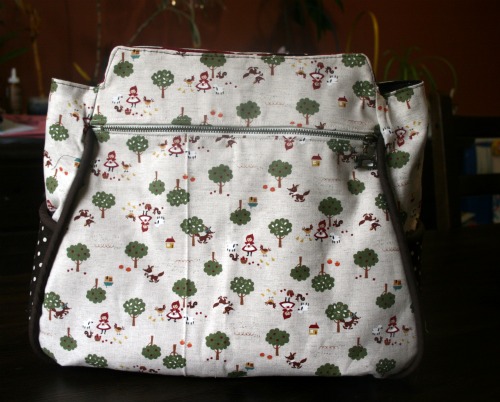
My Little Red Riding Hood bag.

I love this bag already, even without handles!

I took a break from creating for others on the weekend and finished this Saturday night. I stayed up way to late to get it done I was so excited. I intended to sew the handles on Sunday morning and have a lovely new bag. BUT turns out the handles I bought (before I knew what fabric I was going to use) are too small. I won’t be able to put the bag on my shoulder and they’re so small they look a bit silly.

So I’ve rearranged my BFF night out (Thanks BFF!) so I can head to the store tomorrow and pick up a longer set of handles.

Guess I’ll have to just sew another purse for these handles I already have *smile*

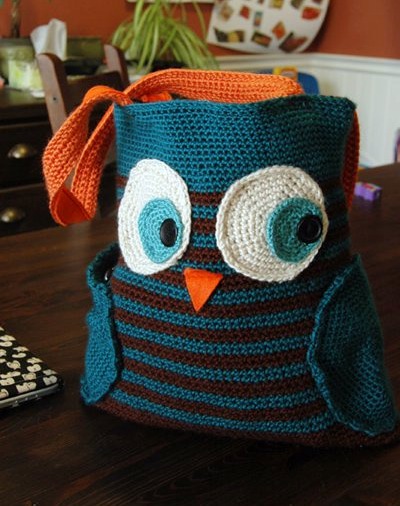
Whoooo’s bag?

I got an awesome gift the other day. My friend Joanna came over to bring me a surprise. Apparently she’s been working on it for months and months.

It’s all awesomely crocheted and lined with fabric. The little wing circles on the sides are pockets. It’s absolutely incredible quality, she did an amazing job.

DIY – Adding a zippered pocket while lining your tote!

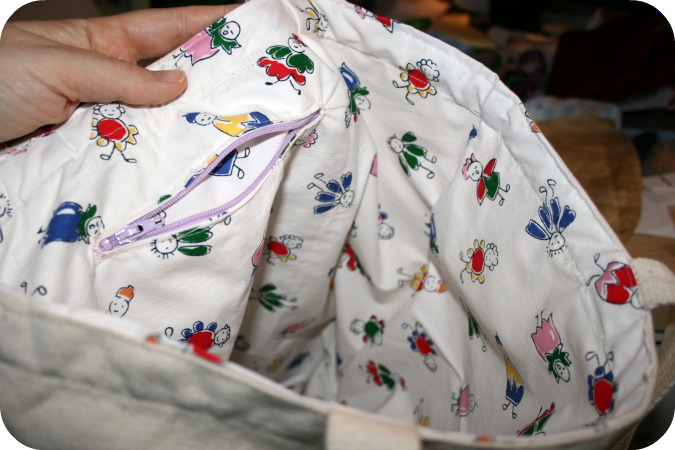
Ok, welcome those of you who are feeling adventurous!  Here’s my little part 2 on lining a tote where I’ll walk you through the steps to adding a zippered pocket to the lining.

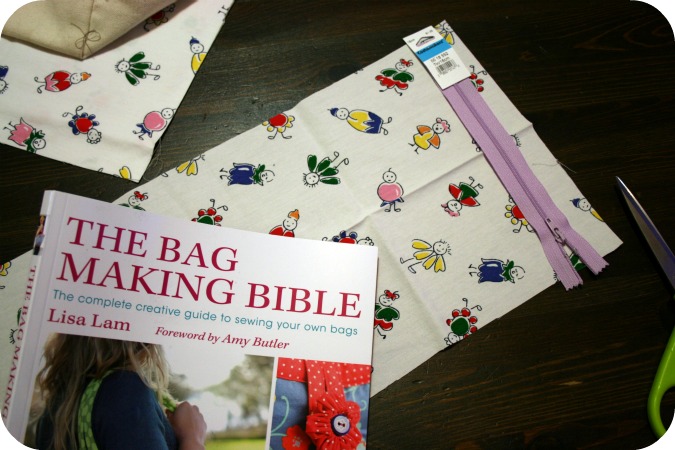
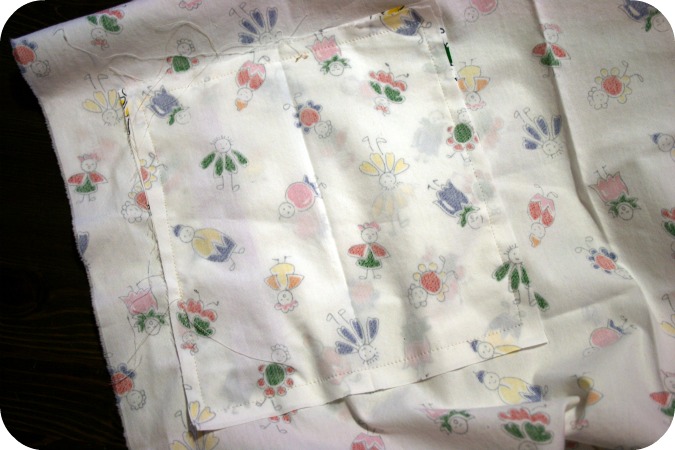
I cracked open my Bag Making Bible for this part and followed the instructions for inserting a zipper.  Lisa Lam explains very well,  I’ll give you enough information, hopefully, to tackle it yourself.  I used the panel of fabric I cut off the bottom to make my pocket.  I just folded it in half and cut it to have 2 squares to use for the pocket.

Decide how big you want your pocket and cut 2 pieces of fabric to that size, allowing for a 1/4 inch seam.  The zipper should be placed with about 3 inches on either side of the pocket pieces.  I didn’t know this, but you can just cut off the end of the zipper if you need to shorten it.

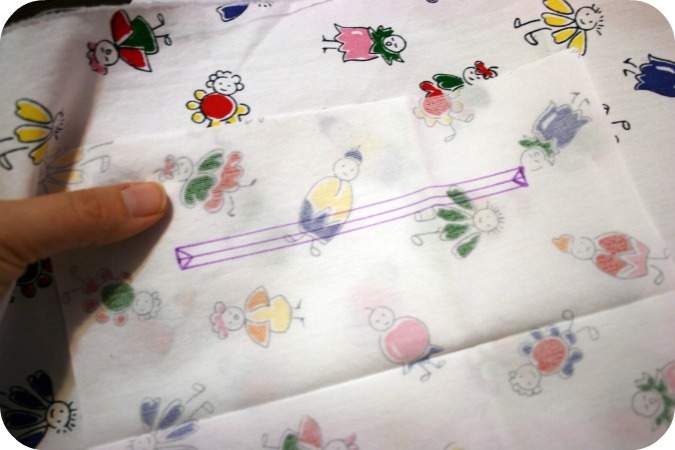
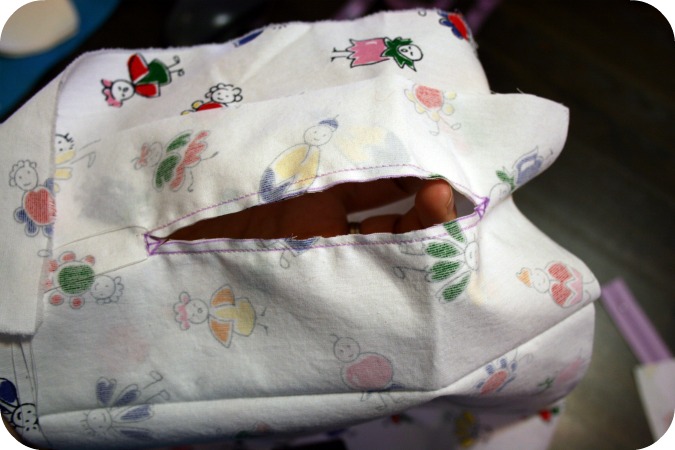
Place one of the pocket pieces right sides together on the lining piece where you want to have a pocket.  Trace out a rectangle the same size as your zipper.  Mark a line down the middle and those cute little triangles at the ends.

Sew along the outside of the rectangle, this will sew the pocket piece to the lining piece.

Cut along the guide lines you drew inside the rectangle, the half way line and the little triangles.

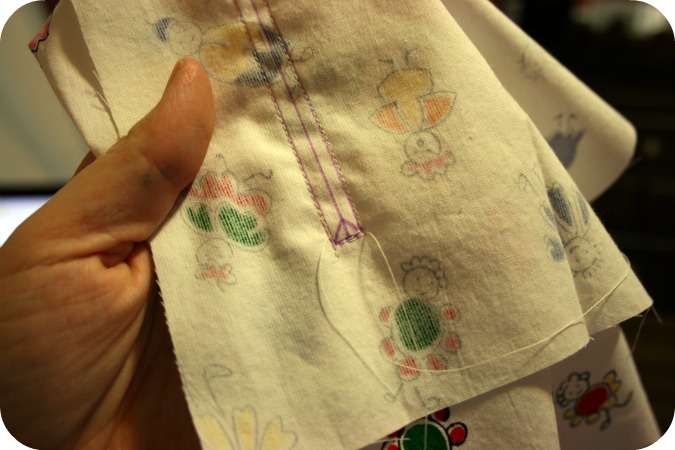
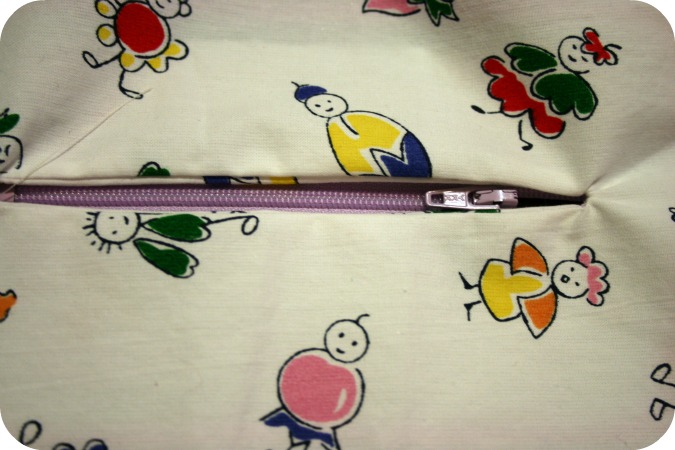
Next turn the pocket piece through the hole, as Lisa says “like you’re putting a letter in the post”.  Press to get a nice crisp seam.  Lay your zipper on the wrong side of the pocket.  The book suggested using double sided tape stuff to secure it, I don’t have that and just pinned it.  Use your zipper foot to sew along and stitch the zipper in place.

Lay the lining piece right side down and place the other pocket piece, right sides together, on top of the pocket piece with the zipper in it.    Sew around all four sides with a 1/4 inch seam.  This will stitch both pocket pieces to the lining fabric.

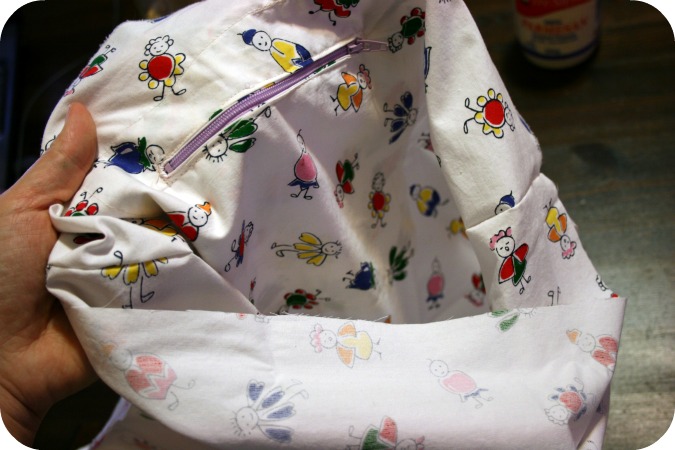
Flip it over and access the pocket through the zipper!  Voila!

Now head back to post part #1 to finish lining your tote.

DIY – Lining a tote!

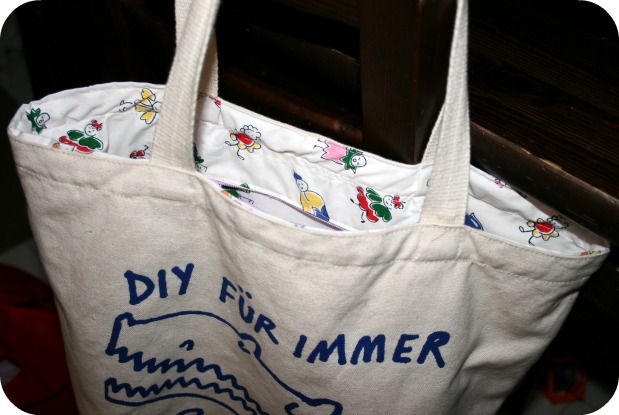
I have this great Etsy tote I picked up at the Renegade Craft Fair in Chicago.  As a crafty blogger and shopkeeper I was so thrilled to have something with the Etsy name on it!  Normally I use it as my work/school bag.  Over the Christmas holidays I planned on relining it with some fun fabric.  Initailly I was going to use a vintage sheet, but then I thought of better plans for those where they’ll be seen more and settled on this cute little print I was given in one of those loads from a friend.  Those ‘oh I came across this at my house/mom’s/grandmother’s and thought you might be able to use it’ sort of things.   So here are some steps you can take to turn a simple tote you have into something way cooler.
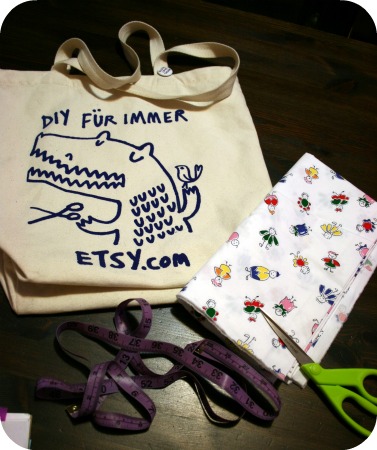
You will need a tote, fabric for lining it, tape measure, scissors, sewing machine and iron.

If you want to follow my Little Miss Fancy Pants steps you’ll also need a zipper.  Just in case you want to take the more adventurous path.

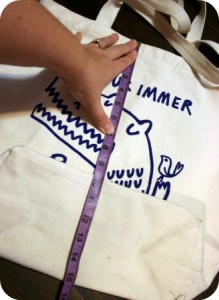
First measure your tote.  Measure the width and length.  My tote has boxed corners so I flattened the bottom out to get an accurate measurement.
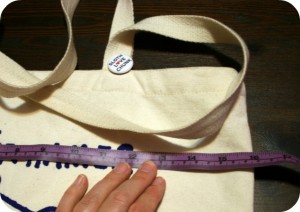
My tutorial contains some very technical steps so bear with me.  Mostly it’s me just making up things I think will work along the way.  Don’t worry, they do work.

Lay the tote onto the fabric you’re going to line it with and leave some seam allowance along the top and sides, 1/4 inch is good.
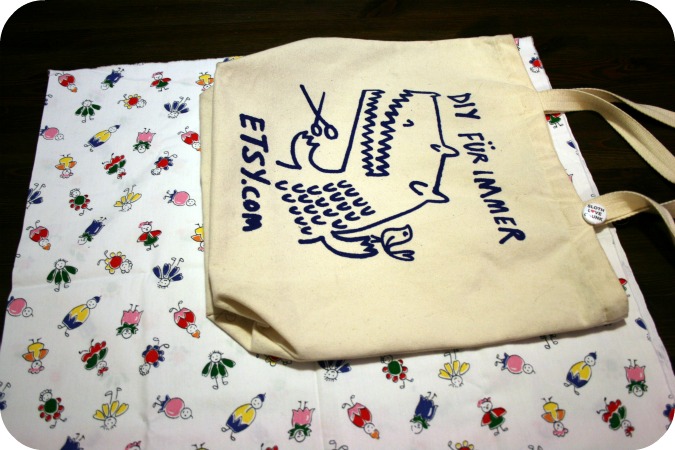
Because of the boxed corners I measured to the seam and added that measurement to the lining fabric.  Then later I had enough material to box the lining as well.  Mine was about 2 1/2 inches so that’s where I made my cut across the bottom of the lining fabric.  Cut down the remaining side to leave the 1/4 inch seam allowance.  Now you have your tote and 2 pieces to line it with.
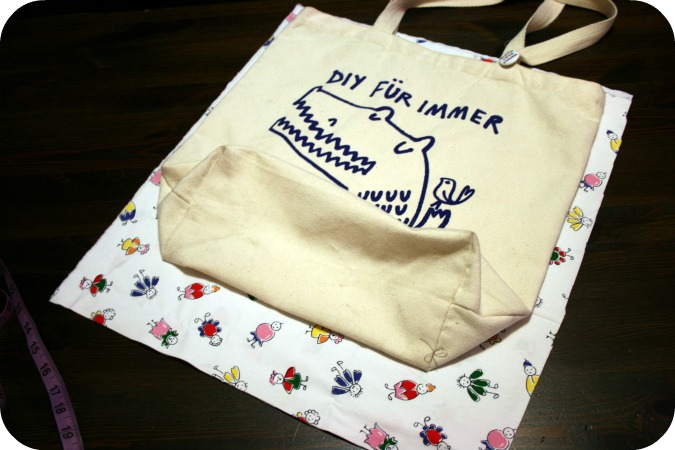
*If you’re feeling up to adding a zipper I’m going to post those steps tomorrow in a part 2 DIY*

Otherwise carry on here!

Head to the sewing machine, lay the 2 lining pieces right sides together and sew around the sides and bottom, leaving the top open.
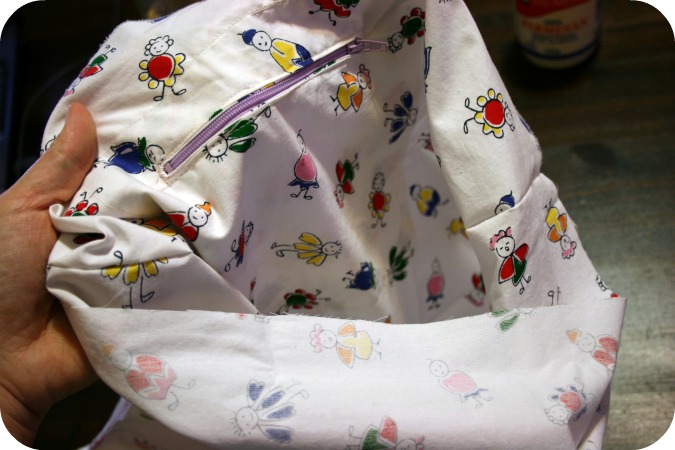
Now you will have this big pocket type lining piece (possibly without a zipper).  Can you tell I was screen printing with my lovely emulsion covered thumb?

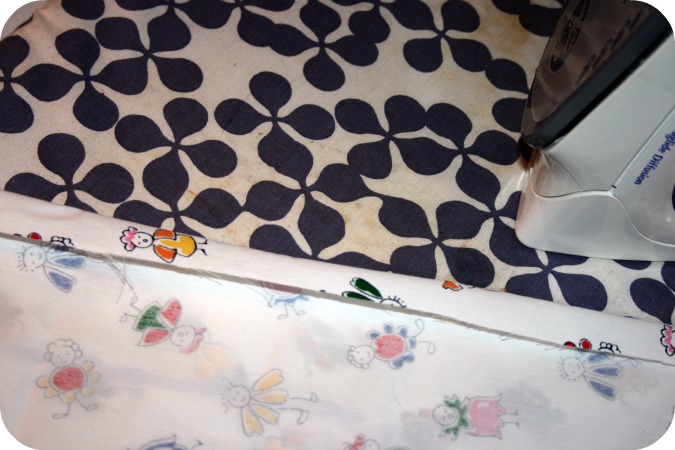
Fold over the top edge 1/4 inch and press.   I think I need to put ironing board cover on my To Sew list!
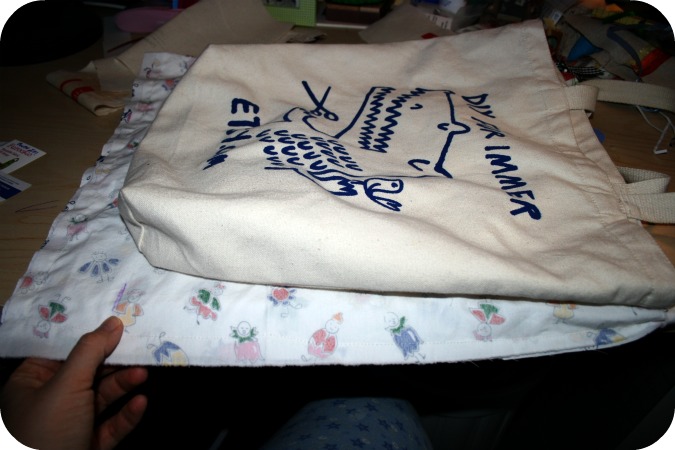
If your tote has boxed corners, lay your lining piece under your tote with the top edges lined up where they will be sewn.  Mark off the bottom of the exterior tote so you have a guide line to sew along.  Now note it was late at night and you can see my lovely jammie clad knee.
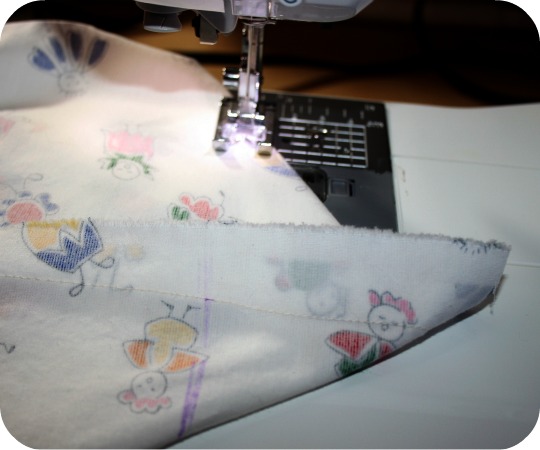
Fold the bottom of the lining at the mark line to make a squared bottom and sew straight across the tote to create a boxed corner.  You can trim that excess triangle of fabric off or just fold it under.
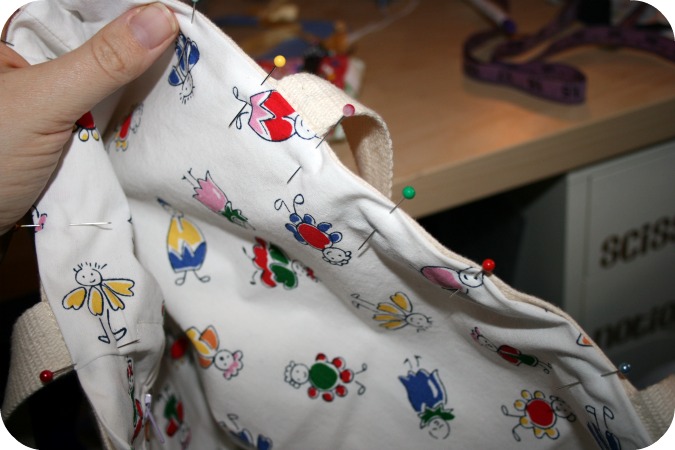
Now plunk your lining inside the pre-made tote exterior.  Make sure you get the boxed corners down deep in the tote and pushed in at the corners.  Match up the top seams of the lining and tote and pin all around.
Go back to the machine and sew all around the tote top edge with a 1/4 inch seam allowance attaching the lining to the tote!
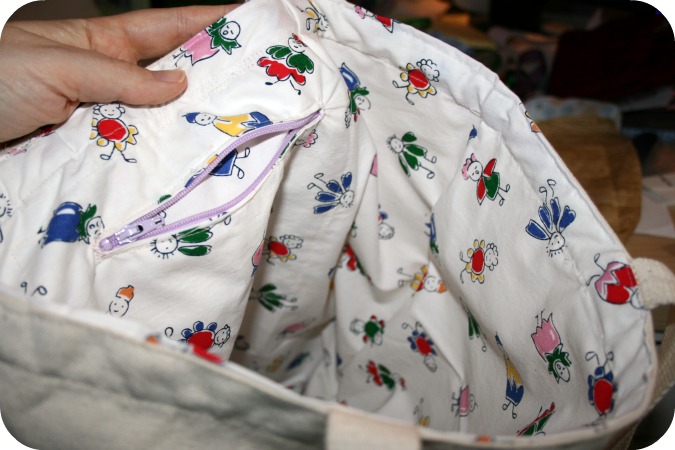
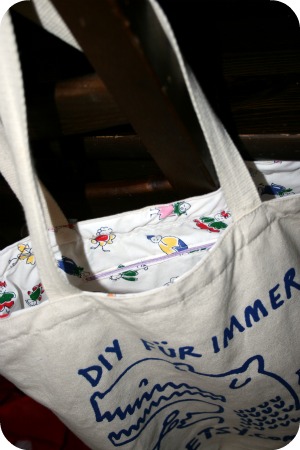
Behold your newly lined tote!
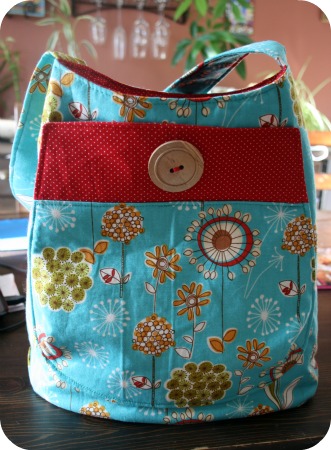
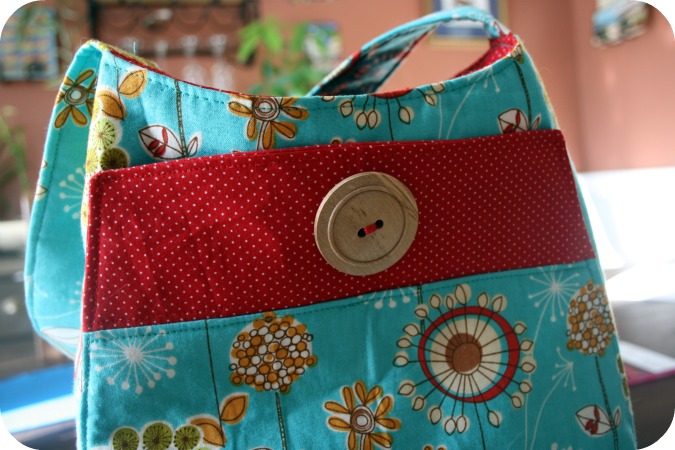
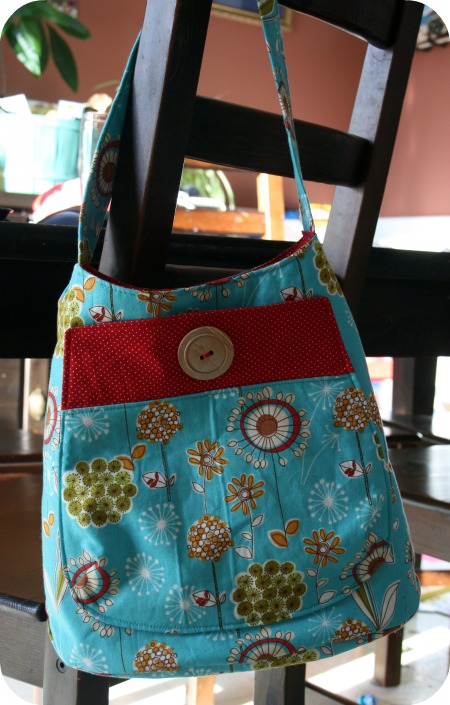
Bucket bag finally done!

Woohoo!!! Months, I’m ashamed to say, after cutting this all out it’s finally done!!

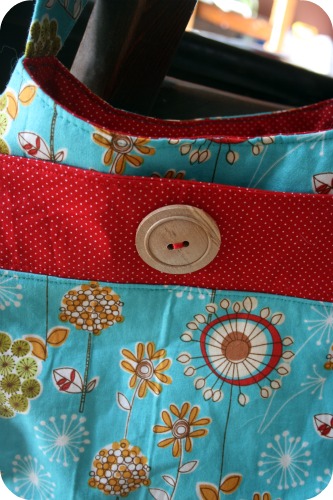
I also shamelessly tracked down the exact fabric Keyka Lou used in her photos, but look how lovely they are paired together!  Can you blame me?

It’s Robert Kaufman’s Dill Blossom and I cheated and just used some red with white polka dot stuff I had lying around.

I had some wonkiness issues when piecing the lining together with the exterior. I fear I’m not a very precise and exact kind of crafter. But a quick email helped clear up the problem and I’m so happy with the finished bag.

My new awesome bag!

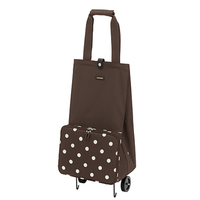
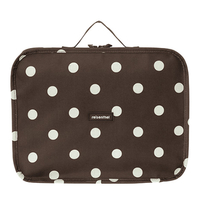
I bought this Reisenthel bag today at Solutions.

It folds right up into practically nothing! Another good feature if I should happen to sell loads of stuff. Then I can put the things back into the large suitcase and only have to wheel 1 thing out. It will also make a great crafting on the go, overnight, or taking a lot of stuff to work bag.

I have 2 craft shows to go to in the next little while and I carry my stock in our large suitcase but I find I’m always scrambling to keep the little things organized, my business cards, tissue paper, bags, signs, cash box . . .  So rather than have to carry in a ton of things I figured I’d be able to wheel in just 2 things and be done.  Oh other than carrying in my 2 display units.