Category Archives: DIY

So I have a new wallet . . . .

and I’m going to use this thing until it falls to pieces in my hands! My goodness this was a crazy sewing project! Who’s idea was this!?!

Ok so I have to tell you I did have a great time sewing my wallet. I learned some new things, I found it ridiculously finicky at times and I don’t know if I’ll be making another one anytime soon but I’m really happy with the finished product.

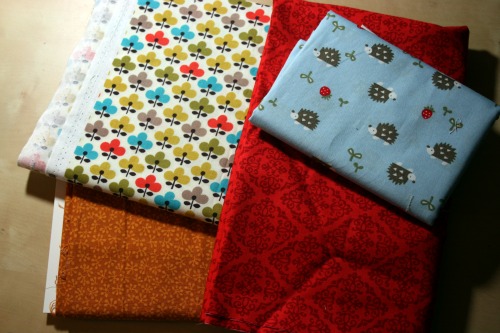
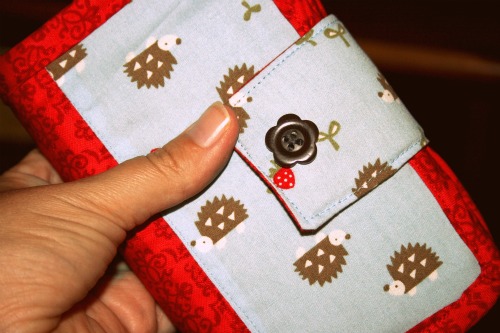
It started with some fabric debating, at this point I actually thought I might make someone one for a gift as well. I decided on the fun fabric and set aside the more grown up one for later, yeah right. Now I have a few work in progress pics and my wallet is done so I’m a superstar as far as all that’s concerned. Where I totally suck is that I missed the chance to take some good photos of it today, my son’s birthday & party are tomorrow, and I was ridiculously busy today. Add to that the fact I took my class to the zoo all day yesterday and had a ‘Daddy was out’ night last night and I’m totally exhausted. Here’s a little flash ridden peek at what I did and I’ll post lovely pics ASAP.

I deviated from the pattern, as I usually do at some point, and added a magnetic snap and cute little button. I’m happy with it and it’s super adorable but boy was it challenging!! I’d love to see/hear about your experience with this pattern.

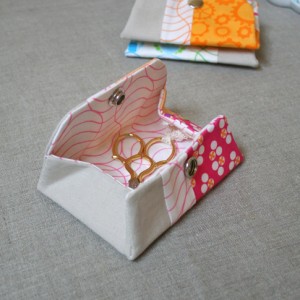
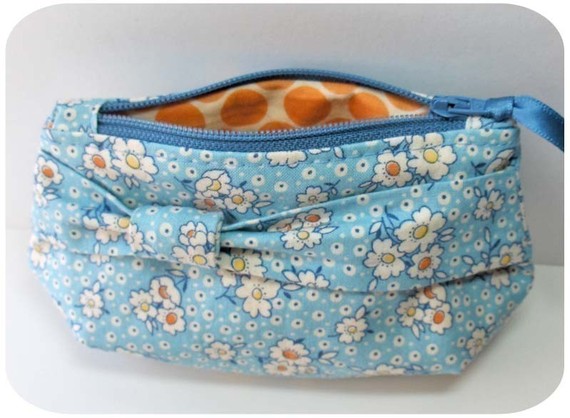
Here’s my next proposition and good news, it’s free! It’s a fun little coin purse tutorial, however I plan on using it as a wee portable sewing kit since I do a lot of crafting on the go. It’s the creation of the wonderful and inspiring Rashida Coleman-Hale

I think it will be a nice quick project and another bonus point is you can use up some of your scraps. So get sewing and I think over the weekend I’ll get a Flickr group up and running for this creative party I’m starting to run. I’ll also post much better pictures of my wallet. I promise.

School morning organization help

This post was originally posted over at Meremade as part of her September Back to School posts. My opinion may be biased but it’s a pretty handy idea and so I’m sharing it here.

Now that it’s back to school time things are a little busier in our house. I’m a teacher and with 1 in SK and having to get the kids out the door and over to the sitter I can use some help. This year I work in the mornings and not being a morning person doesn’t help when I have to get 3 people ready and out the door.
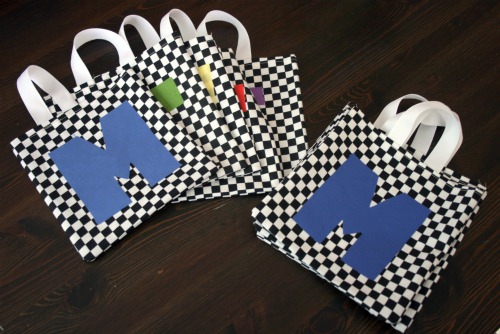
I usually lay out all of our clothes the night before and now I’ve come up with a handy little DIY that can help us all do it for the whole school week!

You will need:
Fabric for the tote bodies (you will be cutting 10 8×8 pieces)
Contrasting fabric for cutting the letters (I used a charm pack I had lying around)
Ribbon for the handles
Heat and Bond (really helpful but not necessary)

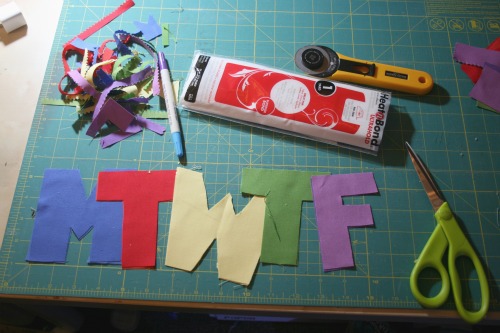
The first step is to cut your letters. I was planning on getting all fancy and cutting mine with my Cricut but I decided to just give it a go and do it by hand. Once I saw the size of my letters I decided that 8×8 would be a good size for the tote bags. I have 2 little boys so I’m only tossing some socks and underwear in there. If you have girls and might be including hair accessories or tights you may want to make your totes a tad bigger.
Cut your 8×8 tote pieces, set aside. Cut Heat and Bond as backing for your letters. This product saves a lot of time and allows you to just iron on your letters rather than having to sew them all around. If you like the look of stitching on top you can still do that of course, the Heat and Bond just makes extra sure those letters aren’t fraying or budging!
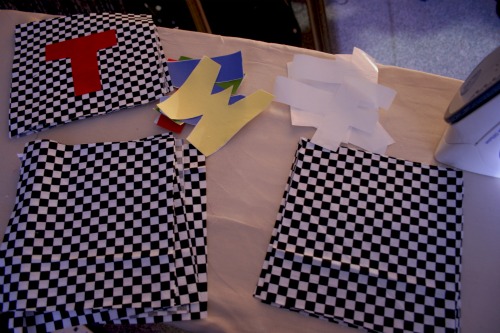
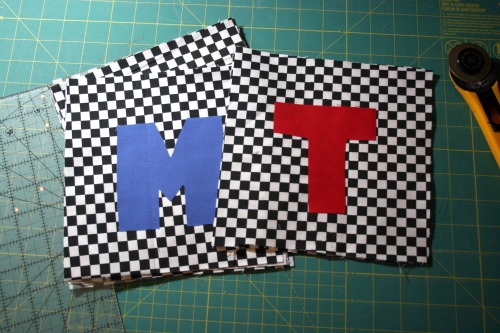
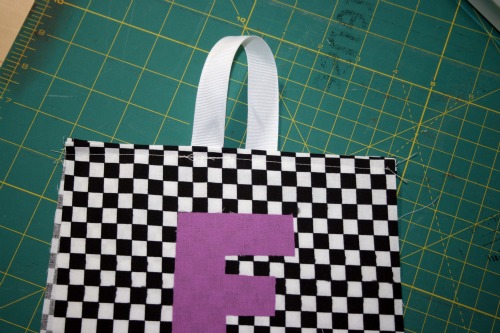
Iron the letters onto the bag tote front pieces. So 5 will get letters, 5 will stay blank.

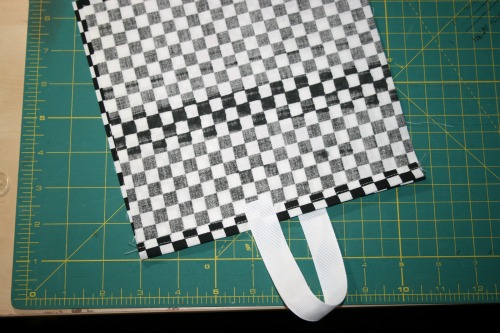
Now you’ve got 10 squares of tote worthy fabric. We need to hem the top edge. So turn the fabric down to make a little hem, I did about 1/2 inch, press and sew.

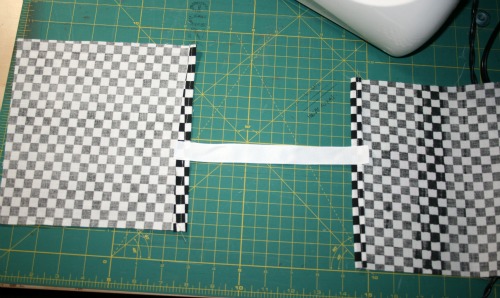
At this point you could make yourself handles using coordinating fabric but I looked up and my ribbon collection was staring back at me so I choose to go to the easy route. Attach the ribbon slightly off center on the tote pieces. So sew it left of the center line on one piece and right of the center line on the other. If you lay it all out it will look like mine.

So you’ve created a loop to hang over the hanger.

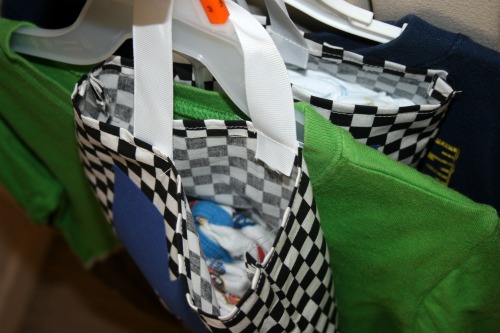
Place the tote pieces right sides together and stitch around the 3 raw edges. And you are done!
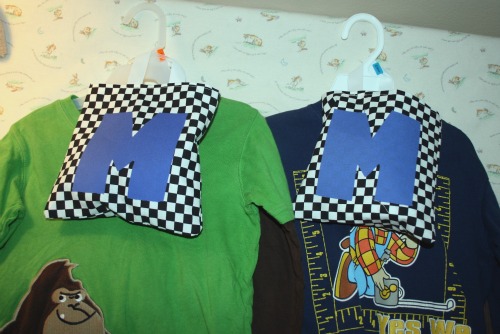
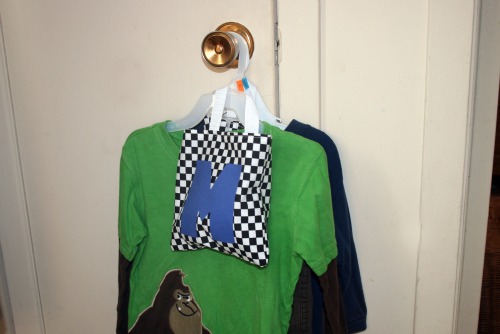
If you happen to have some of those hangers from the store lying around you can use those to hang a top and bottom and then slip a handy little tote with the right day of the week on it over the hanger, fill with needed accessories, in my case socks, underwear and a diaper.

Hang in a handy spot (like on my linen closet door) and you’re ready to go!

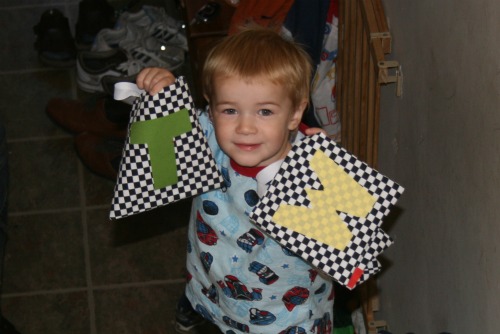
Oh and keep the empty ones in a safe place. This picture is moments after Nate saying ‘Thanks Mom’ and wandering off with the Tuesday-Friday totes.

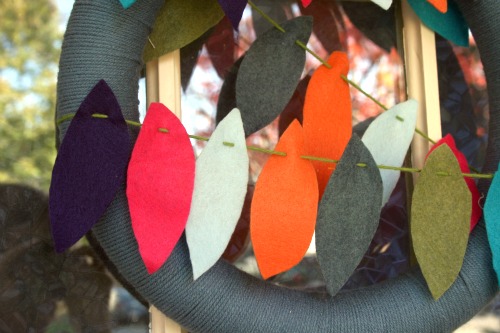
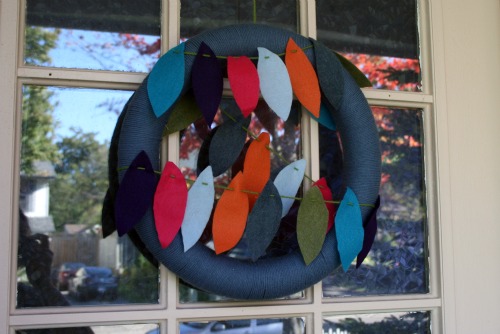
My fall leaf wreath

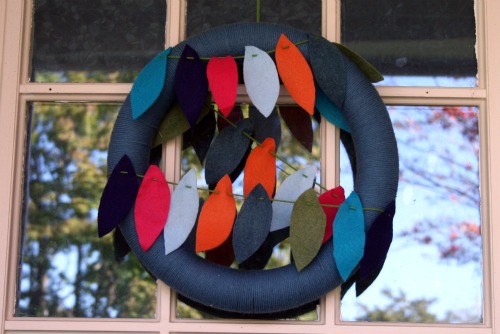
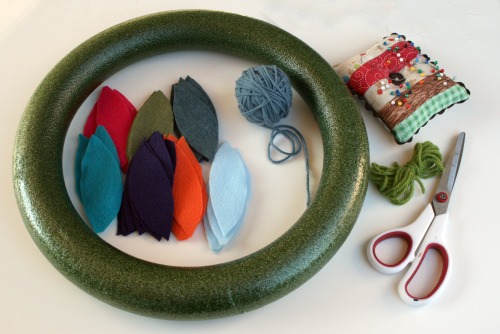
I figured it was time to say so long to my ‘hello’ door decoration and break out some pretty fall stuff. Here’s the problem with being craft, I’ve already got a fall wreath I made a while ago (my first post!), but an idea was sparked when I saw Elsie’s garland tutorial a little while ago. If you’d like to make one of these here’s what you’ll need.

I fully intended to make Elsie’s garland and just wrap it around a yarn covered wreath. But then I wanted to be a little different and thought that the leaves looked like bunting this way and I liked that better.

I was hard to get a shot without falling off my porch or having my reflection in the glass, so I chose the lesser evil and there I am in the window.

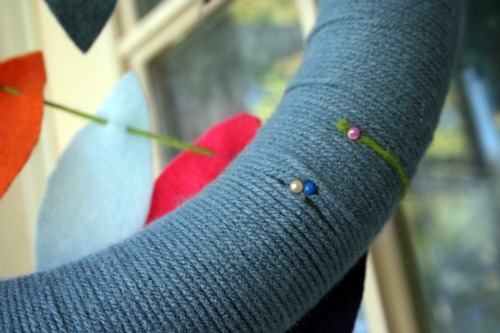
The best part is I used pins to hold the yarn on and the leaf bunting, so it’s super easy to move things around, reuse the yarn covered wreath or pull everything off and start all over.

Come sewalong!

Alright I hear you all on the awesome wallet and I too am dying to make it . . . but it seems such an ambitious first project. Dare we try it? I mean 27 pockets!?

I’m thinking of posting sewalong items on Fridays. So I’m here to announce what I’ll be working on this week and I’ll be back Friday to do a reveal. If I happen to be bad and have an incomplete project I’ll just write about it anyway!

So that said I’m going to cheat a bit and share something I’ve already tackled recently and then propose the next item. I’ll also have to work on a cute little button, and a Flickr group I suppose . . . oh so many things to do.

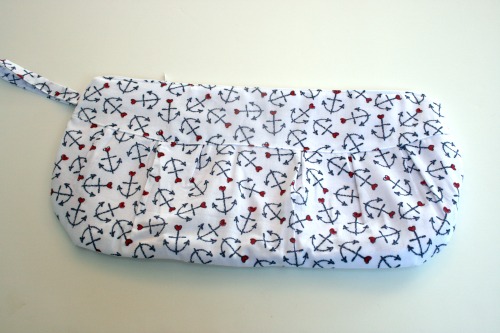
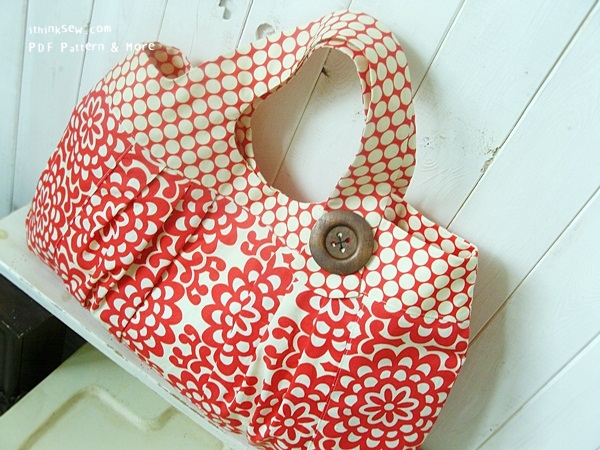
Ok so I loved this fun clutch from I Think Sew. I also own this, this and this so I’m sure those will pop up in this challenge. There are also a bunch of free patterns, I think you get once you sign up, it’s been a while.

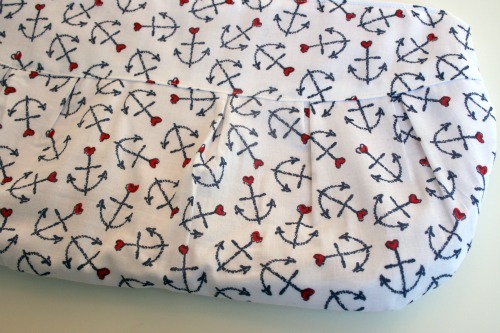
I had this great nautical fabric with little blue anchors and red hearts that I was dying to sew into something.

This pattern was great and easy to use. I’m not a pleat expert and it did a good job of explaining how to fold and lay them and I’m happy with the results. It offers options to have a wrist strap or handles which is neat too. I love the finished look with the top panel and then the pleates bottom underneath. It also comes with the patterns for a large and small clutch.

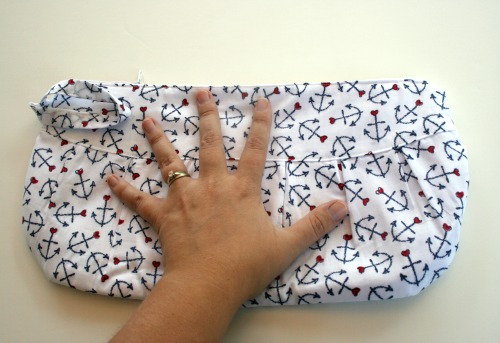
I had one surprise this with pattern, which I suppose would have been avoided if I had stopped to really, really think about it. I made the small clutch because I didn’t want what looked like a giant bag in the photo. But, turns out the ‘small’ is also gigantic! I made it with a wrist strap and there’s no way you could ever walk around with this dangling from your wrist it’s nearly the length of my entire thigh! It would make a great large makeup case, or for your brushes and hair things while travelling.

Since I love the fabric I plan on turning it back wrong side out and sewing around a tad smaller to try to scale it down.

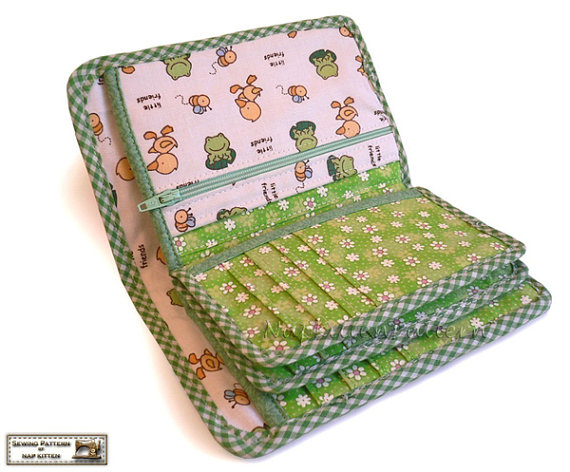
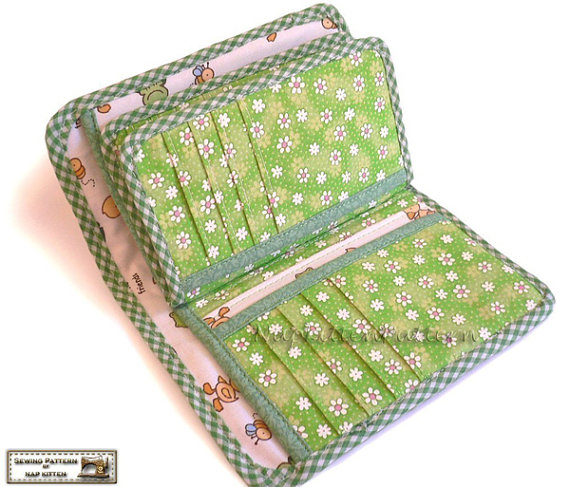
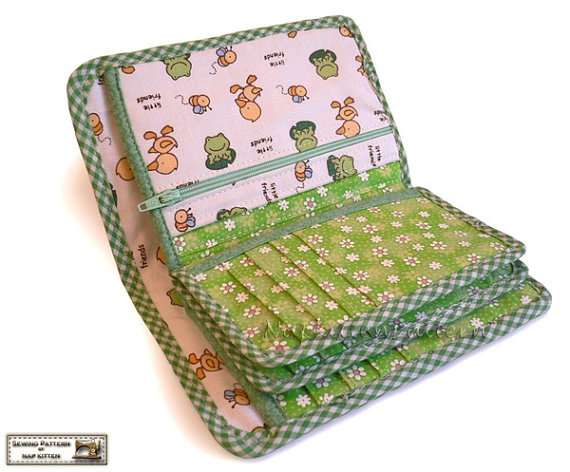
So onto my first *real* selection in this fun sewalong game. Let’s be crazy and go for the wallet. Available here in NapKitten’s store (I made another purchase just going to get the right links)

Some tips before you start: she recommends ‘duck canvas’ to make the wallet sturdy and heavy. At my local fabric store the sales lady suggested just some denim. She said she had tried to make a wallet before and it gets really thick once you’re sewing all the layers together. Since this one is all held with bias tape she suggested a strong needle because we’ll be sewing through so many layers. I picked up some remnant/end of bolt denim for super cheap.
I’ve never made bias tape so this will be new for me. There’s also A LOT of cutting involved in this pattern. There is no pattern as all the shapes are rectangles so she just tells you the sizes. She also suggests you cut as you go so as not to get confused by all the pieces. I would say this pattern, just from glancing at it, seems to be for someone pretty familiar with sewing or comfortable taking on a challenge.

Ok, I hope someone joins me! Let me know in the comments if you are.

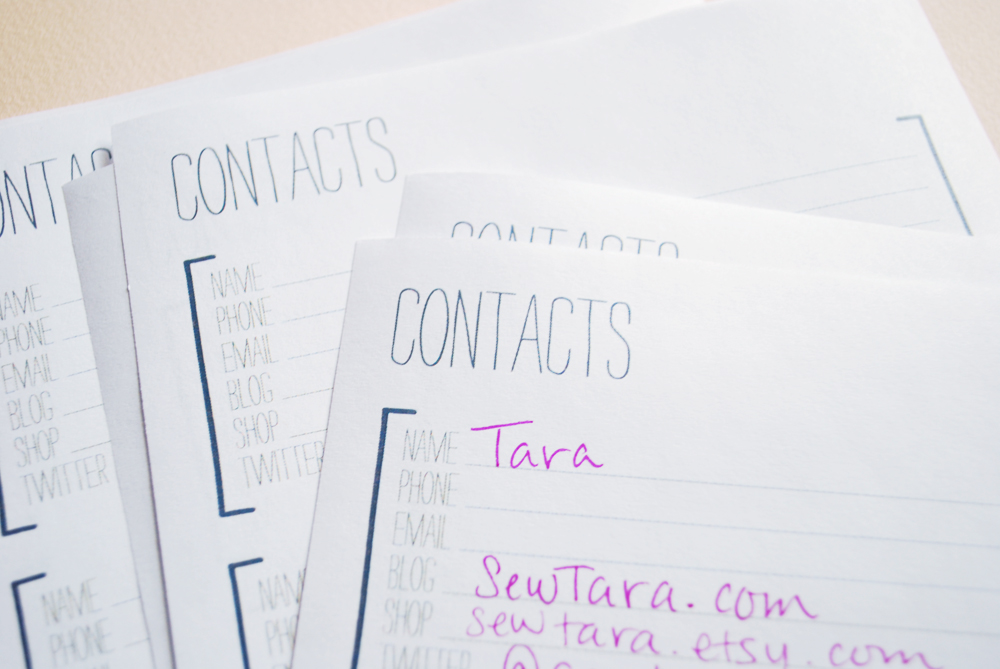
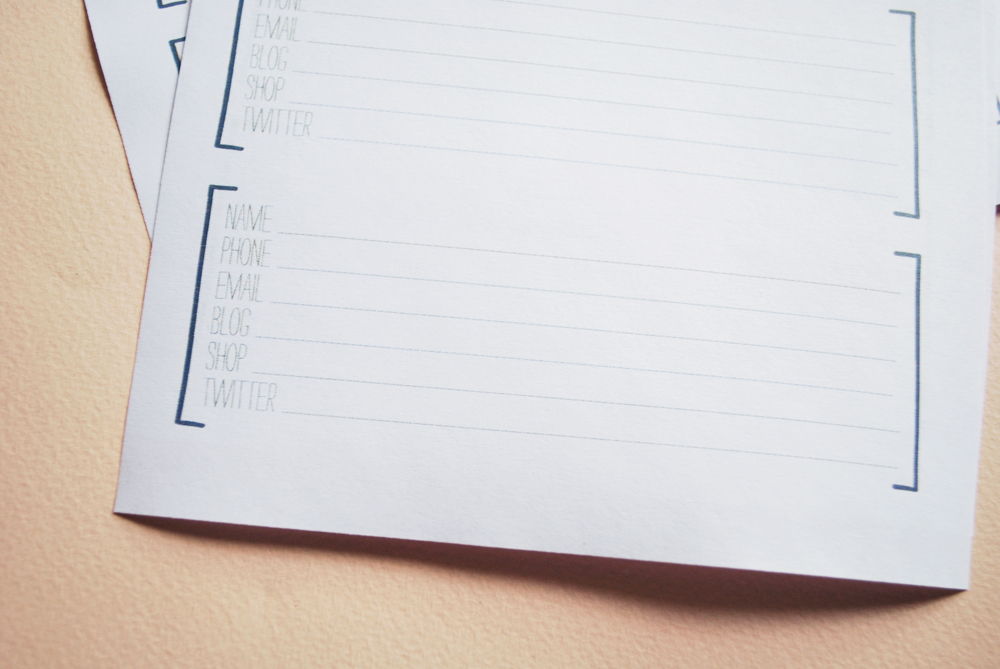
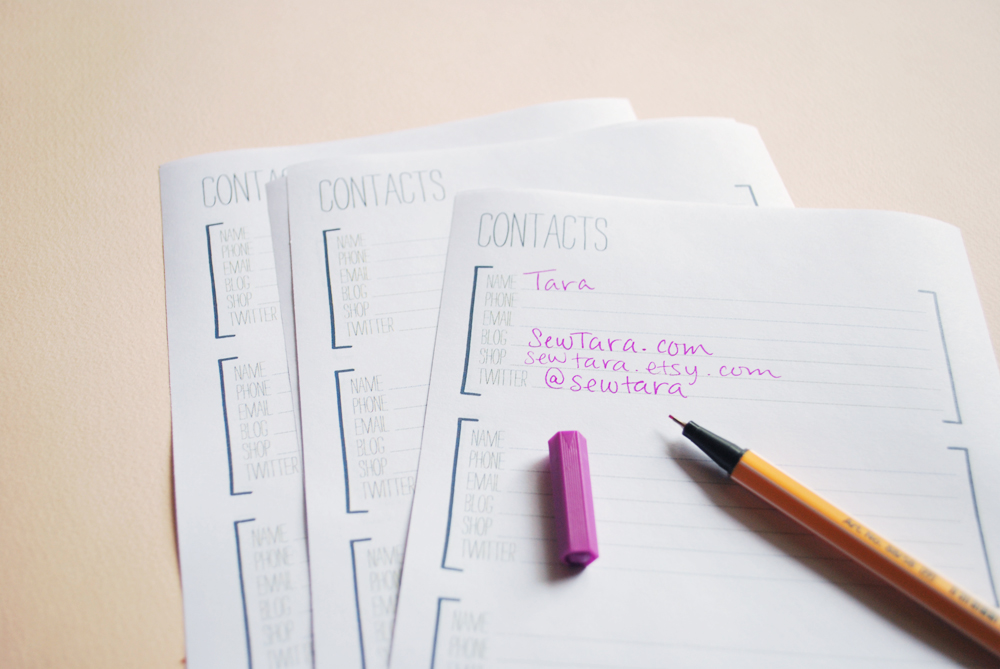
Bonus pages for your planner!

Well Mollie has done it again and continued in her rise to ultimate awesomeness. She sent me an email a little while back and asked what I thought about adding a contact page for the planner we designed. I thought it was a great idea!

So off she went to create a Colour and B & W version of the pages. It includes all the things we figured were important for keeping track of all your blogging friends or those real life friend things.

Here’s the planner pages in case you didn’t pick that up the first time, with Calendar and B & W.

I promise,

I’m going to work through all these PDF patterns & turoials I have! Honest.

I was going to plan something silly like 52 weeks of patterns (yes I have nearly that many) but I realised I probably can’t comit to actally getting 1 thing done per week. So instead I’m just going to plow through them and share what I’m doing along the way.

I’ve built up quiet the stash of various patterns, since I’m always up for trying something new. Some are free, some are tutorials on blogs, some I paid for. I own nearly every Keyka Lou pattern not to mention a bunch from I Think Sew and

I might even get ambitious and post my planned project a big in advance and we can have a sort of sew along . . . perhaps once I settle into this back to school/work thing and get my classroom running smoothly.

So until I share here are images of some patterns I have on hand and plan on tackling soon. Let me know if you want to see anything in particular or if you’d like to play along.

My gift giving challenge.

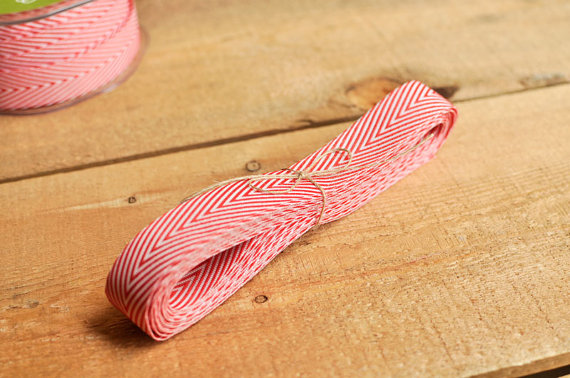
You know I don’t really need yet another creative thing to do but they’re always so fun and cute. Keyka Lou posted this great ribbon the other day which of course sent me off clicking to Etsy to see what it’s all about.

While I was admiring all the pretty chevron ribbons I had a lightbulb moment. I’m going to wrap all my gifts pretty simply, kraft paper or bags or boxes and then go all out making them look great with twine, ribbon, doilies and other such embellishments. That way the items are reusable, repurposable or biodegradable.

Allow me to share some of my fav items and shops that will help me, and you if you want to play, with this challenge. Click images to be whisked away to shops!

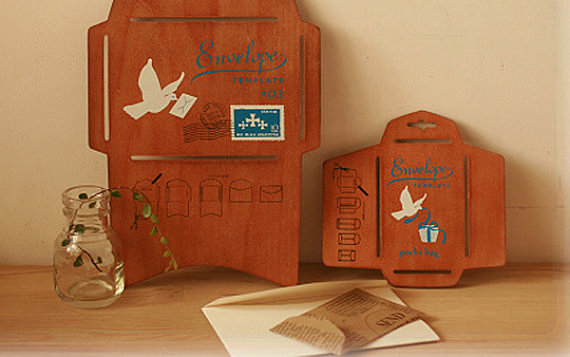
I’ve ordered a set of these already to make my own envelopes out of various papers.

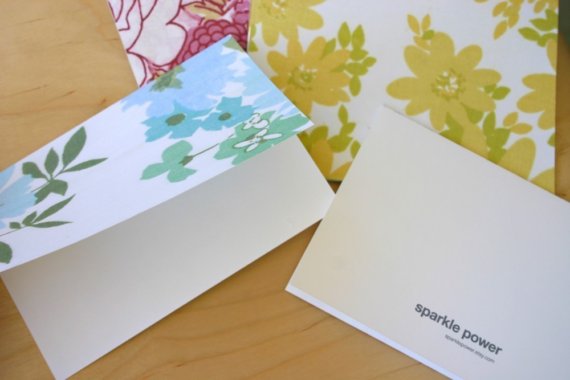
You can order a printable PDF file for these vintage linen inspired cards.

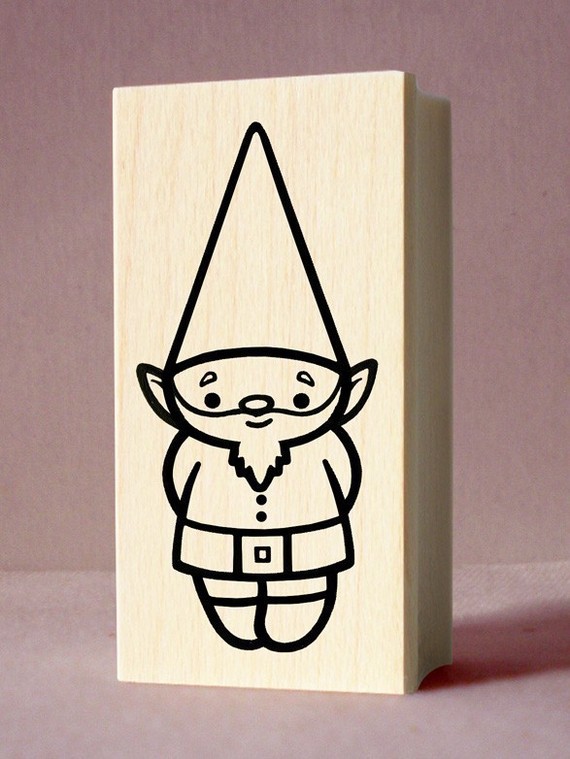
Hoboville has the cutest rubber stamps I have ever seen! A great option for making your own printed wrapping paper.

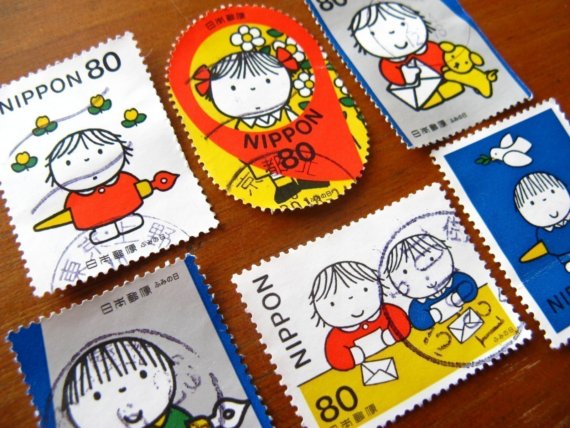
Thriftypyg has some great ephemiria items that would jazz up some plain kraft paper nicely. Check out these cute stamps.

I’ve got some of these stashed away downstairs, no clue what I’m going to use them for but they are ridiculously sweet.

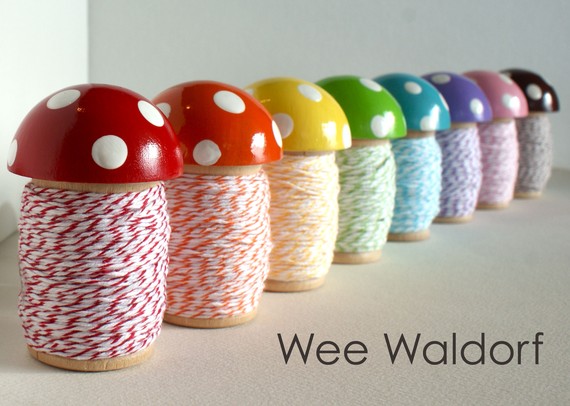
Baker’s twine is pretty easy to find on Etsy but these little mushroom spools are extra super cute.

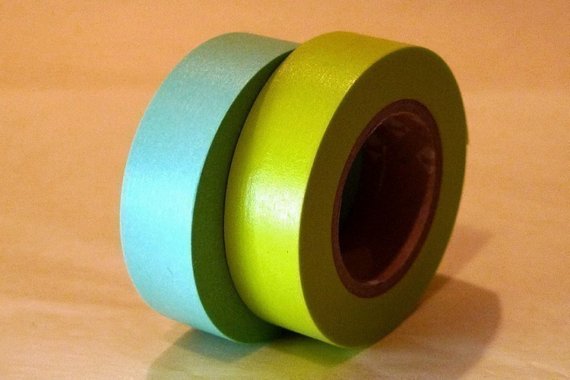
Pretty Tape has a great selection of . . . pretty washi tape and loads of other great packaging accessories.

Some of my favourite shops for packaging supplies are Paper & Parcel , California Craft and of course I couldn’t have made it this far without Knot & Bow.

Eeep! It’s the first day of school.

And with that summer was gone. Imagine a tear slowly running down my cheek.

In more funner news, later this month, the 20th to be exact I’ll be posting a great keeping organized for school tip over at Meremade. Starting tomorrow Jennifer is going to be featuring a load of ideas for back to school crafty fun.

Mine will be awesome, just a heads up. It also posts on my birthday which makes it super-duper cool.

Well I’m off to prepost some more . . . posts. Not only do me and my son go back to school today but we’ve flipped our schedule from last year and we go in the mornings this year, something we’re not used to. AND my hubby is going away tomorrow and will be back Sunday night! I’m going to be one sleepy mommy this week. So I’m cheating on my posts. It’s for the best really, otherwise who knows what I’d be writing about!

I’m a copy owl

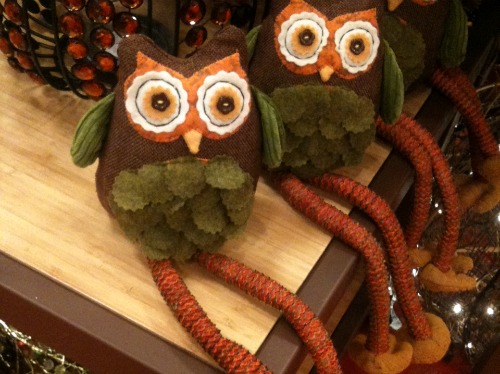
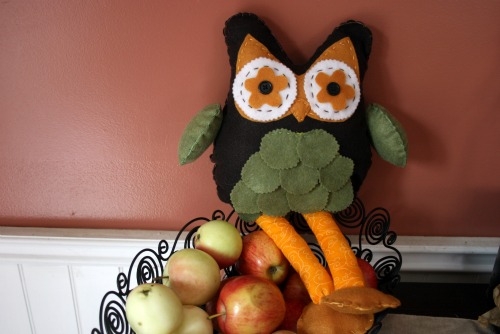
My friend and I were browsing Pier One a few weeks back and saw these really cute owl plushies.

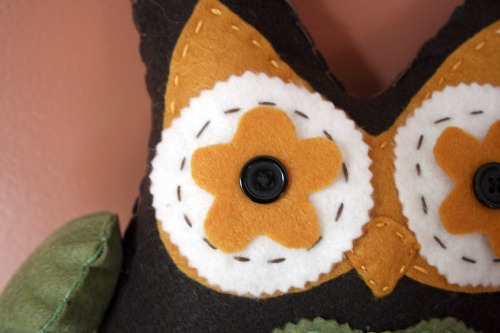
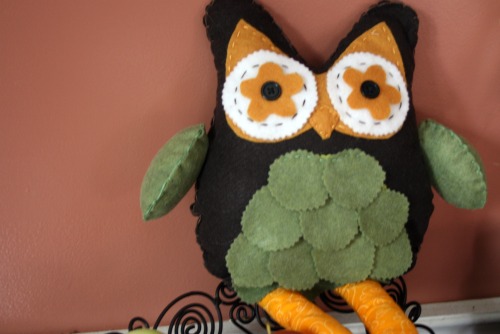
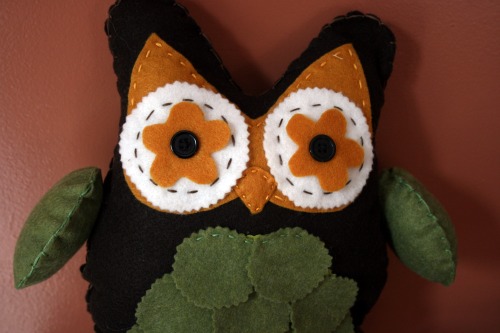
No clue what they’re for but they were really cute, and $18. Of course I did one of those, “We can totally make that” things and took a sneaky photo of them. We went and bought some felt that night and then we got crafty while we were away at the cottage. Using some felt, embroidery floss and 2 buttons, here’s what we came up with.

We cut all the shapes by hand, it probably would have been easier with some sort of Cricut type thing, but whatever. We stitched it by hand, almost entirely. I used my machine to sew the green bits on the belly so they’d be stuck on well. We were going to get ambitious and knit or crochet the legs but didn’t have the right supplies at the cottage. My friend decided not to put legs on her owl at all, just attach the feet, and I used some fabric and made some little legs instead of the HUGE ones on the Pier One owls.

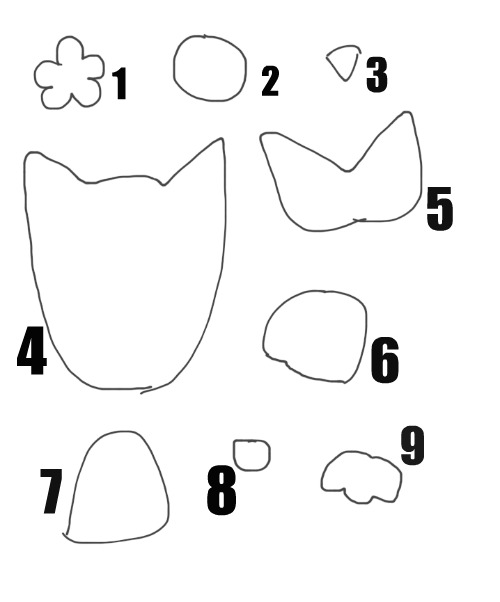
Here’s a sketch, because I have yet to learn how to do pattern pieces all fancy like, of all the bits you need if you want to give this a try yourself. I’m all about putting your own spin on crafts so it’s measurement free, my owl is about 10 inches tall (legs not included.

1. Eye flower cut 2 (shape can be different)
2. Outside eye circle cut 2 (should be a circle, I used pinking shears to give it a fun edge)
3. Beak cut 1
4. Owl body cut 2
5. Face, base this on the size of your body piece. Cut 1.
6. Wings (optional, my friend didn’t make any) Cut 4.
7. Belly piece, this is hidden once the owl is all done but it’s there under the ‘feathers’. Cut 1
8. Feathers cut enough to cover piece #7, my owl has 12.
9. Feet cut 4.

Assembly

1. Sew the buttons on the eye flower pieces with the white circles behind
2. Sew the white circles to the face piece with a contrasting thread and some fun stitches.
3. Sew the face piece to the owl body, sew the beak on as well.
4. Attach the belly piece to the owl and cover it with the feathers, staggering them a bit.
5. Stitch the 2 body pieces together, leaving the bottom open. Mind are stitched with embroidery floss showing on the outside. You can stitch it right sides together on a sewing machine and turn it if you’d like. I was going for a more rustic look.
6. Stuff your owl.
7. Stitch the wings together, leaving a small opening and stuff them. Attach to the body.
8. Cut 2 pieces of fabric, mine were about 3 x 8 and fold and stitch down the long edge, turn the tube rightside out and stuff.
9. Stitch the feet together, leaving a small opening, stuff and stitch closed. Attach to the legs.
10. Tuck the legs into the opening at the bottom of the body and stitch it up!

Cottage productivity

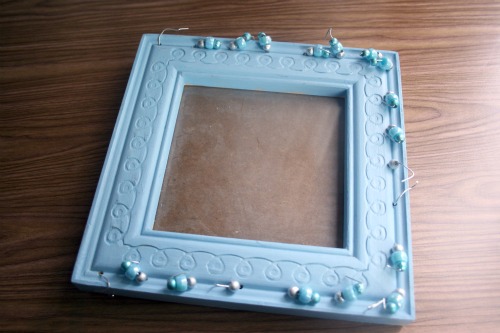
I had a project in mind for ages and ages but kept searching for just the right frame. I finally settled on this one, despite it’s hideousness.

I cut off all the icky wire bits and filled all the holes that were left behind. There were still some rough parts, thanks to all the holes and the ugly curly design that I tried to fill. I took it to the cottage with me hoping for some quiet time to finish it. And lo and behold!

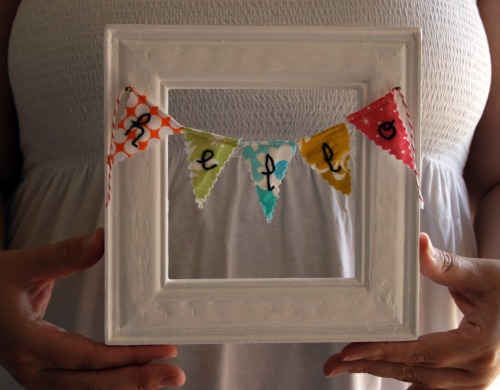
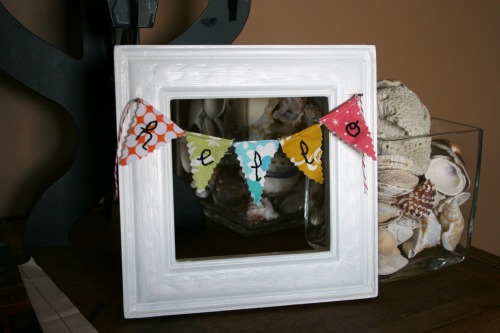
I hammered some nails into the front, I wanted a rustic sort of look. I used my pinking shears to cut out some triangles from fabric scraps and put some batting on the back for stability. I stitched letters to spell out ‘hello’. I was going to go with ‘welcome’ but ‘hello’ is more me. I folded the top of the triangles over a string of baker’s twine and stitched closed. Then I wrapped the twine around the nails and trimmed the ends. Voila!

I added picture hanger loopy things on the back and used some more twine to hang it on my front door. Like a wreath, but square and waaaay more cute. The weather has been sort of silly here so I’ve given up on a good action shot of that and went ahead and shared.