Craft Book Month Blog Hop

This post is part of the Craft Book Month blog hop at Craft Buds.

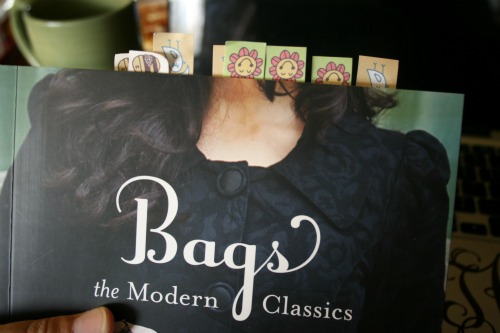
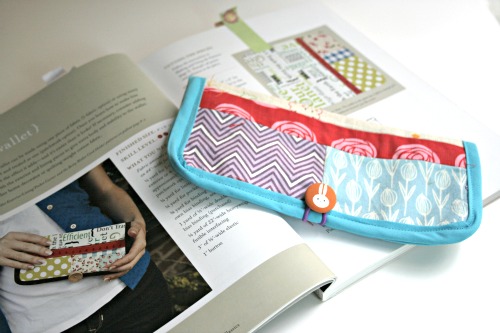
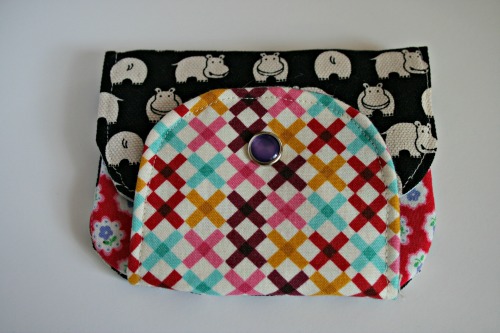
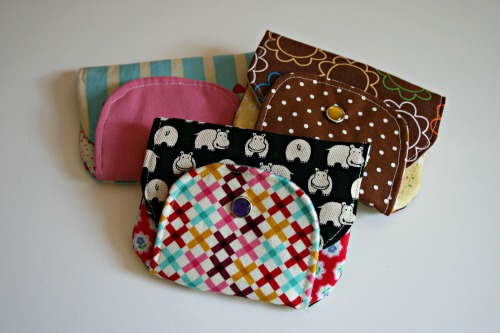
Here’s what I made, it’s a wallet from Bags–The Modern Classics: Clutches, Hobos, Satchels & More by Sue Kim. I love this book and have about a zillion pages tagged as ‘To Do’.

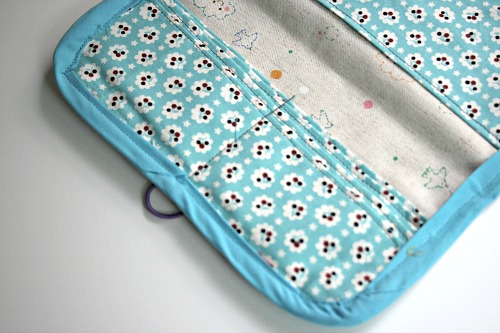
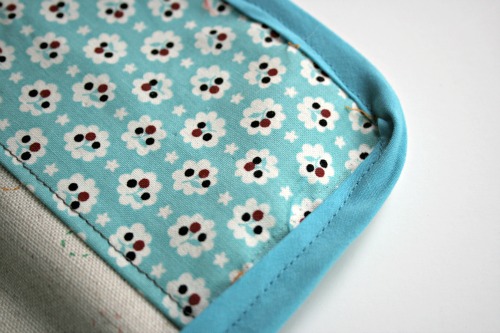
I love the wallet, it’s super cute but it did reaffirm my hatred of bias tape.

Initially I made my own nice red bias tape using left overs from this wallet I made, but I had a super difficult time catching the stitching on both sides. Instead I went for commercial made stuff which went better but still isn’t great. I have no idea how to manoeuvre this stuff around curved edges!

Craft Book Month at Craft Buds

All month long in September,  Craft Buds will celebrate sewing, quilting and all kinds of craft books by shining the spotlight on new releases, interviewing authors and editors who make the magic happen and giving you a chance to win.

Blog Hop

Week One

Sunday 9/2: Hopeful Threads / The Jolly Jabber
Monday 9/3: Stitchery Dickory DockMe Sew Crazy
Tuesday 9/4: Olive & OllieSew Sweetness
Wednesday 9/5: Fabric SeedsThe Busy Bean
Thursday 9/6: CraftFoxesStitched In Color
Friday 9/7: Katie’s KornerA Prairie Sunrise


Week Two
Sunday 9/9: Sweet Diesel Designsmissknitta’s studio
Monday 9/10: Sew TaraClover and Violet
Tuesday 9/11: Sew Fantasticamylouwho
Wednesday 9/12: Projektownia JednoiglecTwo More Seconds
Thursday 9/13: Ellison Lane QuiltsDon’t Call Me Betsy
Friday 9/14: Live a Colorful LifeLRstitched


Week Three
Sunday 9/16: Fairy Face DesignsCanoe Ridge Creations
Monday 9/17: Inspire Me GreyFreshly Pieced
Tuesday 9/18: Lindsay SewsThe Cute Life
Wednesday 9/19: The Littlest ThistleSew Crafty Jess
Thursday 9/20: Urban Stitchesimagine gnats
Friday 9/21: Sew Bittersweet DesignsThe Plaid Scottie

Week Four

Link up your craft book project at Craft Buds from Sept 23-30 from your blog or Flickr account, and enter to win prizes. Winners will be announced on Monday, October, 1!

To participate in the month-long contest, link up any project you’ve made from a pattern in a craft book. That easy! Say a little about the book, the project, how you personalized it, etc.

No time to create a project? This month, just follow Craft Buds and comment to win some new craft books and lots of giveaways! They’ll also have expert Q-and-As to show you what it takes to write a craft book, from the initial idea to the layout, photography and the actual printed product.

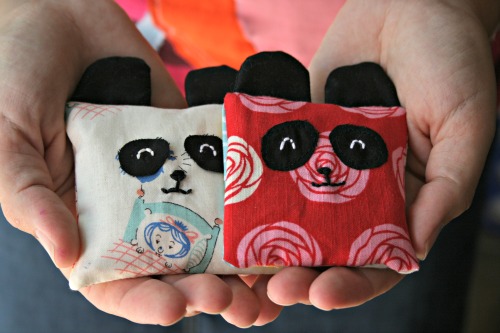
DIY Panda drawer sachets

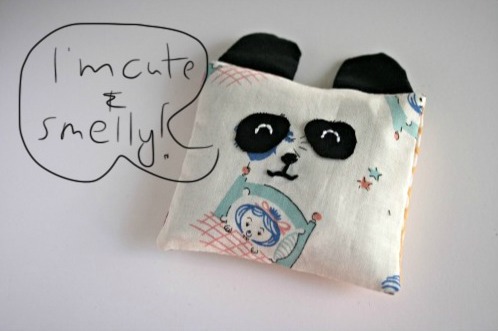
While shopping at a farmer’s market the other weekend I picked up some lavender and got a neat idea for these sachets for my drawers. They’re really quick and easy and can help destash your scrap bin, something I love to do. I’m making a run for the border today and so in lieu of a Create Along post (too busy with back to school) I thought I’d share this instead.

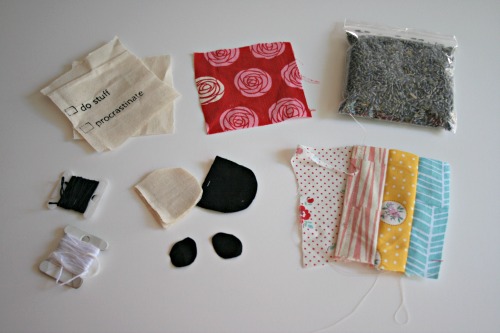
So you will need the following supplies, along with a needle, on a machine or for your hand.

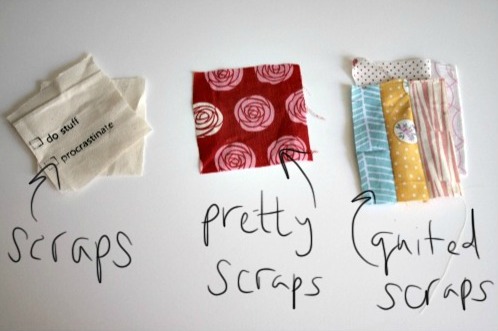
The fabric pieces can be any measurement you want, they just need to end up a square. I made 2 and one is slightly smaller than the other but they’re around 3 1/2 inches square. You need to make 2 quilted pieces that measure wide enough for your front piece and then have some extra because they will overlap and make an envelope pillow cover sort of closing.

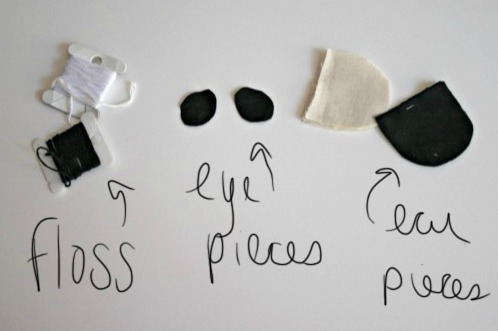
You’ll need white and black embroidery floss, some black fabric for eyes and ears and I used some scraps from my cup cozies as lining for the ears.

Panda making

1. Place the eyes on the pretty scrap (sew them on with black thread or iron on with a fusible thing)
2. Embroider the features on the panda, white eyes, and a black nose and mouth.
3. Layer the ear pieces – black, black and then lining. Sew around the curved part of the ears and then turn right side out.
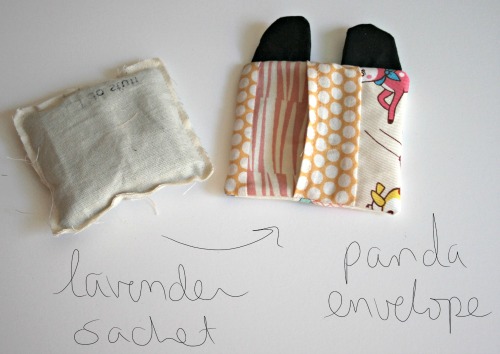
4. Quilt together the backing pieces from scraps, hem the edge where the opening will be.
5. Put the quilted pieces on your work surface right side up, make sure the hemmed parts where the opening will be overlap by at least 1/2 inch.
6. Lay the ears down with the straight edge lined up with the top of the quilted pieces.
7. Place the panda face pretty piece face down on top of the pile. Make sure the ears are sandwiched in.
8. Pin to hold everything in place.
9. Stitch around the entire square.

Sachet making

1. Get your scraps and lay one on top of the other. I use the screenprinted bits that got messed up and I can’t turn into cup cozies.
2. Stitch around the square leaving an opening on one side, about an inch wide.
3. Stuff your sachet with something pretty smelling (potpourri, lavender, etc)
4. stitch the opening closed.
5. Trim around the square, be careful not to cut into your stitches.

The great thing about making the panda with an envelope closure is you can swap out the inner sachet when the smell fades or to change things up a bit. I’d love to see what you make!

Also, I’ve been dying to use handwriting on my photos and haven’t been happy with the results/methods. But today I figured I’d give it a try and not be so picky. Elsie‘s post sabout apps and techniques helped guide me in my quest.

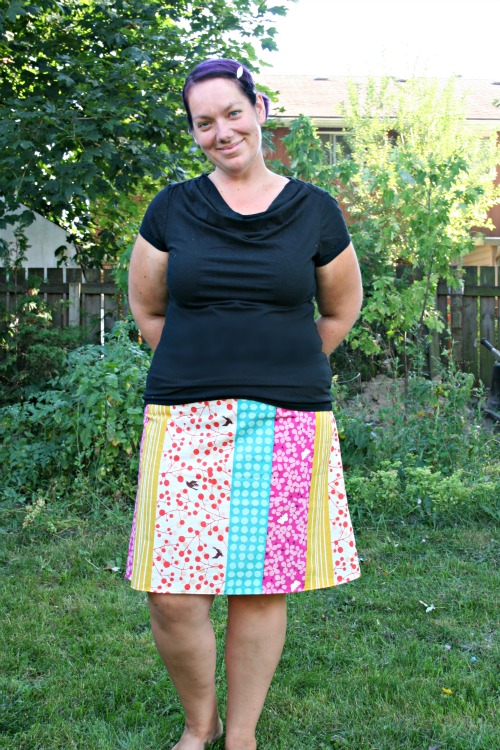
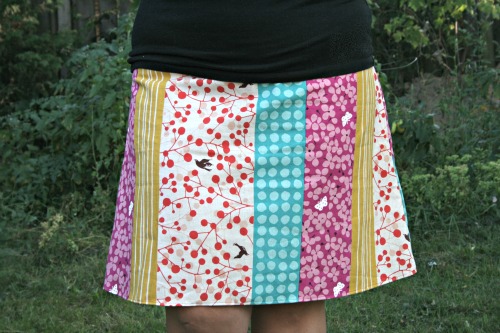
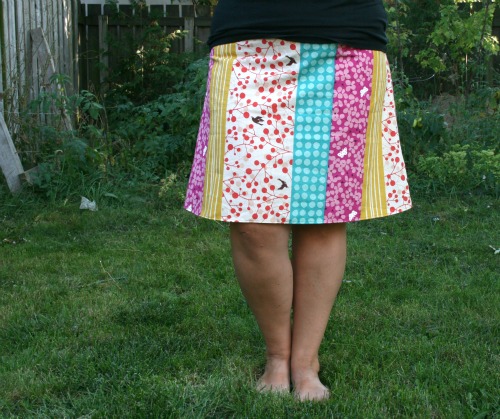
I went with no pockets.

After the great inner debate I had I decided to go with no pockets at all.

I just thought it showed off the awesomeness of the fabric’s print better without pockets taking away from it. Plus I’m ridiculously indecisive and the votes seemed pretty split.

It was received well as my first day of school outfit.

About the Artist

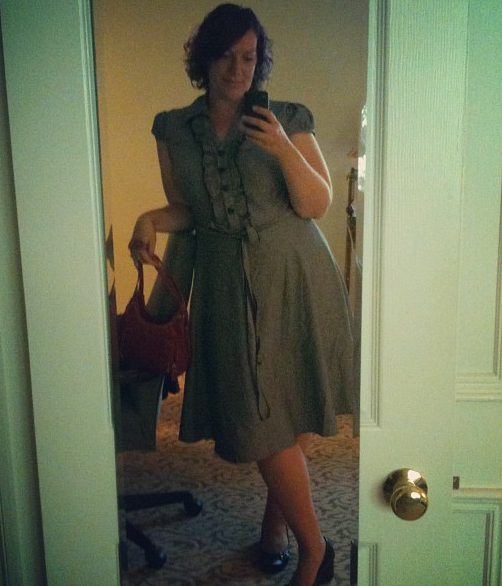
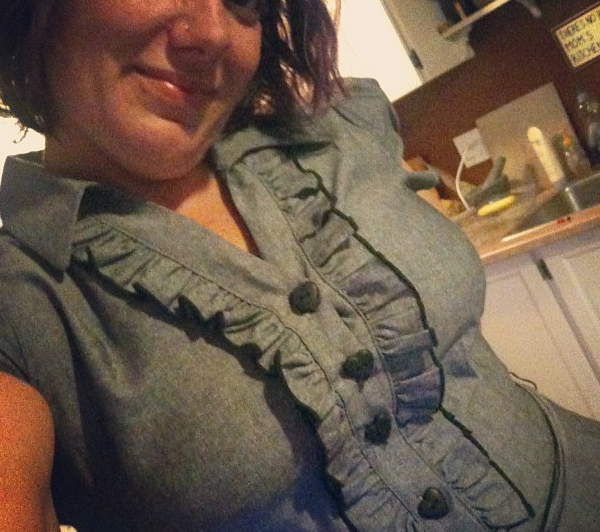
Well the good news is I’m down a bunch of weight. The downside of this is I can start shopping in new and wonderful places, like ModCloth. I picked up this dress and I loooove it!

I wore it to our friend’s wedding a few weekends ago. Sadly I only snapped phone photos of it.

Here’s hot it is on ModCloth in case you need to pick one up. It comes in other pretty colours too.

About the Artist Dress

Goodbye summer.

Well this is it, it’s over for yet another year.

This summer wasn’t my usual relaxing summer. I found it really busy with a 5 year old and 3 year old to keep busy. Go figure. I spent a lot of time at splash pads, parks, play places, beaches and just generally out and about. Which is fine, I had books, iPad, crafting and texting to keep me company but it was still very busy. I don’t remember last summer being like that and a 4 and 2 year old are more work in some ways.

But alas, it has come to an end. Now our 5 year old is going off to Grade 1 and our 3 year old is going to *start* school with all day JK. I’m totally flabbergasted at where the time has gone! At the same time it’s a great change and I love fall. I’m going to have 2 afternoons off a week (I know I’ve said this over and over but I’m just so excited) and I plan on furthering my weight loss with some gym time. Then I’ll come home, eat a healthy lunch and work on this little SewTara thing.

It’s going to be a good year I think.

Enjoy the last day of summer!

Friday Create Along

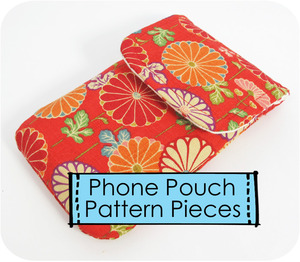
Made this neat little pouch for my phone. Yes of course it’s a Michelle Patterns pattern, I’m so addicted.

It was ridiculously easy to whip up. It’s super cheap because it’s only the pattern pieces and some very brief notations, but since I own almost all her patterns and I’ve sewn a lot it was easy to figure out the assembly bit.

Now I’m going to be smart and not choose my next project, with the first week of school looming next week I’m going to be realistic and know that I won’t have time to sew something new. Instead I’ll post a really fun tutorial, an item of my own creation! That hasn’t happened in a while. So yeah, next Friday, super awesome cool stuff.

Thoughts on sewing daily, and yeah more scrappy wallets.

I made more scrappy wallets. I had orders to get to, I had other stuff to sew for people but sometiems I just have to put it all on hold and sew something *I* want to make. Usually, I turn to the scrappy wallets since they’re super quick and I can feel a sense of accomplishment when I walk away. Otherwise I’ll walk away and yet another unfinished project sits on my table judging me in it’s pileness.

Michelle talked about how she feels happier if she sews every day. She was inspired by this post about developing good sewing habits over on The Colletterie. Since she’s usually busy designing patterns or managing her online shops she doesn’t get much actual sewing time.

Lately I’ve been trying really hard to use up what I have an not buy new supplies. I’m also working on clearing off the pile of ‘in progress’ projects that sit on my table, because I totally believe they’re a source of stress. Sort of like a reminder to yourself that you didn’t live up to your promise/expectations. In effect you let yourself down. Yeah, wow, that’s deep but you know what I mean.

Also, I have to go to work tomorrow, it’s a sad day.

Recent Thrift Scores

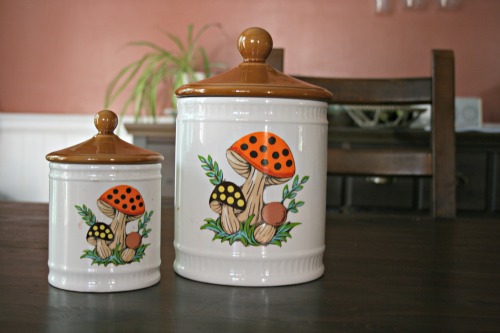
I picked up these awesome canisters on my last Wednesday night out with my BFF.

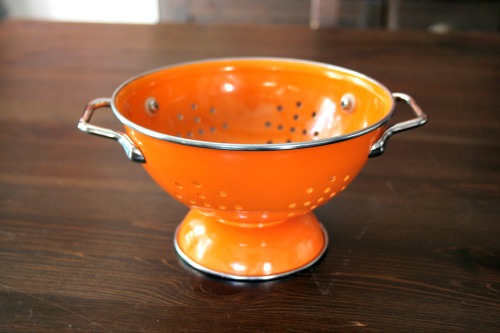
I also got this little bit of awesomeness, a metal colander. I’ve wanted one for a while and I have a larger cream coloured one from a vintage shop so I’m happy to have a little friend for it. They’re great for displaying my magnet sets.

This Wednesday we’re out again, fingers crossed I get something fun again.

Friday Create Along

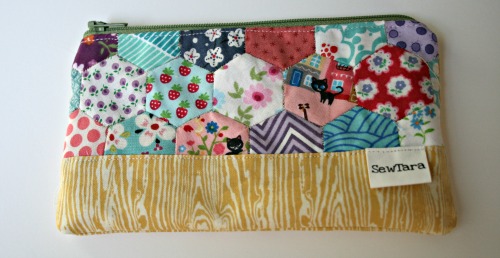
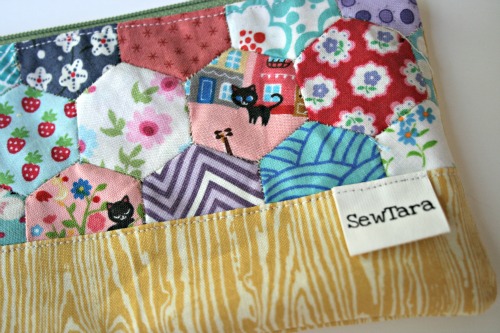
Finished my Melinda Zipper Pouch.

I don’t know if I’m getting faster at hexies or they’re just starting to grow on me, but they look pretty fun in a finished project and I’m liking this pouch a lot.

I even got fancy and placed those little kitties just so. The unique way to attach a label to this pouch was also kinda nifty.

Next up is this quick little phone cozy from Michelle Patterns. I need a quick project as back to school looms this week, *sigh*. This pattern is only from the pieces, but if you’ve used her patterns before you can figure it out pretty easily. I’ll also tip you off when I write my post on Friday.

Dining/drawing table

I spontaneously had this idea a few weeks ago and luckily it was followed by a trip to IKEA. I had great photos of all of this, as well as our kitchen floor remodel, but then our camera’s card pooped out on me and I lost them. So here’s my re-enactment. Our table is from the ASIS aisle, so excuse all the writing they put on it.

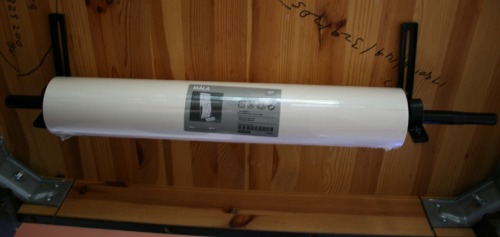
I went to IKEA and bought this roll of paper, a curtain rod and the hardware to hang the rod. I mounted it under our table. It was a super inexpensive project that’s definitely paid for itself in time spent drawing, colouring and painting. The paper just rolls up onto the table top.

And the kids can colour, make roads, write about food, tell me who’s sitting where . . . . the list goes on.