Monthly Archives: August 2011

It’s tea time!

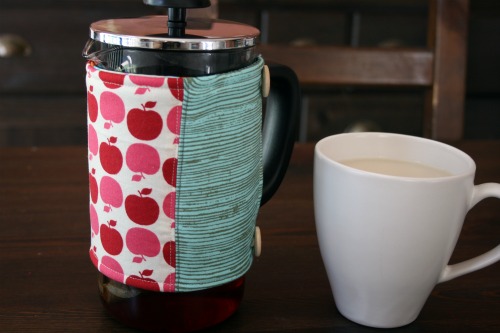
Last year while working at a craft event I picked myself up one of these tea thingies. Mostly it was supposed to be a way to get me to use up all the loose tea I have lying around. Usually I just toss a boring orange pekoe tea bag in the bottom and add hot water.

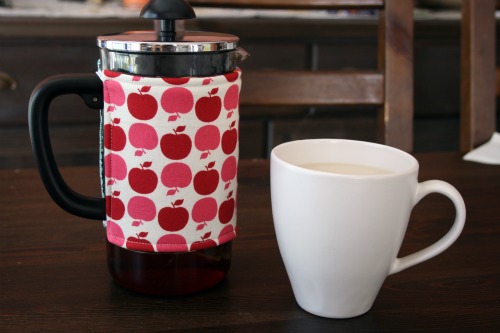
With the cooler weather on the way I decided to finally stitch up a little cozie for it. Then I can take it down to my creative area late at night and have cup after cup of tea!

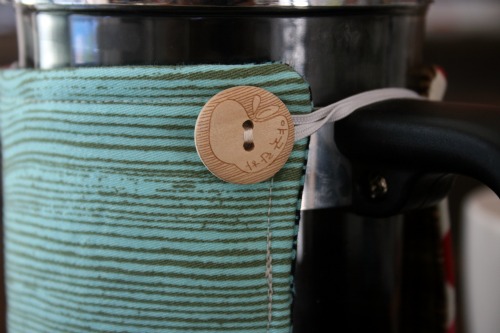
I used some scraps I had lying around. Also, I snuck in these great wooden buttons I had from a previous Etsy purchase. The fantastic apples came from a bundle I ordered recently from Sara at The Split Stitch. I keep missing her other stash packs in her shop, curse me for being behind in my Google reader! I’m a sucker for scraps.

The inside is also scraps of fabric all quilted together, guess I should take a picture of that part too . . . when it’s not warming tea.

I’m a copy owl

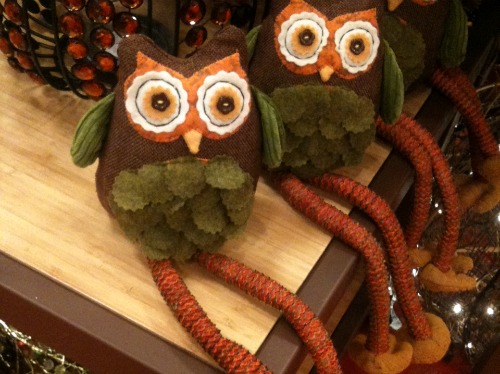
My friend and I were browsing Pier One a few weeks back and saw these really cute owl plushies.

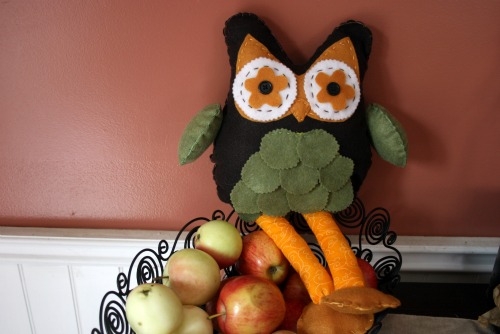
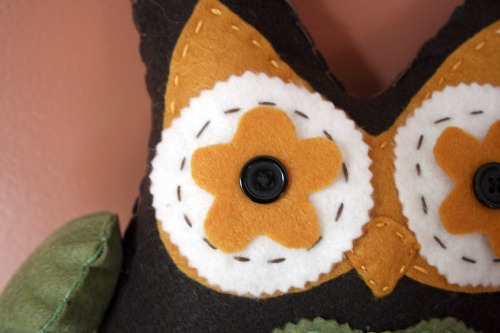
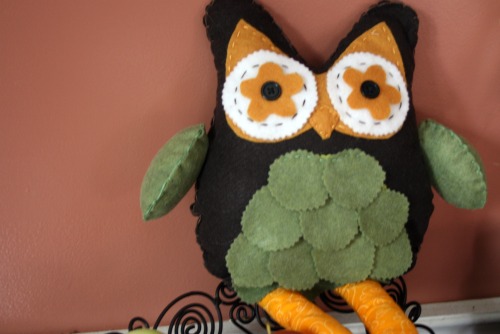
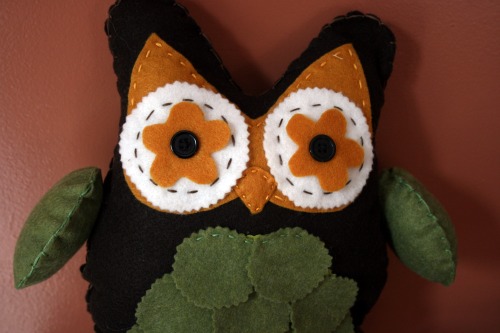
No clue what they’re for but they were really cute, and $18. Of course I did one of those, “We can totally make that” things and took a sneaky photo of them. We went and bought some felt that night and then we got crafty while we were away at the cottage. Using some felt, embroidery floss and 2 buttons, here’s what we came up with.

We cut all the shapes by hand, it probably would have been easier with some sort of Cricut type thing, but whatever. We stitched it by hand, almost entirely. I used my machine to sew the green bits on the belly so they’d be stuck on well. We were going to get ambitious and knit or crochet the legs but didn’t have the right supplies at the cottage. My friend decided not to put legs on her owl at all, just attach the feet, and I used some fabric and made some little legs instead of the HUGE ones on the Pier One owls.

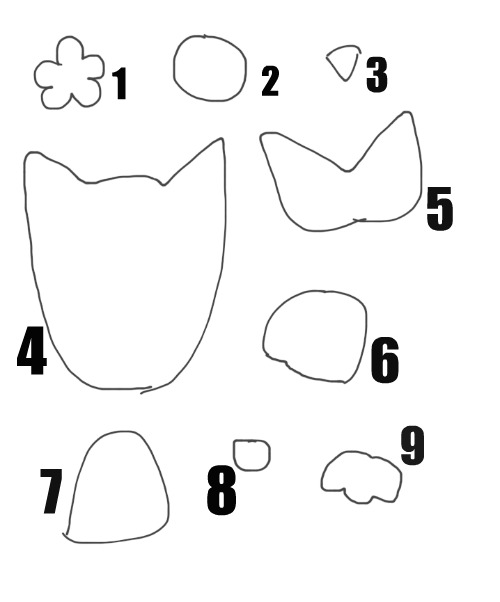
Here’s a sketch, because I have yet to learn how to do pattern pieces all fancy like, of all the bits you need if you want to give this a try yourself. I’m all about putting your own spin on crafts so it’s measurement free, my owl is about 10 inches tall (legs not included.

1. Eye flower cut 2 (shape can be different)
2. Outside eye circle cut 2 (should be a circle, I used pinking shears to give it a fun edge)
3. Beak cut 1
4. Owl body cut 2
5. Face, base this on the size of your body piece. Cut 1.
6. Wings (optional, my friend didn’t make any) Cut 4.
7. Belly piece, this is hidden once the owl is all done but it’s there under the ‘feathers’. Cut 1
8. Feathers cut enough to cover piece #7, my owl has 12.
9. Feet cut 4.

Assembly

1. Sew the buttons on the eye flower pieces with the white circles behind
2. Sew the white circles to the face piece with a contrasting thread and some fun stitches.
3. Sew the face piece to the owl body, sew the beak on as well.
4. Attach the belly piece to the owl and cover it with the feathers, staggering them a bit.
5. Stitch the 2 body pieces together, leaving the bottom open. Mind are stitched with embroidery floss showing on the outside. You can stitch it right sides together on a sewing machine and turn it if you’d like. I was going for a more rustic look.
6. Stuff your owl.
7. Stitch the wings together, leaving a small opening and stuff them. Attach to the body.
8. Cut 2 pieces of fabric, mine were about 3 x 8 and fold and stitch down the long edge, turn the tube rightside out and stuff.
9. Stitch the feet together, leaving a small opening, stuff and stitch closed. Attach to the legs.
10. Tuck the legs into the opening at the bottom of the body and stitch it up!

Spoonflower win!

I tried it again and had success!

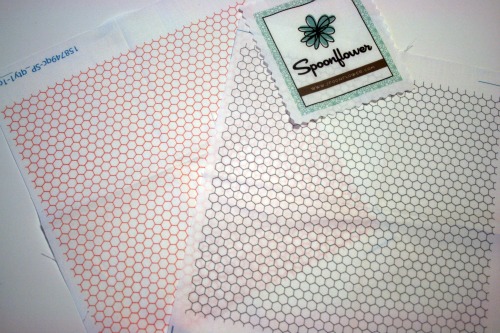
I learned from my mistake and played with the official Spoonflower colour palette and waiting impatiently for the package to arrive. I just darkened the pink honeycomb design and played around making a grey one.

Once I really figure out this Photoshop thing I might be in trouble placing more fabric orders.

Cottage productivity

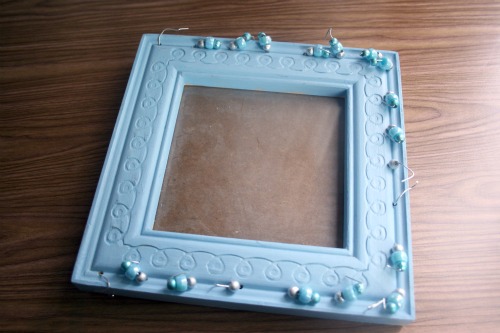
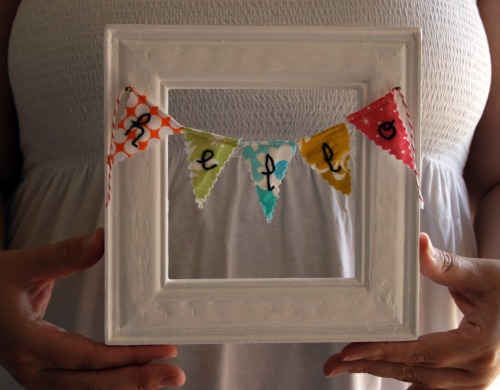
I had a project in mind for ages and ages but kept searching for just the right frame. I finally settled on this one, despite it’s hideousness.

I cut off all the icky wire bits and filled all the holes that were left behind. There were still some rough parts, thanks to all the holes and the ugly curly design that I tried to fill. I took it to the cottage with me hoping for some quiet time to finish it. And lo and behold!

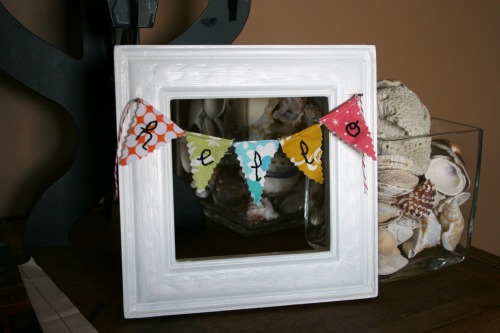
I hammered some nails into the front, I wanted a rustic sort of look. I used my pinking shears to cut out some triangles from fabric scraps and put some batting on the back for stability. I stitched letters to spell out ‘hello’. I was going to go with ‘welcome’ but ‘hello’ is more me. I folded the top of the triangles over a string of baker’s twine and stitched closed. Then I wrapped the twine around the nails and trimmed the ends. Voila!

I added picture hanger loopy things on the back and used some more twine to hang it on my front door. Like a wreath, but square and waaaay more cute. The weather has been sort of silly here so I’ve given up on a good action shot of that and went ahead and shared.

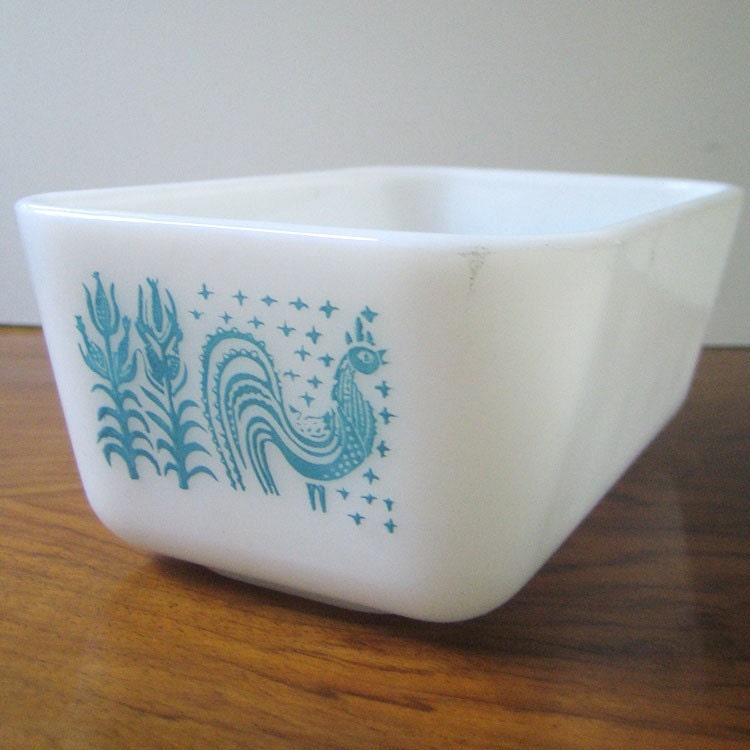
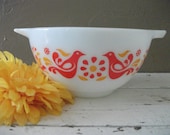
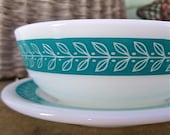
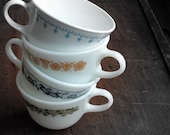
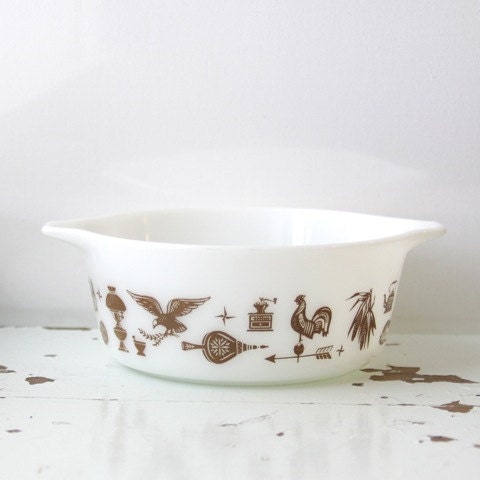
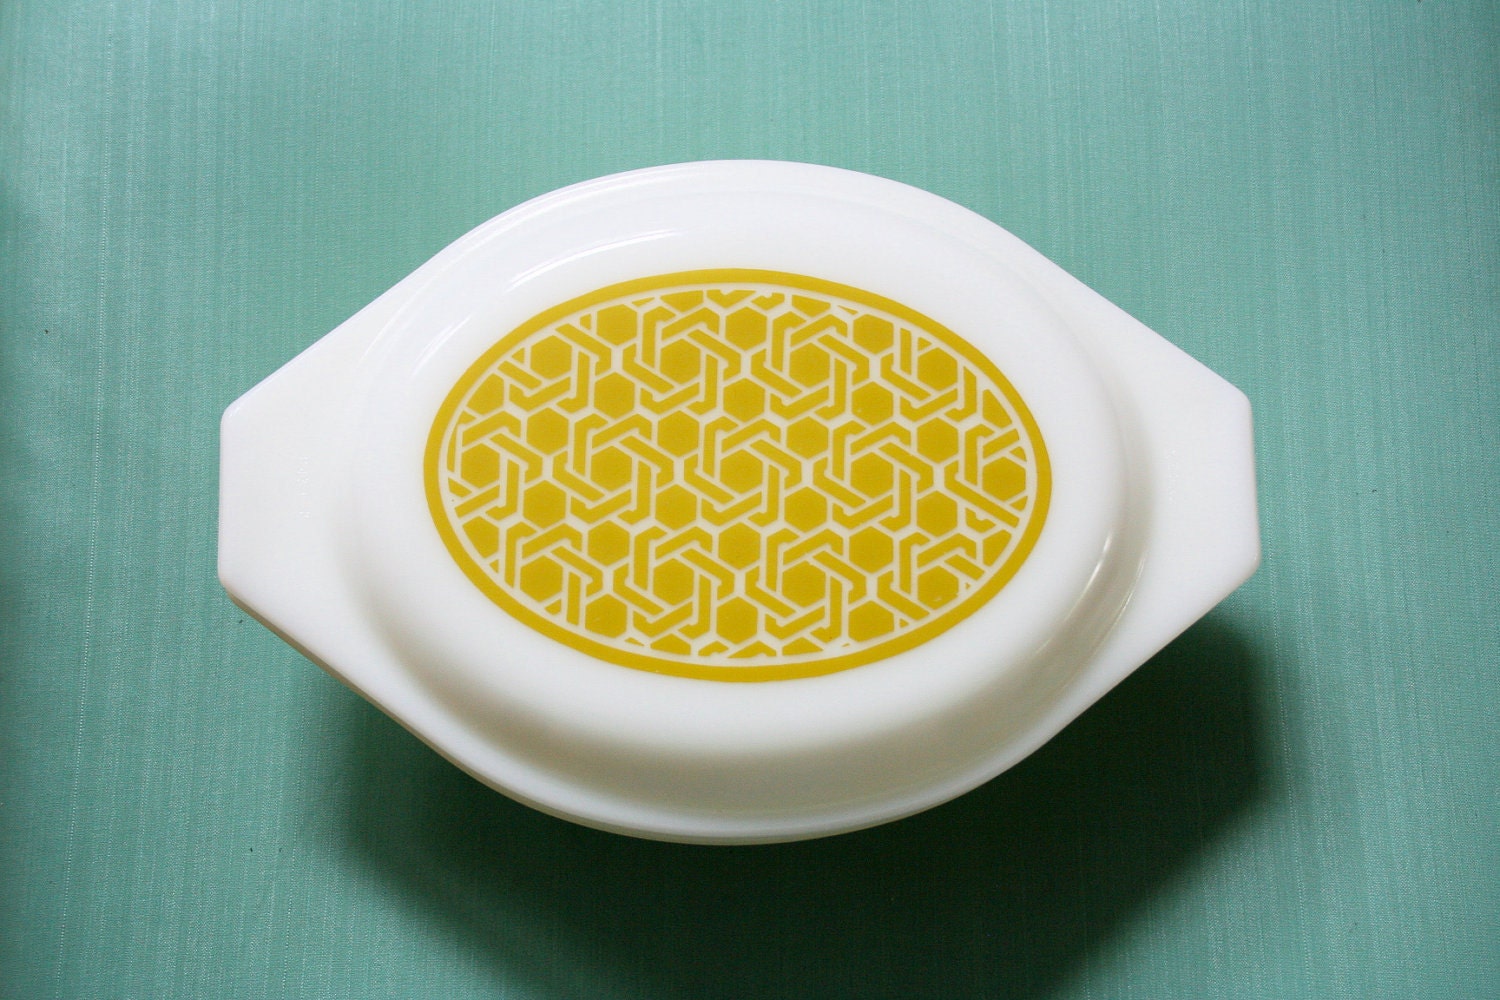
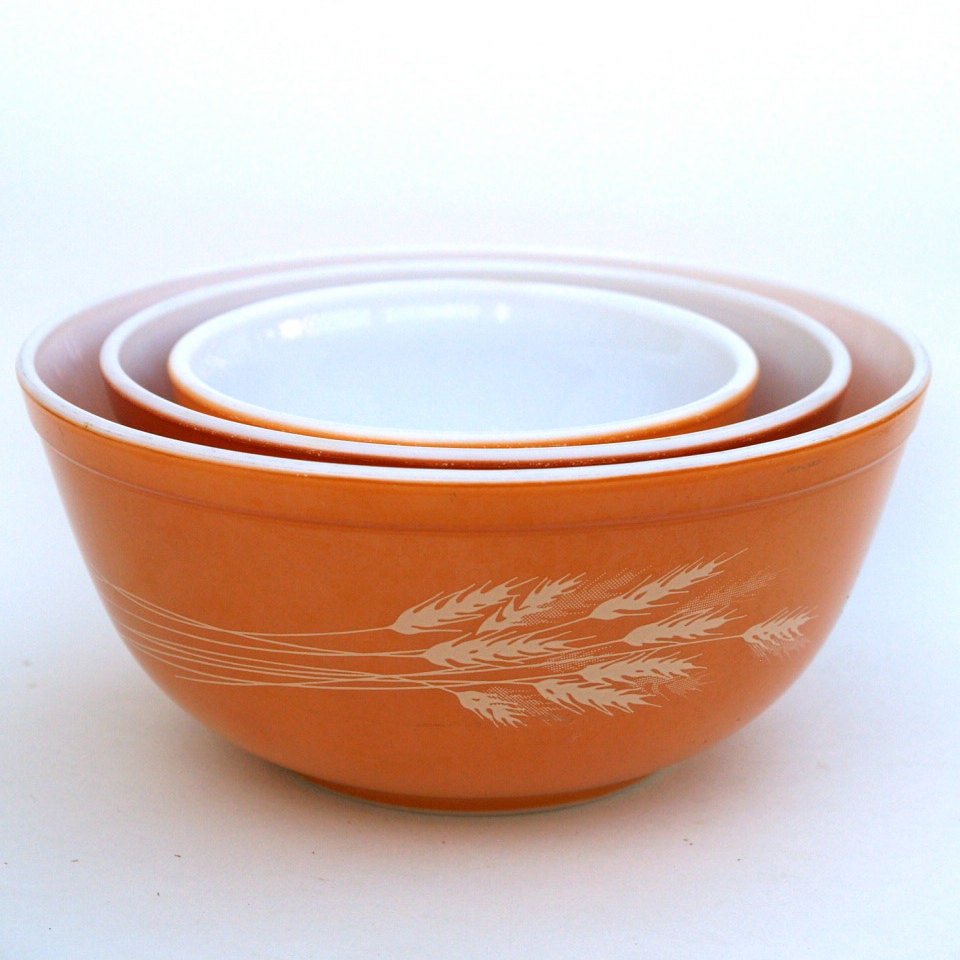
Pyrex love

I should have been writing a different post I have all the photos for, instead I went window shopping on Etsy. I had to share.

‘Pyrex love’ by sewtara

A vintagey colourful treat for your eyes. Go ahead, feast!


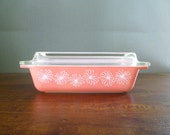
snowflake PYREX 195…

$12.99

Vintage Pyrex Cinde…

$46.00

Butterprint. Vintag…

$9.50

Vintage Pyrex Daisy…

$22.00

Pyrex Gourmet Casse…

$28.89

Vintage Pyrex Bowls

$10.00

Vintage Pyrex Bowl …

$6.98

Pyrex Berry Bowl wi…

$9.00

4 coordinating mism…

$19.00

Vintage Pyrex Ameri…

$10.00

Mustard Green Geome…

$30.00

Pyrex Mixing Bowls …

$45.00

Amish Butterprint S…

$45.00

Pyrex Butterfly Gol…

$30.00

Vtg 2 x Piece Pyrex…

$38.00

Vintage Pyrex Bowl …

$14.00

Treasury tool by Red Row Studio.

Let me know if you go shopping!

Oh hello again

I think I’ve been having some trouble getting out of ‘cottage’ mode. I apologize. Here’s the winner of the 3 Mabel’s Labels tag mates and stickers.

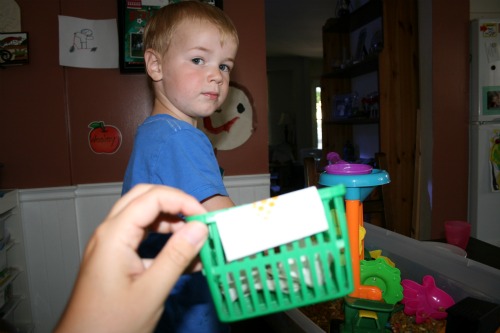
Here’s a play by play of the very technical choosing. I think I interrupted something.

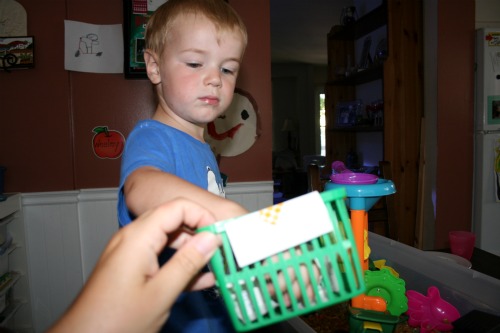
“Hey Nate can you help Mommy?”

Stare

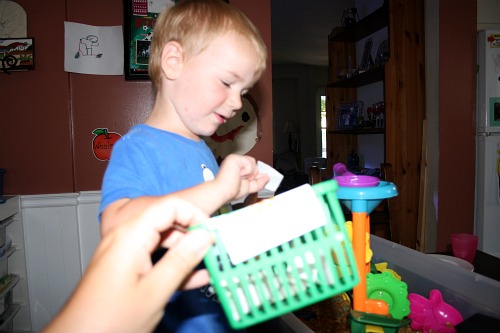
“Pick a piece of paper please”

“This one Mommy”

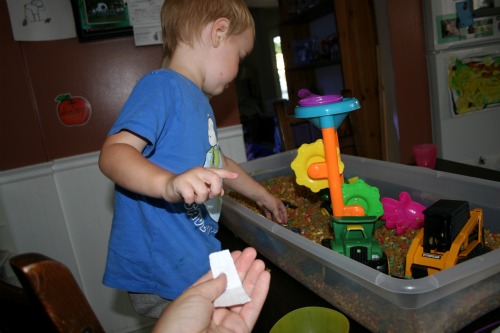
Annnnnd back to playing.

The whole thing took about 10 seconds. Congrats to Nancy for winning the Mabel’s Labels day 3 giveaway.

Whew!

Well this has been a great week.   Sadly we’ve been basically internetless, we got texts yesterday that we had hit the limit of our data plans, thanks to tethering to our phones while here in the bustling metropolis of Kearney, Ontario. It was sort of nice though, I was really conscious of what I *had* to do before I hopped on my lappy and set to work getting things done and then walking away. It was a bit liberating, even if I did miss tweeting late at night.

So here’s a peek at my week in instagrams, since those are small enough to sneak through on my phone.  
Hope you enjoyed my guest posters, thank you so much Amy, Molliehttp://wildolive.blogspot.com/ and Janee!

Yellow Bird, Yellow Beard at SewTara

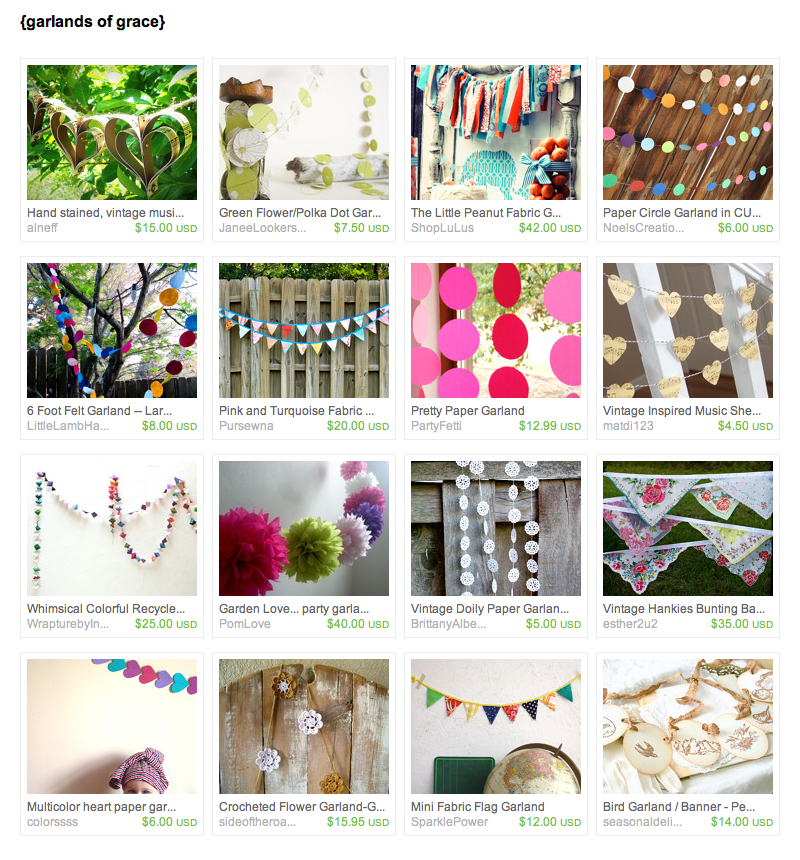
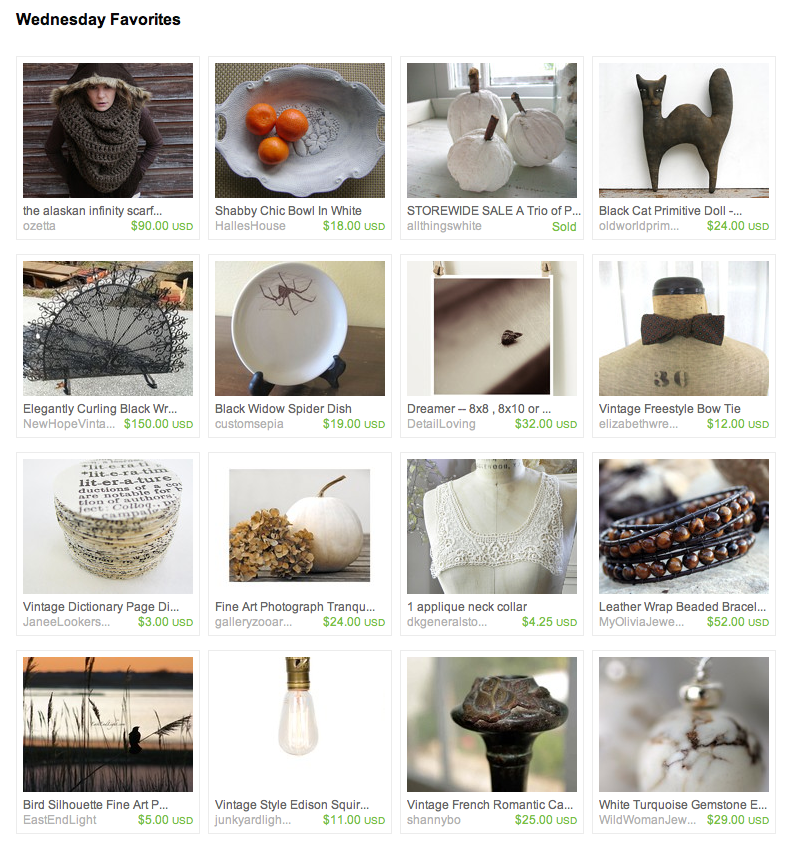
Hey Sew Tara readers! Janee from Yellow Bird, Yellow Beard here! I’m just swinging by to share a few fun things with you while Tara is away on what sounds like it’s going to be an awesome vacation :) Here are a couple treasuries for you to visit. I hope you enjoy the fun colors and sweet inspirations!

Link to treasury 1

Link to treasury 2

xoxo
Janee

Wild Olive at SewTara

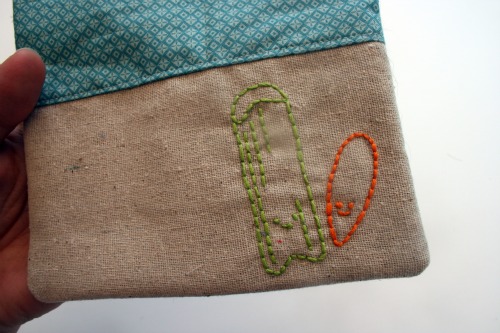
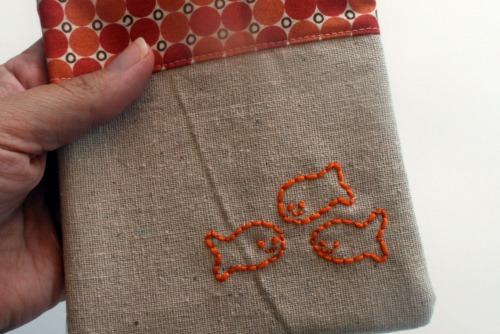
I can’t remember the first time I stumbled onto Mollie’s site but I’ve been going back ever since. She’s so great with colours, stitches and designs not to mention can throw a cute little face on almost any object. We’ve worked together on a game, a planner and somehow keep wandering back to each other with more ideas.

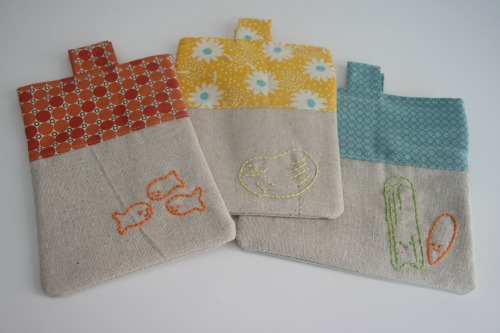
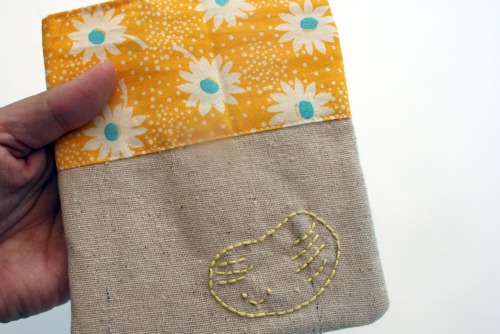
Here’s the latest idea I’d love to share with you, her Little Snackers designs. These sweet little things are for use one your very own reusable snack bags. With back to school time approaching for most of us I thought reusuable snack bags would be a great tutorial idea and asked Mollie to help out with some of her signature embroidery patterns.

Little Snackers Download

Pattern is for personal use only.

These work perfectly with my snack pouch tutorial from yesterday. If you want a different pouch design, fold over or buttons or something you can find a ton of ideas with a quick Google search. Happy pouch making!

Snack pouch tutorial, complete with teaser.

We’ve been making the switch to glass and stainless steel lunch containers. Both my school and my son’s school push for the whole literless/boomerang lunch thing. Bomerang lunch basically means if you send it in packaging or it creates some sort of garbage they’re going to send it back home to you. Strangely we teacher folk are free to load up the garbages at school with our lunch litter but I’m trying desperatly to avoid that. Hence my binge to create some snack pouches!
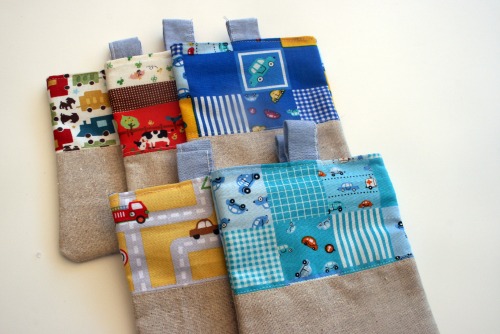
Now I created a few for my son and I’m going to show you how to make some yourself. I was really hardcore with his and used parts from one of my hubby’s practically new shirts. Somehow he got a weird big circle stain on it right in the front and tossed it into the donate pile. I rescued it.  Oh, lookie a Mabel’s Label.
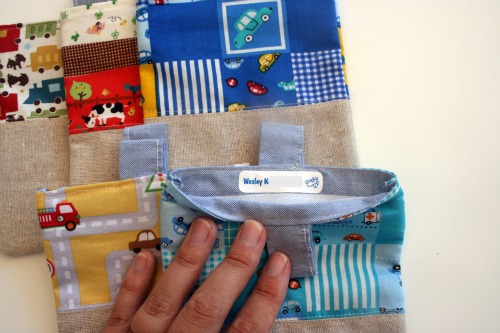
I also tried to use fabrics I had on hand and chose some of the bright colourful kid prints I have to jazz the pouches up a bit. There some debate online about materials to use for the inside and what is and isn’t food safe. To just avoid having to buy something or find out later what I chose was wrong I’m sticking with cotton fabrics. If you plan on carrying something that could get things wet I suggest adding a layer between the inner and outer cotton pieces to help prevent everything else in your bag getting soaked. Cutting up a freezer bag would work great for this and you could probably get a few out of just one.
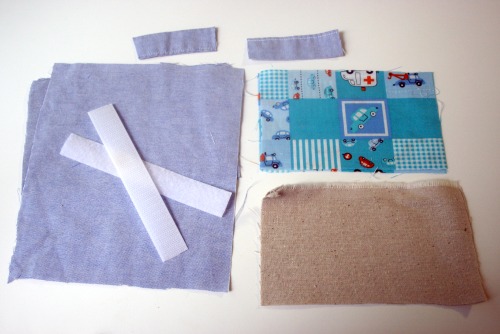
You will need:

– lining fabric 4 1/2 x 6ish

– printed fabric for outside about 4 1/2 x 3 1/2

– plain fabric for outside 4 1/2 x 3 1/2

– 4 inch length of velcro, hook & loop piece

– strip of fabric to make tabs
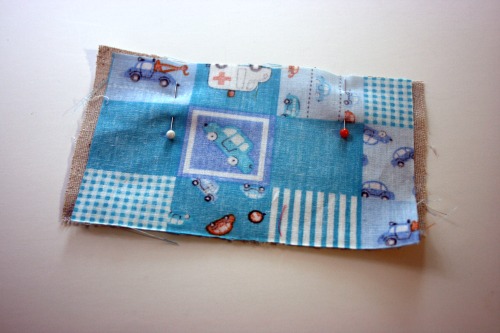
Pin the 2 outside fabric pieces right side together and sew together. I use 1/4 inch seam, or slightly less.
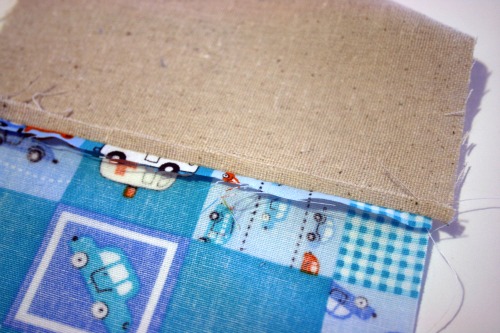
Unfold the pieces and press the seams flat.
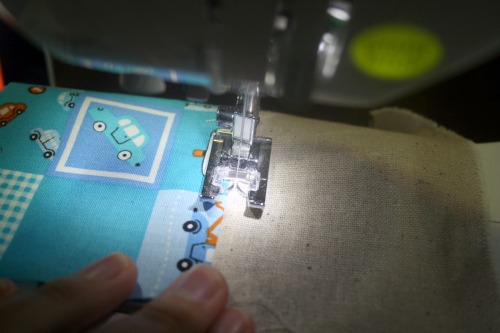
Stich on the rightside of the fabric to each side of the seam.  This will help reinforce where the fabrics are joined and adds a nice little decorative stitch.
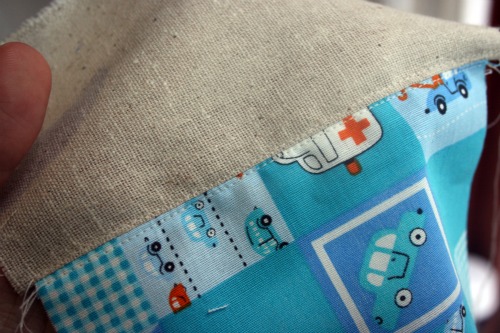
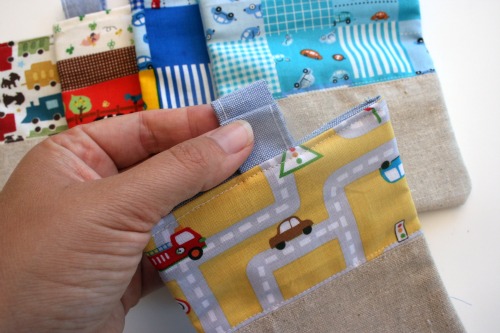
Because I repurposed an existing garment I didn’t have to make my own little tabs but if you do it’s really simple.  Take 2 pieces of fabric shaped like rectangles and fold it in half so it’s a long piece and then sew down the edge. Turn it right-side out and you should have a nice long thin rectangle.  If you want the little decorative top stitch mine has you can just do a straight stitch down one side.  Trim one tab so it’s slightly shorter than the other.  I’ve found it’s easier to separate them when opening the pouch.

Fold your tab piece in half and sandwich it between your lining and outside piece, placed right sides together.  Sew through all 3 pieces.
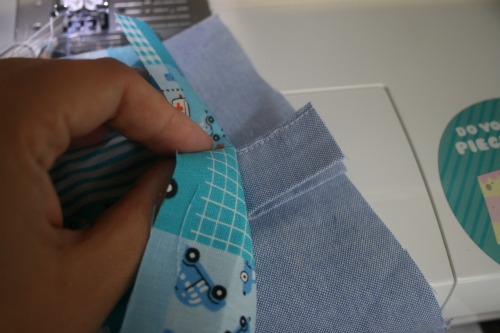
You should now have this sort of looking thing, with your tab sticking up.  Now position the velcro about 1/4 – 1/2 inch from what will be the top of your pouch.  Stitch along at least the top and bottom of the velcro, you can do the sides too if you like.  Secure the velcro on the opposite side of the pouch, measuring them against each other to get the positioning correct.
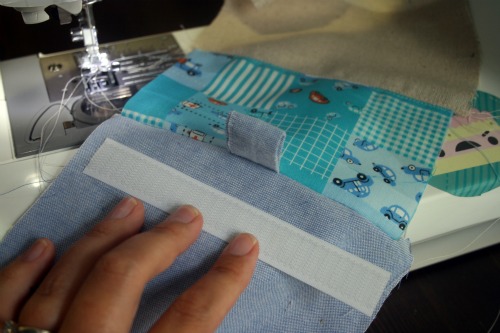
Fold the pouch over completely so the outside is outside and you’re looking at the lining.  Press to get a nice clean edge and then topstitch along near the edge of the pouch.  This will create a nice finish stitch on the inside and outside and reinforce the tab.
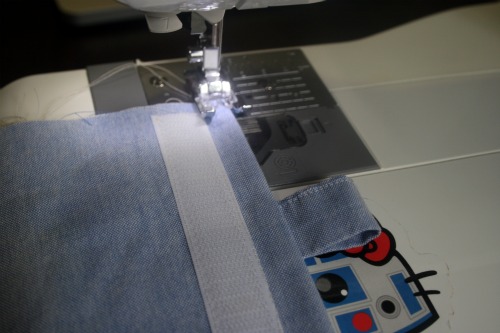
Once you’ve completed all these steps for both sides you should be left with something that looks like this.
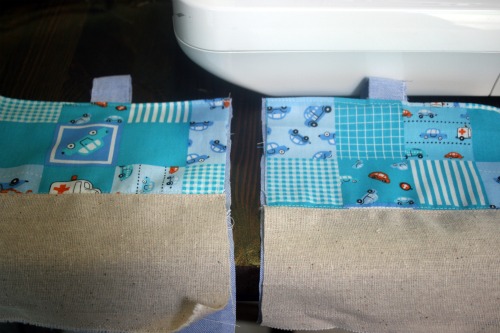
Place the 2 pieces with the outsides together and stitch all the way around 3 unfinished sides.  This would be a great place to use a serger if you have one.  I don’t so I just went back and did a zig zag stitch just beside the straight stitch and then trimmed the fabric really close to the stitching.
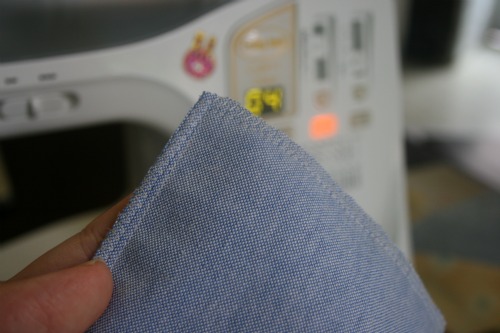
These are really fun and easy to make.  It’s a great way to use up some scraps.  I’m thinking of making them to use as loot bags for my son’s birthday party this year, then the kids leave with some goodies and a fun little reusable snack pouch.  Since things will only be in there a few hours I’m not worried about them getting stale but if you were, or plan to put wet-ish snacks in there, then you can put a water resistant lining between the fabrics.
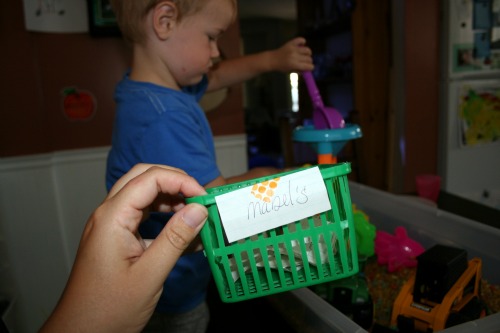
Also, I’m going to tease you with a little fun embellishment you could add to these.  You’ll have to come back tomorrow for the full explanation.  All I can say now is it involves a guest post and it will kill you with cuteness.