Category Archives: crafty books

Like I need another craft book!

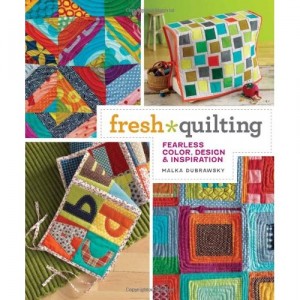
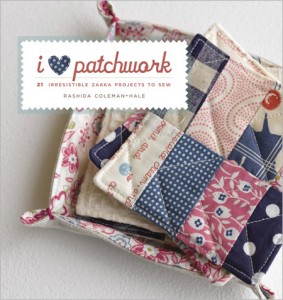
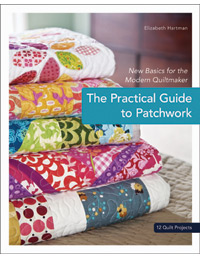
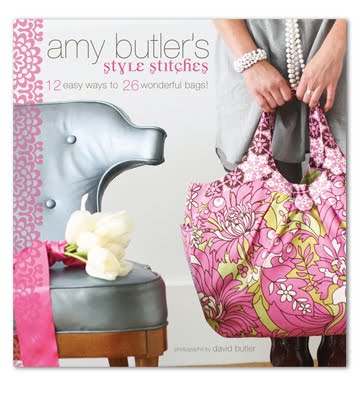
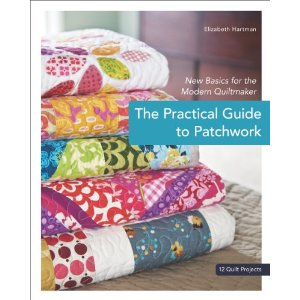
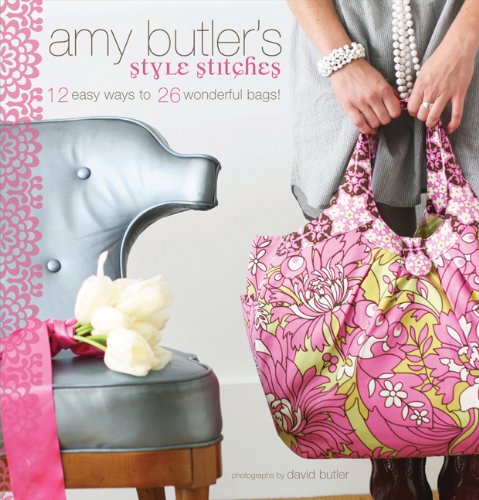
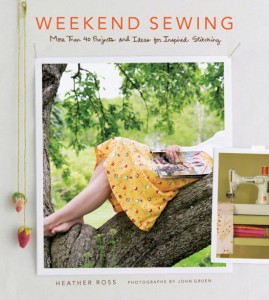
I have a bunch already, and I’ve promised myself to make projects from each over the course of this year.  So really I shouldn’t be getting more.  Buuuut some money in my online account thanks to gift cards and a coupon and things on my wishlist that are now published . . . well it all added up to placing an order.  In the end I only paid $20 for 3 books, not a bad deal at all.  Click images for the blogs of these creative ladies.

They should be here for March 9th at the latest, so says the confirmation email.  Just in time for March break when I have all those days off!

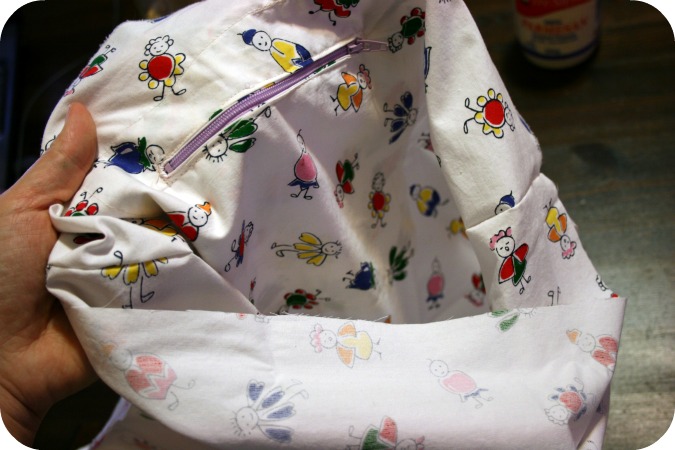
DIY – Adding a zippered pocket while lining your tote!

Ok, welcome those of you who are feeling adventurous!  Here’s my little part 2 on lining a tote where I’ll walk you through the steps to adding a zippered pocket to the lining.

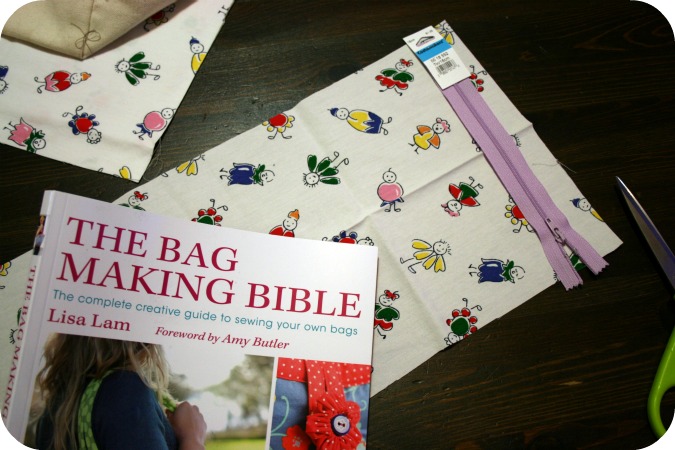
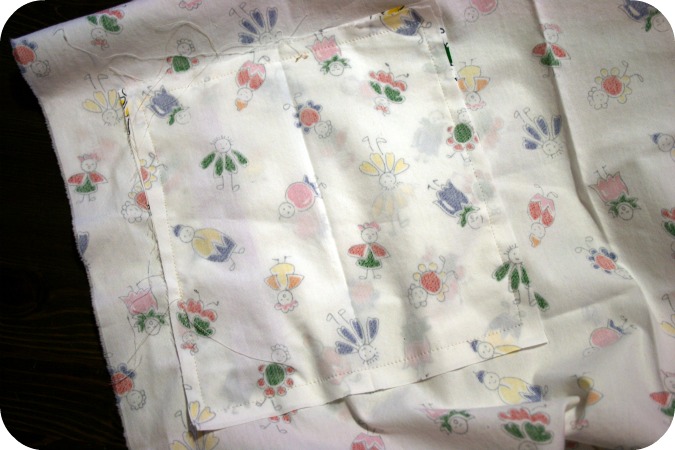
I cracked open my Bag Making Bible for this part and followed the instructions for inserting a zipper.  Lisa Lam explains very well,  I’ll give you enough information, hopefully, to tackle it yourself.  I used the panel of fabric I cut off the bottom to make my pocket.  I just folded it in half and cut it to have 2 squares to use for the pocket.

Decide how big you want your pocket and cut 2 pieces of fabric to that size, allowing for a 1/4 inch seam.  The zipper should be placed with about 3 inches on either side of the pocket pieces.  I didn’t know this, but you can just cut off the end of the zipper if you need to shorten it.

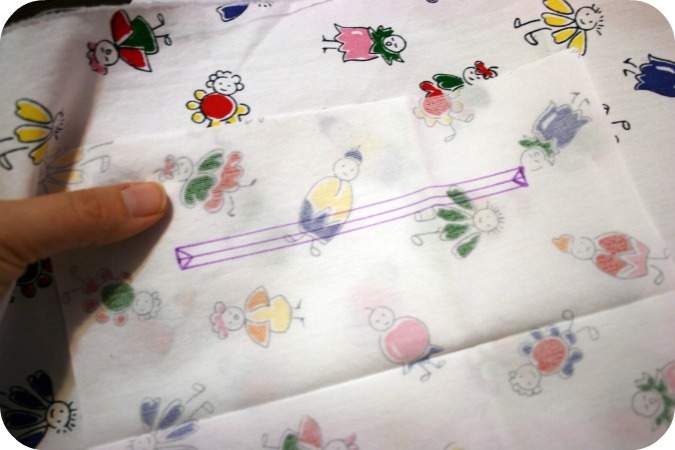
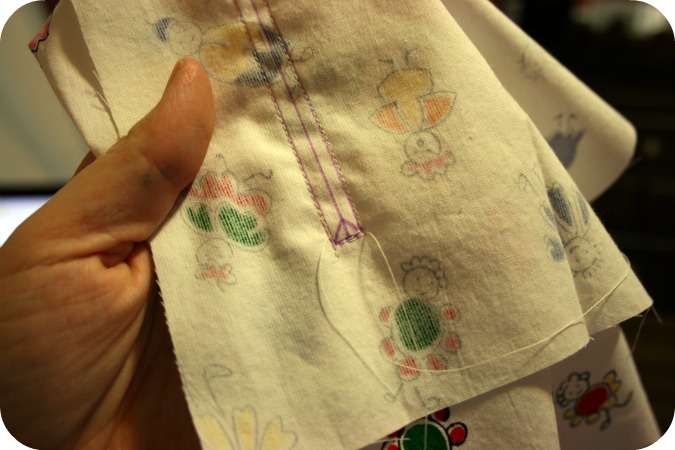
Place one of the pocket pieces right sides together on the lining piece where you want to have a pocket.  Trace out a rectangle the same size as your zipper.  Mark a line down the middle and those cute little triangles at the ends.

Sew along the outside of the rectangle, this will sew the pocket piece to the lining piece.

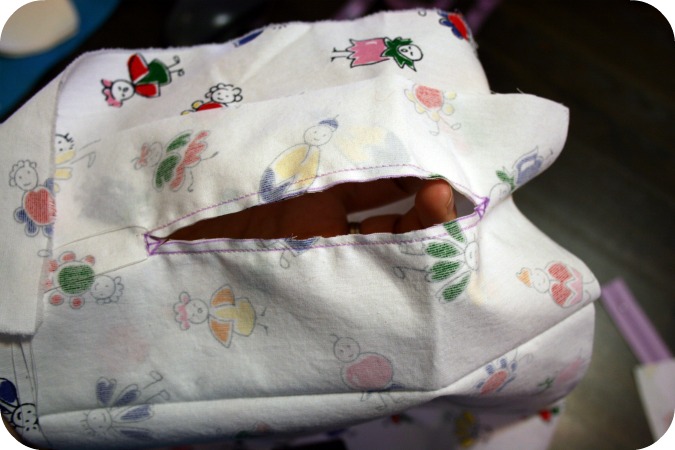
Cut along the guide lines you drew inside the rectangle, the half way line and the little triangles.

Next turn the pocket piece through the hole, as Lisa says “like you’re putting a letter in the post”.  Press to get a nice crisp seam.  Lay your zipper on the wrong side of the pocket.  The book suggested using double sided tape stuff to secure it, I don’t have that and just pinned it.  Use your zipper foot to sew along and stitch the zipper in place.

Lay the lining piece right side down and place the other pocket piece, right sides together, on top of the pocket piece with the zipper in it.    Sew around all four sides with a 1/4 inch seam.  This will stitch both pocket pieces to the lining fabric.

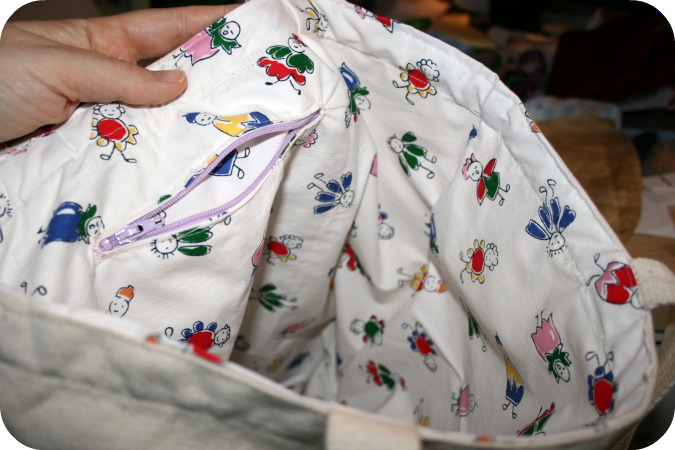
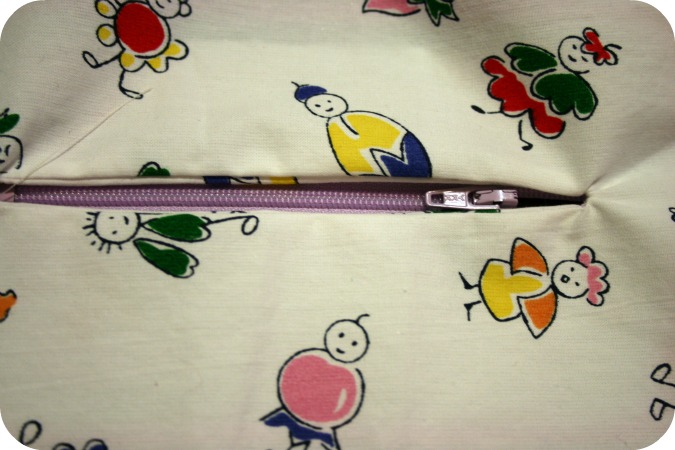
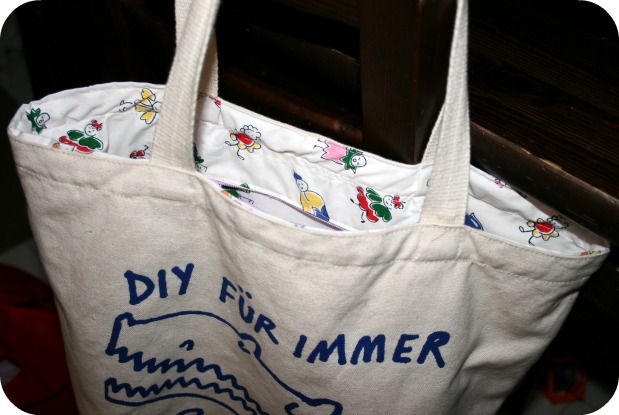
Flip it over and access the pocket through the zipper!  Voila!

Now head back to post part #1 to finish lining your tote.

DIY – Lining a tote!

I have this great Etsy tote I picked up at the Renegade Craft Fair in Chicago.  As a crafty blogger and shopkeeper I was so thrilled to have something with the Etsy name on it!  Normally I use it as my work/school bag.  Over the Christmas holidays I planned on relining it with some fun fabric.  Initailly I was going to use a vintage sheet, but then I thought of better plans for those where they’ll be seen more and settled on this cute little print I was given in one of those loads from a friend.  Those ‘oh I came across this at my house/mom’s/grandmother’s and thought you might be able to use it’ sort of things.   So here are some steps you can take to turn a simple tote you have into something way cooler.
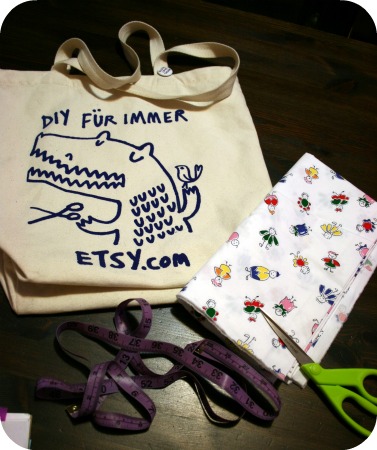
You will need a tote, fabric for lining it, tape measure, scissors, sewing machine and iron.

If you want to follow my Little Miss Fancy Pants steps you’ll also need a zipper.  Just in case you want to take the more adventurous path.

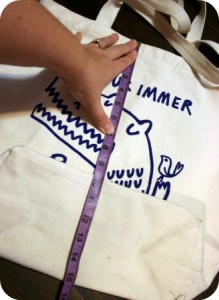
First measure your tote.  Measure the width and length.  My tote has boxed corners so I flattened the bottom out to get an accurate measurement.
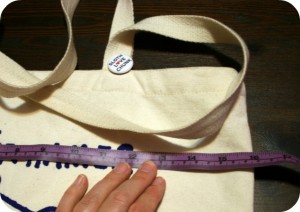
My tutorial contains some very technical steps so bear with me.  Mostly it’s me just making up things I think will work along the way.  Don’t worry, they do work.

Lay the tote onto the fabric you’re going to line it with and leave some seam allowance along the top and sides, 1/4 inch is good.
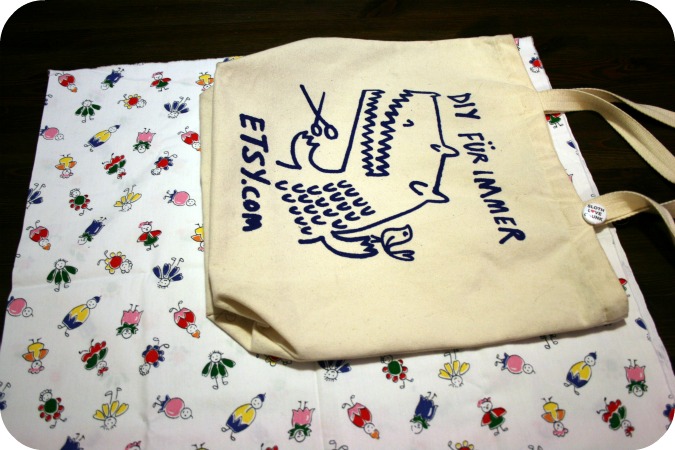
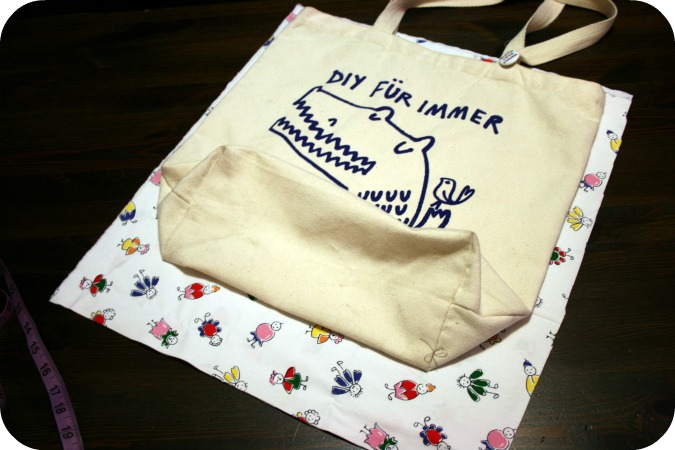
Because of the boxed corners I measured to the seam and added that measurement to the lining fabric.  Then later I had enough material to box the lining as well.  Mine was about 2 1/2 inches so that’s where I made my cut across the bottom of the lining fabric.  Cut down the remaining side to leave the 1/4 inch seam allowance.  Now you have your tote and 2 pieces to line it with.
*If you’re feeling up to adding a zipper I’m going to post those steps tomorrow in a part 2 DIY*

Otherwise carry on here!

Head to the sewing machine, lay the 2 lining pieces right sides together and sew around the sides and bottom, leaving the top open.
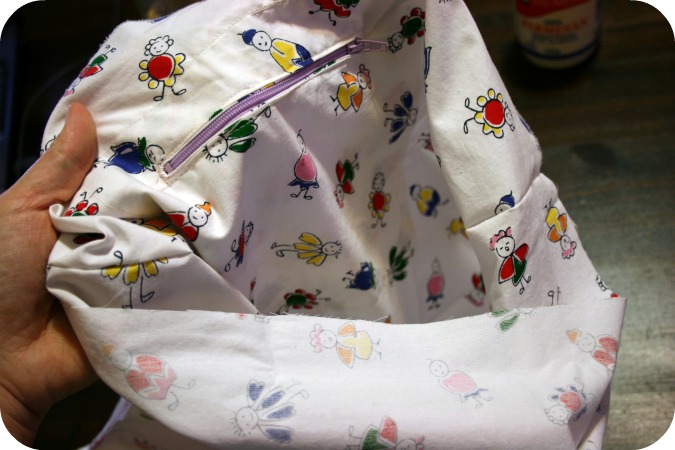
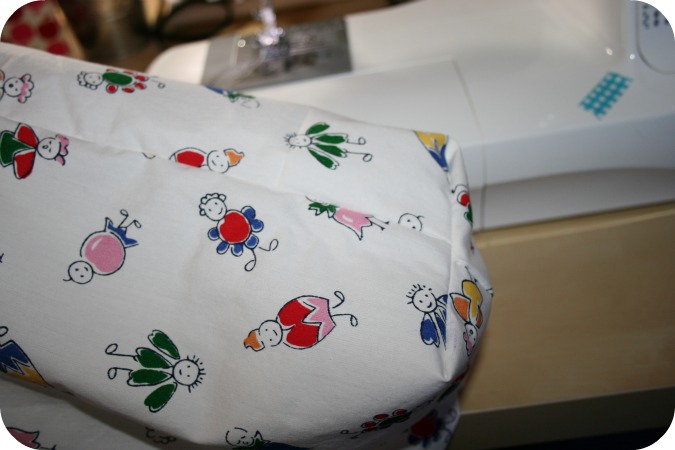
Now you will have this big pocket type lining piece (possibly without a zipper).  Can you tell I was screen printing with my lovely emulsion covered thumb?

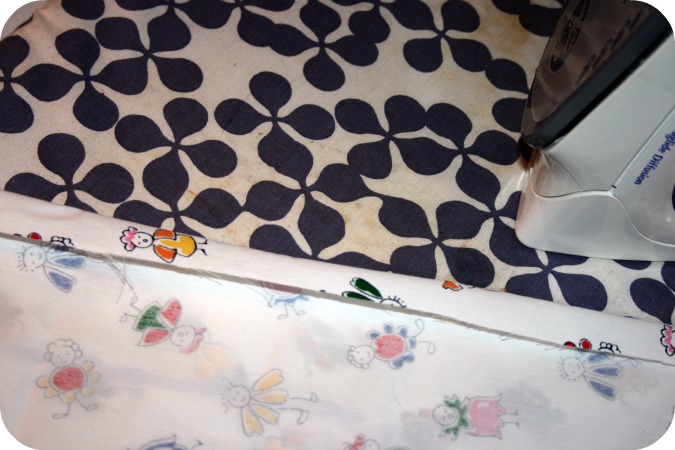
Fold over the top edge 1/4 inch and press.   I think I need to put ironing board cover on my To Sew list!
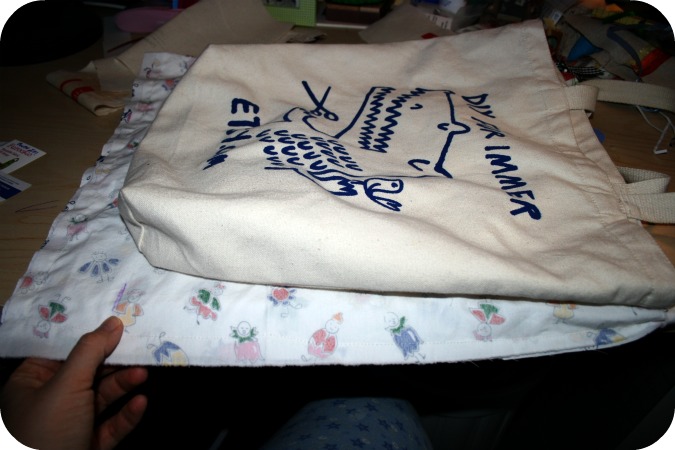
If your tote has boxed corners, lay your lining piece under your tote with the top edges lined up where they will be sewn.  Mark off the bottom of the exterior tote so you have a guide line to sew along.  Now note it was late at night and you can see my lovely jammie clad knee.
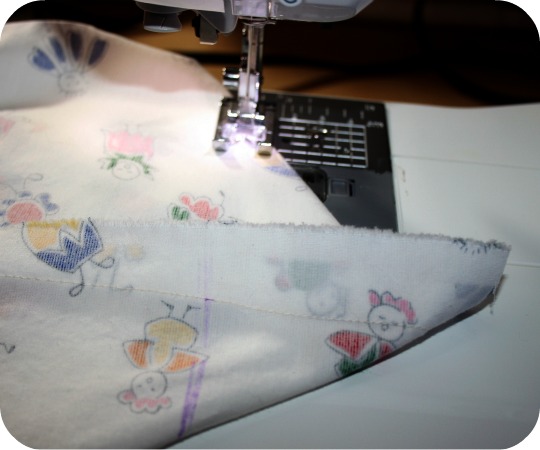
Fold the bottom of the lining at the mark line to make a squared bottom and sew straight across the tote to create a boxed corner.  You can trim that excess triangle of fabric off or just fold it under.
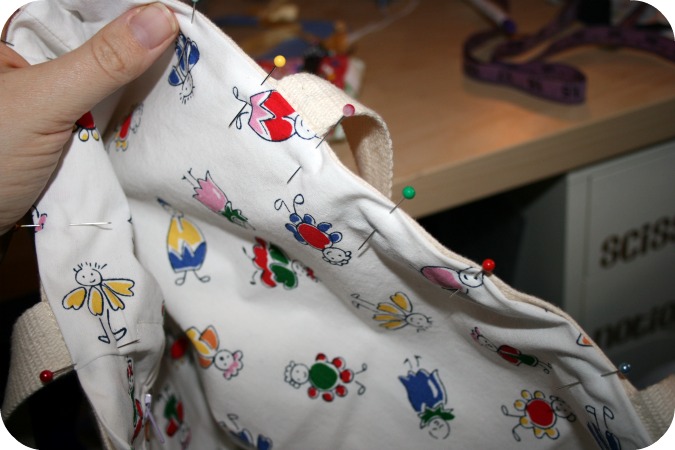
Now plunk your lining inside the pre-made tote exterior.  Make sure you get the boxed corners down deep in the tote and pushed in at the corners.  Match up the top seams of the lining and tote and pin all around.
Go back to the machine and sew all around the tote top edge with a 1/4 inch seam allowance attaching the lining to the tote!
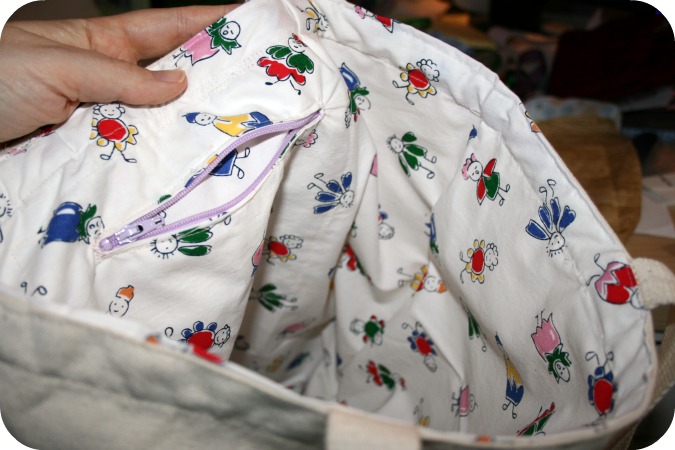
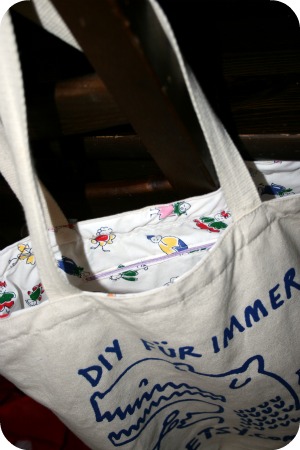
Behold your newly lined tote!
Crafty British imports part 2

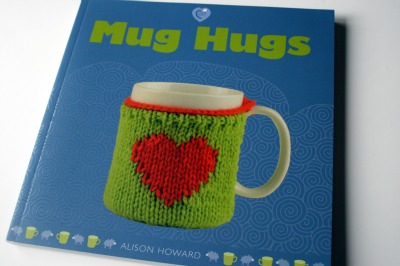
Behold the other fun little book I ordered from waaaaaaay over there!
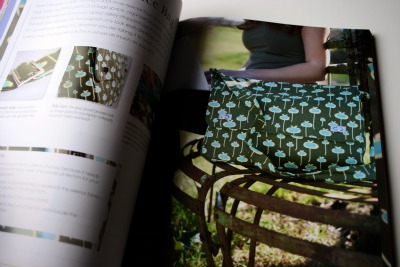
Now for the ridiculous part (aside from ordering it overseas and then having my Mother In Law carry it all the way here) is that I can’t knit. But I totally plan to learn now. I mean how cute are these?!
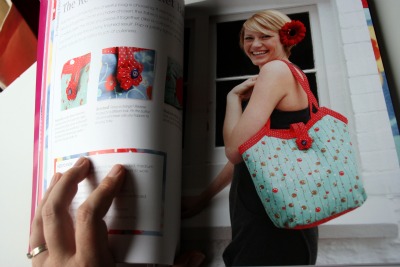
Good thing I work in a profession that is mostly women. I’m sure I can bribe someone at work to teach me the ropes!

Crafty British imports part 1

A little while ago I stumbled upon some really fun looking craft books I wanted to order.  For some crazy reason I couldn’t find them here but I did stumble across them on Amazon UK.  Lucky me my in-laws live just outside of London right now and so I ordered and had them pile them into their ‘returning home for a Christmas visit’ luggage!

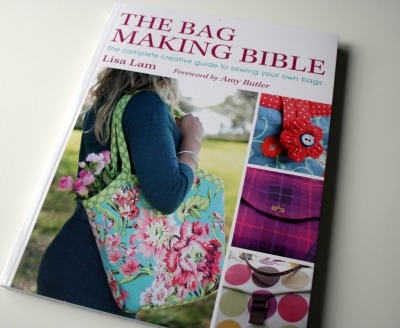
This first one is absolutely PACKED with information.  I’ve only flipped through it once so far, and the kids were around so it wasn’t exactly a ‘deep’ reading but I love it!  It’s called The Bag Making Bible by Lisa Lam of U-Handbag and has a forward by Amy Butler.  I have to admit, despite my newfound love of creating bags, I had no idea about her site.  It is also fabulous just like her book! Sadly it seems the book won’t be available this side of the pond for another month or two so hope you can wait (or have a British connection).

I *must* make this one, it’s like a grown up messenger/laptop/purse/bag/awesome thingie.  I need it.  The instructions are fantastic in this book and it really explains in detail how to use all sorts of fun hardware that really enhance the appearence and functionality of the bags.  Some of the things I don’t even know the names for, so I guess the book will help greatly!

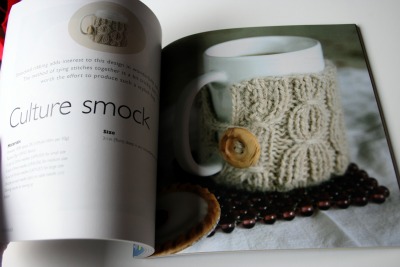
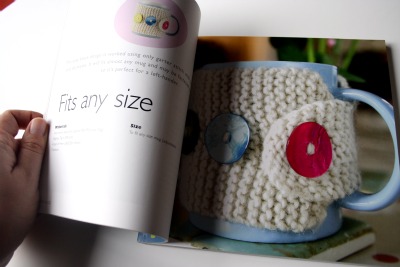
Here’s another glimpse inside.  The fabric choices are fantastic too!  I think I might have to make another tea and go curl up with this book again.

Lisa also has a section of free tips on her site if you’re in need of some info or if you’d like to preview her informative and entertaining writing before you rush off to try and get your hands on a copy of this gem!

Another craft book? Ok!

Thanks to cashing in on some airmiles I was able to wander to the book store and browse for a book to spend my gift card on. But, let’s face it, I already knew I was going to head right for this one. Do I need another project? Not really. Another bag? Nope. Another craft book? Sure!

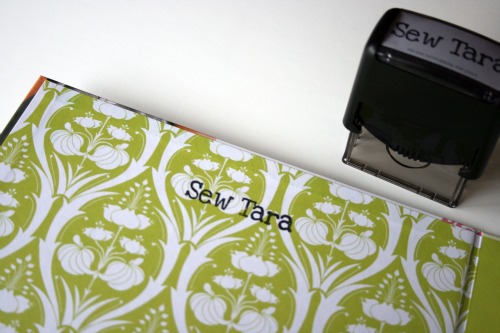
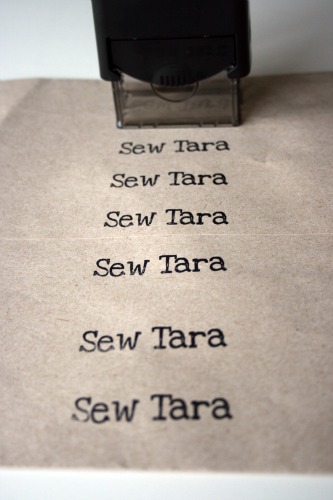
I’ve already used up all my lovely Cabin & Cub book plates, but coincidentally today my custom stamp from here and it’s soooo cool!!  I had it made with the Love You Like a Sister font that I’m totally crushing on.  I donated $5 to the wonderful creator of it, she’s saving to adopt a child and really appreciated the money.  I figured since I’m using it all over the place it’s a good thing I did that way back when.

I’ll edit this tomorrow and add a photo of the stamped inside page but I’m too lazy right now to fetch the camera, take the pics, copy off the card . .  blah blah blah.

It’s so fun to use!!!!

I’ve been stamping EVERYTHING!!

Just kidding!

What’s your crafty book stash look like?

I’ve slowly been growing my craft and sewing book collection since starting my blog. Right now I’ve got many, some I haven’t even really looked in yet, let alone created something with. But that isn’t stopping me from dreaming about these 2 gems.

I really, really want Amy Butler’s new book to fuel my bag addiction and stick to my promise that I can only have a new bag if i made it myself!

Click the images for a link to read more, or spend your money if you’re in Canada.

“Hi this is Heather Ross”

So I was giving Nate a bath, which is strange because I usually have both kids in there, when hubby brought me my cell. So I say “Hello?” while multitasking and the noise of a splashy bath is going on around me. “Hi Tara. It’s Heather Ross“, and I reply, “Oh! . . . Hi”. It was so strange.

She had a sale on September 15th, thanks Keyka Lou for the heads up. Somehow I actually remembered and popped online to fill out the little request form. Apparently she sold out in 2 hours last year so I figured it must be good stuff and I was going to be part of it. So I filled out a form and said I’d like odds/ends/scraps to have fun with. Somehow something went wonky with my form, hence her phone call.

So Heather says, “There’s a problem with your address on this form. It starts out with a house number and street name and then it says blahblahblahblahblahblahblahblahblahblahblahblah California”.

“Oh” I said, “well that’s strange. Wait, it actually says ‘blahblahblah’?” I ask.

“Yes” she replies. Then she told me how her wonderful assistant was talking to her from behind his computer and said to her, “Hey this address is weird it says blahblahblahblah. . . ” and Heather said something like “Can you read what it really says? I might be able to help if I know what it actually says” Then he told her that was in fact what it said.

Guess there was something silly going on with the form, maybe because I said Ontario, Canada or something. I have been tired lately but I’m pretty sure, as I told her, that I didn’t actually type 12 blahs into the form. Good thing the phone number field worked. Now I realize I was on the phone with someone kinda famous, fabrics, cool items and books. She makes cool stuff.

Now to await my fun package!

I know I posted about this already but I can’t resist some more . . .

Emily has the most fun stuff in her mega giveaway right now!

Here are some of the things making their way onto my wishlist.

This one has most of my favs. The camera tote from Jo Totes, the crafty books, and the fun print that’s begging to be put in my craft space.

Another fun print.

Sadly for us poor little Canadians, you have to be a US resident to enter. Perhaps you can bribe a friend you have across the border :)

Curse you Handmade Beginnings, and my creative brain!

I’ve been crazily crafting lately!  I think of something, make it, and as I’m finishing or ironing or stitching new ideas about it pop into my mind, modificiations/enhancements/things to change . . . OR just a whole other project idea entirely!! It’s hurting my head.  It’s also starting to take it’s toll.  Last night, despite promising myself, ‘just 1 more show while I craft’ I ended up heading to bed at about 1am.  Which is ok if your 19 month old doesn’t wake you up at 6:20 :/  I’m hoping I can just keep going until my sleep in day on the weekend, at this rate it will need to be Saturday.

So here are some of the things occupying my time.

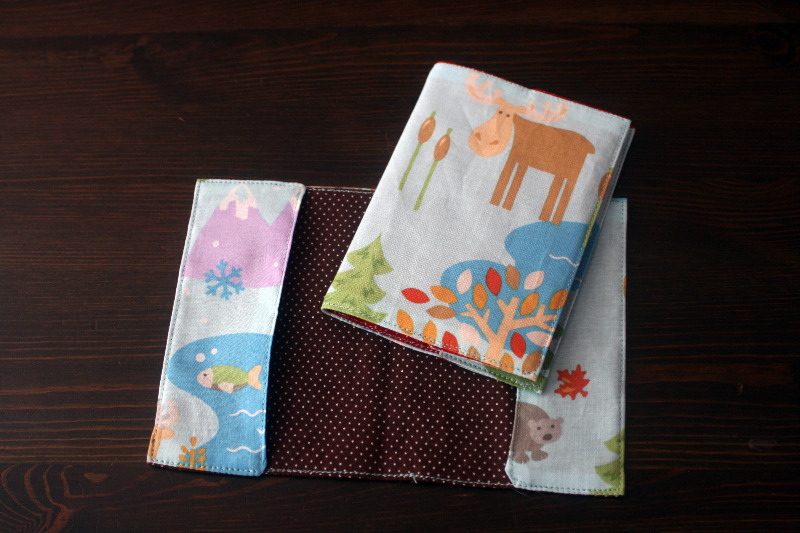
I’ve also been working on passport covers.  Not sure what lead me in that direction, I suppose I want to travel.  In the past 5 years I’ve been to so many places – Cuba, the Netherlands, Egypt, England (a few times), France, Germany, Spain on the last day of school everyone was asking me where we were going over the summer and I said ‘nowhere’.  People were surprised.  We were in England and Spain last December but I hadn’t returned to work yet so they didn’t really know about it.  So I suppose instead of traveling this summer I’ll feel like I am and create us some cute passport pockets, and some for my shop!

Made these for my boys, the print is super cute it’s all full of Canadian things, maple leaves, beavers, moose, fish, and landscapey things it’s super fun.  I’m making Nate some reversible pants out of it as well.

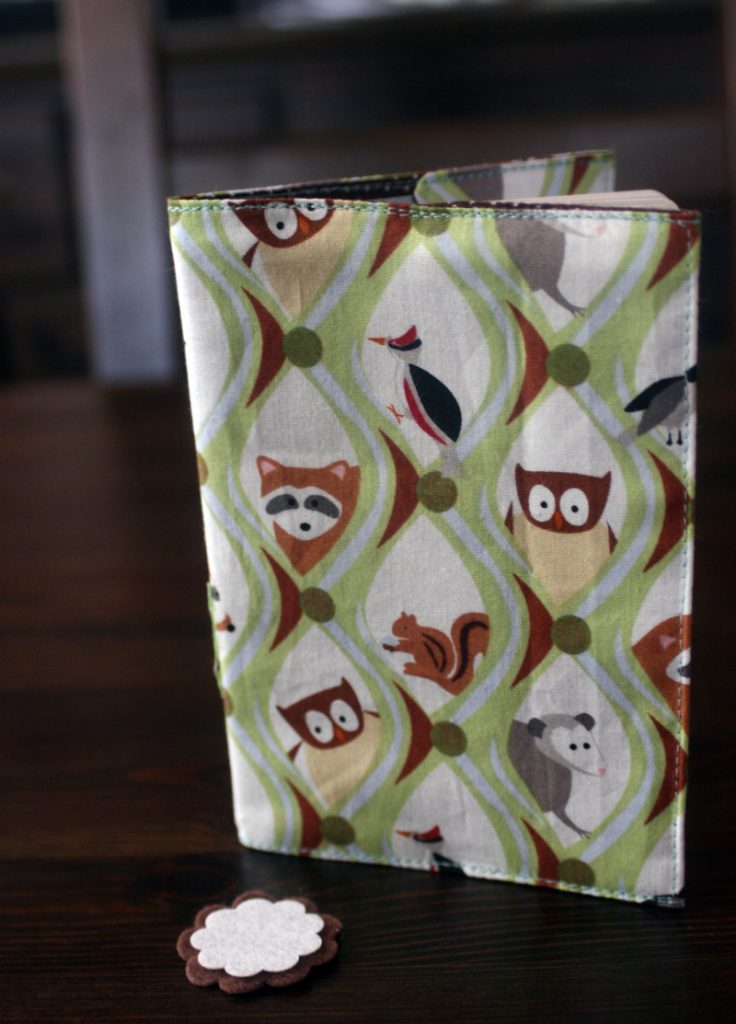
Initially I made this one for me but now I’m amending my design and might have to create another one for me.

The little cut out felt is for a monogram but I’m not sure where to place it without covering a cute animal peeking out!