Category Archives: embroidery

Beyond Thread and Floss begins!

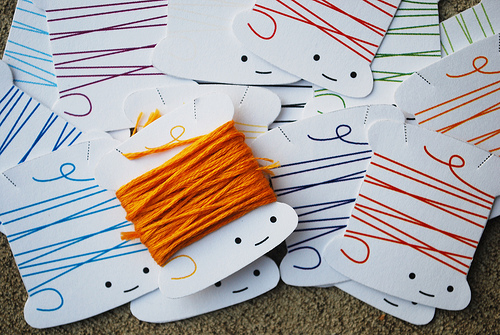
Starting yet another online class!! I think I’m addicted.  This one is all about cute stitching in fun and different ways.  I just love keeping the creative ideas rumbling around in my head by keeping projects on the go.  So Mollie, over at Wild Olive, is our lovely teacher and I just joined the flickr group in anticipation of needing to post things there.  Then I found these cute little fellows!

You can hop on over to her blog to download and print them for yourselves. She posted them waaaaay back in November when my blog, this creative journey of mine, was still just a little baby so I guess I totally missed it. I can barely keep up with all the crafty/arty/fun blogs in my RSS let alone go back and see what they were talking about pre-SewTara! On that note, off to be creative.

Idea from IKEA!

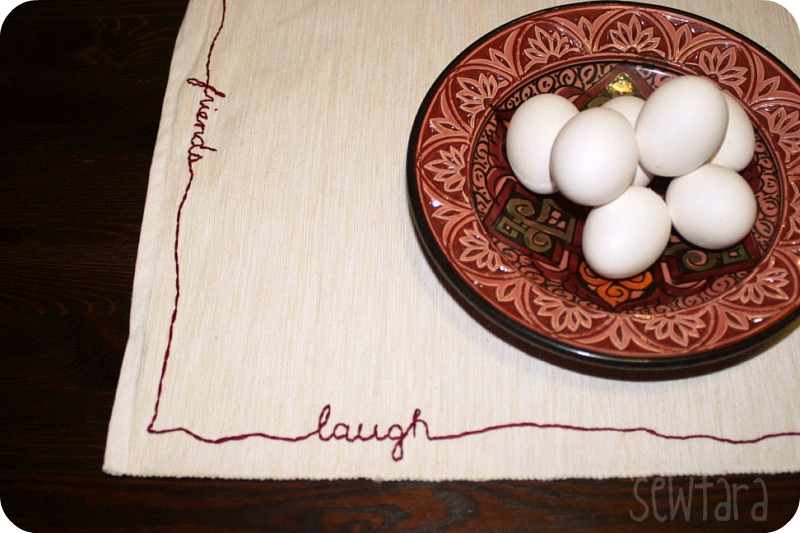
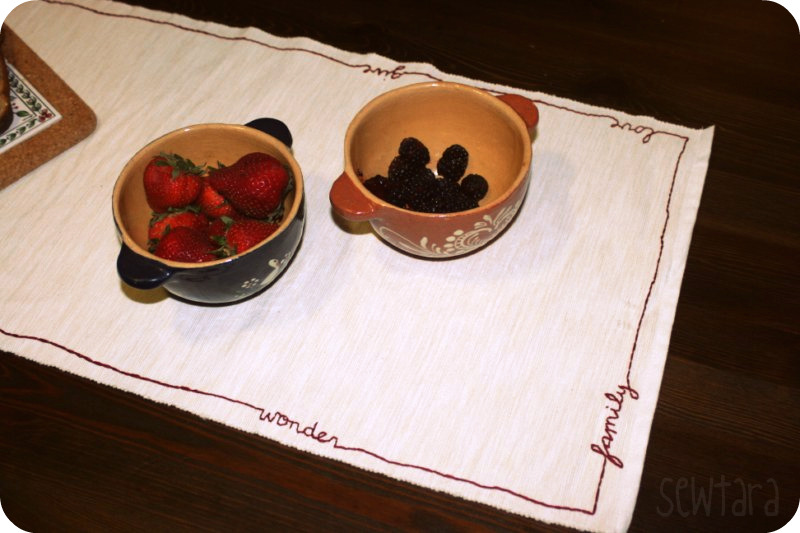
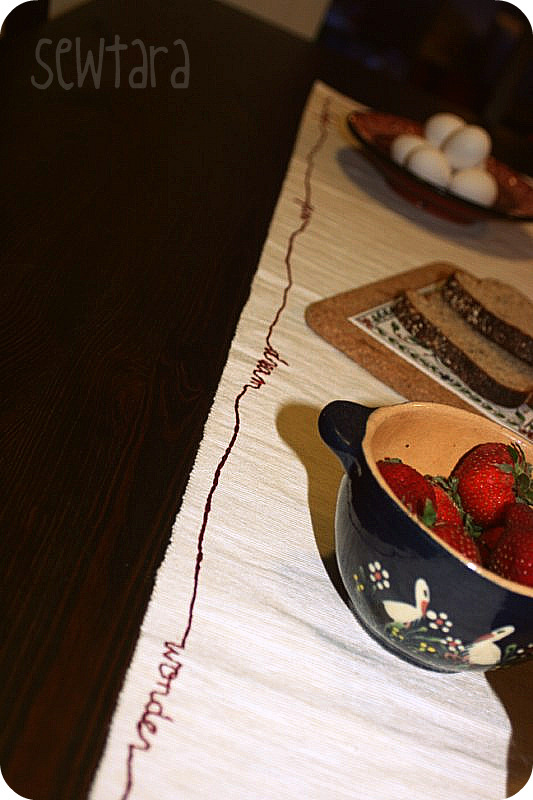
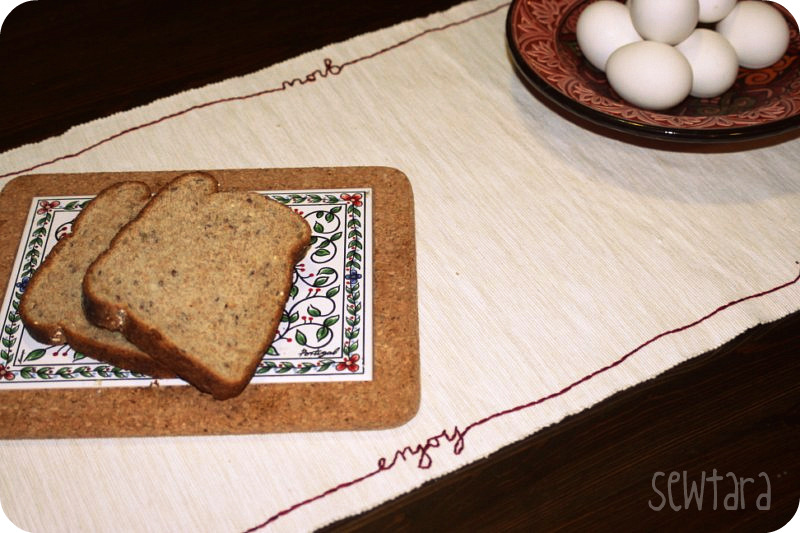
A while ago my friend and I were browsing IKEA and I picked up this table runner figuring inspiration would hit.  I’ve been wanting to make a table runner for ages, I’m dying to make this one but can’t collect all the required fabrics.  Instead I decided to embroider the $4.99 IKEA one with some inspiring, warm and fuzzy words.  I chose a dark burgundy red-y colour because I liked it and thought it would look nice with our table.  Finally finished it the other day!

I thought I had run out of floss on the very last section with about 5 inches left to stitch!  I wasn’t impressed.  But then I found a little blob of floss that had slipped behind the tissue box.  I was so happy, it doesn’t take much lately.

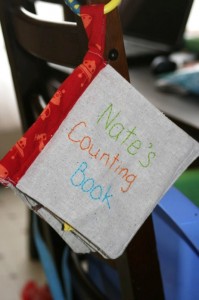
Nate’s cloth counting book – all done!

I spent some time this weekend finishing the book I started for Nate.  I just had little bits and pieces to finish and was sort of procrastinating on it.  But last night I set to work and got it all done!  Then I set it out for him to find in the morning.

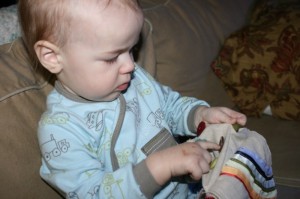
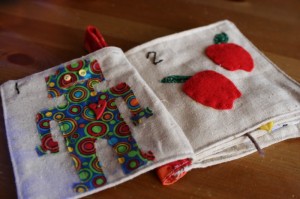
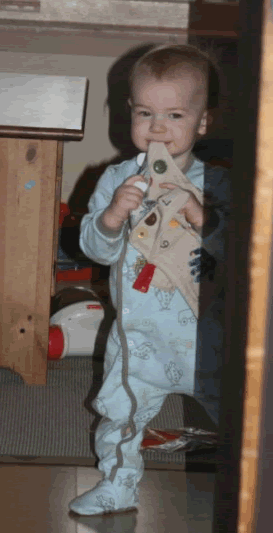
He absolutely loves it!  I’m so happy.  He’s really into touch and feel books right now so I guess it was well timed for now.  He loves the 8 page which has buttons on it.  Here’s a glimpse at each page.  It’s a bit different than the one I made for Cassie.

1 robot and 2 apples

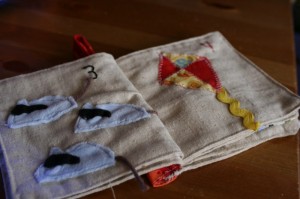
3 blind mice and 4 triangles in a kite.

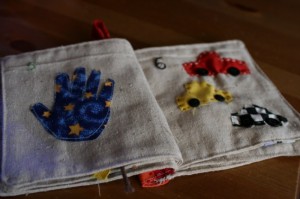
5 fingers and 6 button tires (which Nate also loves).  Wesley said there was a taxi car on this page, total fluke but cool he thought that.

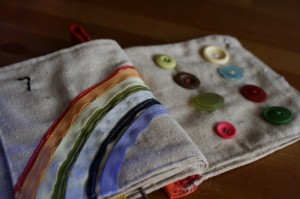
7 colours of ribbon in the rainbow and 8 buttons.

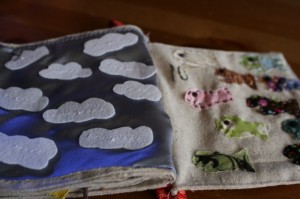
9 clouds in the sky and 10 fishies with button eyes.  Despite the button eyes Nate’s not too impressed with this page.

Apparently the button page is tasty too.  Good thing the book is washable!

I’m going to start making these to sell, just have to get around to the Etsy custom listing.  I’ve already got a request for 2, if anyone else wants one for their little one or someone else’s little one let me know!

Stitched cardigan.

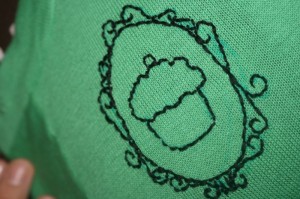
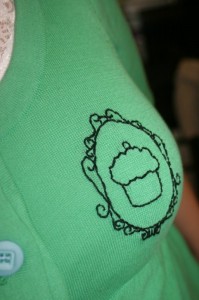
Went thrifting a while ago looking for things for my Style School assignments, idea by Elsie.  I found a cute little green cardigan with sort of flared sleeves and hideous buttons.  I’ve had it around for a bit because I couldn’t decide what to embroider on it.  Then I figured I couldn’t go wrong with a cupcake!

I wanted to do a silhouette sort of thing so first I Googled images of cameos to find something to base a frame on.  My blue wash out fabric marker didn’t really show up too well on the green sweater so I had to free hand here and there.  I’m happy with the frame and cupcake outline but once I took the hoop off and slipped it on I’m not sure I’m happy with the placement of the design.  It’s a little low I think and not very crest-like, more breast-like!  Might have to do some restitching tomorrow.

Friday’s productivity.

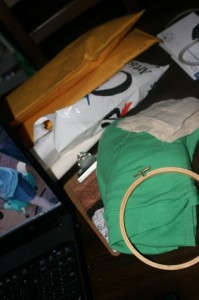
This was my pile of crafts and related to dos that I brought up to the kitchen table figuring I could get more done upstairs while home with the kids.

Considering we spent the morning at a drop in play, stopped at Staples, came home for Nate’s nap, and I took the kids to indoor play for about 1 1/2 this evening I had a pretty productive  creative day!  They didn’t have baths like I planned but a load of laundry got done, the dishwasher was unloaded and reloaded and dinner was made . . . wait! I even swept and mopped the floors!

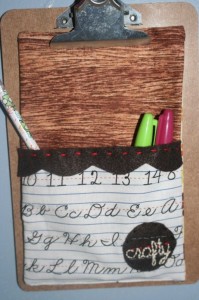
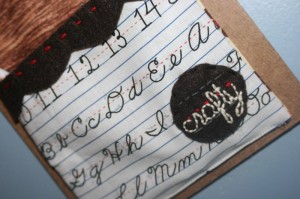
I finished this Style School project from way back when.  I found the clip board while poking around in a drawer and it was perfect for what I wanted.

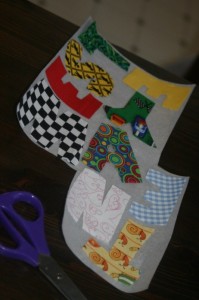
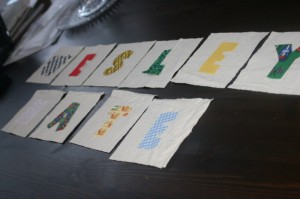
I got a start on the bean bags I’ve been wanting to make for the kids.  Had the letters cut out for a while, so I was able to stick them to my Steam-a-Seam and line them up on the fabric.  Didn’t actually get to the iron yet, which is in the basement.  See I get things done upstairs!

I’m still unsure about what to use as a filling.  I suppose taking things too literally, I assumed I would just go to Bulk Barn and get beans.  Then I did some reading online and now I’m unsure.  Rice was suggested on one site, even going far enough to say you can wash rice and just air dry it and all will be fine.  Not too sure about that one.  So I’ll research more before the actual filling of the bags.

Didn’t actually mail my Happy Mail envelopes yet but they’re mostly ready to go.  I did send off the little card/note that is to go first.  Put them in a mailbox and everything!  Went to Fabricland and got some interfacing and minky stuff for more baby blankies.  I bought sticker paper at Staples and printed the fun free designs Elsie gave us at the end of Style School.  I jazzed up the binder I used for that class and updated it since I’m going to use it for Indie 2.0.  I tracked down a tote bag I’ve been looking for.  I didn’t get to embroidering my thrift store cardigan, carving more stamps or embroidering the cover for Nate’s counting book but I’d say I had a pretty darn good day!

OH! and this is my second post today!

Upcoming crafts and nothing to do with crafting.

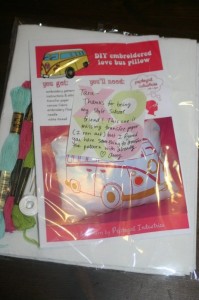
I got mail today!! *insert happy dance here* It’s from my Style School buddy, Peptogirl. I shopped in her store. I’m a good Style School buddy.

I’m resisting packing it to take to work as I will probably spend my entire lunch hour stitching and not get any prep for my classes done.

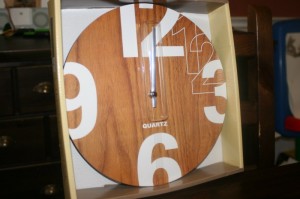
I also found a clock to reface for Style School. I have my idea all planned out, but it involves spray painting the clock and I get in trouble to stinking up the house so I have to be strategic about when I do it. It’s a bit bigger than I was thinking but it was on clearance and has a flat front.

And in an entirely uncrafting related segment may I present my son Nate eating chocolate pudding on his own. Monday was Family Day here and *most* people had the day off to spend with their . . . families! All four of us stayed in our jammies all day and just puttered around the house doing what we wanted, with some olympic watching couch snuggles here and there. I invited my mom for dinner, because she’s family, and pudding was dessert. Needless to say Nate was the one who broke our jammie day and ended up needing a change of clothes, and a bath!

It’s a tad out of focus but I had to act quick as he was flailing that spoon about a little too much.

ARGH! . . . and finished!

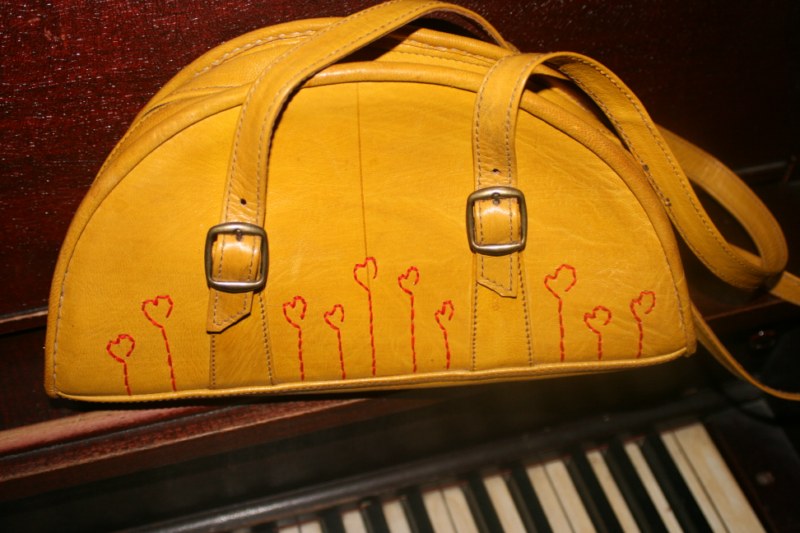
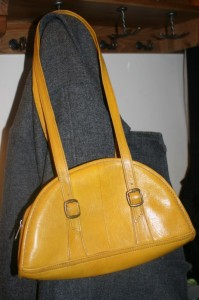
Ok, I got brave (and had some time) and tried my bag revamp project today.  I had no idea how to sew through the layers, and it wasn’t easy.  I had to abandon the plan to use yarn as Elsie suggested. I couldn’t get the needle through with the yarn in the eye as well. It took about 20 minutes to stitch one stitch and that was with a a paper piercer, a metal thimble and 2 plastic-y ones that would grip well, wrapped around the end of a set of pliers to try and pull the needle through! So, I gave up, pulled out the 1 1/2 measily stitches I had in it and went at it with embroidery floss instead. It was still a bit tricky, took me an entire movie to complete, but I’m really happy with it and can’t wait to use it! I’m hoping it’ll make someone smile, how could it not? A bright yellow bag with cute little hearts on it!

I might be addicted,

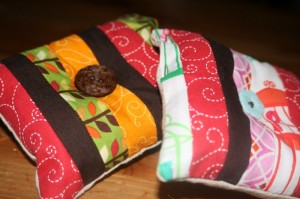
and it’s LA’s fault! Thanks to her tutorial, and such a cute little idea, not only have I made one to send to my swap buddy but I’ve also made these other 2.

I’m sure there will be more. I’m already compiling a list of family and friends who sew so I’ll have homes for all of them!

I also found a supper cute bag for my Style School vintage bag embroidery type project. I’m a little worried about how tough it’s going to be trying to sew through the bag. But I did buy some strong needles and a thimble to help me get through it. Hopefully a movie on the couch will help too.

Valentine craftiness! Conversation heart pillow tutorial.

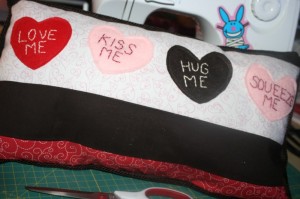
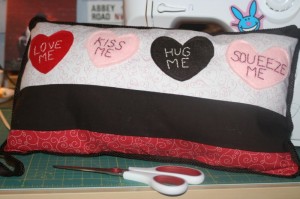
Finally I finished my Valentine inspired quote pillow!  Once again putting me crafting late at night when I probably should be heading off to bed.  Instead I will make the world a better place and tell you how I made it in case you’d like to brighten your space with this cute little throw pillow.  Not only is it a pillow it’s a cute little message for my family since my husband or kids are welcome to follow the instructions anytime they like!

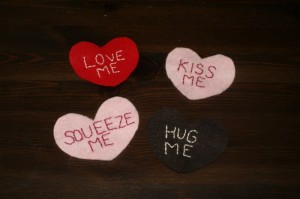
Sooooo first you need some hearts.  I cut 4 hearts out of pink, red and brown felt.  I just used the trick of folding the felt in half and cutting half a heart.  You could get fancy and use Google images to find a heart template to trace if you’re afraid to free hand it.  Then I embroidered the sayings onto the hearts with different colours, pink on red, fuchsia on pink, cream on brown.  I was sort of basing the sayings on a little thing my dad and me used to say so I needed 4.  You could have more of less hearts, bigger or smaller ones,  just depends on what you want on your pillow.  But you can still follow this horizontal stripe idea even if you change it up a bit.

Gather some heart/love themed fabric (part of why it’s taken me so long to complete this project) and fuss about which ones to use and how (another reason it took so long).
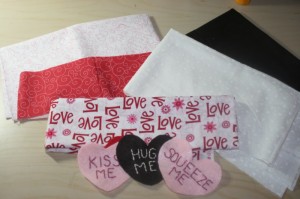
I decided to use the Timeless Treasures fabric again since this pillow will go on my bed with my “Sew in Love” and “Oh” pillows.  Wow, I can’t believe I have 3 decorative pillows on my bed . . . and they have names . . . ok, back to the turorial . . .
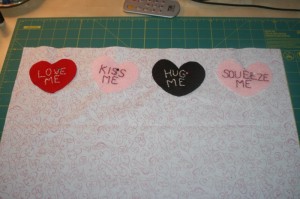
Pin the conversation hearts onto the backing fabric you want and get a feel for the placement.  I cut a piece for the back from brown fabric and decided on 20 x 13.  Think about how big you want your pillow and cut backing for that size.  Because I was going with a length of 20 inches I trimmed the swirly heart fabric to 20 inches and then just cut under the conversation hearts where I thought seemed nice and even with the top.  Then I added a band of brown to the top, bottom and the red swirly Timeless Treasures.
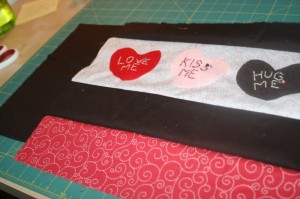
Once again, I was very scientific – I just added fabric until it was the same size as the back, trimmed it down so they matched and carried on.  The 2 pieces were basically 20 x 12.  There was some loss in the trimming.  So add horizontal stripes of fabric until your front is the same size as the back.  I had 4 stripes in total, yours is up to you.  I had gotten some piping for along the perimeter of the pillow to jazz it up a bit.  I wanted it to be different from the other 2 on the bed so I went with the piping and rectangular shape.
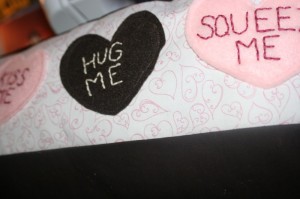
I was going to hand sew the hearts onto the backing fabric using contrasting colours but in the end I decided to have the stitching be nearly invisible.  So there I was changing my thread and bobbin a few times to get the right coloured thread, but it was worth it in the end.

I have never used piping before and the lady at the fabric store suggested sewing the piping to one side before putting the right sides together.  I followed her advice but I’m not sure it made things any easier.  It was finicky work and since you can’t really see how close to the piping the stitching is I found it annoying.  I stitched it to the front piece first thinking that would make a nicer edge on that side.
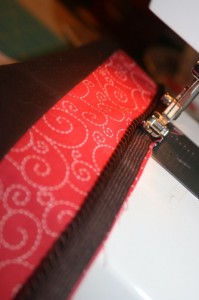
Lay the backing on with right sides together and stitch around leaving an opening for turning and stuffing of course.   Trim the corners so you’ll have a nice crisp edge when you turn it rightside out.  I turned the pillow, pushed out the corners with my trusting stuffing tool (aka chopstick), use what you’ve got.  Then stuff your pillow through the opening.  Once it has reached it’s desired fluffiness you’re ready to sew it closed.  I did this part by hand just to make sure the front was kept nice and clean looking.  The backing only has to be stitched to the piping part, I was a bit picky about mine but I wanted to keep the stitches virtually invisible so I probably fussed more than I needed too.
Moda – yet another crafty addiction

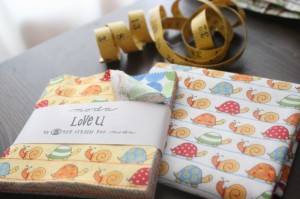
Ok, shopping online is way to easy and fun.  You can find things you wouldn’t be able to get otherwise and then one day you check the mail and SURPRISE! you’ve got a little present waiting for you!  Too cool.  This week I got some fabric in the mail (not the first time that’s happened) for this child’s activity bag project. I thought it would be nice to make a little tote bag for the boys with some fun activities in it that we can . . . tote around with us. So off to ebay I went to order what I needed, and a few days later it arrived!

I’m still dying to make this stripey table runner but I’m having a terrible time finding a 1 Figgy Pudding Honey Bun and a 1 Moda White Jelly Roll. But guess there’s lots of time before Christmas.

I finally got the fabric I needed for my Valentine themed craft. I’m hoping to get it finished over the weekend, but here’s a little glimpse of the felt embroidered pieces that I’ve already finished.