Category Archives: tutorial-ish

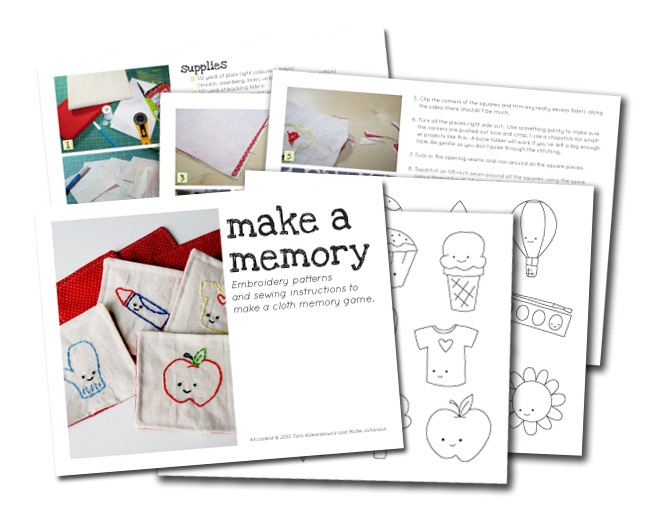
Make a Memory, the secret project revealed.

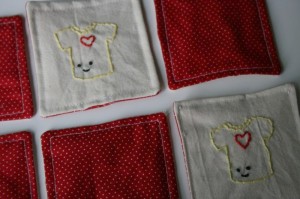
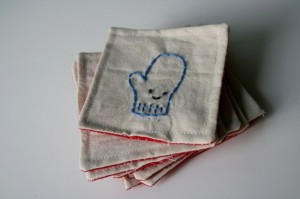
Ok, I can spill the beans now, the cat is out of the bag . . . insert other silly saying here. Mollie of Wild Olive and I have been busily working on a project together. I had this great idea to make a cloth memory game, something that would last a while and be special because it was handmade. I sat down to sketch out some ideas when it occurred to me that she could make drawings waaaay cuter and better than I ever could, so I sent her an email and asked if she’d like to be part of a collaboration. I was thrilled when she said yes.

As I’ve said before, I’m not familiar with a graphics program, nor do I understand the magic behind making PDF patterns (both on my To Do list I might add) so I figured teaming up would solve those problems. I had the idea and did the sewing, instructions and photos and Mollie added her fantastic designs and technical know how. The PDF is for sale in my Etsy shop, as well as Mollie’s where you can check out her other fun embroidery patterns.

Got some spare time this week? I’ll show you how to make some Trick or Treat bags.

Of course, like most projects, I’ve been meaning to get to this one for a while. I finally managed to squeeze it in this weekend.
I wanted to make the kids some bags to collect all their candy in that they could use for a few years. I find most things out there are cheaply made or too big for their 4 and almost 2 year old hands. Soooo off to the cutting board I went.

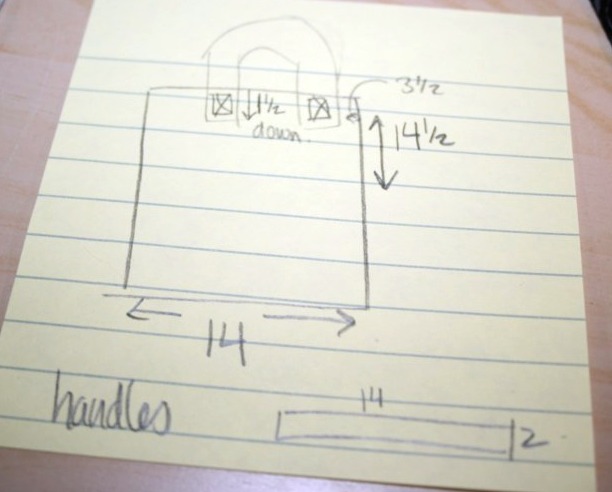
Here’s my high tech diagram. I really need to learn some sort of graphics program . . .

Measurements are in inches. That’s the handle placement I used, seems to be fine.

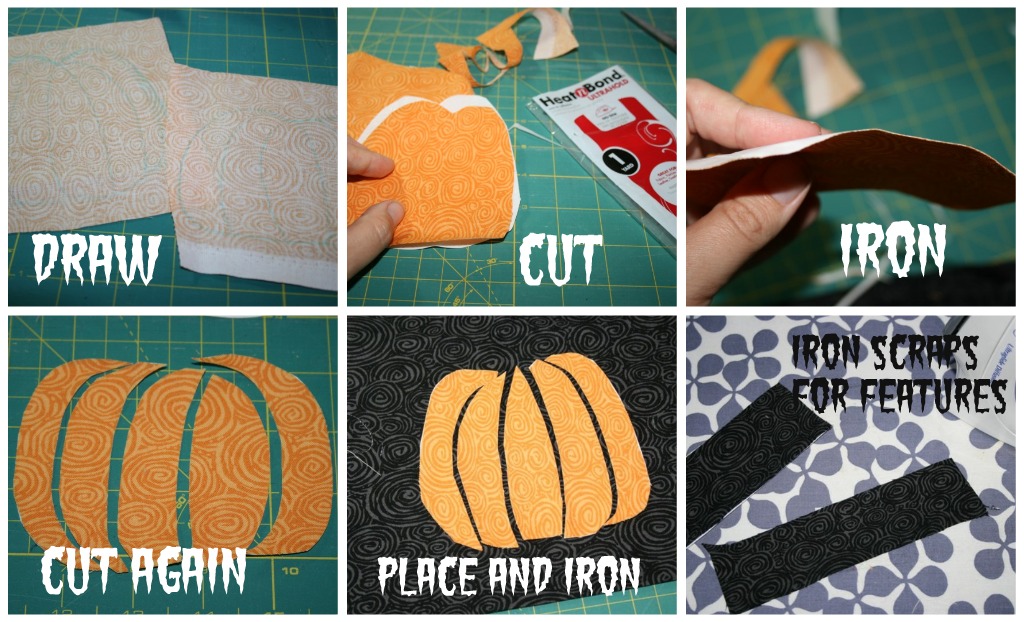
I used washable marker to sketch out some pumpkin shapes.  I just free handed it but  you could search for images or choose another design all together.  Cut them out and fuse them to a new sew adhesive, like Heat and Bond.  I wanted the black lines to show through on my pumpkin so I cut it up into a little puzzle and pieced it together on the front of the bag.  Then ironed it on.  I used some scraps of black and fused them to the Heat and Bond and then cut out some features.  Guess I was on a roll because I don’t have pictures of that step!

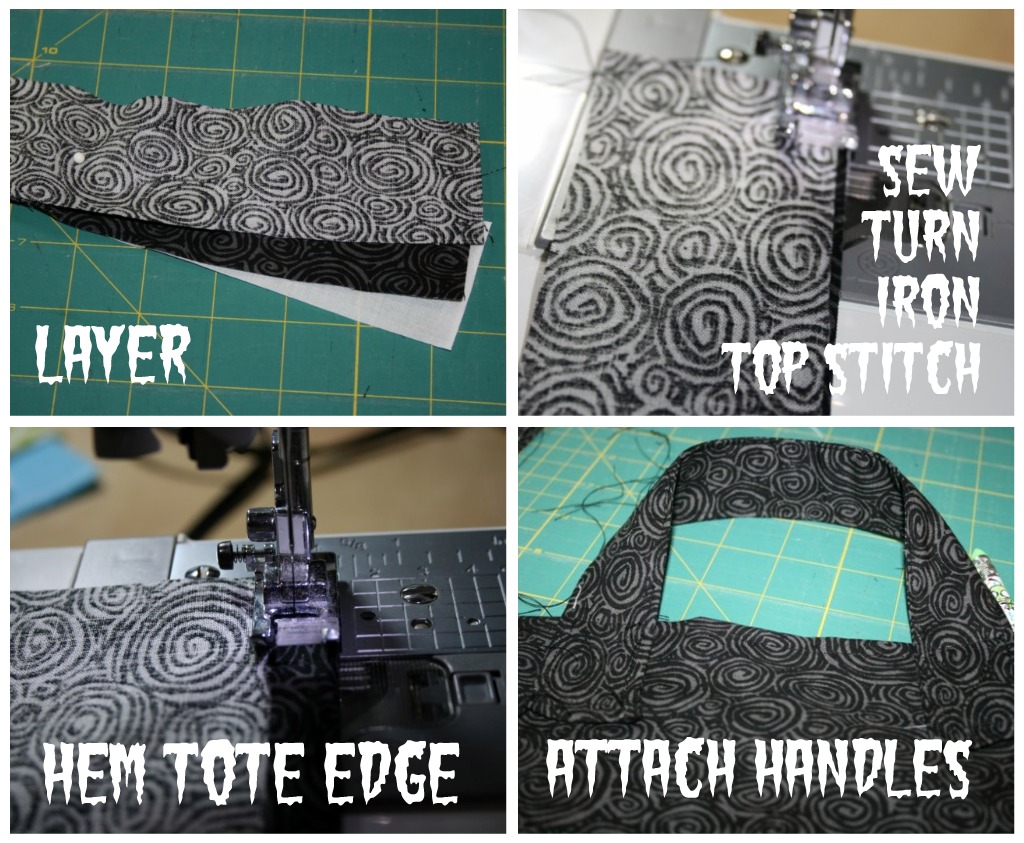
Layer your handle pieces together, I added some interfacing for some more stability.  Sew down both sides and turn them right side out.  That part is tricky, I found a chop stick helped.  Iron them flat to get nice crisp edges and then top stitch all the way around turning the rough edges under.  Hem the top edge of the tote, seam size isn’t really all that important just use the same mesaurement for the front and back.  Finally attach the handles with a fun box stitch.

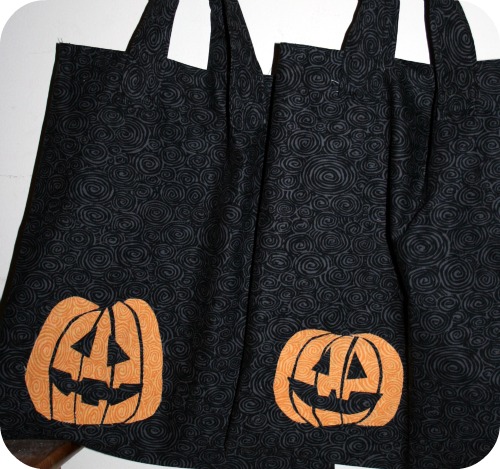
Lastly lay your front and back pieces right sides together and sew around the sides and bottom.  I debated boxing the corners on my totes but decided not to, go ahead if you want.  Turn the whole thing right side out and ta da, fun Trick or Treating tote!

Need a pin cushion?

I sure don’t!

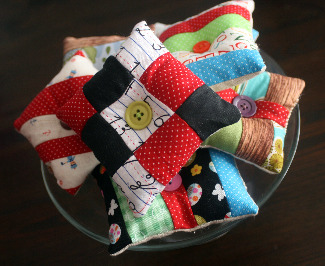
Thanks to LA‘s tutorial way back when and an addiction that seems to have returned (probably due to a growing pile of fun scraps) I’ve created a few pin cushions. I think I’ll need to go around in September when I’m back at work and find out who sews or crafts and start giving them away!

Little letter needle book? Check!

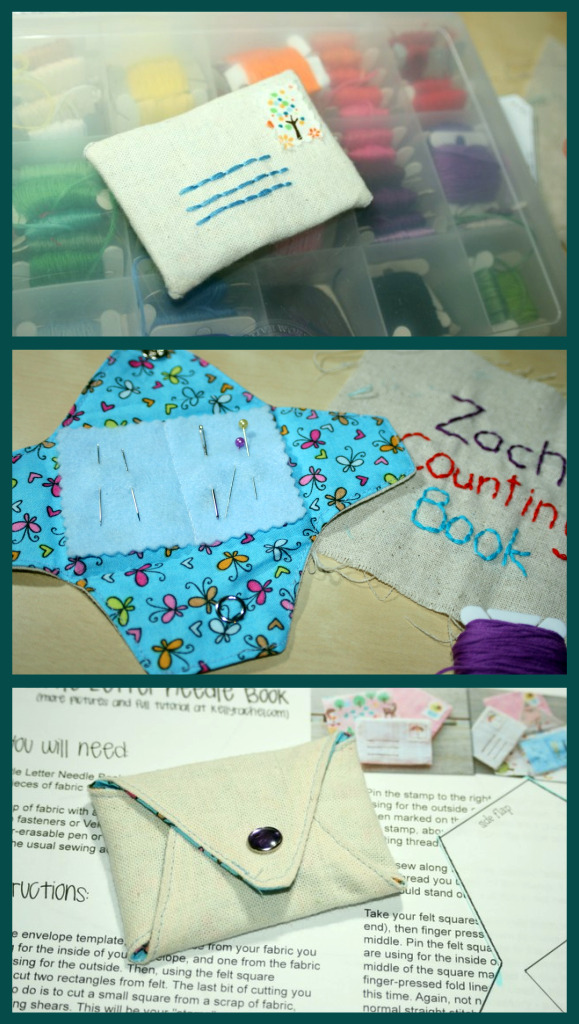
Made this on the weekend, thanks to one pretty thing for pointing it out over at am ay kay ee.

It was super easy and quick. Rather than attaching velcro I decided to be brave and attach a snap. Off to Michael’s I went, coupon in hand, to get the snappy thingie installer tool. That too was easy to use, even if my snap ended up a little off center.

Easy Easter treat stand.

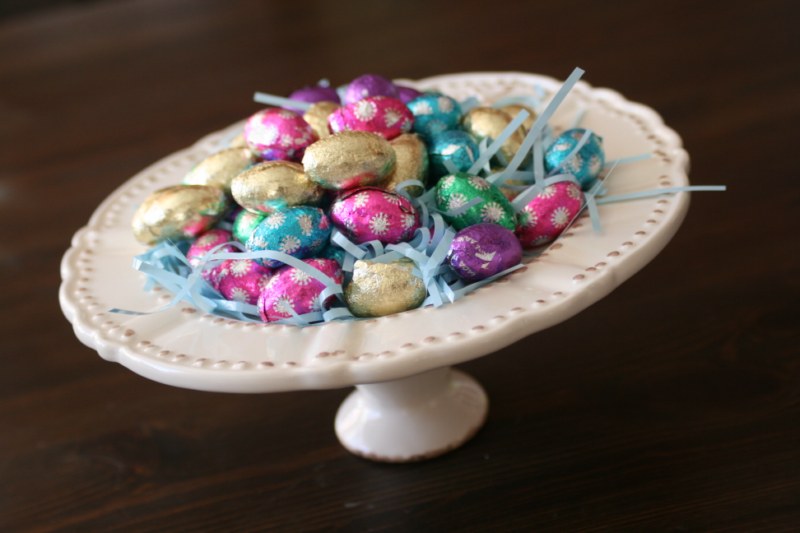
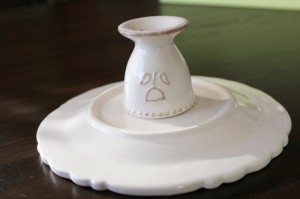
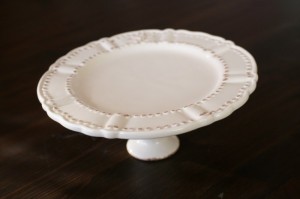
Made this cute little stand for our Easter/springtime snacks.  My friend and I have been on the hunt at thrift stores for the perfect pieces to make a cake stand.  While browsing Joann’s last week she happened to pick up an egg cup and a small plate and we had an idea.  So we each picked up a cup and plate.  They were in a clearance aisle for 50% off!   A little bit of glue . . ..

A little bit of drying . . . .

All ready to go, just add treats!

Valentine craftiness! Conversation heart pillow tutorial.

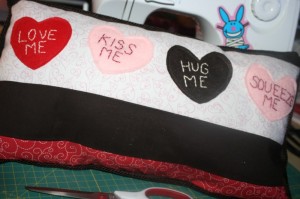
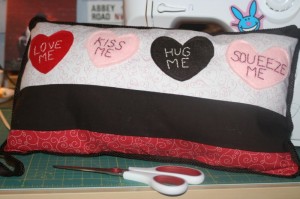
Finally I finished my Valentine inspired quote pillow!  Once again putting me crafting late at night when I probably should be heading off to bed.  Instead I will make the world a better place and tell you how I made it in case you’d like to brighten your space with this cute little throw pillow.  Not only is it a pillow it’s a cute little message for my family since my husband or kids are welcome to follow the instructions anytime they like!

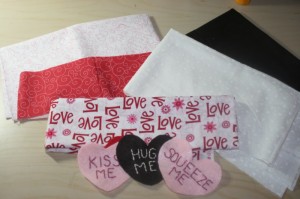
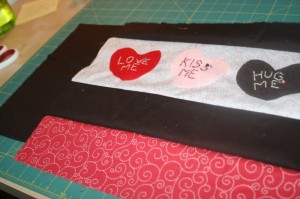
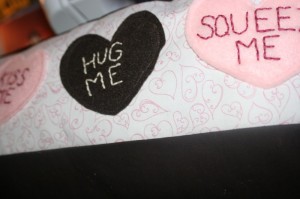
Sooooo first you need some hearts.  I cut 4 hearts out of pink, red and brown felt.  I just used the trick of folding the felt in half and cutting half a heart.  You could get fancy and use Google images to find a heart template to trace if you’re afraid to free hand it.  Then I embroidered the sayings onto the hearts with different colours, pink on red, fuchsia on pink, cream on brown.  I was sort of basing the sayings on a little thing my dad and me used to say so I needed 4.  You could have more of less hearts, bigger or smaller ones,  just depends on what you want on your pillow.  But you can still follow this horizontal stripe idea even if you change it up a bit.

Gather some heart/love themed fabric (part of why it’s taken me so long to complete this project) and fuss about which ones to use and how (another reason it took so long).

I decided to use the Timeless Treasures fabric again since this pillow will go on my bed with my “Sew in Love” and “Oh” pillows.  Wow, I can’t believe I have 3 decorative pillows on my bed . . . and they have names . . . ok, back to the turorial . . .

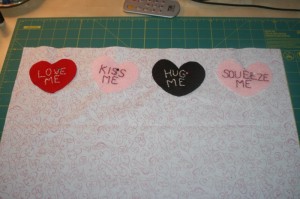
Pin the conversation hearts onto the backing fabric you want and get a feel for the placement.  I cut a piece for the back from brown fabric and decided on 20 x 13.  Think about how big you want your pillow and cut backing for that size.  Because I was going with a length of 20 inches I trimmed the swirly heart fabric to 20 inches and then just cut under the conversation hearts where I thought seemed nice and even with the top.  Then I added a band of brown to the top, bottom and the red swirly Timeless Treasures.

Once again, I was very scientific – I just added fabric until it was the same size as the back, trimmed it down so they matched and carried on.  The 2 pieces were basically 20 x 12.  There was some loss in the trimming.  So add horizontal stripes of fabric until your front is the same size as the back.  I had 4 stripes in total, yours is up to you.  I had gotten some piping for along the perimeter of the pillow to jazz it up a bit.  I wanted it to be different from the other 2 on the bed so I went with the piping and rectangular shape.

I was going to hand sew the hearts onto the backing fabric using contrasting colours but in the end I decided to have the stitching be nearly invisible.  So there I was changing my thread and bobbin a few times to get the right coloured thread, but it was worth it in the end.

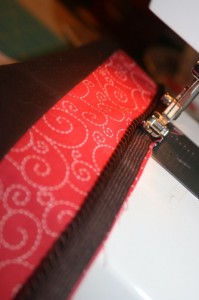
I have never used piping before and the lady at the fabric store suggested sewing the piping to one side before putting the right sides together.  I followed her advice but I’m not sure it made things any easier.  It was finicky work and since you can’t really see how close to the piping the stitching is I found it annoying.  I stitched it to the front piece first thinking that would make a nicer edge on that side.

Lay the backing on with right sides together and stitch around leaving an opening for turning and stuffing of course.   Trim the corners so you’ll have a nice crisp edge when you turn it rightside out.  I turned the pillow, pushed out the corners with my trusting stuffing tool (aka chopstick), use what you’ve got.  Then stuff your pillow through the opening.  Once it has reached it’s desired fluffiness you’re ready to sew it closed.  I did this part by hand just to make sure the front was kept nice and clean looking.  The backing only has to be stitched to the piping part, I was a bit picky about mine but I wanted to keep the stitches virtually invisible so I probably fussed more than I needed too.

Handkerchief pillow tutorial. Complete with cute embroidery!

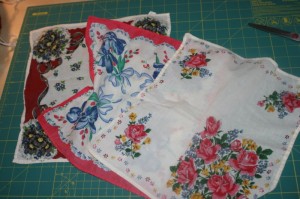
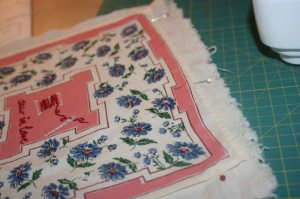
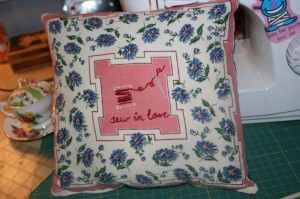
My friend gave me a few handkerchiefs her Grandmother had lying around figuring I could make something with them.  I had the idea to make them into little throw pillows for my bed.  I was going to make her one and give it to her, but I’ve already given her a pillow I made so I figured I’d be keeping it.  Then I realized one of the prints would be perfect for embroidering a little something right in the middle.

Perhaps a heart with our names in it?  So I cut out a heart and was just about to trace it when I remembered the awesomeness I had just ordered from Peptogirl!

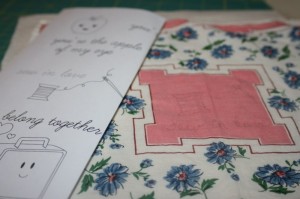
I flipped through the patterns and found one I liked and I took the liberty of making a slight adjustment.

Here’s how I made the pillow:

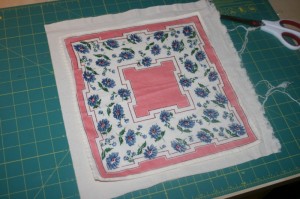
First I cut a piece of plain unbleached cotton fabric a little bit larger than the hanky. Then I ironed the two pieces so they’d be nice and flat. In hindsight I should have cut the cotton a bit bigger, I ended up losing the border when I squared it up before putting the backing on.

Next, in a very high tech. transferring process, I freehandedly copied the ‘sew in love’ pattern onto the hanky, adding my own little touch.

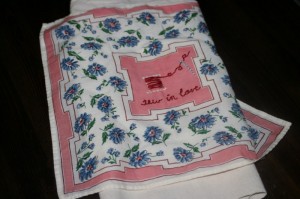
Then it was onto embroidering before a repeat ironing performance. I just put the hanky and fabric in a hoop together and stitched my design. When I took it out the stitching was through both layers holding it together.

So off to my machine I went where I stiched around the edge of the hanky, I went on top of the hem stitching with the same colour so it wouldn’t show.

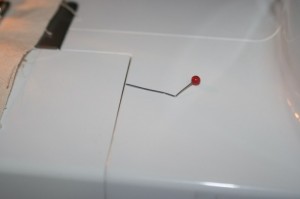
While doing that I hit a pin!! Never in all my time sewing have I actually hit the pin. CLUNK! went the machine, and I totally expected the pin to have snapped and tried to pull it out, but nope! It was just bent like crazy! Everything seemed fine so I just took it out and kept going.

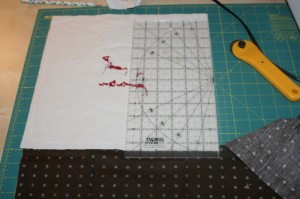
Then I chose some fabric for the back, our duvet cover is brown so I was going for something that would make this a nice little pillow to toss on our bed. I squared up the edges around the hanky and then I laid down the front, right sides facing, to see how big it was and cut a piece for the back.

Then I pinned it together, with the pins waaaaay inside to make sure I didn’t hit one again, and sewed around with a 1/4 inch seam.
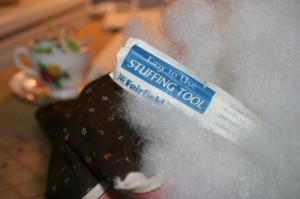
In retrospect the hole I left for turning and stuffing seemed a tad too small but I got it. When I went back to my bag of stuffing to grab some more I found this peaking out.

I was so excited, a stuffing tool?! Wow. Was stuffing going to be easier?! Why hadn’t I found one in my last bag of stuffing?! Then I opened it and realised it’s really just a chopstick and I could have gotten one of those from the kitchen. My hands worked just fine.

Stitched the stuffing hole closed and ta da! A cute little pillow to enjoy!

Tea cup pin cushion . . . tutorial-ish.

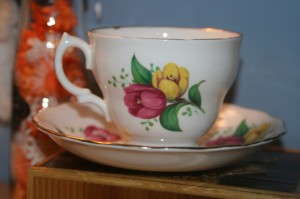
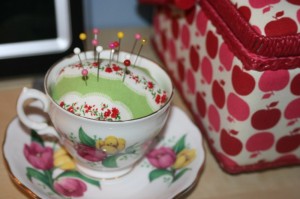
I’ve come across cute little tea cup pin cushions and today I remembered I had 2 special tea cups wrapped in bubble wrap hidden away in a cupboard because I had no where to display them.  They were my Great Grandmother’s and they were passed onto me when my Grandfather died about 2 years ago.  So I decided to go about creating a tea cup pin cushion.  It’s not that tricky, or a fine science or anything, but here’s how I did it.

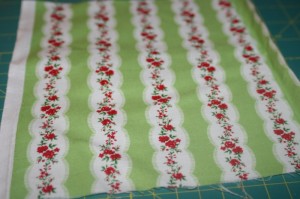
I chose some vintage-y looking fabric I had lying around.

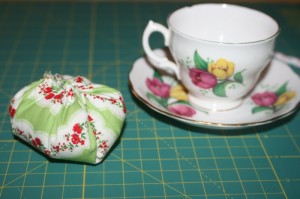
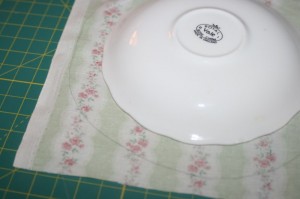
I needed to cut the fabric into a circle, had no clue about what size to I just got something round.  I placed the saucer on the fabric and traced a little bit from the edge and cut the circle out.

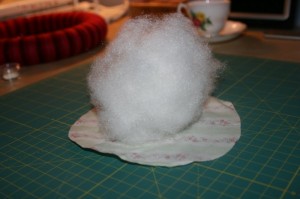
Then I grabbed some stuffing . . . stuff and guesstimated how much I would need.  It looked like a lot but once it was all squished up it was perfect.  So if you’re trying this, take a little bit more than you think.

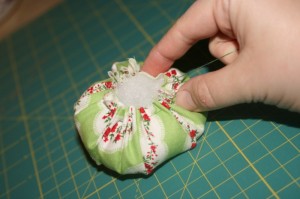
Then I did a running stitch around the circle and pulled on the thread to gather the fabric and close up the fabric.

So then you have this little dumpling like bundle.

And voila!

Resolution inspiration.

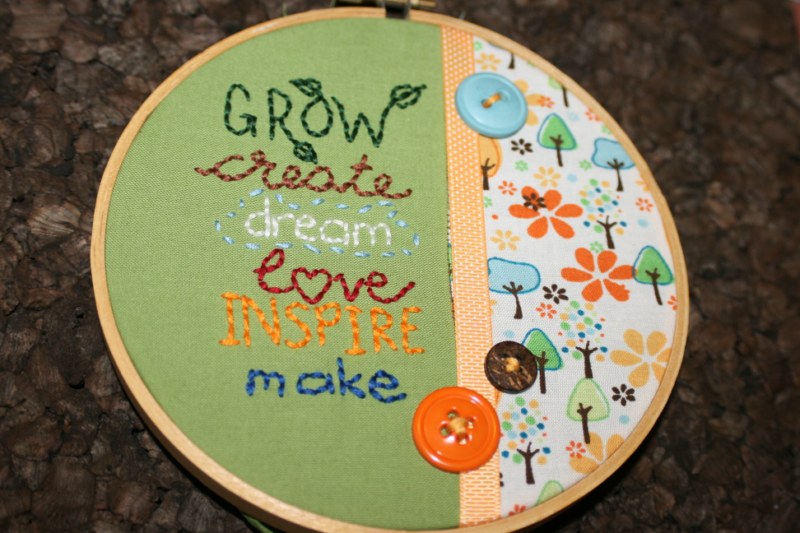
I really wanted to create some cool wall art, like this for our living room.  But it’s a bit of an involved project that will take time to organize and make so I had a brain wave for a smaller project with the same effect, only it will decorate my cute little new craft area (once I finish organizing it).

How’d I do it?  I just cut 2 circles of fabric, one green and one cute Heidi Grace patterned one and cut them in two pieces.  I though I might make another one later so I wanted some fabric ready.  Then I sewed the patterned fabric to the solid colour piece.  A while back when I needed 1 embroidery hoop I went into Value Village and picked up a back with 5 in it for some insanely low price, like $1.99 and I remember thinking, “But I only need !”  good thing I have many now.  I fit the circle into the hoop with a little cute ribbon covering the seam.

Then I sat down to think of some fun little words I could pencil onto the green that would be inspiring and motivating.  I penciled them onto the fabric, grabbed some floss I thought would go nicely and sat down to make it prettier.  I went a little free form on the leaves and heart *shrug*.  Then I added a few buttons in colours from the patterned fabric and voila!  Now I just have to get downstairs and set up the other table I picked up on Tueday night so I can begin the great craft space organization of 2010.

Easy Wreath Idea

I found this wreath idea in a magazine in *cough* 1999.   I went on a binge years ago and made a ton of them and gave them away to people or as Christmas gifts.  Now I’ve only got my one banged up one left.   I don’t have time to make a new one right now so perhaps next year I’ll make some new little men to replace the ones who have broken in the line of duty.  Here’s a bit of a tutorial, what I could throw together without actually making on and taking the pictures.
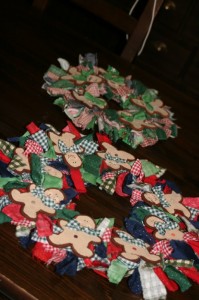
wreaths

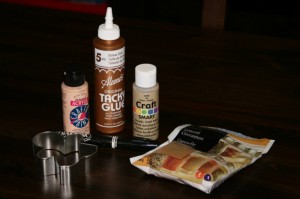
Here’s what you need

supplies

1. ring of something pretty sturdy, cardboard works, or you can buy the fancy ones from a craft store and sometimes a dollar store.

2. gingerbread man cookie cutter

3. glue gun and glue sticks for it

4. tacky glue

5. 1 1/4 cups of cinnamon

6. 56 scraps of fabric, measuring 1″ x 9″, It’s more rustic looking if you tear the fabric but you can cut it too.  9 1′ x 4″ fabric scraps, cut these ones.

7. rolling pin, cookie sheet and wire cooling rack

8. some acrylic craft paints, colours can vary but I used a tan, and pinkish colour.  A paintbrush and I had a black marker on hand, rather than paints, for details.

Here’s the handy steps!

1. Mix one cup cinnamon with 4 tablespoons of tacky glue and 3/4 cup water.  Mix it around until you have a stiff dough.  Add more of something to achieve that consistency.  Place the dough on the counter and sprinkle with cinnamon so it won’t stick to the roller.  Roll dough out to about 1.4″ thickness.

2. Cut out 9 gingerbread men and transfer them onto the wire rack.  Place the wire rack on a cookie sheet and bake at 200 for about 2 1/2 hours.  Turn the men over every 20-30 minutes.  Your house will smell wonderfully of cinnamon!  Leave the cooked men on the rack overnight.  They might curl slightly.

3. Paint most of the men with the tan paint, leaving a little bit of the gingerbread edge showing.  This may take a few coats to cover the way you like.   Add little rosy cheeks and eyes and a mouth.
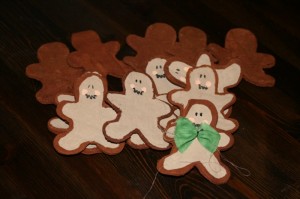
little men

4.  Tie the little 4″ strips into bows and glue gun them to the men to look like little bow ties.

5.  Set the men aside and pick up whatever you have for a circle!  Tie the 1″ x 9″ fabric strips around the circle until it is entirely hidden by fabric.  Photo shows the back.
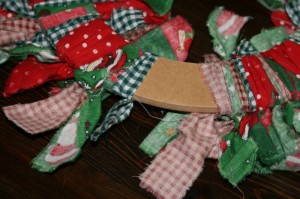
bows

6. Once it’s entirely covered place the ginger men around the wreath with room at the top for your hanging device, be it ribbon or an actual hanger from a door.
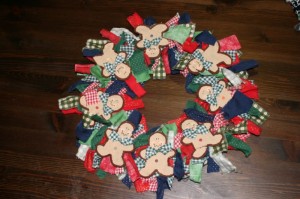
ta da!
As I’ve learned, and you can see from a few of my men, they are fragile and can break so store your wreath lovingly.  The men also smell like cinnamon for some time, so if you can keep it in some sort of sealed box that will help preserve the smell.  What’s more festive than yummy smelling cinnamon!