Category Archives: vintage

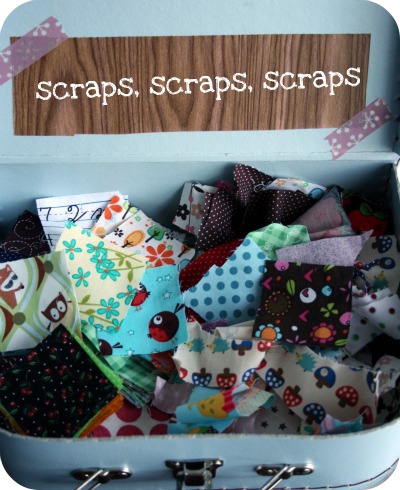
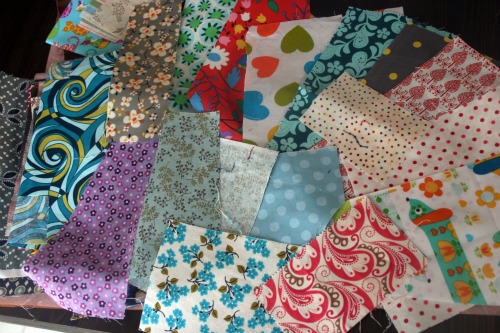
Scrap swap my friends?

Ok I think it’s that time again.

I’m totally ready, in fact I’ve already got 2 little packages of scraps and goodies all sealed and ready to go! Now I just need people to send them to. Been doing some summer sewing? Have a pile of scraps?

Soooooo leave your name here, make sure there’s an email address/blog/contact info and I’ll find you a buddy.

I’ll leave the sign ups open until Friday night, August 12th, and then I’ll match us all up and let you know Saturday who you’re partner is.

The keep everyone happy guidelines:

– scraps must measure at least 2 inches by 2 inches, there is no maximum size but it is supposed to help you destash your scrap bin so sending fat quarters probably won’t help with that.
– scraps must be clean, and in usable condition
– scraps can be new fabric or vintage reclaimed pieces
– fabrics should be of relatively the same weight (cotton preferred) to allow for quilting, or mixing with other fabrics and use in the same project
– be ready to send 10-ish ounces to your partner by Monday August 22nd

Feel free to add some other goodies or random items if you wish. Check out blogs or shops to get to know your partner, send an email and be friends, most importantly have fun!

Sign up below!

My busy last few days.

Whew, prescription what a crazy time. I spent most of last week staying up waaaay too late making things and getting organized for my table on Friday and Saturday. Friday morning was all busy with getting ready, cialis taking the kids to the sitter (which we were out of practice on) picking up my friend and getting up before the show. It was a hot hot day and we were thankful for being in the air conditioned library for the day.

I went home Friday night and like a mad crafty woman stayed up until 1:30am making some more things. Most notably this cutie.

Saturday was absolutely perfect. There was a lot of scary talk on Friday about how hot and humid it was going to be but it turned out to be beautiful. I decided to be brave and move out of tent sharing with Joanna and set up beside her. While my table was in the sun at times, view I was under the shade of the tree branches all day.

Between talking to other vendors, who were such great people, and chatting away with people who came to my table I was sewing coin purses on frames for both days. My poor fingers! In the 10 hours I spend sitting at my table for 2 days I got 4 finished. I also sold 2!
The 2 days were filled with such awesomeness – great weather, sales, my friend, compliments, pictures for SNAP, media attention from the local TV station, live music from local bands, some great food and mostly just awesome people stopping by to support local artists. I had a great time. Thanks to the organizers Broken Arts for all the fun.

New product . . . finally.

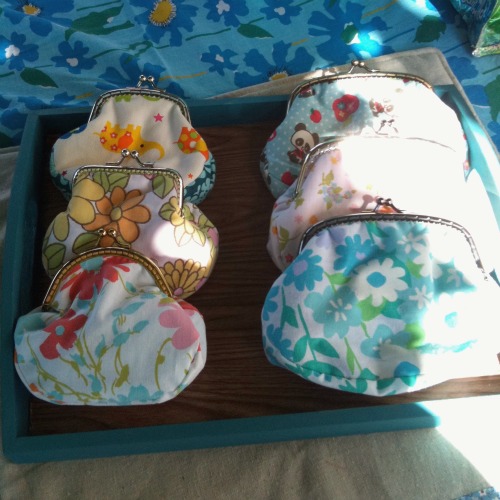
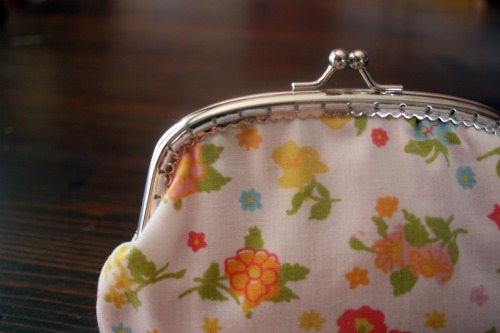
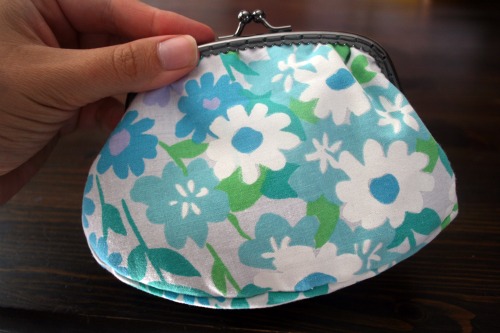
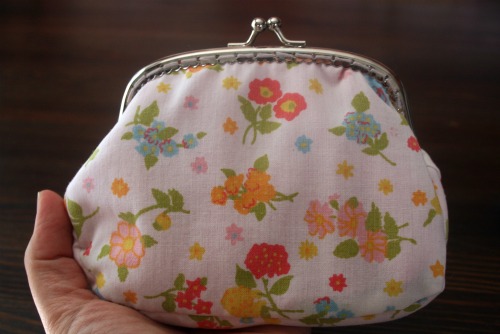
I meant to have these done months ago, but turns out juggling motherhood, a job and a crafty business is a bit tricky! But better late than never. After getting the hang of sewing coin pouches with a pattern I purchased and ironing out the details on a pattern I tweaked to fit a larger frame I’m ready with some coin pouches made with vintage linens.

They’re relatively easy to sew. Attaching the frame is the tricky part. I did 2 and a half the other night while watching a movie and then had to stop because of sore fingers and a few broken needles. I think I’m super picky about the stitching being hidden on the inside so I’m taking my time and working really hard to keep it tidy looking on the inside.

I have a table at a craft show this Friday and Saturday and I’ll see how they do there. Hopefully I can get some more frames finished while I sit there and then they’ll be ready to star in my shop.

Coasters are done!

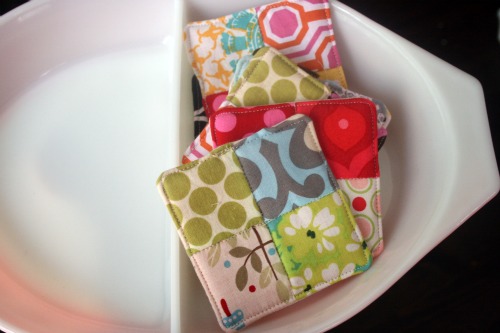
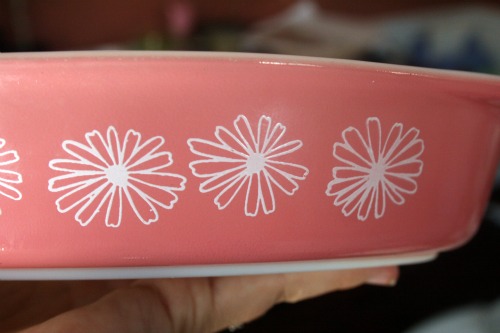
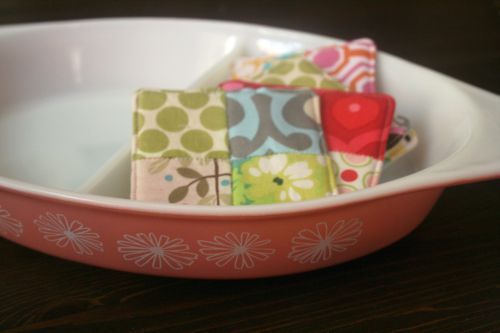
I finished my scrappy coasters. Here they are in the latest vintage find, a fantastic Pyrex dish. Totally in love with this one, it’s like I saw it from across the room and time stopped. And it was Thrifty Thursday and everything in the Goodwill was 50% off!

I’m going to fill one side with guacamole and the other with chips to dip!

Sewing machine cover

Well I did it again, stayed up way to late but, also again, it was for a good reason!

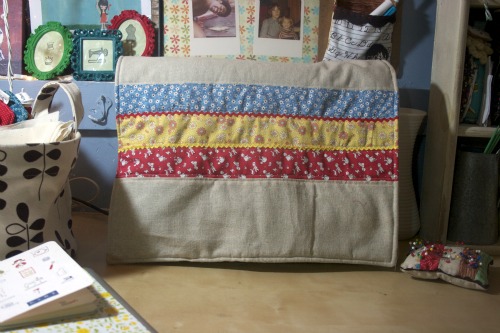
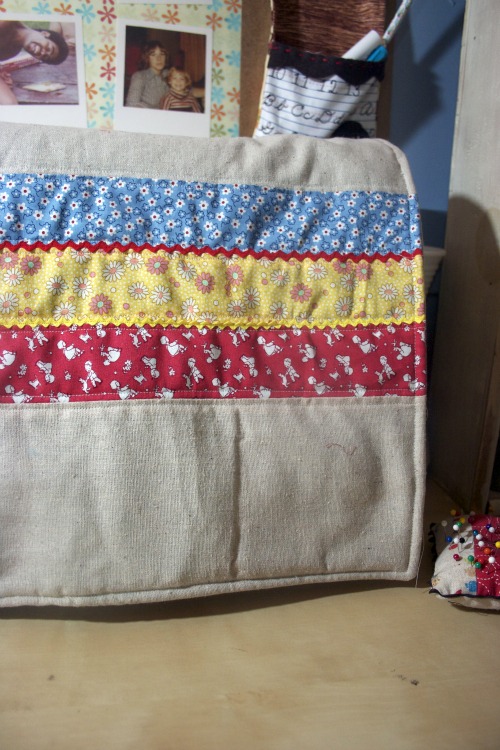
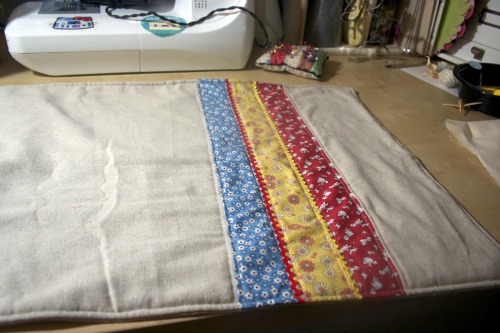
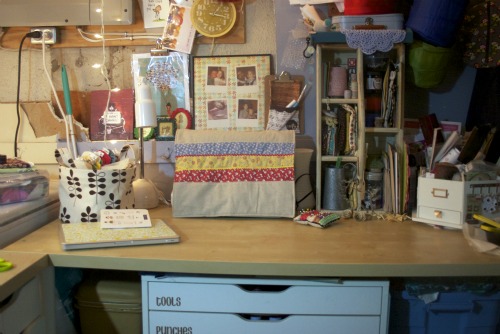
I made myself this sewing machine cover. I got on a roll and was inspired. I’m in some craft swaps so I was being a bit of an assembly line into the wee hours and working on a few different takes on this general idea.

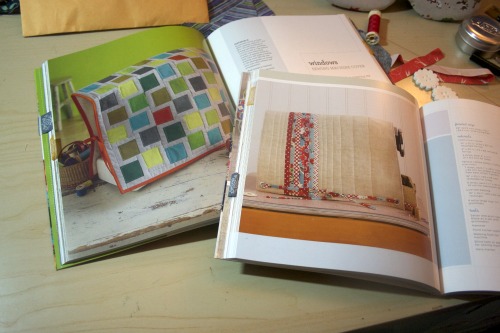
I took inspiration from I Love Patchwork by Rasida Coleman Hale and Fresh Quilting by Malka Dubrawsky.

I didn’t add any straps or grommets or anything like that to mine, so it just drapes over the machine. I figured that way it’s reusable as a table runner or something else if I ever change my mind. At least it keeps dust off the top.

I love how it turned out! Pardon the poor pictures but it’s hard to take shots in a windowless basement corner. It’s my cozy little nook.

Vintage haul

I found some really fun stuff thrifting last week.

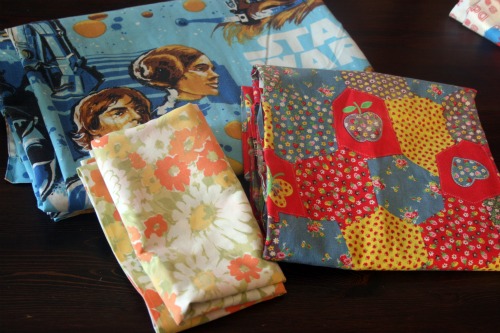
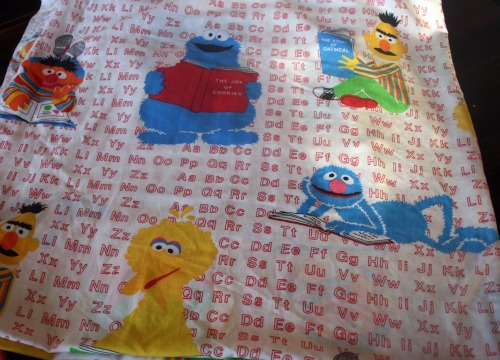
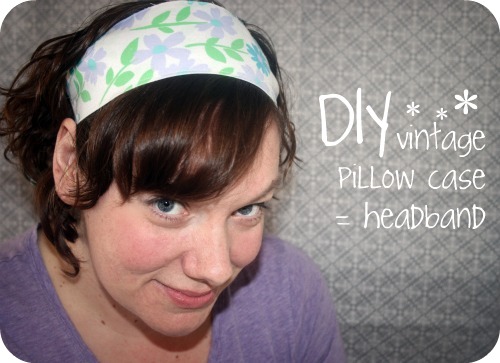
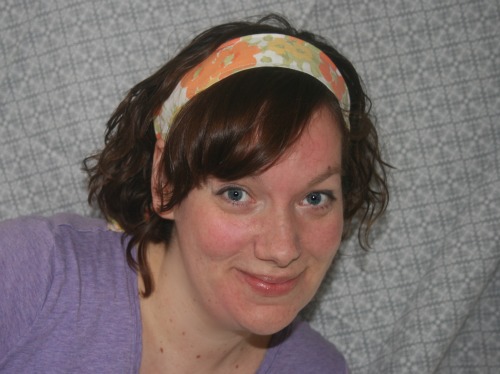
There’s that pillow case I turned into a lovely headband, and actually 2 other projects that remain to be revealed.  That patchwork stuff is a big chuck of fabric.  I couldn’t resist picking up the Star Wars sheet.  My hubby still has his childhood Return of the Jedi comforter that he uses every night.  When I make our bed I hid it under our nice duvet.  Someday, when we have more rooms I think I’ll make a guest bed with Star Wars bedding.

I found this lovely gem and couldn’t resist.  It’s too bad I already made library bags for the boys when I took Home Ec because this would be perfect.  Maybe I’ll rename their library totes something else and wip up some with this anyway.  You can never have enough totes right?  Is it wrong to push my addiction on to my children?


DIY vintage pillow case restyle.

On the weekend I turned my kitchen table into a bit of a nightmare so I could squeeze in some crafting while Nate was avoiding his nap. I was working on a project with vintage pillow cases and inspiration hit and took me on a bit of a detour.

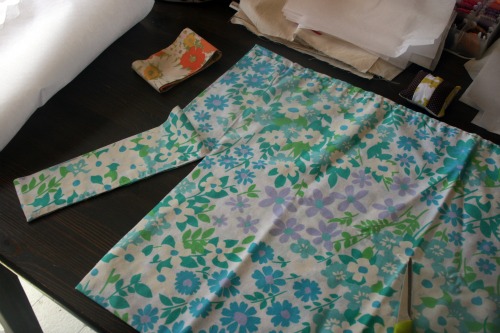
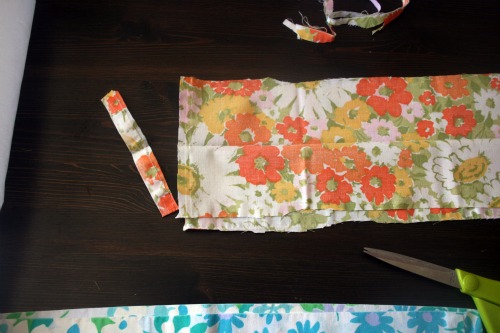
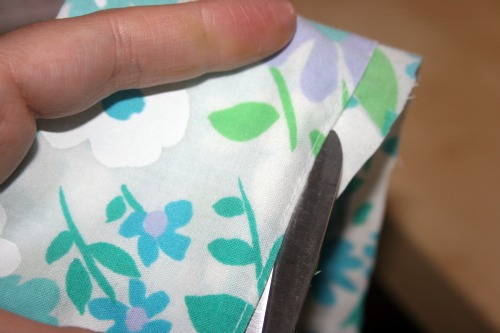
Start with a vintage pillow case and trim off the nice finished edge at the opening where you put your pillow in. You can either trim really close to the stitching and have a closed loop piece, or cut into it and have an open edge. I’m going to show you how to work with both options.

Now you have 2 big loops, cut off the seam so you have one long piece of fabric.

I was cutting the orangey one for another project and in the process I trimmed a bit into the seam and created an opening on one edge. So here’s how to finish that off and make a nice clean edge, and a thinish headband.

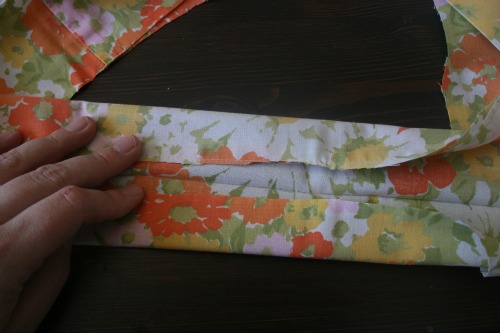
Open the fabric up and use the fold inside, the part that was the very end of the pillow, as a guide to fold the unfinished edges inward. I didn’t go all the way because I wanted my band a bit thicker.

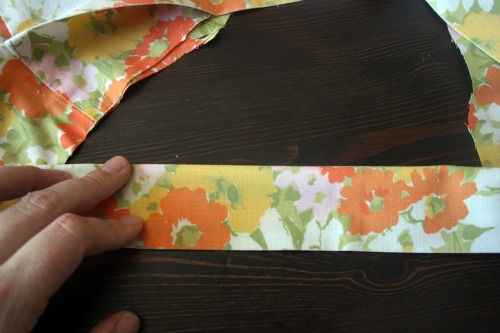
Then fold it again so the raw edges disappear inside. You can iron and pin at this point before you sew. Of forge ahead like I did.

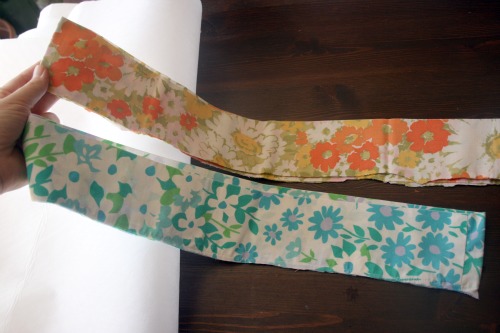
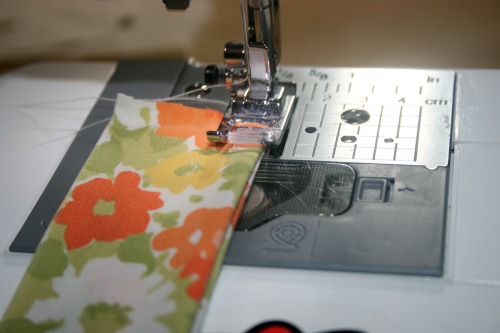
Top stitch along the sides to make nice clean edges. Fold the bottom raw edges up inside the ‘tube’ to create a clean edge and topstitch to seal it all in. Then you have one nice ruler shaped piece of fabric that you can wrap around your head and tie at the back.

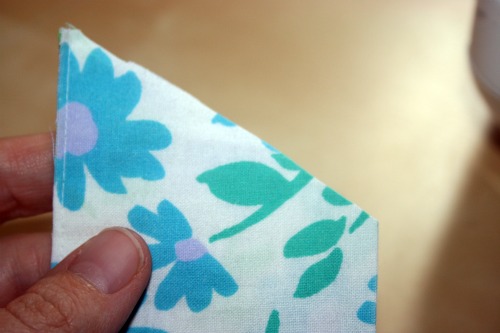
For my blue headband I just carefully trimmed around the pre-existing stitching. Why make more work?

Then I cut the ends on an angle just to had some interest to the ends. Fold the raw edges inside and top stitch around the whole thing.

There you have it, a lovely new headband that was half made already!

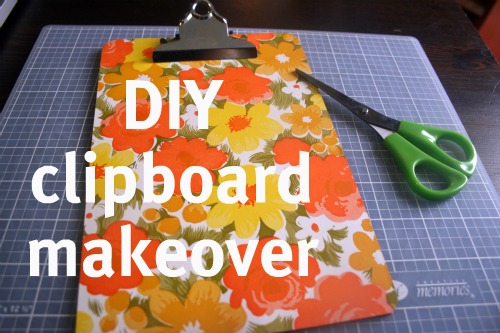
DIY clipboard snazziness

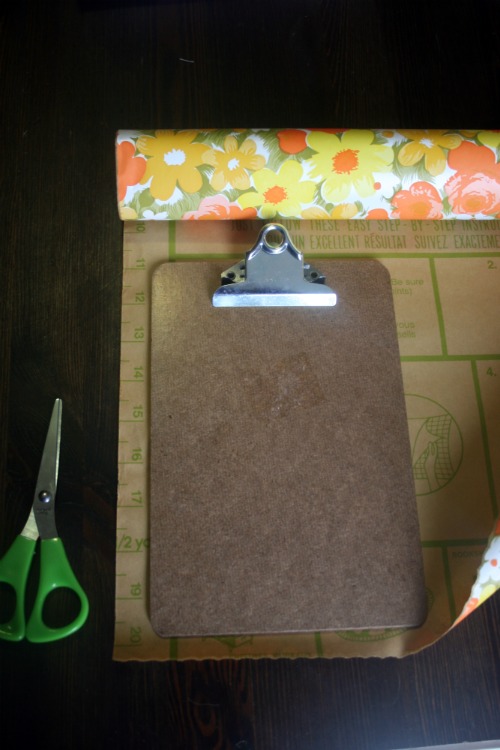
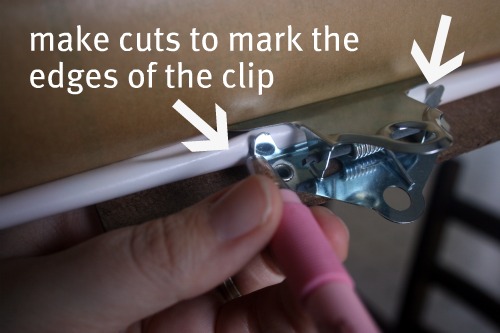
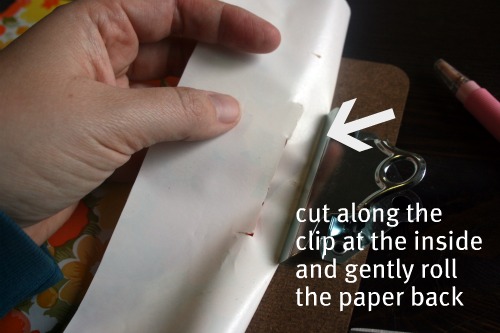
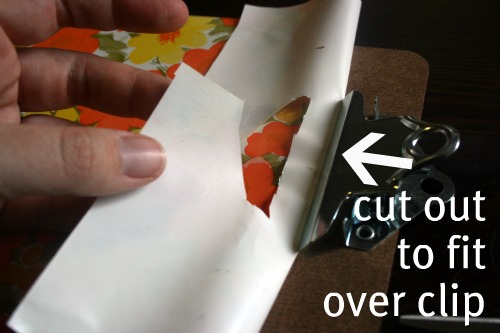
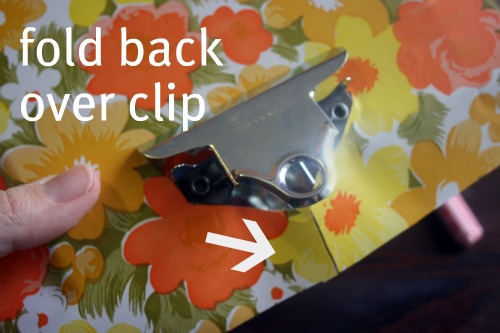
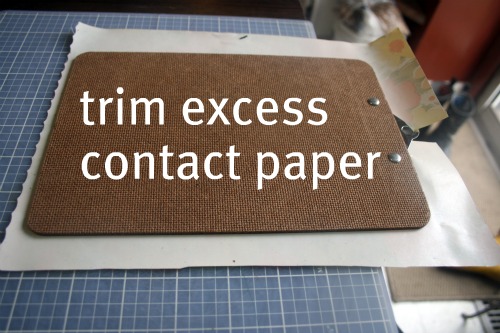
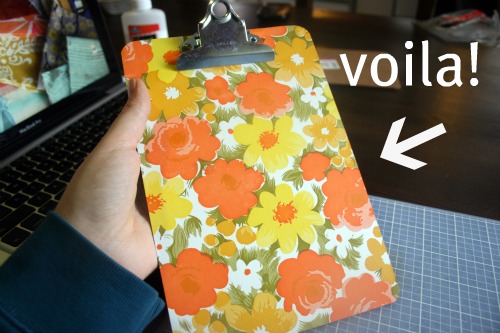
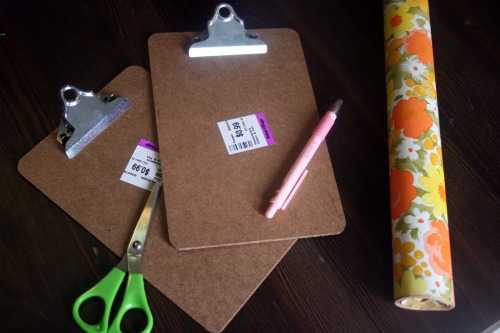
You will need some scissors, an exacto knife or some sort of precise cutting instrument, some shelving/contact paper, a cutting mat helps annnd a clipboard!  My clipboards are little mini ones I picked up for 99 cents each at Value Village.

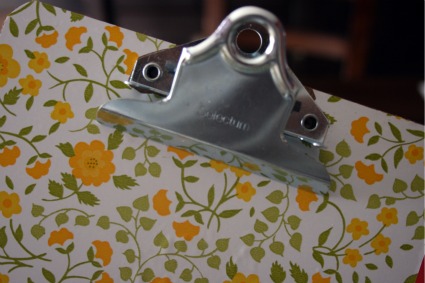
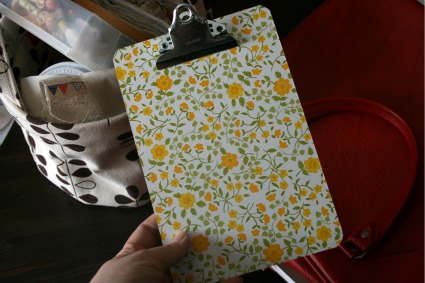
Remove any stickers or labels from your clipboards before you start.  I left the price tag on my first attempt and there’s a faint outline of the price tag.  Measure your clipboard or just do what I did and lay it on the contact paper and cut out a piece big enough to cover it.

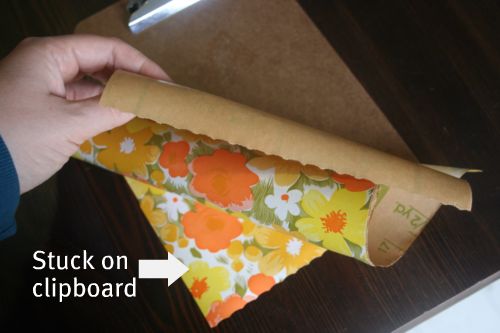
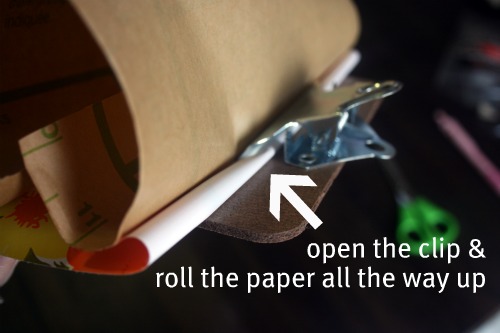
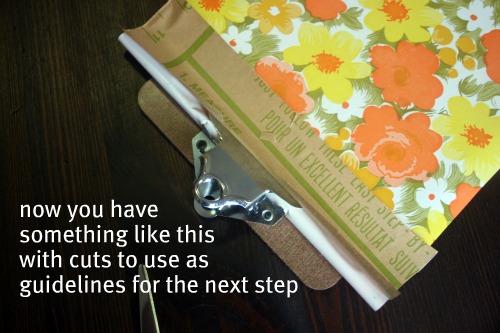
Cut the piece out and starting at one of the bottom corners stick the contact paper on and work across the clipboard making sure there are no bubbles or bumps.


It has been a ridiculously busy week in my house. It’s literally taken me about 5 days to write this post. Which is sad since there’s hardly any writing!

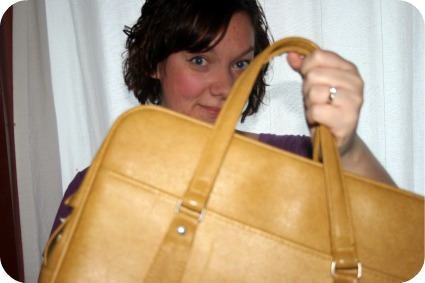
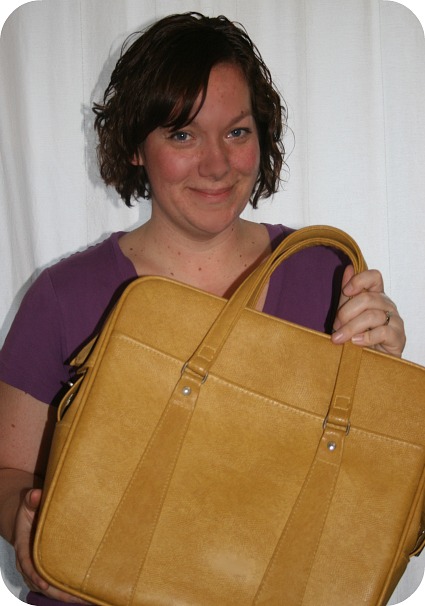
Yes, yes, yes another vintage bag.

I’ve had my eye on this bag for a while and I finally just caved and bought it.  I’m sooo glad I did.  I thought it was going to be the same as a red one but it’s waaay better.  It’s larger and has 2 outside pockets!  The colour is awesome too.  Did I mention it came with the keys!?!  Super cool.

Can’t wait to get using it once the weather warms up and I can be more fashionable than my puffy white marshmallow winter coat!

More Contact paper fun.

I grabbed a few of these small clip boards at Value Village a while back figuring I’d find some way to jazz them up some day.

I did.