Category Archives: gifts

DIY little notebook

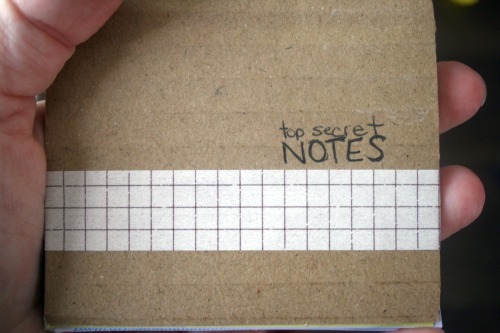
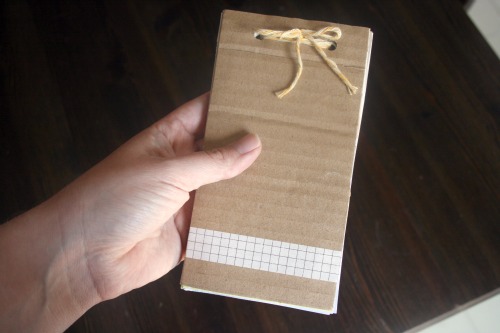
I made this little notebook using papers and things from around the house. You should have everything you need to whip one up in a few minutes. They’d be great for keeping in your bag for lists, or for the kids. My kids are always wanting their own handy, dandy notebook! Plus you can recycle the whole thing once you’re done with it. Re-use the twine if you’re that hardcore.

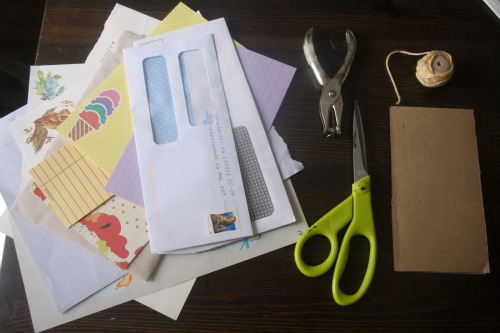
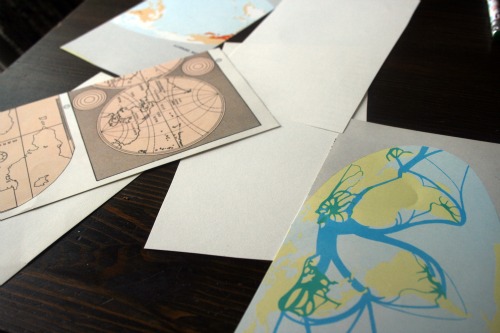
You need 2 pieces of cardboard cut to the same size. These will make the front and back of the notebook. Gather some scrap papers. I used a lot of bill envelopes, pages from thirfted writing papers and some atlas pages. A whole punch, scissors, twine/string/yarn/floss or something stringy.

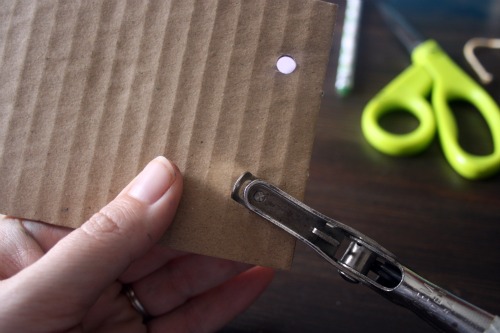
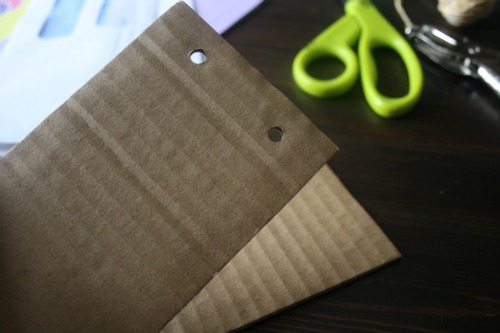
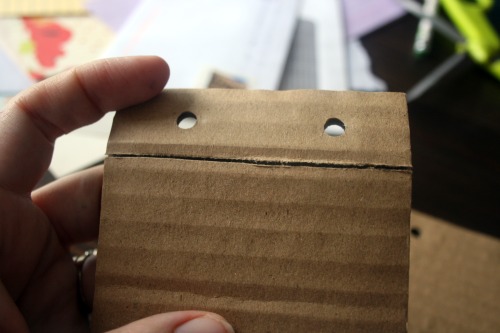
Punch holes in the cardboard pieces that are going to be the front and back of the notebook.

Then with your scissors score a line across the front cover piece of cardboard. Just press gently so you only cut through the top layer of paper.

Decide how you want your pages to be placed. If there’s writing on some of them, like atlas pages, you’ll need to decide what side you want to have available for notes.

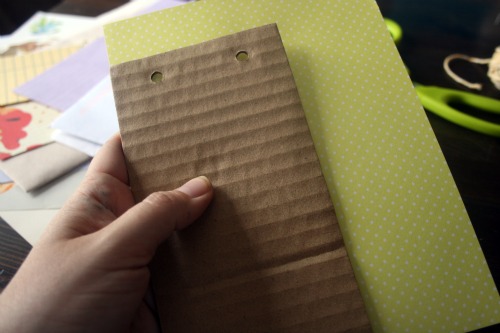
Trim the pages to the same size as your cardboard cover. You could get fancy and get out a paper trimmer and actually measure this but I just held them to my cover and cut around it. Remember, it’s not ‘lazy’ it’s ‘creative’.

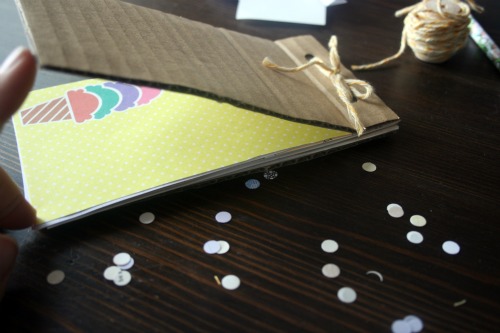
Then in the spirit of ‘creative’ I held the pages up to the cover and punched the holes in the same place, lined up with the ones on the front and back cardboard pieces. Punch all the pages you want in your notebook. Thread some stringy like substance through the 2 holes and tie it up in some pretty way.

You can decorate the cover or leave it blank. I stuck a bit of washi tape on mine just for fun, gotta use that stuff up somehow I just keep collecting it. I had tried to stamp doily designs on it but the cardboard is too bumpy and it doesn’t print well. You’d have better luck using a stencil I think rather than trying to stamp.

Hippity Hoppity

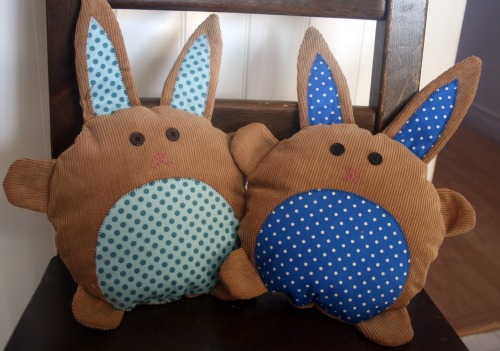
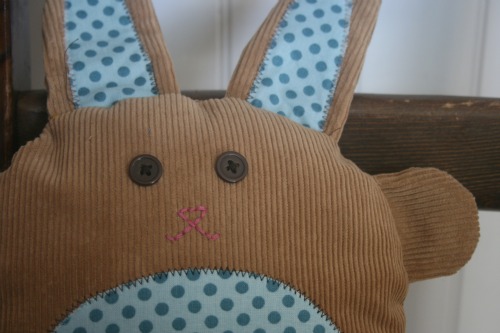
Here’s a peek at the bunnies I made for my little bunnies.

They’re really easy to make so there’s still time to make one for the somebunny special in your life.

You can get the pattern here.

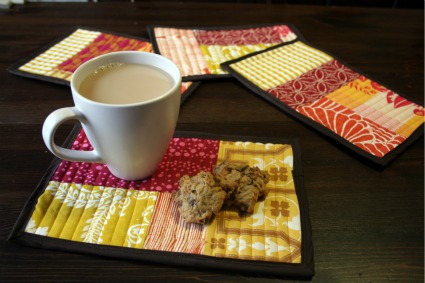
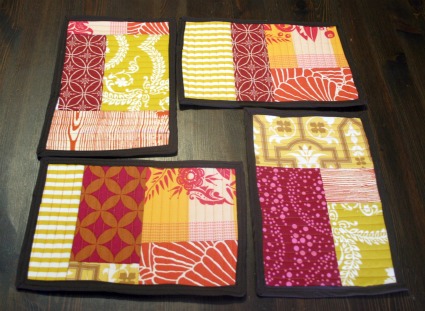
Scrapbusting strikes again. This time in the form of mug rugs.

I did it again!  I’m in love with the scraps from my swap.  Not only are they nothing like I have in my own stash but they’re so bright and colourful and beautiful.  I know I’ve said it a bunch but thanks Jessica!

I made some mug rugs.  I love tea and, sadly, I’m pretty fond of cookies and other baked goods.  Now I have a way to enjoy them that looks absolutely fantastic.  Those cookies are from a recipes Deceptively Delicious by the way, they’ve got chickpeas in them and they’re amazing.
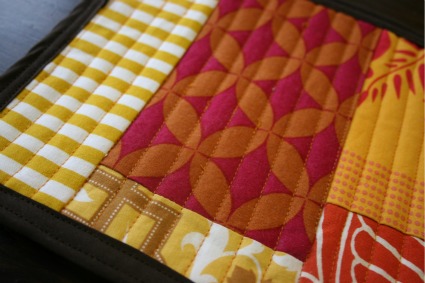
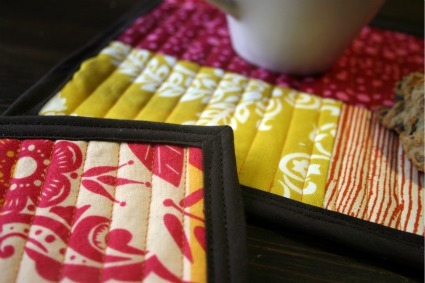
I quilted various bits together to create a 7 x 10 1/2 inch matt.  Then I sandwiched some batting between the colourful top piece and a plain linen cotton on the back.  This is the first time I’ve actually quilted something so I kept it simple and just did lines.  I used the edge of my machines foot to keep me in track.  I chose a yellowy thread, it’s sort of a mustard colour.  I love the results.
I was going to get brave and make my own bias tape for the first time but I decided against it.  I haven’t really used bias tape much and so I wanted to keep it simple.  Sadly it wasn’t simple at all!  I had a tough time lining it all up, I double stitched it to echo the quilting of the matt.  If you look closely the edges are a bit wonky but oh well.  If you come to my house and I put a nice hot tea and a yummy treat served on a beautiful mug rug and you mention the wonky edges I’m taking it all away.  You’ve been warned.


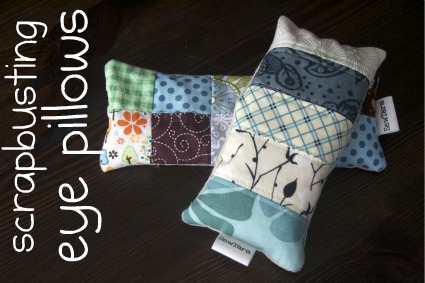
DIY Scrapbusting eye pillow project.

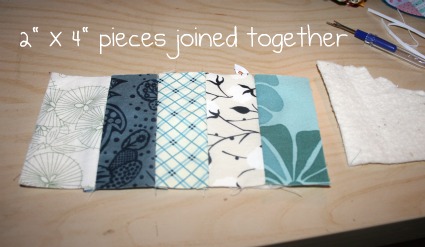
Now that everyone has their lovely scrap swap bits I figured it was time to start sharing some scrapbusting ideas.  I made these fun little eye pillows over the weekend.  For one I used my pre-swap scraps that are all cut into 2 x 2 pieces.  For the other I pieced together 5 2 x 4 pieces.  Either way the math is the same and the finished pillows are the same size, perfect for laying across your eyes and having a quiet moment to yourself.

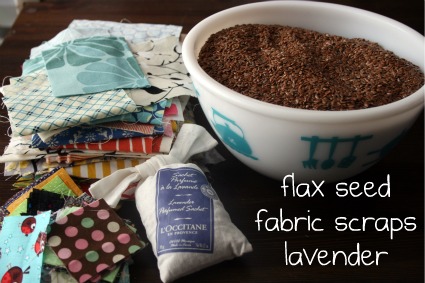
Here’s what you need.  I suppose you could use some other smelly scent but I like lavender and so I just broke open this drawer smelly thing I had and used the bits from inside.

I joined the pieces together and then cut a piece of batting for the back and did some accent quilting.  Then I cut a piece of my nice soft natural cotton for the back.  With right sided together I zipped around and left a little opening to pour in the filling.

I fashioned a little funnel out of paper and poured in flaxseed and lavender until the pillow was full but still floppy enough to curve nicely over my nose.  The last step is sewing up the opening, and voila you have a relaxation aid!

I created a Flickr group where you can post things you’ve made with odds and ends of fabric.  If you make something using one of my tutorials I’d love to see it there.

My creative weekend in pictures.

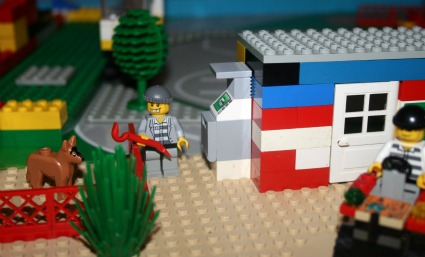
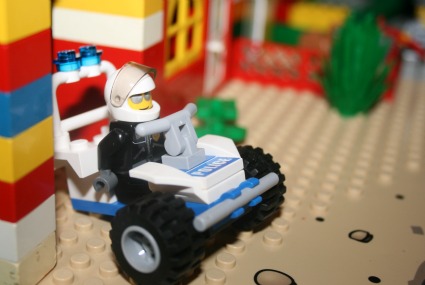
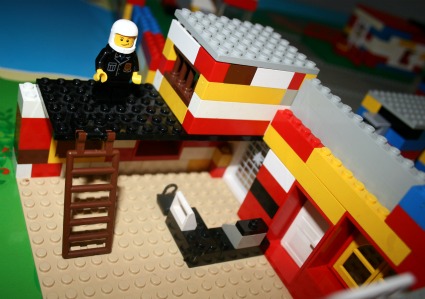
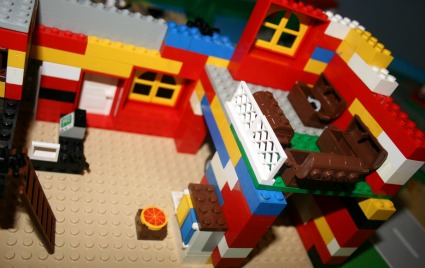
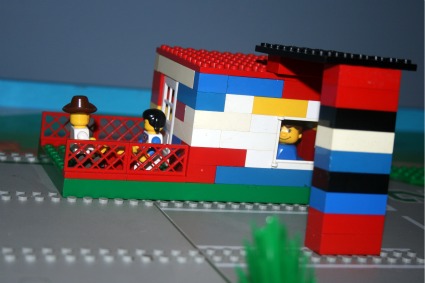
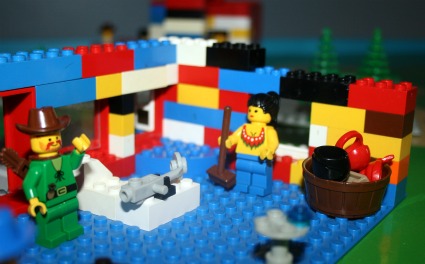
Friday night I made this after Wesley went to bed and I had the urge to create a LEGO town for him. So while we watched some mindless shows I constructed on the coffee table. I only took a crummy nighttime iPhone picture and it was night, so I waited for Mr. Sun.

Saturday morning we moved it up to his room on the train table so he could expand it. I had to charge the camera battery before I could snap some up close shots. When I went up to snap some pics later in the day it appears Natezilla had destroyed the town when we weren’t looking. I was sad. There was some rebuilding but my heart wasn’t really into it after seeing all the destruction. Here are some shots of the parts I was pretty proud of.

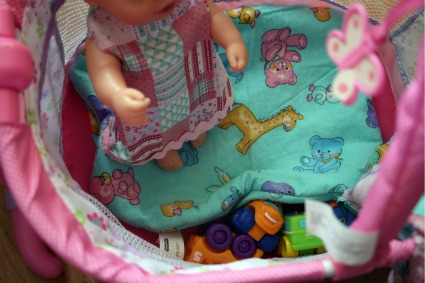
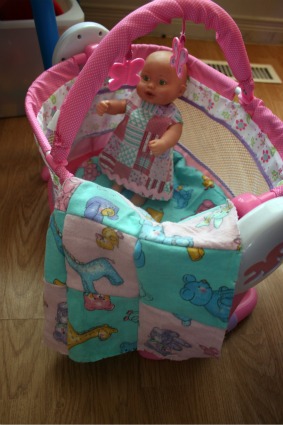
Saturday Nate found Baby Jobby and played with her all day (except when she was napping and he destroyed a whole town). I bought Baby Jobby while pregnant with Nate because Wesley was asking for a doll. Nate found her neglected and naked in some corner. So I spent some time sewing up some diapers and a dress. Then we went out to buy another baby, there had been a feud, but came home instead with a bed for Baby after Wesley assured me they could share 1 baby and take turns.

I love how there’s a bunch of cars in the crib with Baby Jobby.

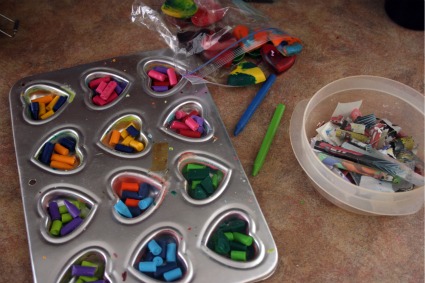
Oh and somewhere in all that we made heart shaped crayons for Wesley to give to his classmates. Thanks to Frugal Family Fun Blog for the tips on making them.

Well I have some cup cozy orders to finish thanks to my playful procrastination over the weekend!

Cheap easy gift/item tags.

I’ve been floundering trying to decide on how to prettily package my items I sell.  I know it’s so fun to get something all wrapped up beautifully, it’s enough of a present to get your order, then it’s like another present to have it look beautiful.  It doesn’t determine wether or not I re-order from that person, but it does make me smile.

I absolutely adore all the MOO products I’ve accumulated but I’ve noticed it can get pricey to decorate your items with pretty packaging so I was looking for a inexpensive way to create some packaging and reusing things I already have is a bonus.

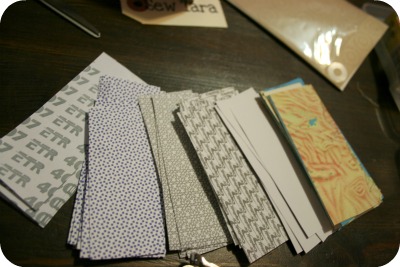
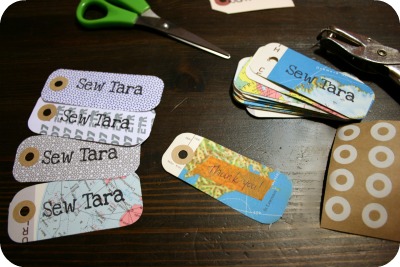
I gathered some paper stuff I had lying around, used envelopes, those return envelopes that for some reason still come with all the bills I pay online and some pages from an old atlas.  I cut them up into little rectangles sized to fit my SewTara custom stamp.
Then I SewTara’d one side, punched a hole at one end and used these cool kraft reinforcements I’ve had sitting around waiting for the perfect use.  You can also find white or coloured reinforcements in stores.

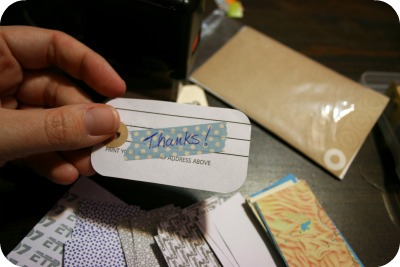
On the other side I stuck a small piece of Japanese washi tape to create a little canvas for my thank you message.

This would be a great technique for gift tags.  There’s even little ‘To: From:” stamps out there you could use if you didn’t want to just write it.  Every year when I pack away the Christmas decorations I keep the stack of cards we received.  Next year I’m going to turn those into tag for all our gift giving fun!

Crafty British imports part 2

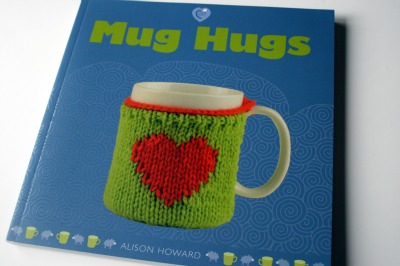
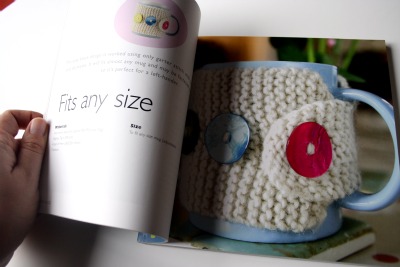
Behold the other fun little book I ordered from waaaaaaay over there!

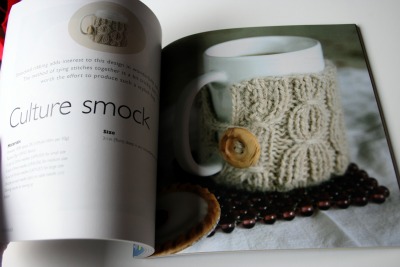
Now for the ridiculous part (aside from ordering it overseas and then having my Mother In Law carry it all the way here) is that I can’t knit. But I totally plan to learn now. I mean how cute are these?!

Good thing I work in a profession that is mostly women. I’m sure I can bribe someone at work to teach me the ropes!

Counting book frenzy.

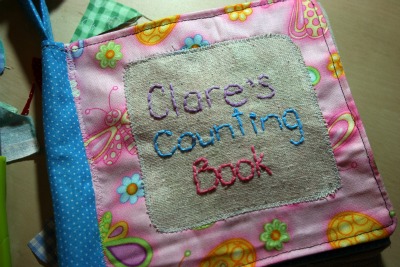
Since my Etsy shop rush was over I  turned to the pile of counting books I had lined up to get them finished in time for Christmas.  Here’s one I did for Clare.  I was trying it without the numbers, I liked the look of the pages without them.  In the end I did end up putting them on, these pics are pre-numbers.

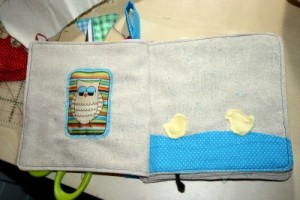
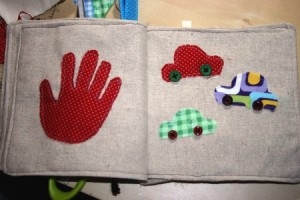
1 puffy owl and 2 rubber duckies.

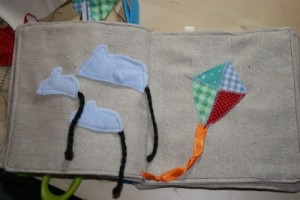
3 mice and 4 triangles on a kite.

5 fingers and 6 wheels.

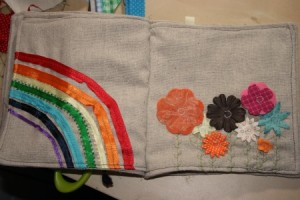
7 colours in a rainbow and 8 flowers.

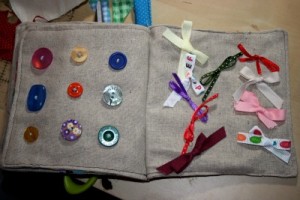
9 buttons and 10 bows.

I also made one for Griffin, which I was really proud of. It had a puppy like this for the first page and was super cute. In all my rushing I left to hand it over without taking pictures first. Silly me.

Stop! Barter time!

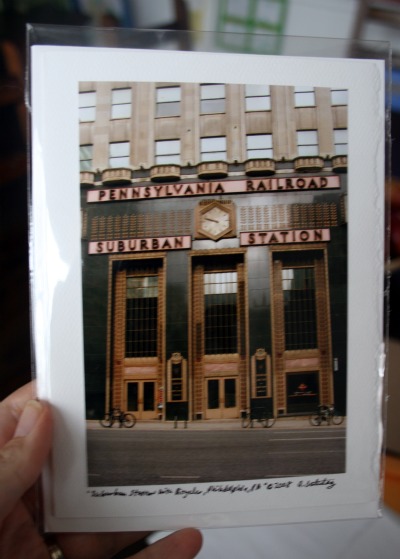
Bartering is one of the super cool things about spending your day sitting at a craft show.  It’s usually pretty easy to work out some sort of deal with someone and walk away having given and recieved something handmade.  Recently I’ve been contacted by some fellow Etsy sellers asking if I would be ineterested in doing a swap.  Enter Alison of  alisonostertag.etsy.com.  She lives in Philledelphia, blog here, and asked if I would be interetsed in some ofher photography in exchange for a cup cozy. Apparently she challenged herself to gift shopping through swapping. How cool is that!?

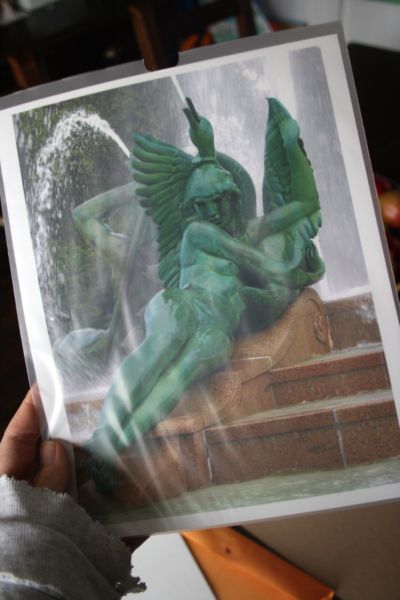
Rather than count pennies and figure out what item in her shop was equal to my cozy I just told her I was in and gave her permission to surprise me with whatever she wanted to send. That said, I am now the proud owner of a lovely print turned card and this great shot of a statue. Lovely pictures follow to disguise my lack of knowledge about the subject matter!


Wow, ignore my tattered old university sweater sleeve!! Yipes, how’d I miss that while cropping!?
Also, her photos are impeccable I didn’t do so well taking my own photos of her photos.

I love her shots of bikes and the doors of Fairmount! She also has a ceramics shop on Etsy.

Stocking swap goodies!

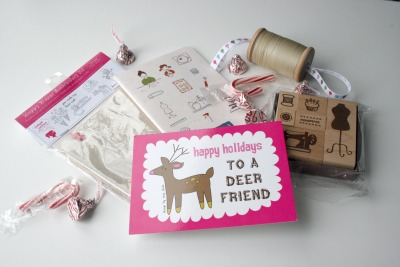
Wheeeee!! I recieved my wonderful package of goodies from my stocking swap buddy on Friday.  Strangely enough, it’s not the first time I’ve swapped with the lovely Amy.  We’ve randomly sent each other packages before. We keep taking the same online classes and courses. So I just laughed when I saw we were paired together again.

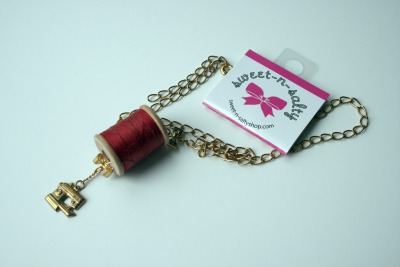
She sent me so much fun stuff, here’s a glimpse, starting with this super fun necklace she made.

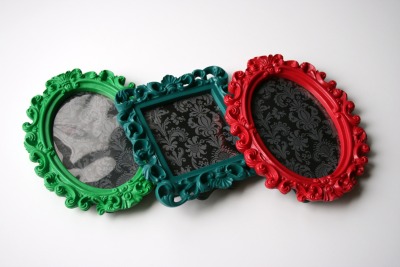
Then I got these cute frames.

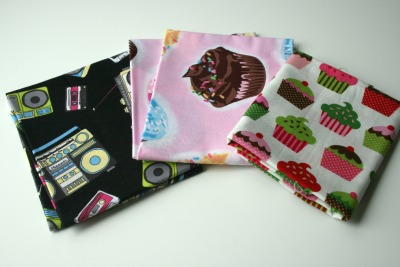
Some fun bits and pieces of fabric.

AAAAAAnd all this fun stuff too!!

Amy you rock! Sorry I’ve been a bad swap friend and sent my stuff late. Don’t worry it’ll be awesome too.