Category Archives: other crafts

Friday Create Along

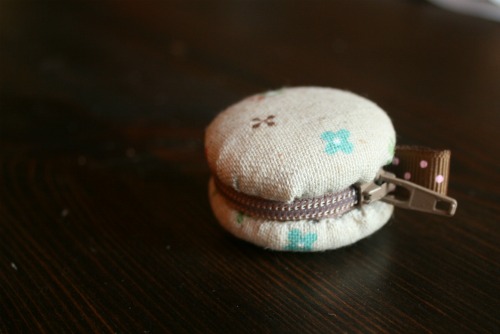
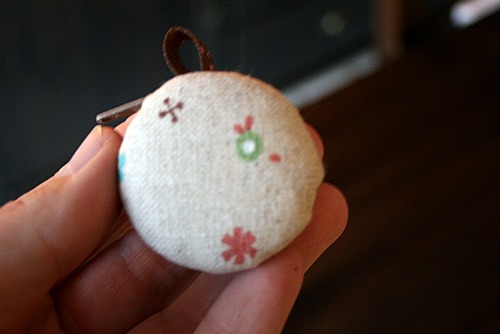
Ok so here’s the tutorial for last week, the little macaroons. I finished mine last night.

It’s pretty cute. It’s also pretty tiny and other than storing or giving rings/earrings I’m not sure what else I could do with it.

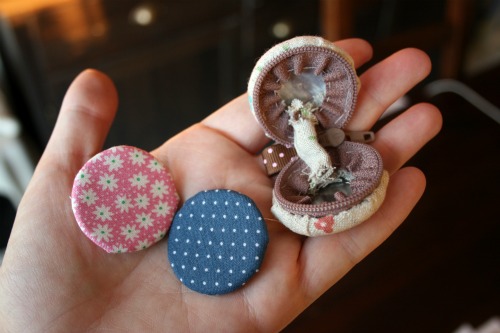
I also had a problem, see if you can figure it out.

Yeah, there’s no way I can get the inside pieces in. I might have to get a slightly smaller size. I’m not sure if the fabric I chose for the outside is too thick, it’s a Japanese cotton/linen blend. Or if it’s just all to bulky in there.

But the good news is no one will ever see in there since this is my little macroon and at least it looks great from the outside!

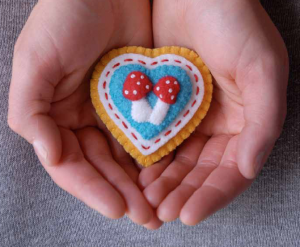
Next up is this charming little brooch. Now this is a great project because it’s hand sewing, uses felt and creates an accessory and that fits with my goal to accessorize more!

DIY fabric covered wooden brooch

One of my goals is to accessorize more and while I have bought a few things here and there I figured I should also make my own pretty things.

You will need:
– a scrap of fabric
– a wooden cut out
– glue gun
– pin back
– scissors
– Modge Podge or white glue

Trace your wood shape on the wrong side of your fabric. If you have a special part of the pattern you want to capture make sure you’ve placed it in the right place.

Spread Modge Podge on the wooden piece. Cut out the fabric and place it on.

Plug in your glue gun and add your pin back with a little blob of hot glue. You may need to trim excess fabric from places with small scissors or an exacto knife.

Next have someone around to take a finished photo for you because propping a camera up on items and hoping for a good shot is very hit and miss.

You get the idea.

Guest post!

Hello everyone, well hopefully I’m enjoying some great weather in Belize, maybe I’m even on a beach! Which is why I asked Janee of Yellow Bird Yellow Beard to guest post for me. Here’s her cute DIY.

Hi Fun People!

I’ve seen these adorable little figurines floating around the internet recently, I’m sure quite a few of you have seen them also. Now I’m normally not a huge fan of glitter, but these are simply irresistible. Enjoy!!!

DISCLAIMER::: I’m going to say this just in case you’ve been living in a cave up until now and have never worked with glitter before. Your going to want to do this on an easily cleanable or throw-away-able surface. Or better yet, outside. Or even better still, outside on a throw-away-able surface.


xoxo
Janee

Stickygram awesomeness.

Now as if the whole Instagram app wasn’t cool enough. Now along comes Stickygram and you can turn all your fun photos into magnets. If my children are Grandsons to you please go away or you’ll ruin the surprise.

I ordered 2 sets, one for Nana and one for Grandma & Grandpa. I didn’t order one for me, I was really torn about it but I figured they’re my kids, I see them everyday. I regret that choice now. These things are awesome!

Maybe I can do something with the little picture that’s on the ‘hey here are your Stickygrams’ note. Like stick them on the back of some ugly fridge magnet or something.

Mooooo

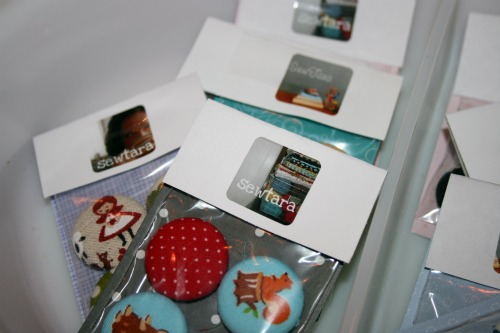
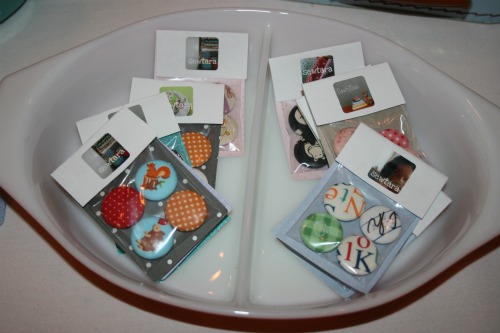
Well I like MOO and MOO likes me (more on that exciting news later) and I had a hard time figuring out how to display my magnet sets. Eventually I just went with the boring little plastic bag and paper thing. But some MOO stickers helped to jazz it up, and cover the staple.

This pyrex dish has become one of my favourite display items.


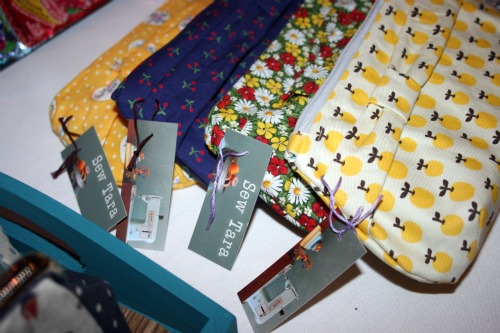
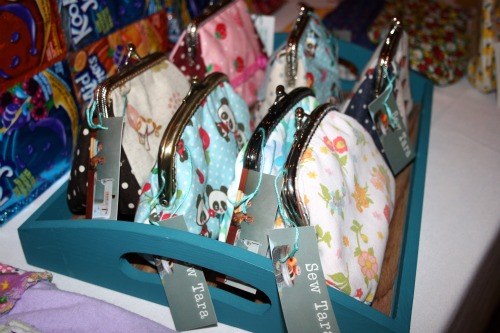
I also loaded up on Mini MOO cards recently and since I’ve spent time sitting at 2 events recently I tagged and priced everything. I feel so organized.

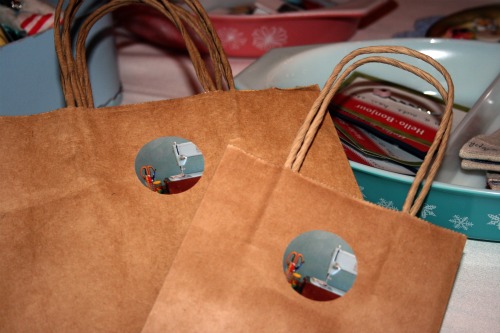
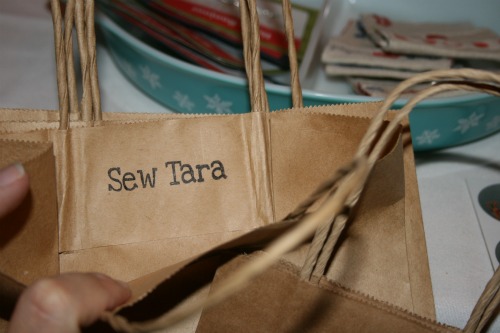
I’ve always carried brown paper bags for my customers and I usually stamp them. This time I decided to put some stickers on the outside and put the stamp on the inside, like a little surprise when you open the bag.

Need a magnet?

I sure don’t, I’ve been making a few. Just a few.

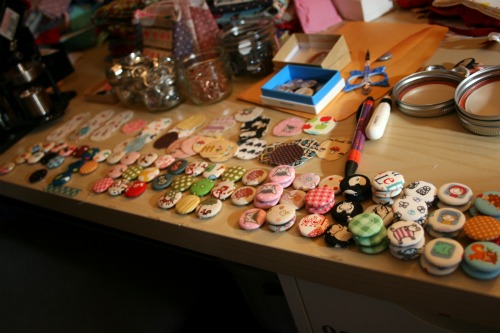
I love you button making machine.

Now to iron out my packaging . . .

My fall leaf wreath

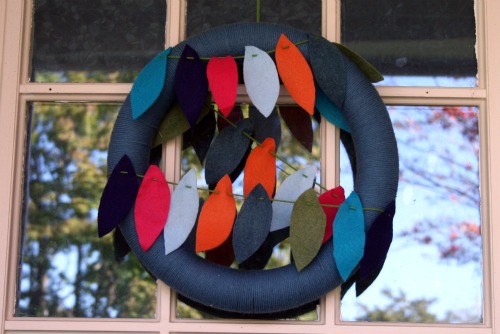
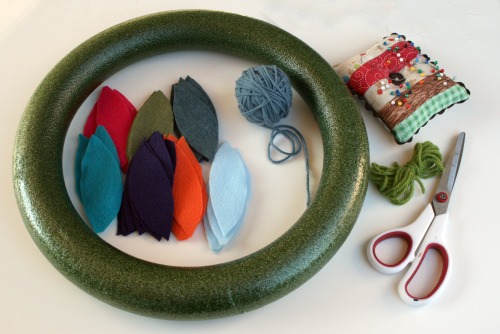
I figured it was time to say so long to my ‘hello’ door decoration and break out some pretty fall stuff. Here’s the problem with being craft, I’ve already got a fall wreath I made a while ago (my first post!), but an idea was sparked when I saw Elsie’s garland tutorial a little while ago. If you’d like to make one of these here’s what you’ll need.

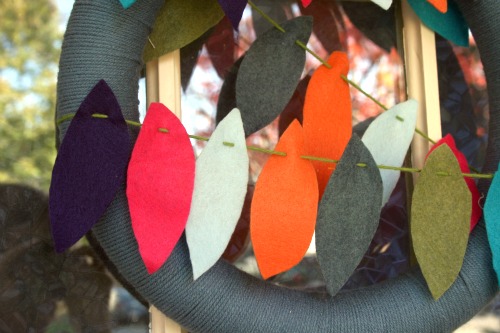
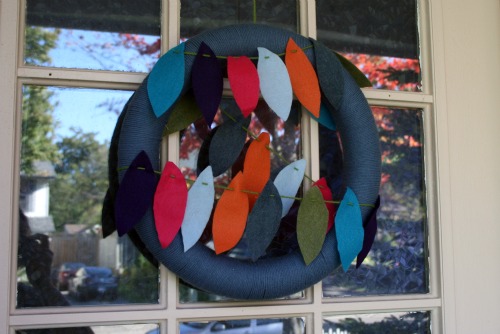
I fully intended to make Elsie’s garland and just wrap it around a yarn covered wreath. But then I wanted to be a little different and thought that the leaves looked like bunting this way and I liked that better.

I was hard to get a shot without falling off my porch or having my reflection in the glass, so I chose the lesser evil and there I am in the window.

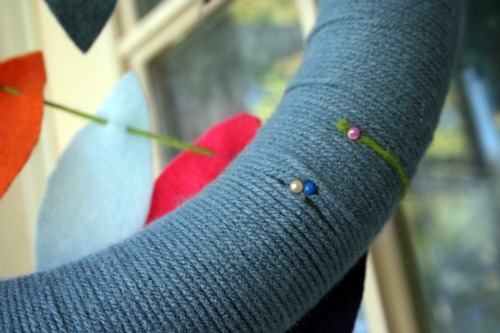
The best part is I used pins to hold the yarn on and the leaf bunting, so it’s super easy to move things around, reuse the yarn covered wreath or pull everything off and start all over.

I’m a copy owl

My friend and I were browsing Pier One a few weeks back and saw these really cute owl plushies.
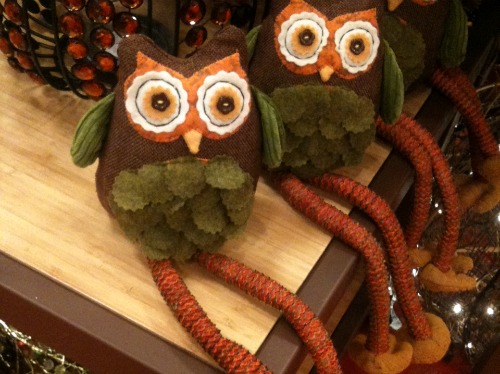
No clue what they’re for but they were really cute, and $18. Of course I did one of those, “We can totally make that” things and took a sneaky photo of them. We went and bought some felt that night and then we got crafty while we were away at the cottage. Using some felt, embroidery floss and 2 buttons, here’s what we came up with.
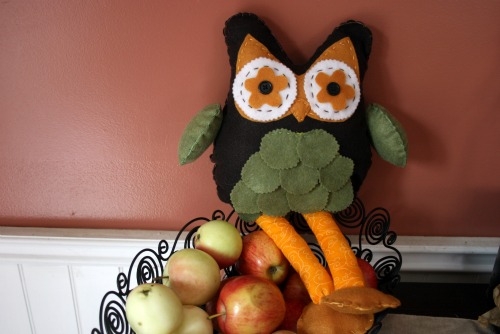
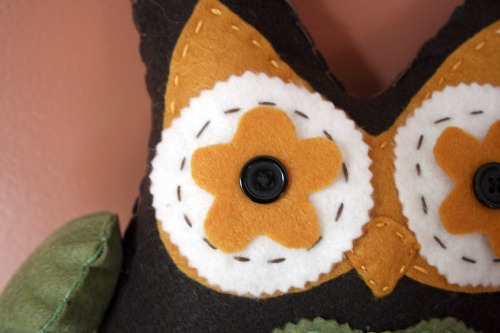
We cut all the shapes by hand, it probably would have been easier with some sort of Cricut type thing, but whatever. We stitched it by hand, almost entirely. I used my machine to sew the green bits on the belly so they’d be stuck on well. We were going to get ambitious and knit or crochet the legs but didn’t have the right supplies at the cottage. My friend decided not to put legs on her owl at all, just attach the feet, and I used some fabric and made some little legs instead of the HUGE ones on the Pier One owls.
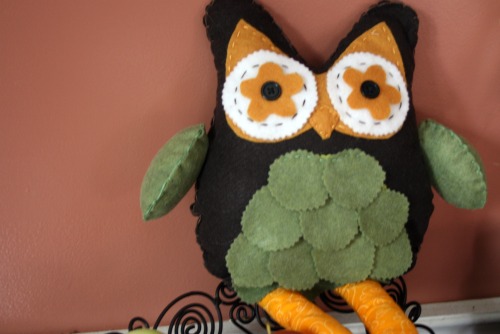
Here’s a sketch, because I have yet to learn how to do pattern pieces all fancy like, of all the bits you need if you want to give this a try yourself. I’m all about putting your own spin on crafts so it’s measurement free, my owl is about 10 inches tall (legs not included.
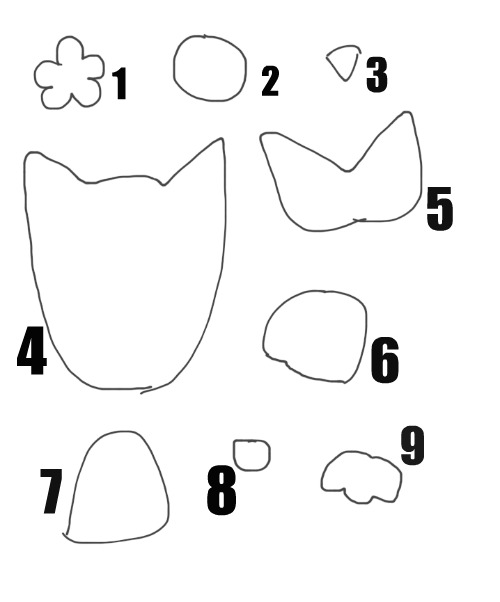
1. Eye flower cut 2 (shape can be different)
2. Outside eye circle cut 2 (should be a circle, I used pinking shears to give it a fun edge)
3. Beak cut 1
4. Owl body cut 2
5. Face, base this on the size of your body piece. Cut 1.
6. Wings (optional, my friend didn’t make any) Cut 4.
7. Belly piece, this is hidden once the owl is all done but it’s there under the ‘feathers’. Cut 1
8. Feathers cut enough to cover piece #7, my owl has 12.
9. Feet cut 4.
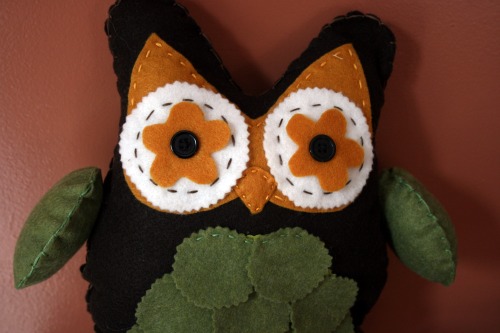
Assembly

1. Sew the buttons on the eye flower pieces with the white circles behind
2. Sew the white circles to the face piece with a contrasting thread and some fun stitches.
3. Sew the face piece to the owl body, sew the beak on as well.
4. Attach the belly piece to the owl and cover it with the feathers, staggering them a bit.
5. Stitch the 2 body pieces together, leaving the bottom open. Mind are stitched with embroidery floss showing on the outside. You can stitch it right sides together on a sewing machine and turn it if you’d like. I was going for a more rustic look.
6. Stuff your owl.
7. Stitch the wings together, leaving a small opening and stuff them. Attach to the body.
8. Cut 2 pieces of fabric, mine were about 3 x 8 and fold and stitch down the long edge, turn the tube rightside out and stuff.
9. Stitch the feet together, leaving a small opening, stuff and stitch closed. Attach to the legs.
10. Tuck the legs into the opening at the bottom of the body and stitch it up!

Wild Olive at SewTara

I can’t remember the first time I stumbled onto Mollie’s site but I’ve been going back ever since. She’s so great with colours, stitches and designs not to mention can throw a cute little face on almost any object. We’ve worked together on a game, a planner and somehow keep wandering back to each other with more ideas.

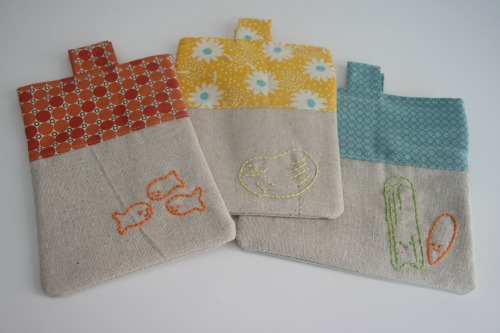
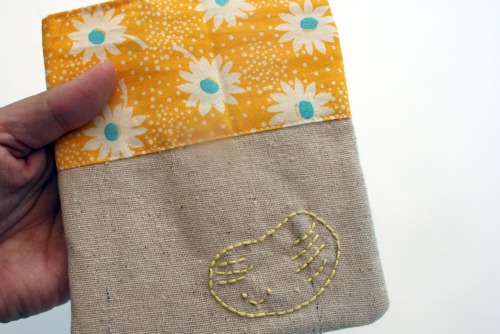
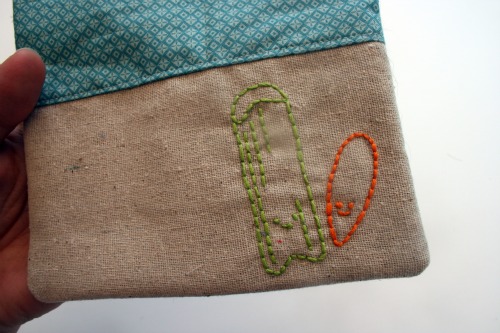
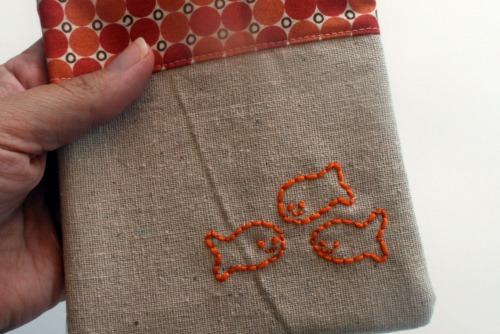
Here’s the latest idea I’d love to share with you, her Little Snackers designs. These sweet little things are for use one your very own reusable snack bags. With back to school time approaching for most of us I thought reusuable snack bags would be a great tutorial idea and asked Mollie to help out with some of her signature embroidery patterns.

Little Snackers Download

Pattern is for personal use only.

These work perfectly with my snack pouch tutorial from yesterday. If you want a different pouch design, fold over or buttons or something you can find a ton of ideas with a quick Google search. Happy pouch making!

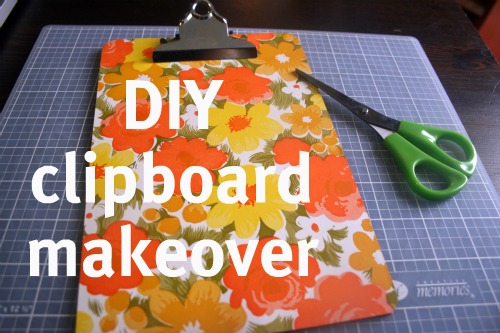
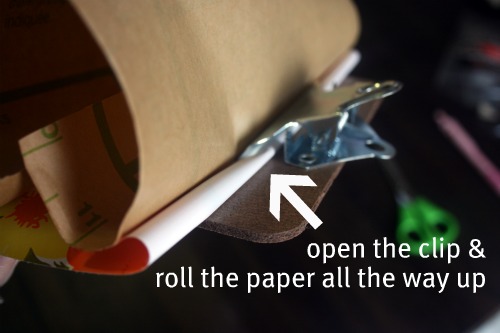
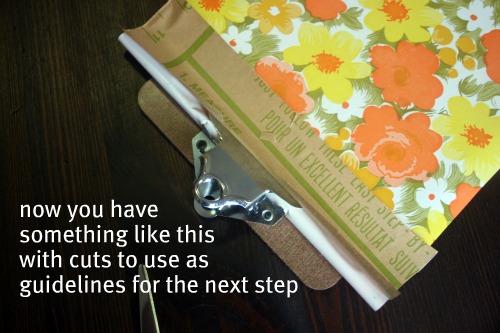
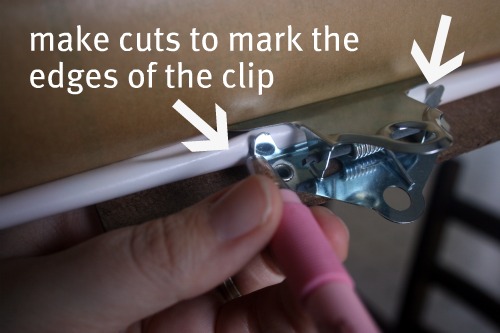
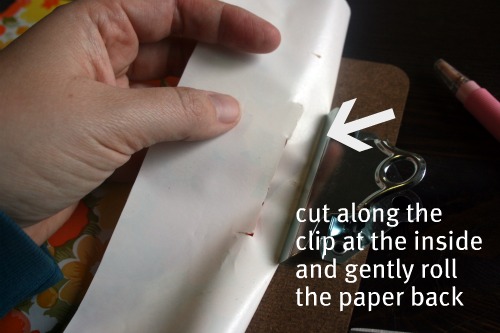
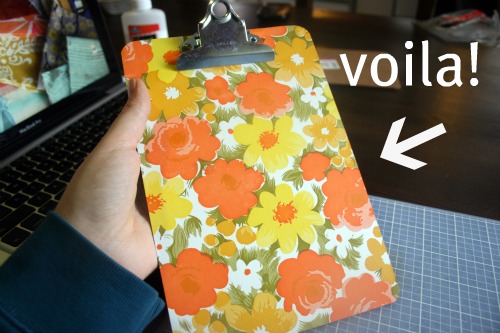
DIY clipboard snazziness

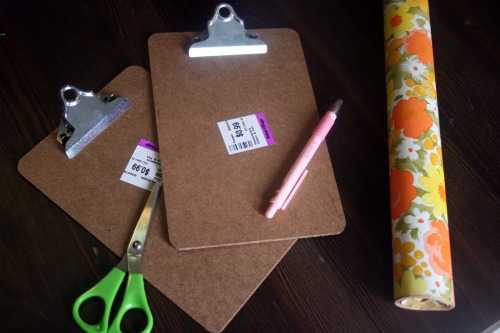
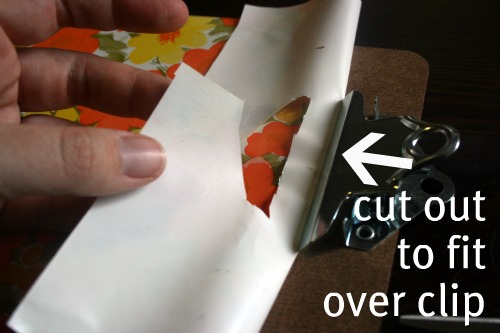
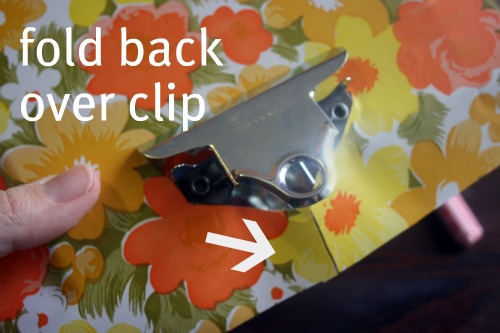
You will need some scissors, an exacto knife or some sort of precise cutting instrument, some shelving/contact paper, a cutting mat helps annnd a clipboard!  My clipboards are little mini ones I picked up for 99 cents each at Value Village.

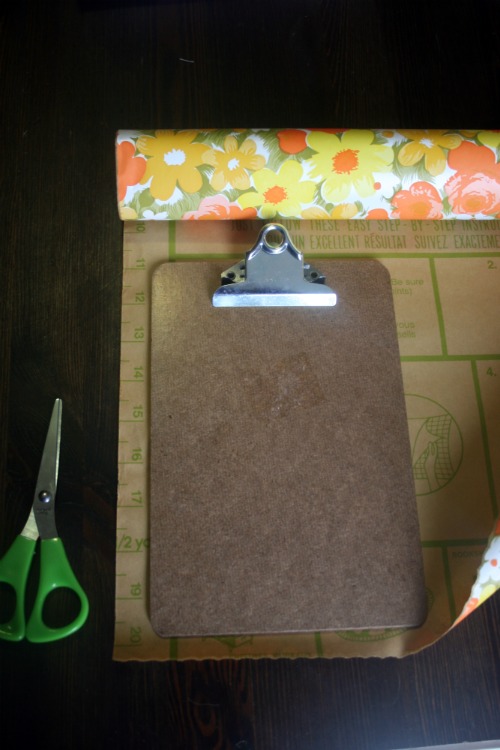
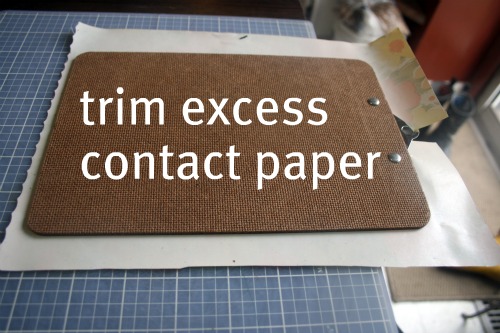
Remove any stickers or labels from your clipboards before you start.  I left the price tag on my first attempt and there’s a faint outline of the price tag.  Measure your clipboard or just do what I did and lay it on the contact paper and cut out a piece big enough to cover it.

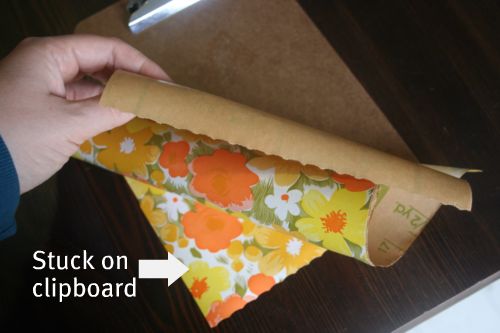
Cut the piece out and starting at one of the bottom corners stick the contact paper on and work across the clipboard making sure there are no bubbles or bumps.


It has been a ridiculously busy week in my house. It’s literally taken me about 5 days to write this post. Which is sad since there’s hardly any writing!