Category Archives: scraps

Giveaway Day!!

Yipee!! It’s giveaway day!!

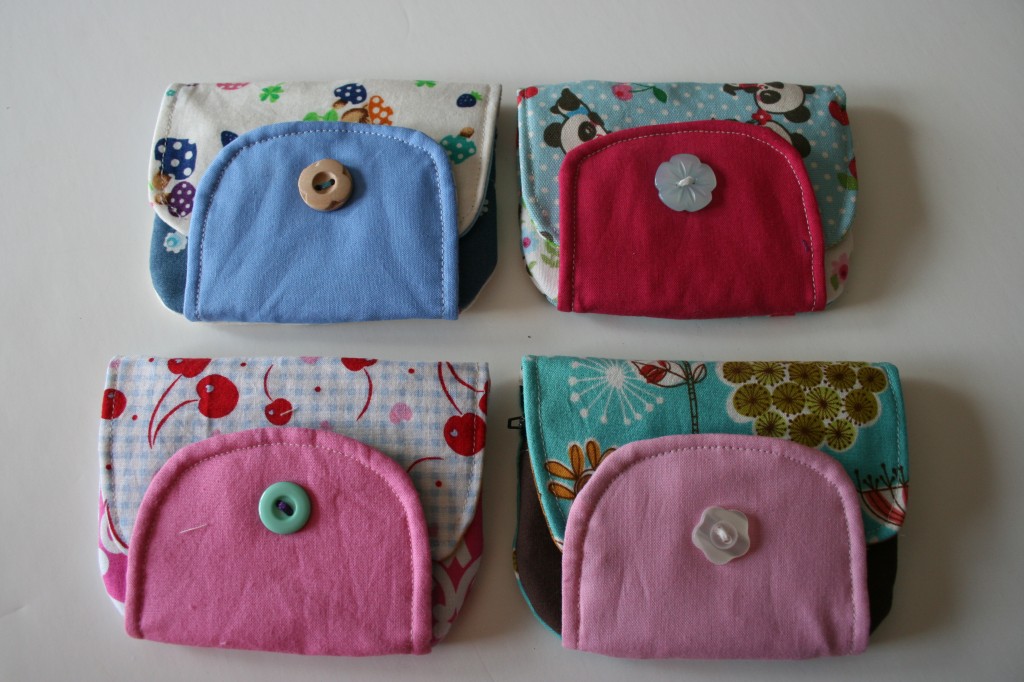
So I’m going to give away a scrappy wallet! Just like the ones in the photos, but I’ve got to make it still. I promise it will be super fun and wallety. Leave your entry below and make sure there’s a way for me to contact you. The winner will be chosen at the end of this week.

Pendants galore.

I’ve been trying different things to use scraps to make pendants. I haven’t had much success with finding a way that works but I think I have now.

I haven’t enjoyed attempting it with Modge Podge, often there’s bubbles no matter what I try so I was happy to find these pendant frames. Sadly I only bought 5. Time to reorder.

Challenge accepted.

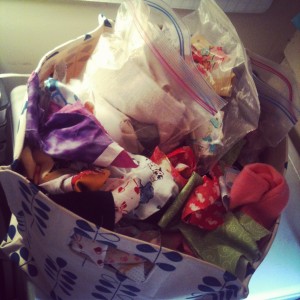
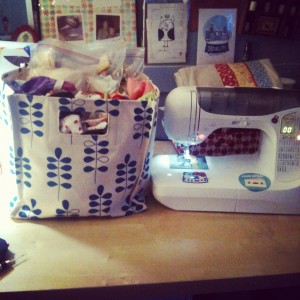
Lately I’ve been bothered by unfinished projects lying around. They sort of eat at the back of my head and nibble away, annoying me. It’s sort of like how you make resolutions, or unrealistic goals and they end up just bothering you rather than inspiring you. This weekend it’s been my scrap bin that’s driving me batty.

Last night I had the idea to sew from my scrap bin all week. I didn’t set a Create Along goal for Friday since this week is busy for me but I do vow to go to my scrap bin for every project I tackle.

See it’s HUGE! I’ll keep you posted.

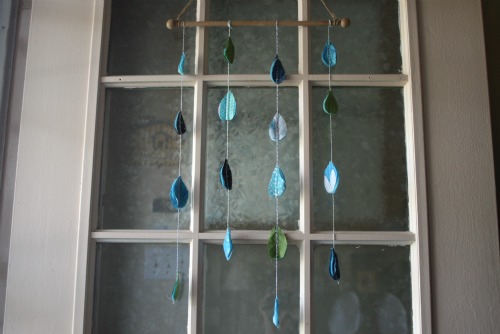
DIY Spring door decor

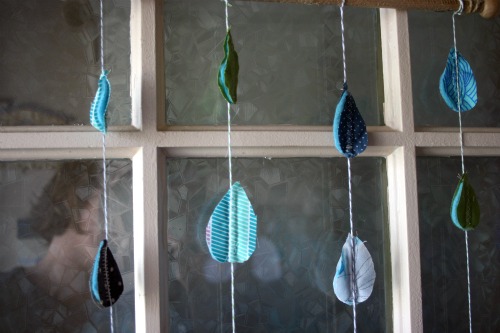
I took our little snowman decoration down a while back, since we had a pathetic amount of snow this year, and realized over the weekend our door looked bare. Thinking of spring I put together this cute scrappy little door decor.

I gathered up some fabric scraps, fleece scraps, and some baker’s twine. I reused the dowel hangy thing from a pennant someone had made me year’s ago for my classroom door. It had my maiden name on it so I cut it off and kept the wood bit around knowing I’d find a way to use it.

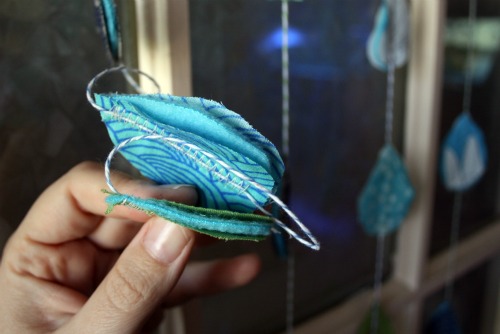
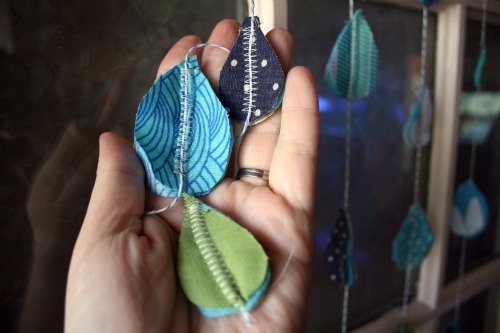
I chose cool coloured fabrics and made sure the fleece was blue as well. I wanted it to look a little unfinished at times. I cut 2 pieces of fabric for each raindrop and 1 piece of fleece. Sandwiched them together and zig zag stitched the baker’s twine in place on each raindrop with my sewing machine.

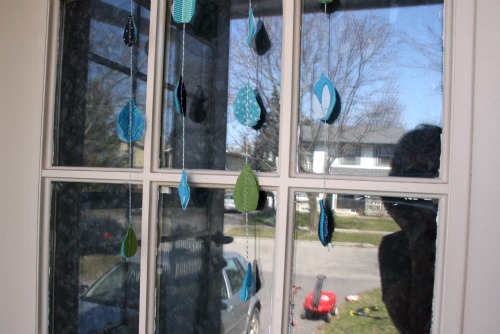
It’s really pretty hanging on the door and it’s fun when the wind gently blows the raindrops around a bit.

Sometimes . . .


when I’m buried in larger projects and I just want to make something fun start to finish I do just that.
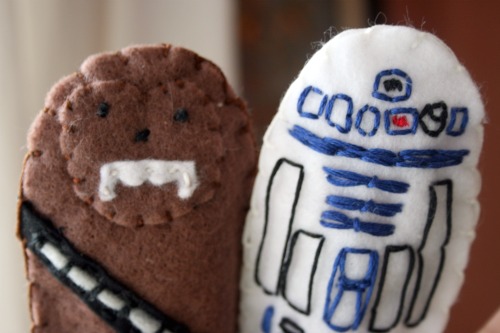
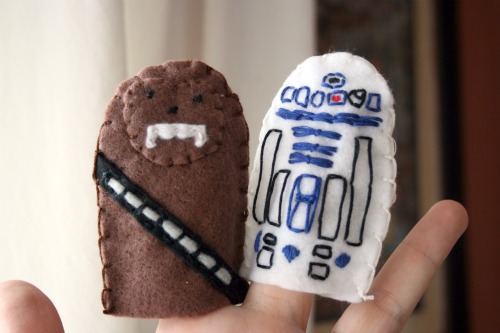
The other day was one of those days, so I made these.

Technically I suppose Chewie should me much, much taller than R2 but hey, fingers only vary in size a teeny bit.

Mollie Makes and Keyka Lou – some of my favourite ladies

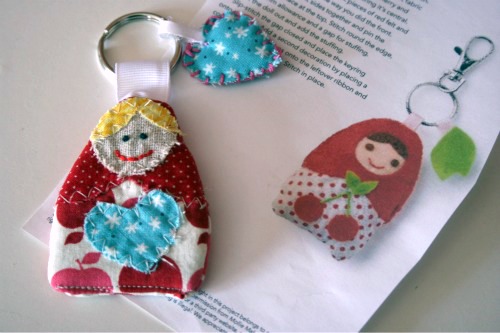
Have you seen/read/held/drooled over an issue of Mollie Makes yet? I can’t even begin to tell you how great this magazine is! I have a digital subscription and the instant it arrives I plunge in. Sometimes I wish I had a physical copy to cut up and fill my space with inspiration, and then I think I couldn’t bear to cut it up. Great articles, fantastic photos and I always leave with a list of things to see/do. Here’s the little keyring from issue 11 I made. Once again, I changed things up a bit, but I assure you it started with their pattern. You can find the templates for each issue at their site.

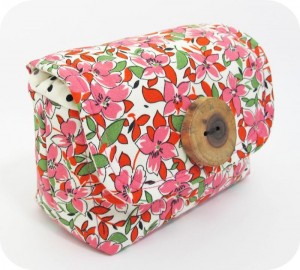
Secondly, my favourite pattern maker has created a new camera pouch pattern and it’s really neat. It’s a super padded camera pouch in 4 different sizes that you can make following her quick and easy sewing pattern.

DIY with loads of sharing

You will need:

Some fabric scraps
Modge Podge
Knobs (screw pieces if they don’t have them)
Wall anchors

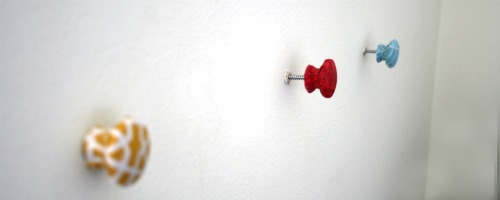
Cut a scrap of fabric and wrap it around the knob to cover it. Pour Modge Podge on the front and smooth it down saturating the fabric and gluing it to the knob.

You can secure it with an elastic to help it dry in place. Once it’s dry trim away the excess fabric.

The knobs I bought didn’t have screws on the end so I had to glue some in.  If you’re repurposing cabinet handles you may not have to do that step.  I choose 3 colours that would compliment my handmade art wall.

Decide on your spacing and drill holes in the wall.  Secure the anchors and make sure they are flush with the wall.  Then simply screw in the knobs.

The next step is the best, hang your accessories!

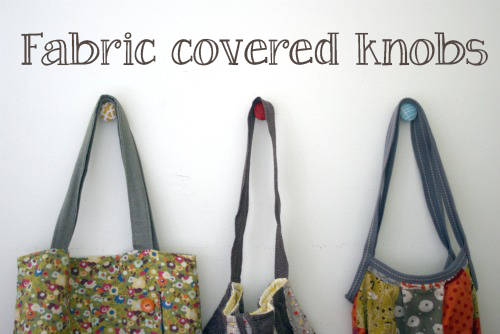
I used mine to display my growing tote/purse collection. Bags are from (left to right)
Kimmy Kingsbury, Hot Butter, and me!

Miss me?

In my haste to get ready for my table today I didn’t post my Create Along, silly me.
But it’s probably a good thing because I’m not done my Cozy Blue creation anyway. I plan on working away on it while I sit today.

So reveal to come soon and here’s a fun quick tutorial for our next project. It’s from Noodlehead and I’ve had this page open in a tab for a while and my kids caught sight of it so now I’ve been nudged to making some.

Plus I’ve got loads of fun vehicle themed Japanese fabric lying around. Yeah, I have a problem.

Fabric scrap pendants

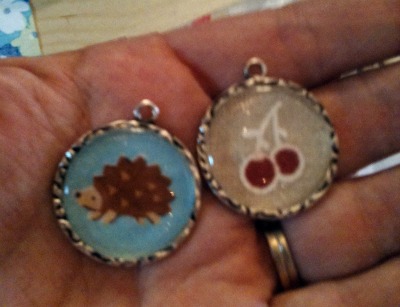
I’ve been coveting some things on Etsy recently, haven’t we all?, and I started to think “I can make that!”, again, haven’t we all. At Michael’s I found these pendants that come with little peel and stick domes.

I just positioned the domes over scraps of fabric and then cut them out with my tiny sharp embroidery scissors. Then I stuck that bit onto the pendant with some glue dots.

Then I got brave. I picked up some pendants on clearance and figured I’d try some Modge Podge Dimensional Magic. My friend Joanna has tried, and struggled with resin so I didn’t even want to try that. I figured Modge Podge would be easier to work with. There were bubbles but getting rid of them was super easy. The problem came from the liquid soaking into the fabrics and changing the colours. This elephant was from the very edge of a piece of Japanese fabric and I thought it would make a great pendant. This is an Instagram shot so the filter played with it a bit, but in normal lighting the ‘white’ area is almost identical to the grey of the elephant. It was disappointing.

So now I’m back to finding a liquidless way to do this since that works best with fabric. Has anyone done this before? Know any tips or tricks?

DIY – Tomato pin cushion revamp

I’ve made a bunch of scrappy pin cushions since I started sewing and one thing I recently learned is you shouldn’t fill them with that polyfil stuff, apparently it can dull your pins and needles. I had no clue.

Some emery sand would be best, but it’s tricky to find. And while the nostalgic red tomato pin cushion reminds me of my mom sewing, everyone has one and having something different is fun. So I decided to start with the standard tomato pin cushion and do some reworking.

You’ll need:
tomato pin cushion (I already removed everything off it before the photo)
fabric square big enough to wrap it up
a scrap of fabic
embroidery floss
optional: ribbon or rick rack and some buttons

Figure out how your square of fabric will best fit on the tomato and start attaching it with little stitches around the top.

It should look something like this, with more or less fabric depending on the piece you started with.

Trim the excess, try to get it as close as possible to the stitches.

Thread some embroidery thread onto your needle and starting at the top travel around the tomato pulling tightly to secure the fabric. You can cross over and under the threads to help them stay in place.

Cut some sort of fun shape to cover all your stitching at the top. I went with the leaves on the tomato sort of shape out of a fun polka dot print.

Stitch around the secure the scrap to the top your the cushion. Try to pop up as close to the middle as possible and then attach a bit of ribbon or rick rack. I decorated the end of mine with buttons stitched on back to back.

And ta da! A lovely revamped pin cushion.